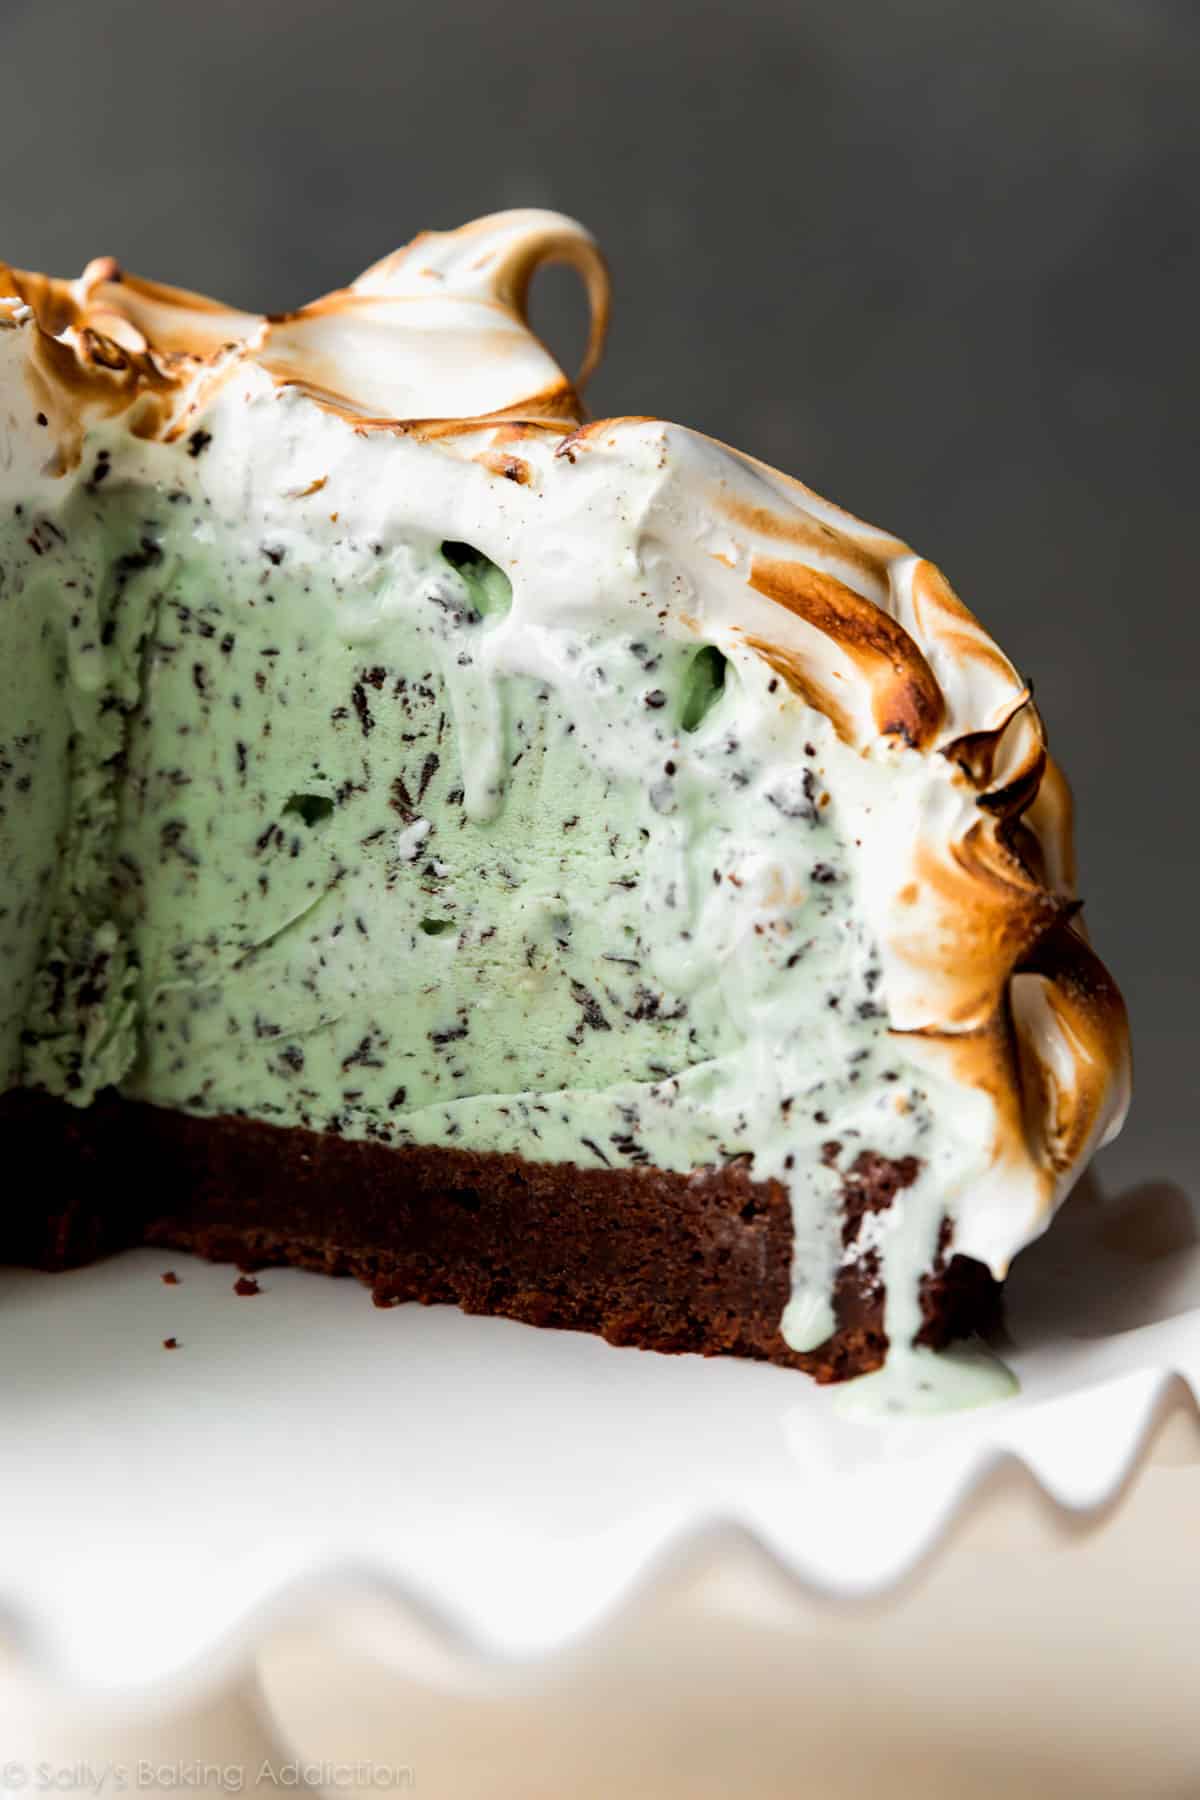
This brownie baked Alaska combines homemade brownies with your favorite ice cream flavor (like mint chocolate chip) and is topped with toasted marshmallow meringue for a truly memorable and impressive treat.
After receiving many requests for the recipe, as well as my own desire to tackle this “difficult” retro dessert, I devoted some time recipe testing baked Alaskas. 3,845 quarts of ice cream later, let me present you with baked Alaska and baked Alaska cupcakes. Let’s get one thing straight, though…
Better with Brownie
This isn’t your typical baked Alaska with sponge cake at the base. This is brownie baked Alaska and after testing both versions, I say with 100% certainty that brownie baked Alaska is both tastier AND easier. In this blog post, you’ll find a full tutorial, recipe, step-by-step photos, and a video to guide you along.
What is Baked Alaska?
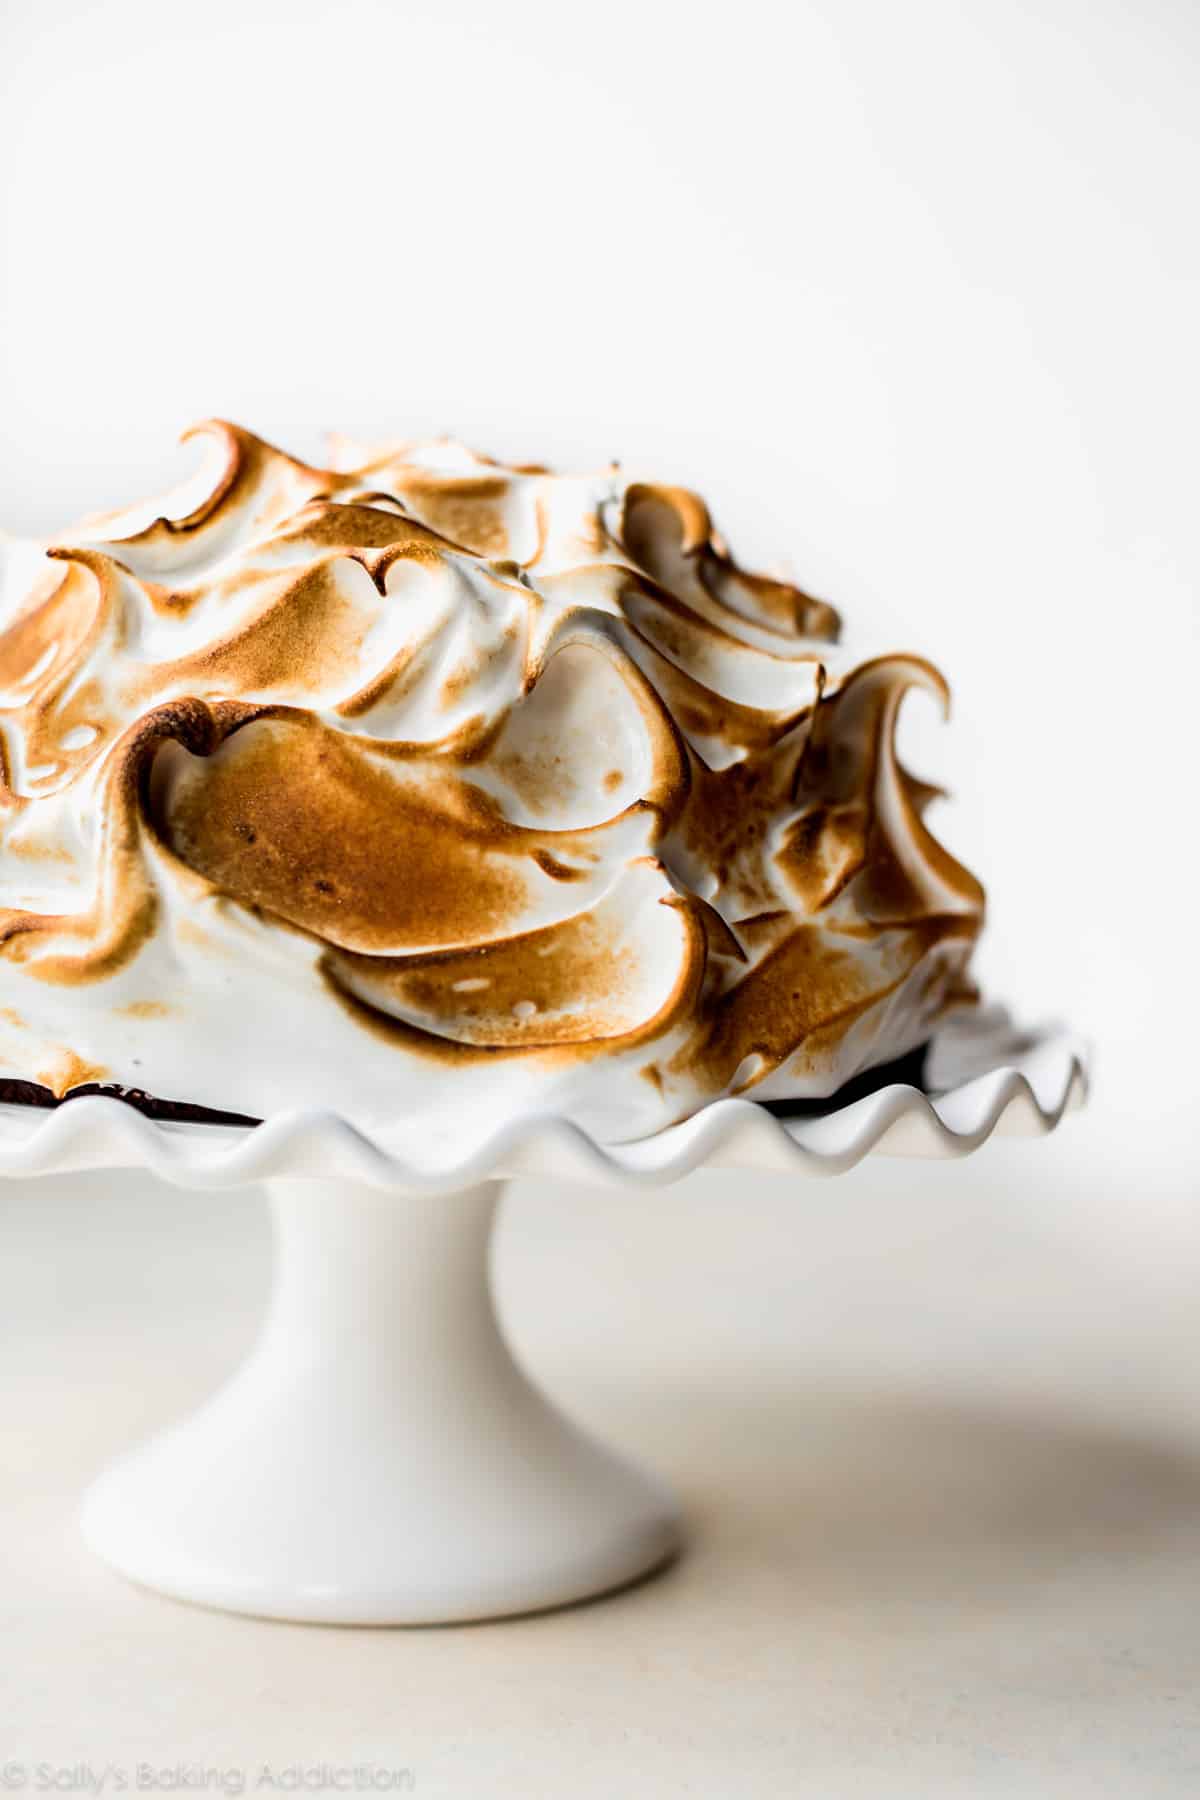
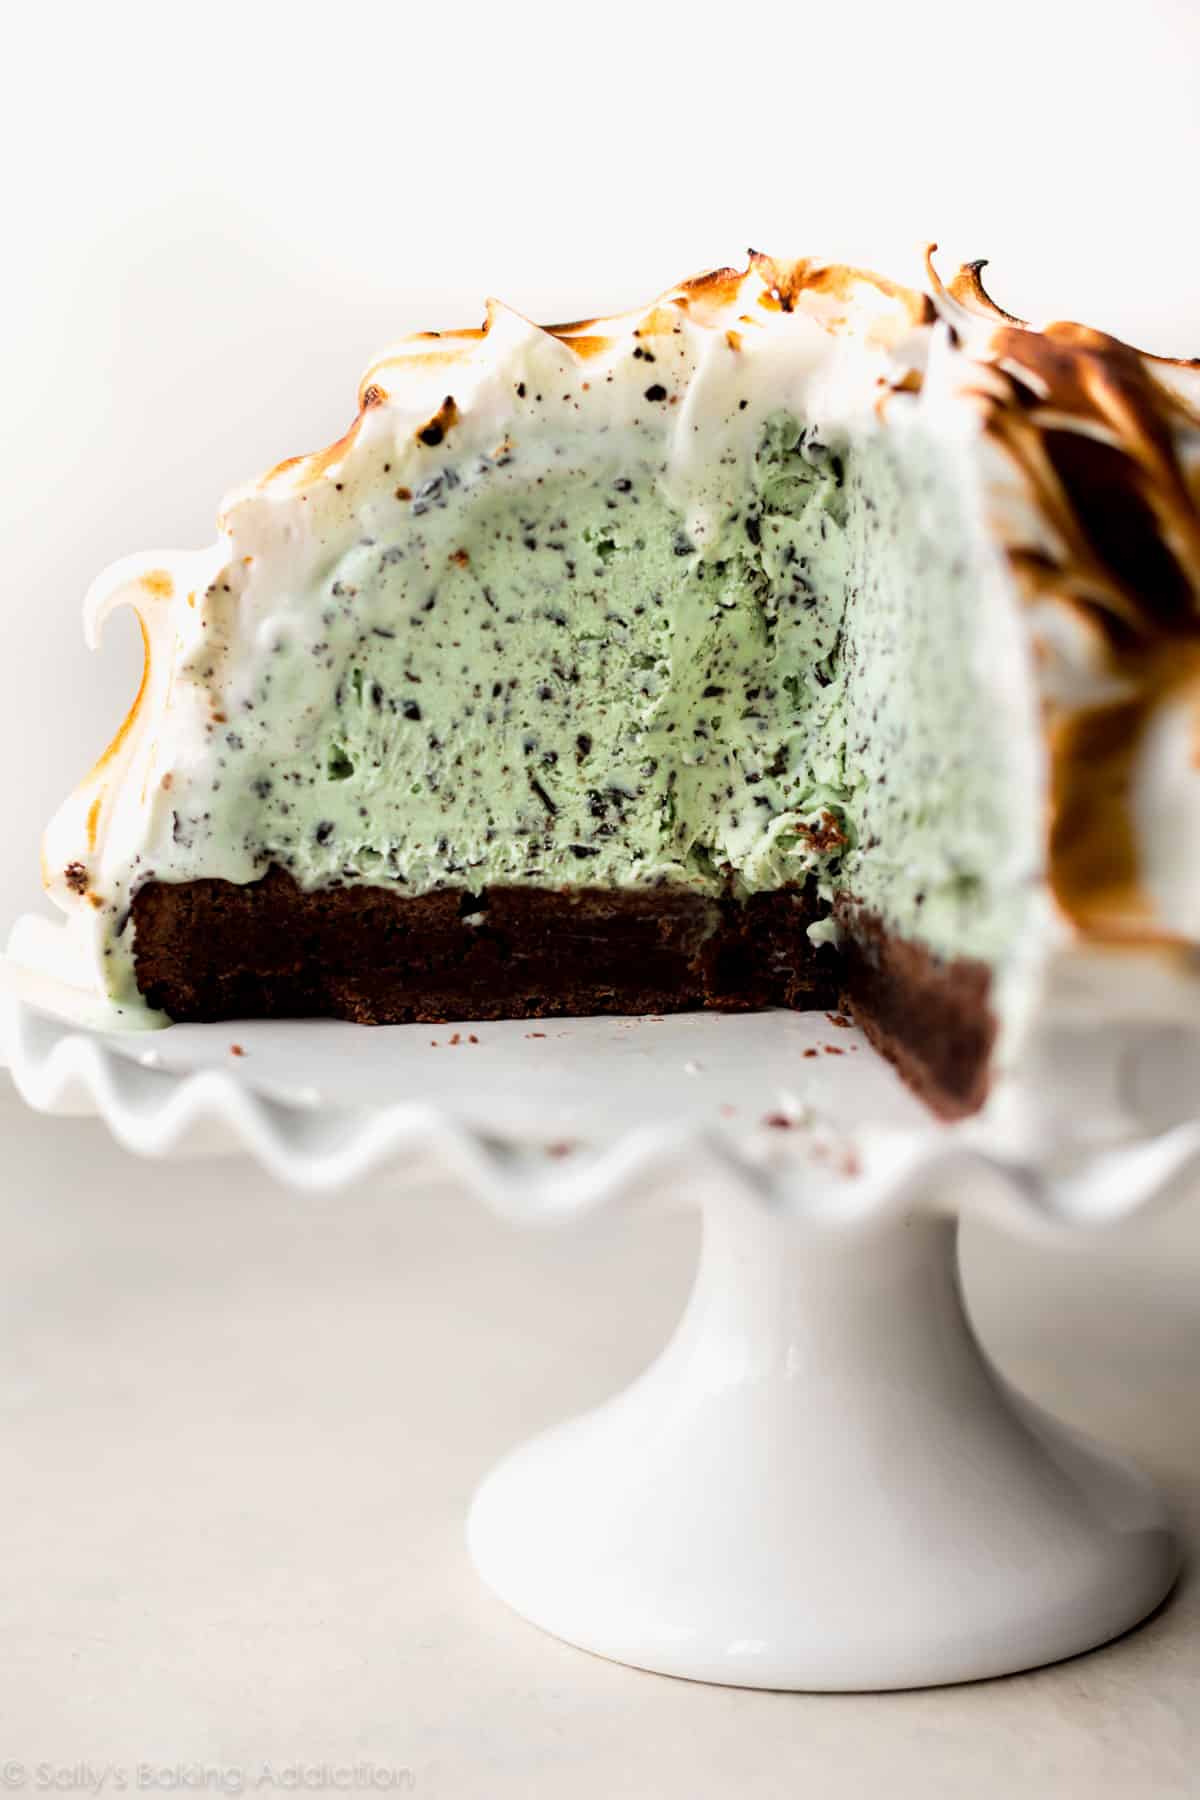
Traditional baked Alaska combines 3 layers:
- Sponge Cake
- Ice Cream
- Soft Marshmallow-y Meringue Topping
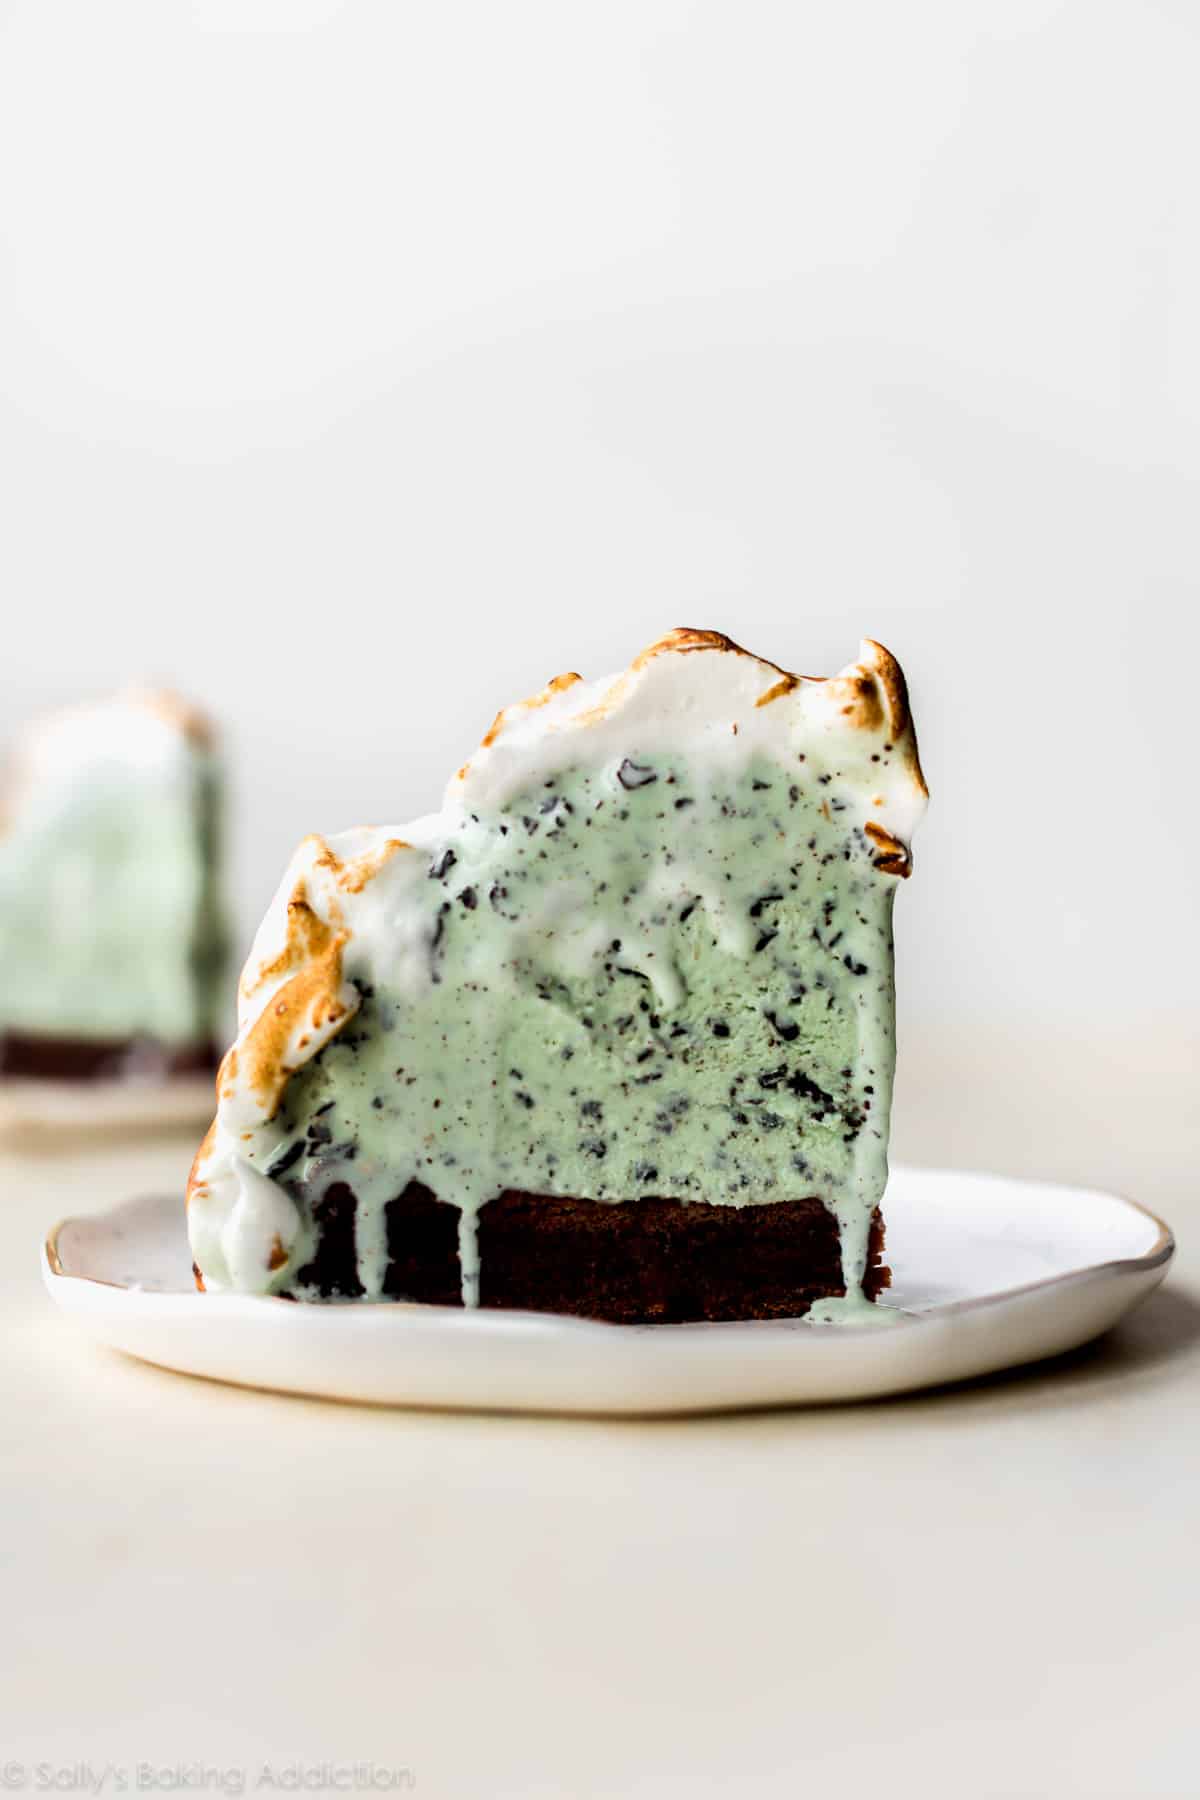
The meringue topping, applied in decorative peaks and swirls, completely encloses the ice cream underneath. The entire thing is baked or torched until the meringue is toasted. Baked Alaska can even be served flambéed, but I definitely don’t trust myself doing that. The ice cream doesn’t initially melt under the protective meringue shell, but will begin to deliciously drip down into the brownie once served. Baked Alaska is an impressive dessert and, like I said above, so darn good with a brownie base.
Ice Cream for Baked Alaska
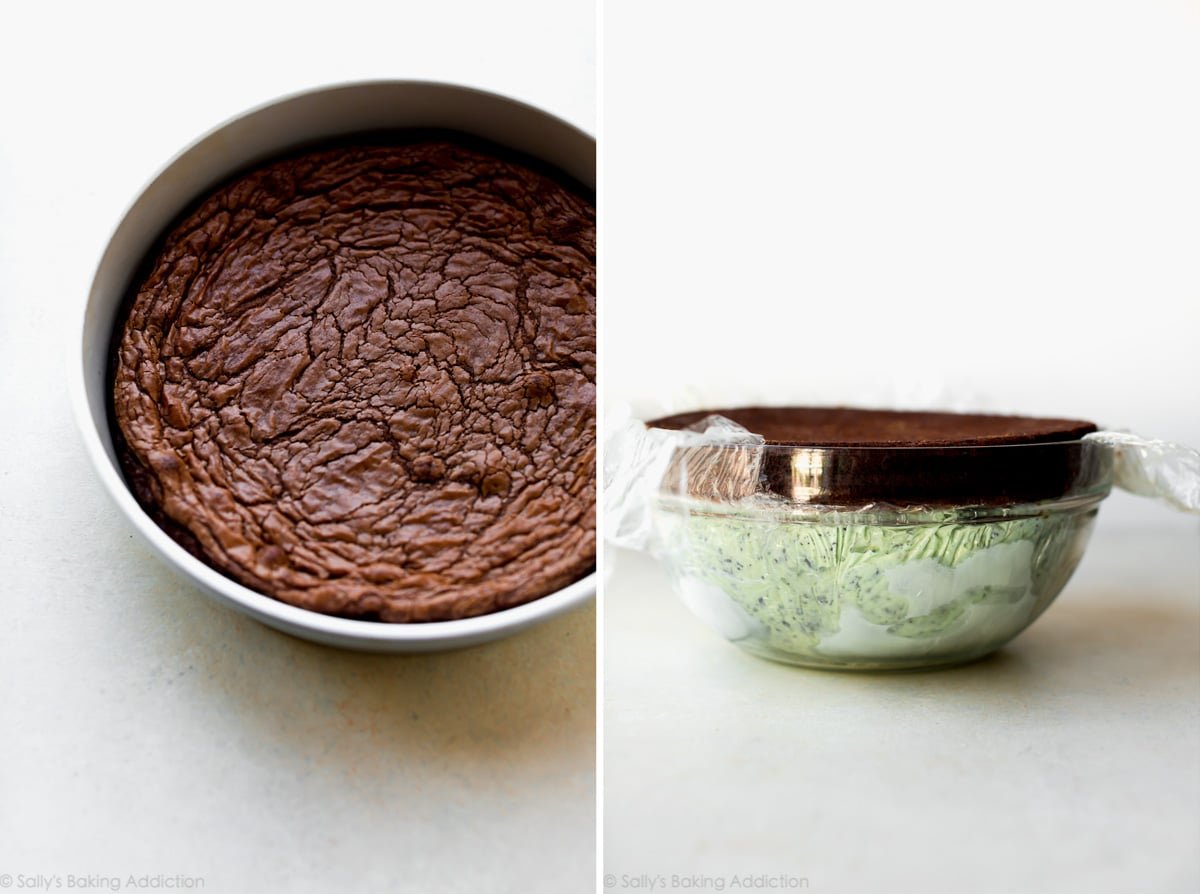
To make the big baked Alaska, soften some ice cream and spread it into a 9-inch 2.5 quart bowl (I recommend the one in this set) and freeze it. I chose mint chocolate chip ice cream for the big baked Alaska and coffee ice cream for the baked Alaska cupcakes. Use whichever flavor, homemade or store-bought, that you love most.
The bowl molds the ice cream into the dome shape for the baked Alaska dessert. Lining the bowl with plastic wrap, as you watch in my video below, allows for easy removal when it’s time to assemble the brownie baked Alaska.
Brownie Baked Alaska
Bake brownies in a 9-inch round cake pan, the perfect size for your 9-inch dome-shaped ice cream. You can use your favorite brownie batter, just make sure it’s the appropriate amount for a 9-inch round cake pan. I tested and suggest:
- Homemade Chewy Fudgy Frosted Brownies (without the frosting)
- Nutella Brownies from Shelly’s cookbook
Both brownie recipes are perfect for the brownie baked Alaska cupcakes, too. Cupcake baking time is similar for both recipes and included in the written recipe below.
How to Make Marshmallow Meringue
This marshmallow meringue is essentially my homemade marshmallow creme. The toasted meringue exterior cracks as you take a bite and soft marshmallow melts down into the ice cream. For this reason, we’re applying a thick layer of that glorious marshmallow meringue.
The marshmallow meringue is pretty much Swiss Meringue Buttercream, just without the butter. You can watch me prepare the meringue in the helpful video below. Whisk egg whites, sugar, and cream of tartar together constantly over a pot of simmering water. The egg whites will gently heat and the sugar will dissolve. The cream of tartar stabilizes and shapes the egg whites, just like it does in these chocolate swirled meringue cookies, chocolate soufflé, French macarons, and these angel food cupcakes.
Baker’s Tip: When gently cooking these 3 ingredients together, simply use a large pot and bowl. You can use the stainless steel bowl that comes with your stand mixer or a glass bowl (I used one from the set). You’ll need your stand mixer in the next step anyway.
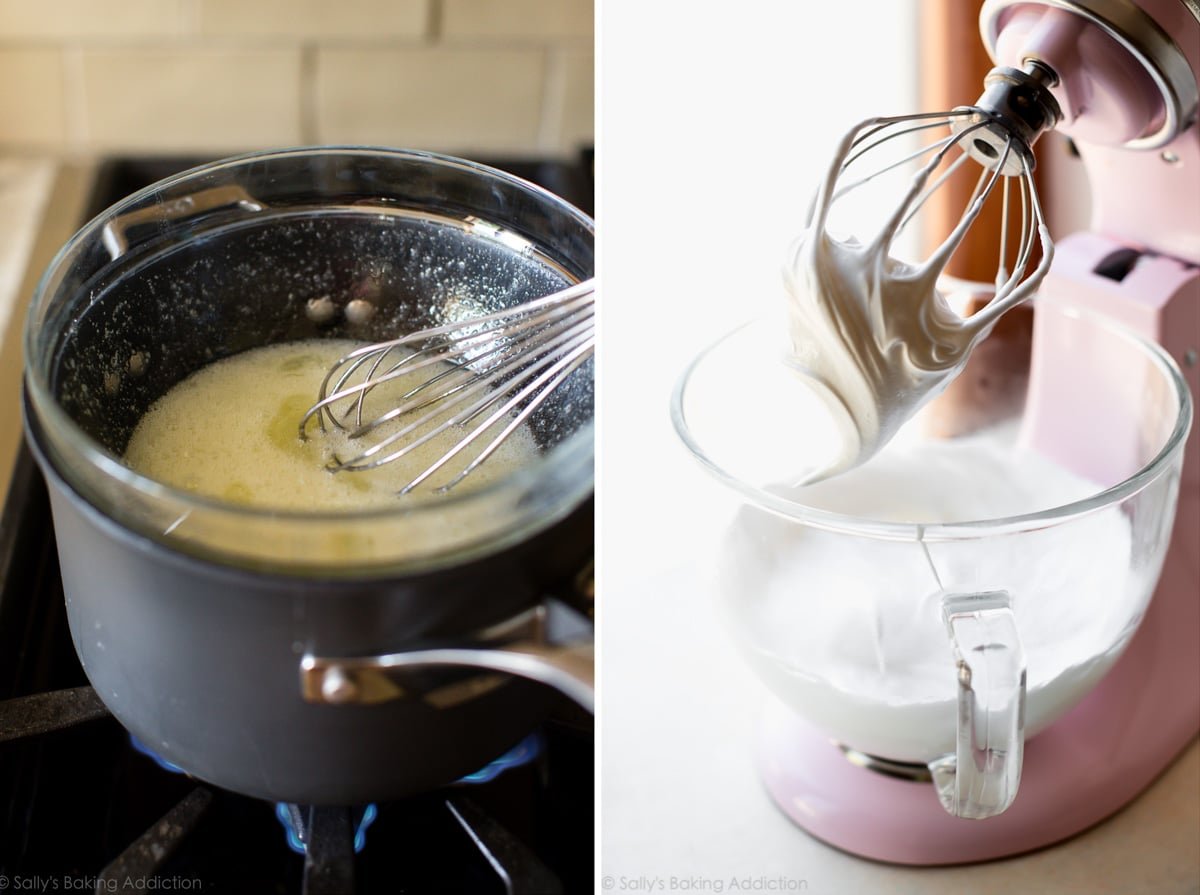
Once the egg whites, sugar, and cream of tartar are gently heated, begin whipping. This step incorporates air into the meringue and after a few minutes, you’ll have stiff glossy peaks. Go ahead and taste it. It tastes like homemade marshmallow creme.
You Can Use a Kitchen Torch for Baked Alaska
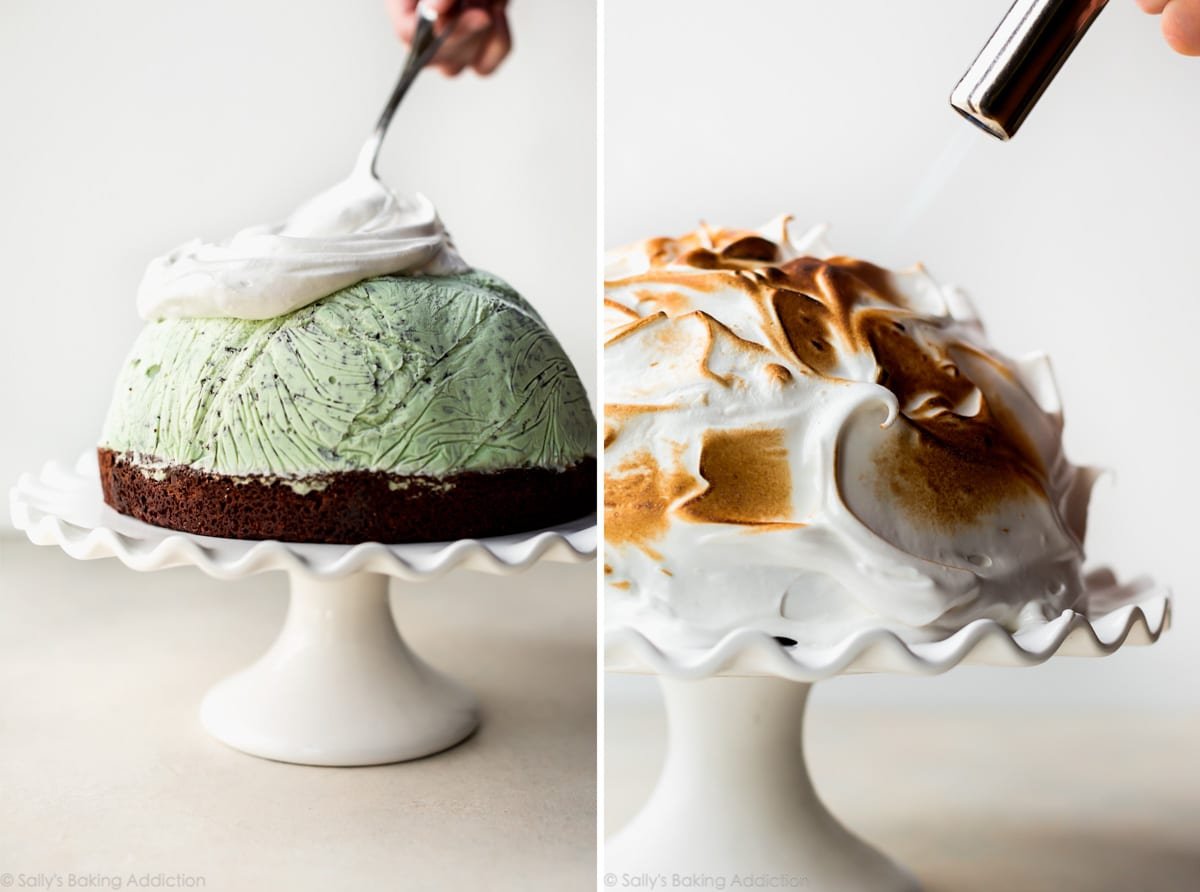
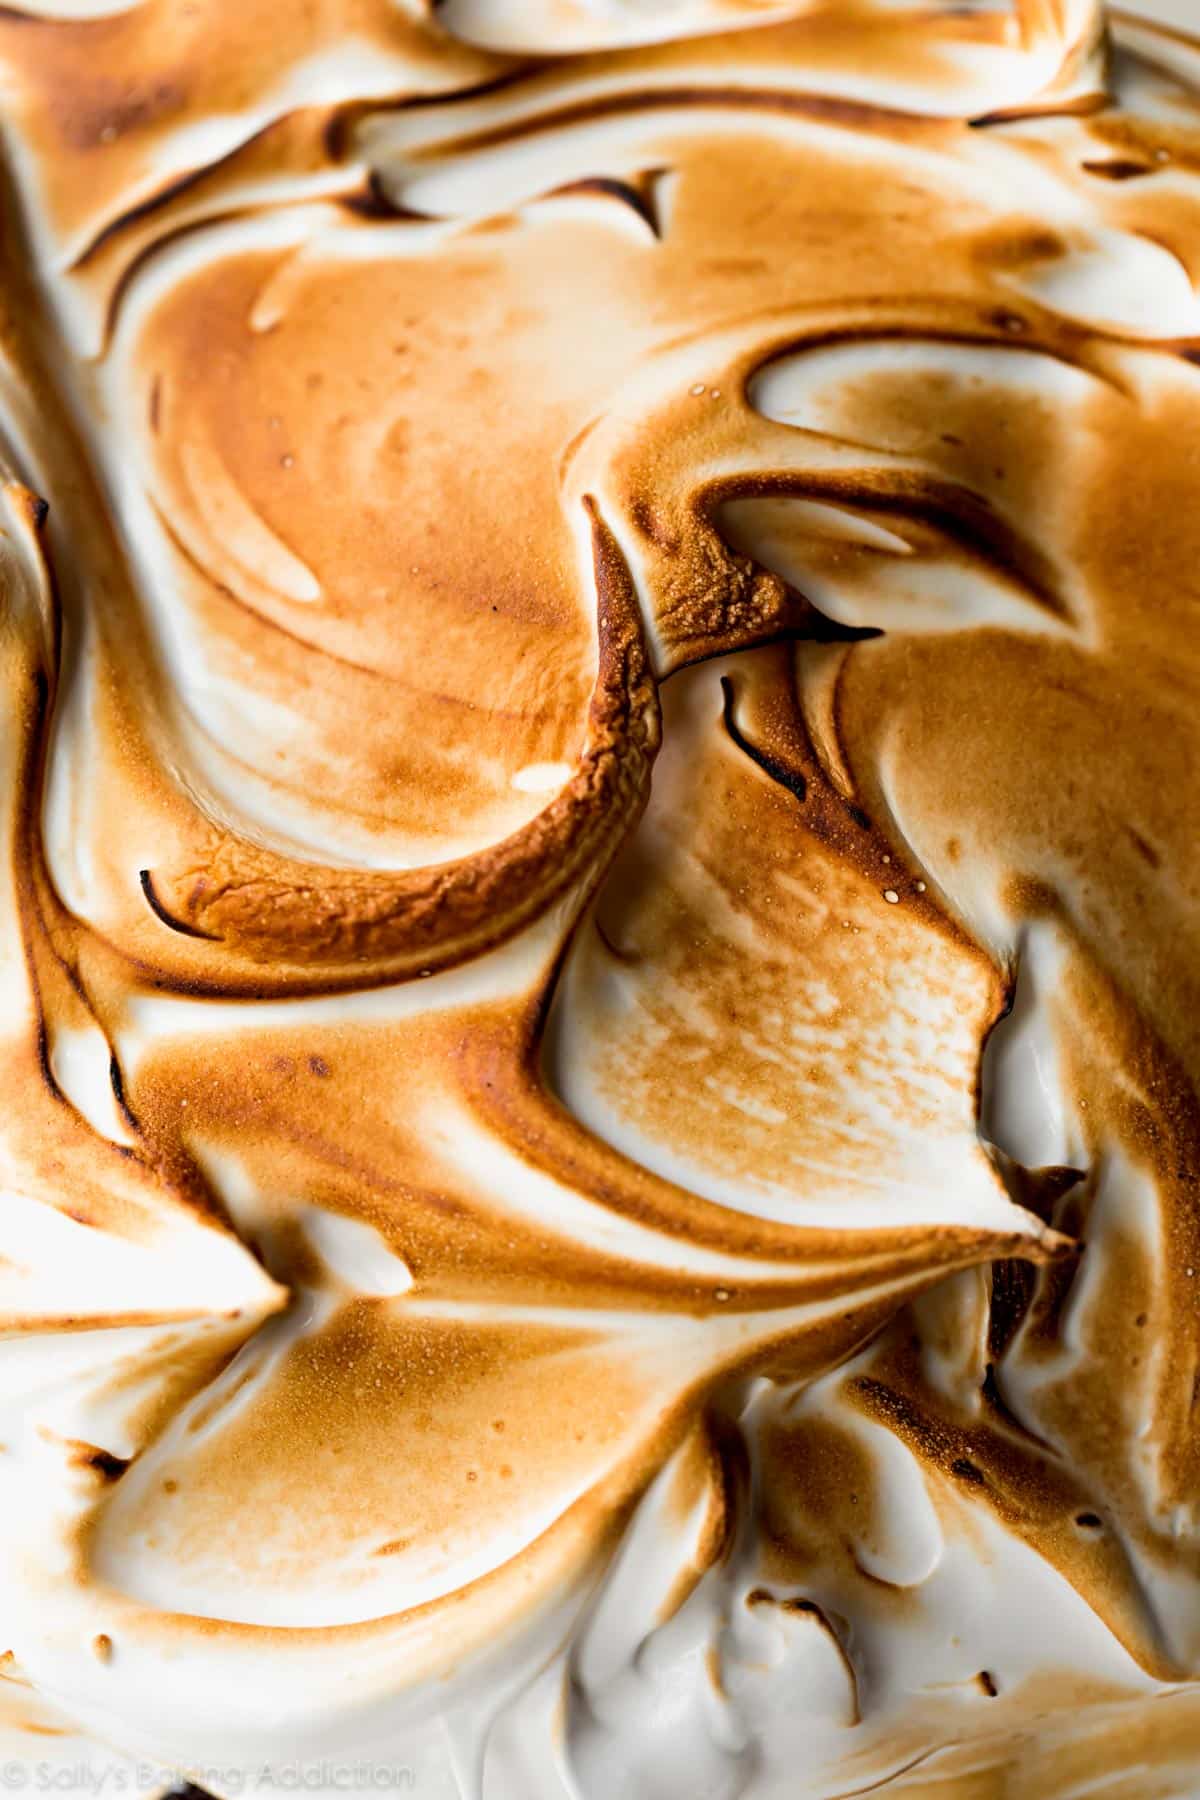
Spread that marshmallow goodness all over the ice cream and begin torching. I suppose this should be called “torched Alaska” instead? I know many don’t own a kitchen torch, so oven instructions are included in the recipe below. Baking is the more traditional step anyway. (But I will say one thing! Kitchen torches are surprisingly inexpensive for what you get and when my mom offered me hers, I thought to myself… will I ever use this thing? and the couple times a year that I need it, I’m glad I have one. It really makes a difference!)
You’ll use a torch again when you make no bake s’mores cake and chai pumpkin meringue pie.
Baked Alaska Cupcakes
The mini baked Alaskas are so much fun and, conveniently enough, much quicker and easier.
- No special size bowls required
- No extra freezing
- no extra assembling
Simply scoop any flavor ice cream on top of the baked and cooled brownie cupcakes, then cover with marshmallow meringue topping. I know many of you will appreciate the simpler cupcake version.
Want to make the brownie baked Alaska cupcakes even more exciting? Use different flavor ice creams so it’s a surprise which flavor you’ll get!
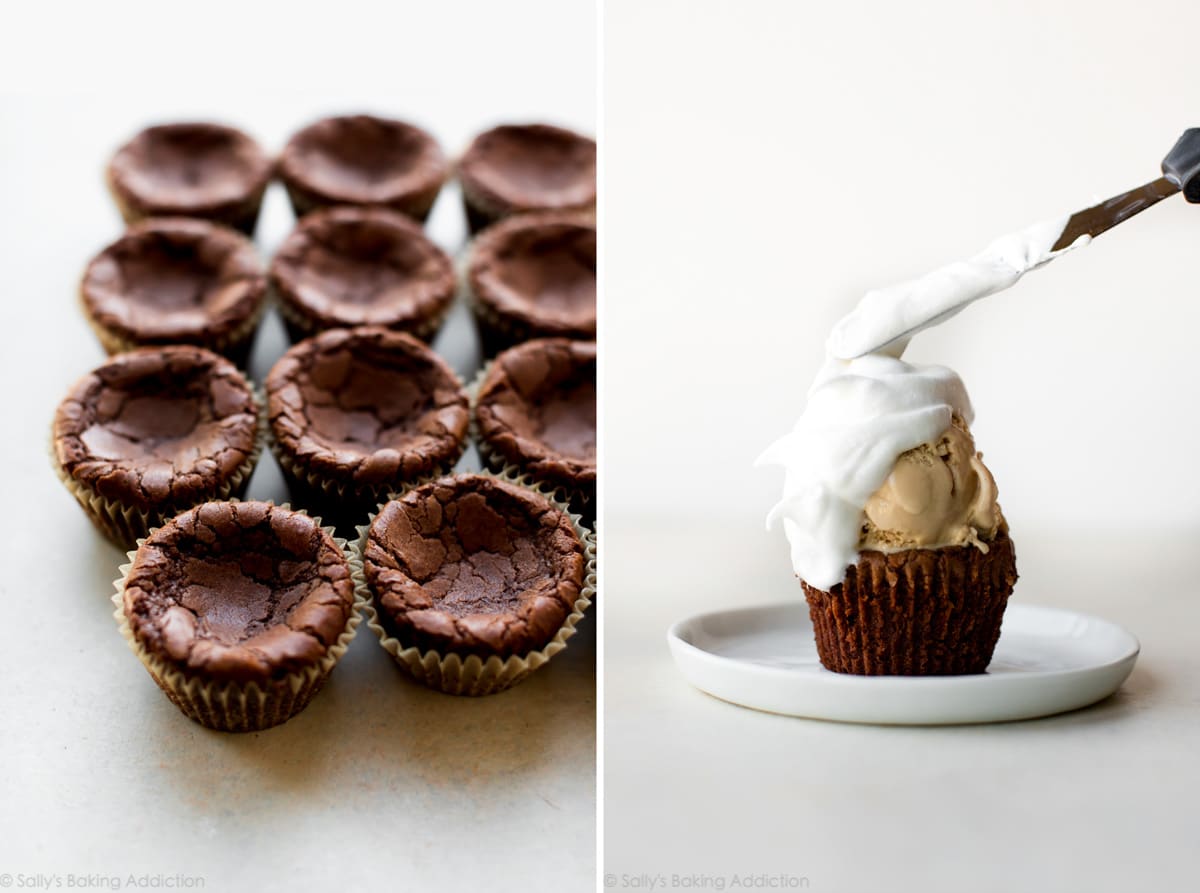
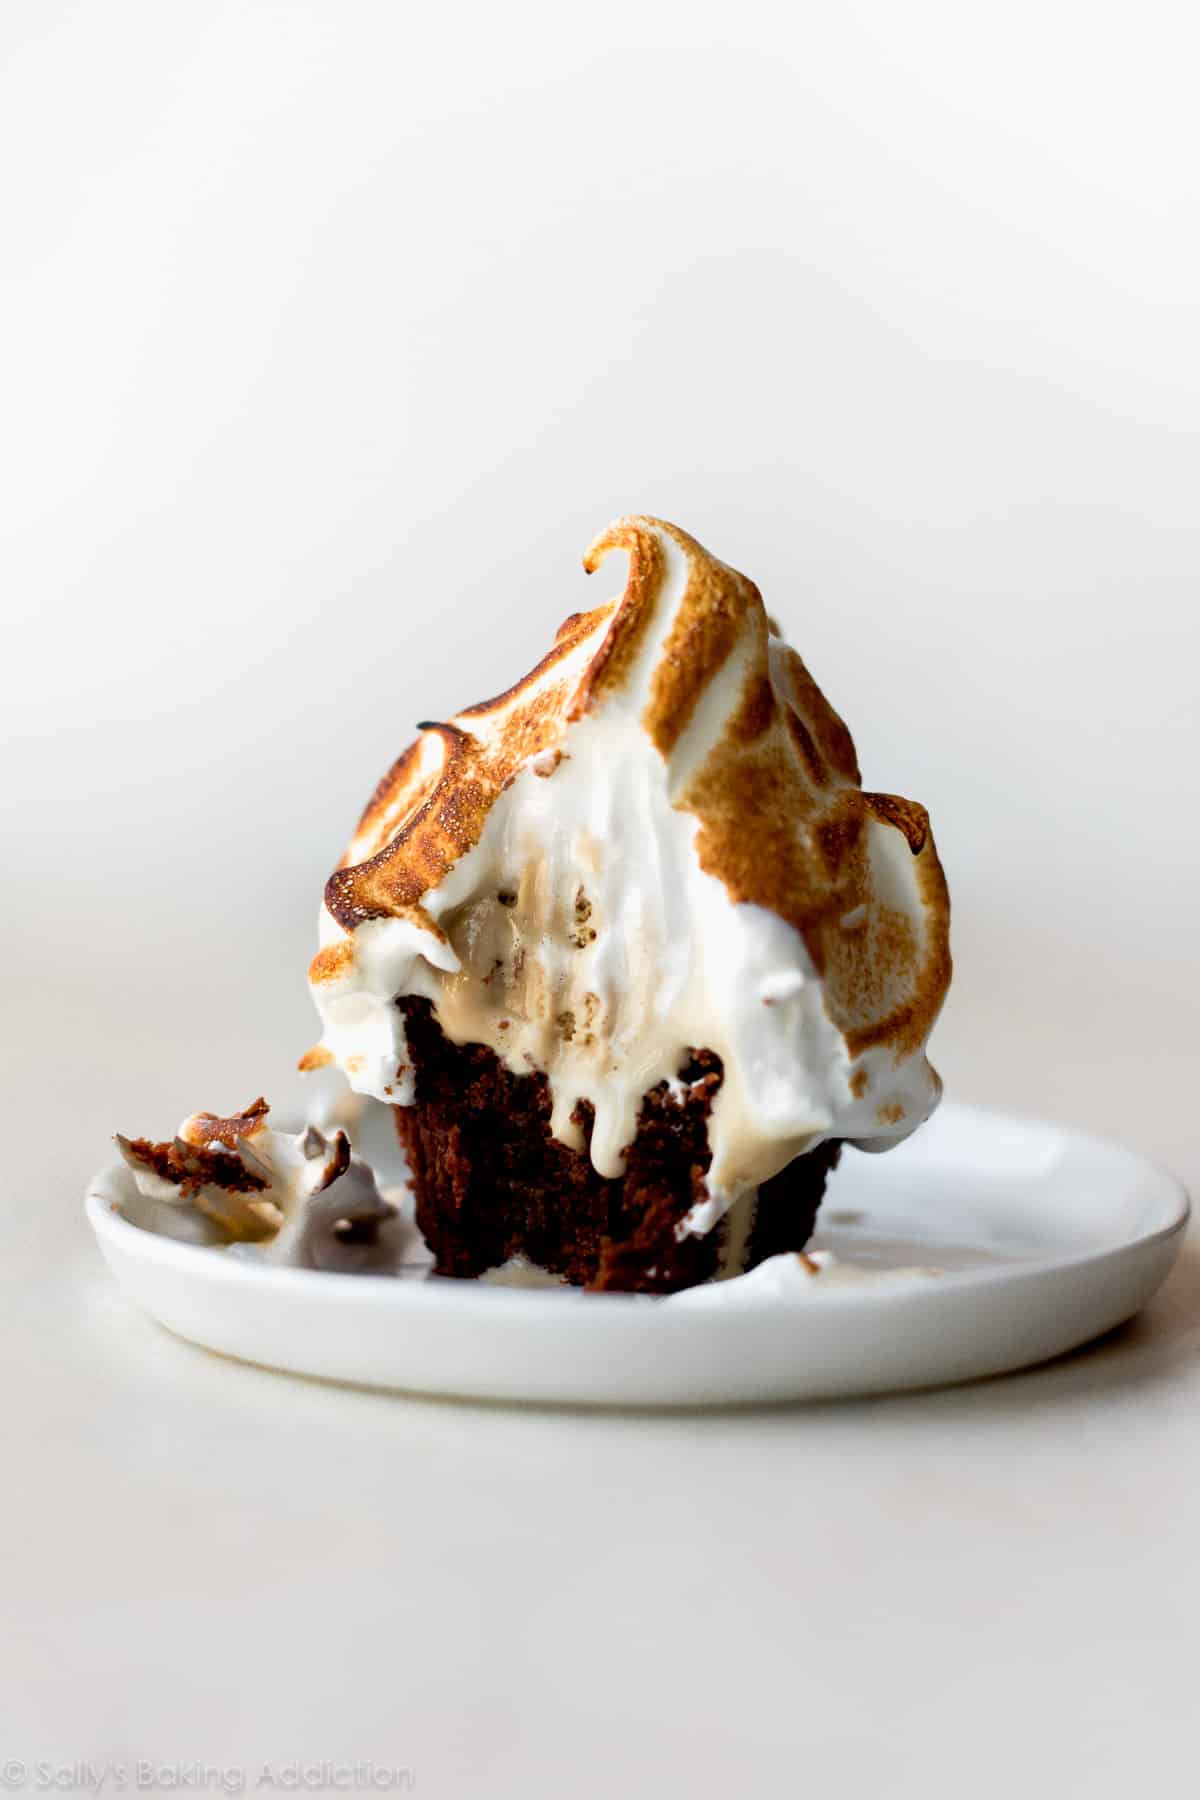
Baked Alaska, the big guy or the smaller cupcake version, is wildly fun. If you’re looking for a unique dessert with a mega wow factor, this one’s it. Everyone… and I mean everyone… will be impressed. You can begin preparing it a few days ahead and the meringue-covered Alaska holds up well in the freezer before torching/baking. And using your favorite ice cream flavor is an awesome way to customize it for your crowd.
Baked Alaska Video Tutorial
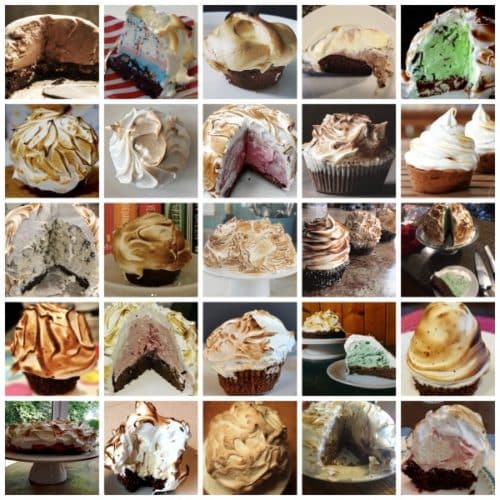
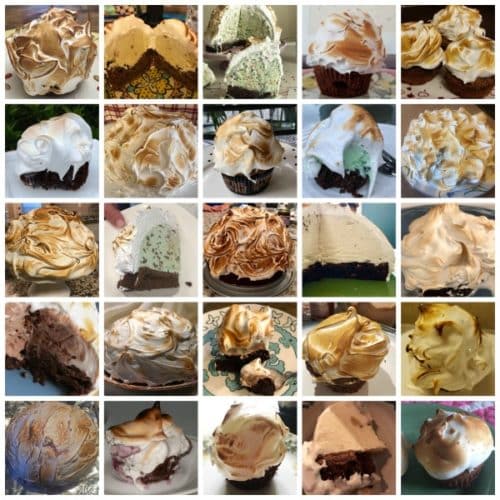
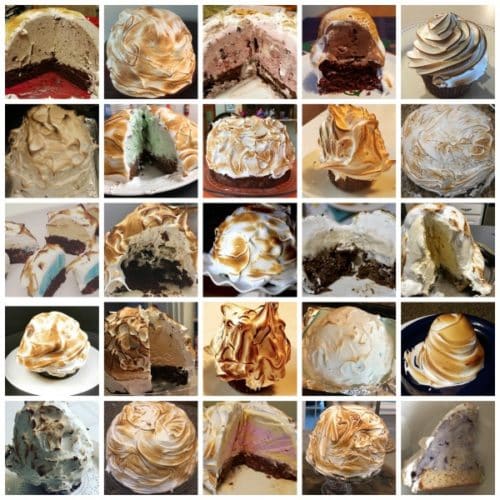
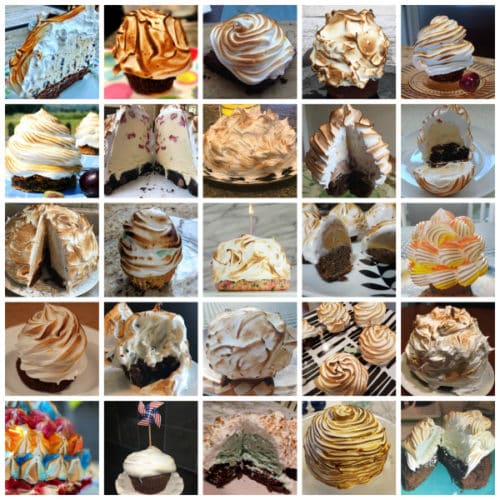
See Your Brownie Baked Alaskas!
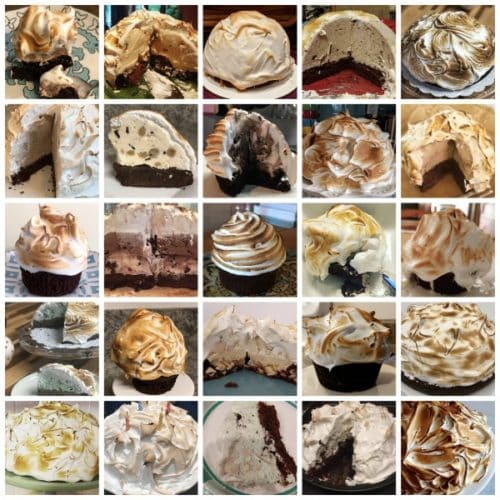
Many readers tried this recipe as part of a baking challenge! Feel free to email or share your recipe photos with us on social media. 🙂
Print
Brownie Baked Alaska
- Prep Time: 9 hours
- Cook Time: 40 minutes
- Total Time: 9 hours, 40 minutes
- Yield: serves 10-12
- Category: Dessert
- Method: Baking
- Cuisine: American
Description
Brownie baked Alaska combines fudgy homemade brownies with your favorite ice cream flavor and is topped with toasted marshmallow meringue for a truly memorable and impressive treat.
Ingredients
- Two 1.5 quarts any flavor ice cream*
- enough brownie batter for 9-inch pan (I suggest this Nutella brownies recipe or this chewy fudgy frosted brownies recipe (without the frosting))
Meringue
- 4 large egg whites, at room temperature
- 1 cup (200g) granulated sugar
- 1/2 teaspoon cream of tartar
- 1/2 teaspoon pure vanilla extract
Special Equipment
- Kitchen torch (if you don’t have one, use the oven as directed in step 10)
- 9-inch 2.5 quart bowl (I recommend the one in this set)
- Plastic wrap/cling wrap
Instructions
- Please watch the video tutorial in the blog post to help guide you. Read the recipe in full before beginning as the ice cream is time sensitive.
- Remove ice cream from the freezer and allow to soften on the counter for 10 minutes. As it softens, line a 9-inch 2.5 quart bowl (I recommend the one in this set) with plastic wrap with enough overhang to easily remove the ice cream as a whole once it’s frozen.
- Scoop softened ice cream into another large bowl and using a handheld or stand mixer fitted with a paddle attachment, beat until creamy. Spread ice cream into prepared lined bowl. Cover with plastic wrap and freeze for 8 hours and up to 3 days. I freeze it overnight. The longer it’s frozen, the sturdier the cake and neater the slices.
- Preheat oven to 350°F (177°C). Grease a 9-inch round cake pan, line with a parchment paper round, then grease the parchment paper. Parchment paper helps the brownie seamlessly release from the pan. (If it’s helpful, see this parchment paper rounds for cakes video & post.)
- Pour brownie batter into prepared cake pan and bake for 32-38 minutes or until a toothpick inserted in the center comes out mostly clean without any wet batter. (This chewy fudgy frosted brownies recipe is thick and could take a little longer in your oven.) Allow to cool completely in the pan. Once cool, run a knife around the brownie edges, then invert the pan to fully release the brownie as a whole.
- Remove bowl of ice cream from the freezer. Peel back the plastic wrap and place the brownie layer on top (which will be the base of the baked Alaska). Cover back up with plastic wrap and freeze for 30 minutes. (Make the meringue while you wait.)
- Make the meringue: Place egg whites, sugar, and cream of tartar in a heatproof bowl. Set bowl over a saucepan filled with two inches of simmering water. Do not let it touch the water. (You can use a double boiler if you have one.) Whisk constantly until sugar is dissolved, about 4 minutes. Transfer the mixing bowl to an electric mixer fitted with a whisk attachment. Add the vanilla. (FYI I forgot to add it in the video!) Beat on high speed for 5-6 minutes until stiff glossy peaks form.
- If using the oven in step 10, preheat oven to 450°F (232°C) now.
- Remove ice cream/brownie from the freezer. Carefully remove from the bowl and peel off the plastic wrap. If using a kitchen torch, invert onto a heatproof serving plate or cake stand. If using the oven, invert onto a baking sheet lined with aluminum foil.
- Spread meringue all over the ice cream, completely enclosing it. Use a spoon to create big peaks and swirls. Make sure there is absolutely no ice cream peeking out. If using the kitchen torch, toast the entire meringue topping. If using the oven, bake in preheated oven for 4-5 minutes until toasted.
- Use a sharp knife (I suggest a serrated knife) to cut thin slices and serve immediately. Store leftovers in the freezer.
Notes
- Make Ahead Instructions: Step 3 can be prepared up to 3 days in advance. Brownie base can be prepared up to 3 days in advance as well. Cover and store at room temperature. My recommendation for making ahead is to assemble the entire brownie baked Alaska with meringue topping, freezing for up to 1-2 days, then torching or baking right before serving. The meringue covered Alaska holds up wonderfully in the freezer and your guests will love to watch the meringue toast! The brownie will be pretty hard, but warms up quickly as you begin slicing.
- Special Tools (affiliate links): 9-inch 2.5 quart Bowl (I recommend the one in this set) | Electric Mixer (Handheld or Stand) | 9-inch Round Cake Pan | Double Boiler | Kitchen Torch
- Ice Cream: Ice cream is sold in 1.5 quart containers. You need 2 for the full baked Alaska. If making the baked Alaska brownie cupcakes, you only need 1. See next recipe note for baked Alaska brownie cupcakes.
- Cupcakes: To make baked Alaska brownie cupcakes, line 12-count muffin pan with liners. Pour brownie batter evenly into each, filling about ¾ full. Line a 2nd muffin pan with liners if there’s extra batter. (This Nutella brownies recipe makes about 14 and this chewy fudgy frosted brownies recipe makes about 18.) Bake either recipe for 22-26 minutes or until a toothpick inserted in the center comes out mostly clean without any wet batter. Allow brownie cupcakes to cool completely (in the pan or out of the pan, doesn’t matter!). Once cool, unwrap each. Make meringue as directed in step 7. Top brownie cupcakes with a scoop of ice cream. Continue with step 10.


I was wondering if I can use a 9 inch almond cake instead of brownie.
Hi Marta, we haven’t tested it, but you can certainly give it a try. Traditional Baked Alaska has a sponge cake on the bottom, so we imagine it should work well. Let us know how it goes!
Can you use frozen custard or will that be more prone to melting than regular ice cream?
Hi Leah, that may work, but I haven’t tested it.
If making ahead tge meringue covered Alaska should it be covered in a cake saver until time to be torched? Thank you
Hi Trish, see the recipe notes for make ahead instructions. Enjoy!
Really delicious! I used Ghirardelli brownie mix, replacing the water with Kahlua, then used Haagen Dazs coffee chip and raspberry sorbet. I did have a bit of trouble getting the bowl off the frozen brownie/ice cream so wound up using a blowdryer to soften it a bit. The bowl then came right off!
Can I use a stainless steel bowl to make the ice cream mold? I am bringing ingredients & equipment on plane to make on a trip and do not want to use glass.
That’s not a problem at all!
My Brownie Baked Alaska came out perfect. I made a few modifications: in-between the layers of mint chocolate chip and vanilla ice cream I added layers of crushed Oreos with hot fudge (not chocolate syrup.) it took more time to freeze in-between layers, but it was oh so worth it. I also used 1 1/2 times the recipe for the meringue, to cover the 9” diameter cake some. It was an instant hit.
Hi. I really enjoyed the recipe but I have one quick question. When I cut it after toasting it in the oven, the meringue slid off the ice cream as it melted. What is the secret to keeping the meringue on the ice cream as you cut and serve? The entire ice cream and brownie were covered in meringue so it wasn’t that. I am hoping to serve this to company if I can get it to stay together, so thank you for your help.
Hi Colleen, This can happen if the ice cream begins to melt. Make sure that the ice cream is completely frozen before torching/browning the meringue and then serve it right away so that it doesn’t have long to sit out. You can even freeze entire brownie baked Alaska with meringue topping for up to 1-2 days, then torching or baking right before serving. Hope this helps!
Wow!! Thank you for that tip of freezing then touching.
Delicious but man is that frozen brownie hard to cut. Almost not worth it for the effort! Would definitely make this again but in the cupcake form. The meringue is perfection!
I made this last year for my daughter’s birthday and it turned out fabulously. Of course we were at home and I was able to put the meringue on and torch it right away. This year, she requested it again we were going to a friend’s house for the party. I did the ice cream the day before so it had plenty of time to freeze them did the brownie & meringue the day of. After putting the meringue on i popped it back out the freezer to try to keep everything solid, but the meringue kept sliding down. I kept having to try to shift it back up the slope to cover the ice cream with likely deflated some of the meringue. I’m not sure what went wrong. Could I have possibly not gotten it stiff enough? They looked pretty stiff to me. Should I have kept the meringue off the ice cream until it was time to serve?It still tasted good, but was definitely a bit drippy.
Hi Jeanine, I’m so glad to read that you enjoy this recipe. It’s one of my favorites for special occasions! I wonder if you didn’t whip the meringue long enough and therefore it wasn’t quite as stiff as intended. For best results (and looks!), it’s probably best to add the meringue topping as close to serving as possible.
I’m on the hunt for a WARM brownie baked alaska, is that possible??!
I’ve made this a bunch of times and it’s come out perfectly! However upon freezing the bowl of whipped ice cream the plastic sticks to the ice cream and is hard to remove after 8 hours (or overnight) in the freezer. Should I spray the plastic with coming spray prior to covering? I just don’t want it to effect the taste of the ice cream.
Can I use 7 minute frosting (cooking and beating in the double broiler for 7 minutes) instead of swiss meringue where the beating is done off the heat? I’ve never tried torching or freezing anything with my 7 minute frosting.
Hi Carol, you can use your recipe for 7 minute frosting. That shouldn’t be a problem at all.
Hi Sally. I would have the baked Alaska for tomorrow, so I make today the brownie cake and prepared the ice cream. Can I make ahead the meringue and assemble tomorrow?
Hi Maria, see make ahead instructions in recipe notes for our recommendations on making the meringue ahead of time. Enjoy!
I love this recipe! I bake my brownie batter in a springform pan and, when cool and still in the pan, I add the ice cream on top and freeze them together. The springform pan makes it a breeze to release and add the meringue for torching.
Totally makes sense!!! This makes several steps into one.. Trying this for our belated Christmas. It was a covid attack for most of us. All better now. My kids and grandkid’s have never heard of this amazing dessert..
What temperature do you recommend when using oven browning method if brownie base, ice cream, and merangue were prepared and frozen one day in advance?
Hi Hayley – the same temperature as stated in the recipe (450°F/232°C) will work with the frozen meringue as well.
Thanks!
It worked wonderfully!
It was a hit! There was a very happy Birthday girl!
hi sally,
I had already put the meringue on the full cake with brownie and everything… I followed the instructions to but it still melted. I tried it again with a blowtorch and it worked.
lol
If you brown this in the oven, you have to make absolutely sure that the meringue completely seals the ice cream. Even one little tiny opening between the meringue and the ice cream and the cake will allow the ice cream to heat up and melt.
my ice cream completely melted in the oven don’t now what I did wrong
The recipe directions say to invert the cake onto a foil lined sheet and put it in the oven for 5 minutes. This gives the impression that the cake absolutely does go in the oven? The video tutorial doesn’t show the oven option, just the blow torch.
Hi Kelsey, it looks like a team member read that question wrong– using the oven in step 10 is optional. In the video, I use a blowtorch. Sorry for any confusion.
This looks really good, and perfect for the hot Minnesota heat… Do you think that I could use a cake layer for the bottom or would a brownie layer be best?
And Sally, thank you so much for another amazing coffee break! My daughters (Who use your website 24/7) are always on the look out for them and as soon as they saw your new puppy they kept commenting on how cute that pup was!
Thank you,
Klailea O.
Can i use the candy bar blondie recipe (minus the candy bars) for the base?
Hi Dave, we haven’t tested the recipe that way to be certain. Let us know if you do.
I am planning to make this recipe one day in advance, mirangue and all, and am wondering if i need to cover it in the freezer? I will torch it tomorrow. Thank you!! Your recipes are always the best!
Hi Heather, We don’t cover it – for just one day in the freezer, it’s been perfectly fine!
Love this recipe.
I made this partially for the 2021 June Baking Challenge and partially for a birthday celebration-and it was divine! The preparation was so so so easy and it was really quick and easy to follow. I loved the look of the torched meringue. Everybody was incredibly impressed when I brought it out. Thanks for such amazing recipes, Sally! I will totally make this again!
Sally I love your recipes! I’m planning to try your brownie baked alaska cupcakes. I’d like to freeze and take a few days later to the beach and surprise friends with this. What do you recommend in terms of freezing/storing to take on the 5 hour road trip to the beach? I will bring a kitchen torch to flame there. I can transport in a box with dry ice. curious about best way to wrap each individual cupcake.
Hi Monica, how about transporting all the frozen, completed cupcakes in a large tupperware? Using the dry ice or a cooler is also great. Then you can put them on a plate once you are ready to torch and serve. Hope they’re a hit!
thank you. How doI best prevent freezer burn, and keep each from otherwise breaking or becoming damaged? Should I wrap each in plastic wrap and then freeze? thanks so much!
Hi Monica, you can certainly individually wrap them if you wish, although it’s not necessary if they’ll only be frozen for a short while.
I thought the brownie base froze too solid making a bit difficult to cut. I make a chocolaty salad dressing cake which freezes softer than brownies but firmer than sponge cake. The meringue is absolutely delicious! It’s my go to when ever I need meringue. Always a hit and my grandsons have requested Baked Alaska for their birthday cake three years in a row.