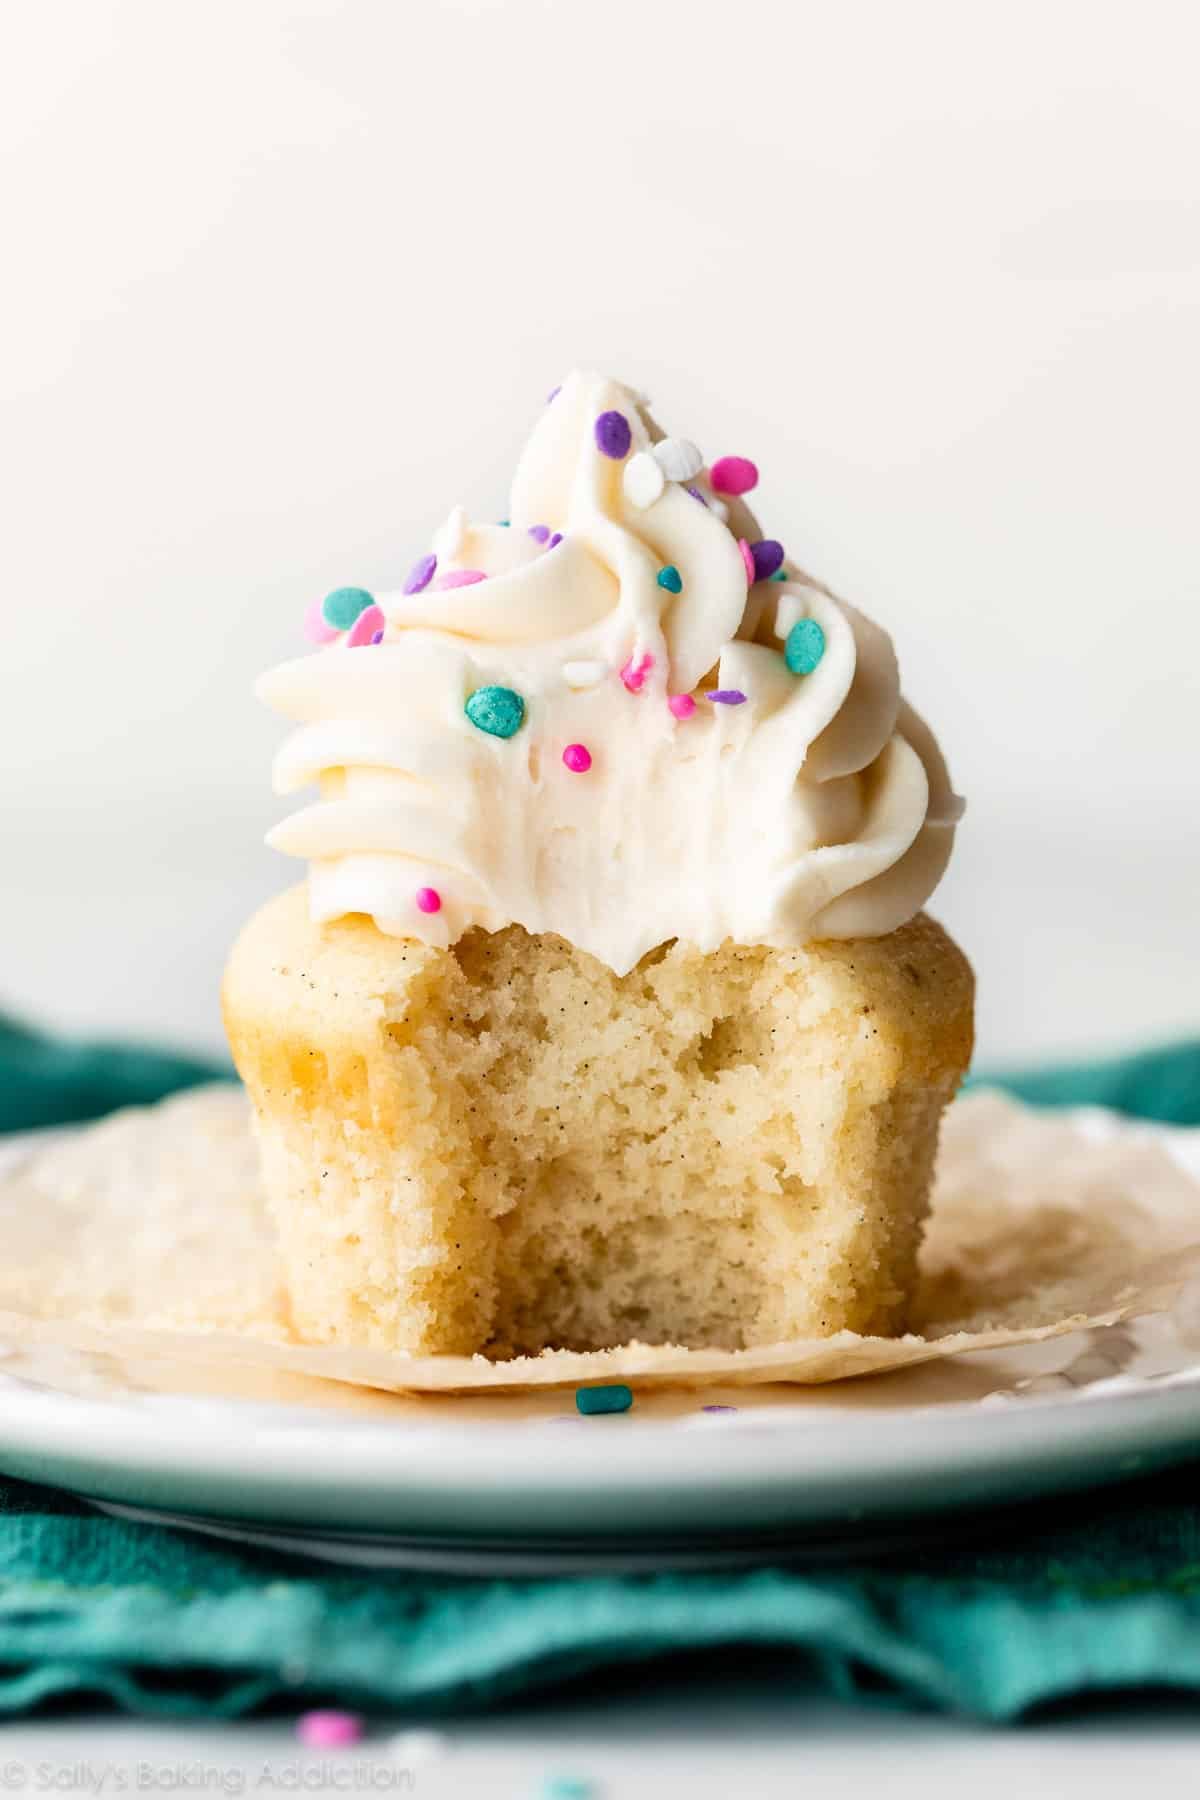
Recipe: Vanilla Cupcakes
With dozens of cupcake recipes published on my website and in my cookbooks, I figured it was time I shared my best cupcake baking tips together in 1 place.
I compiled a list of my top 10 tips and baking advice, all geared toward helping you bake a better batch. Get your ovens preheated, my friends, because you’ll have the baking itch after reading this!
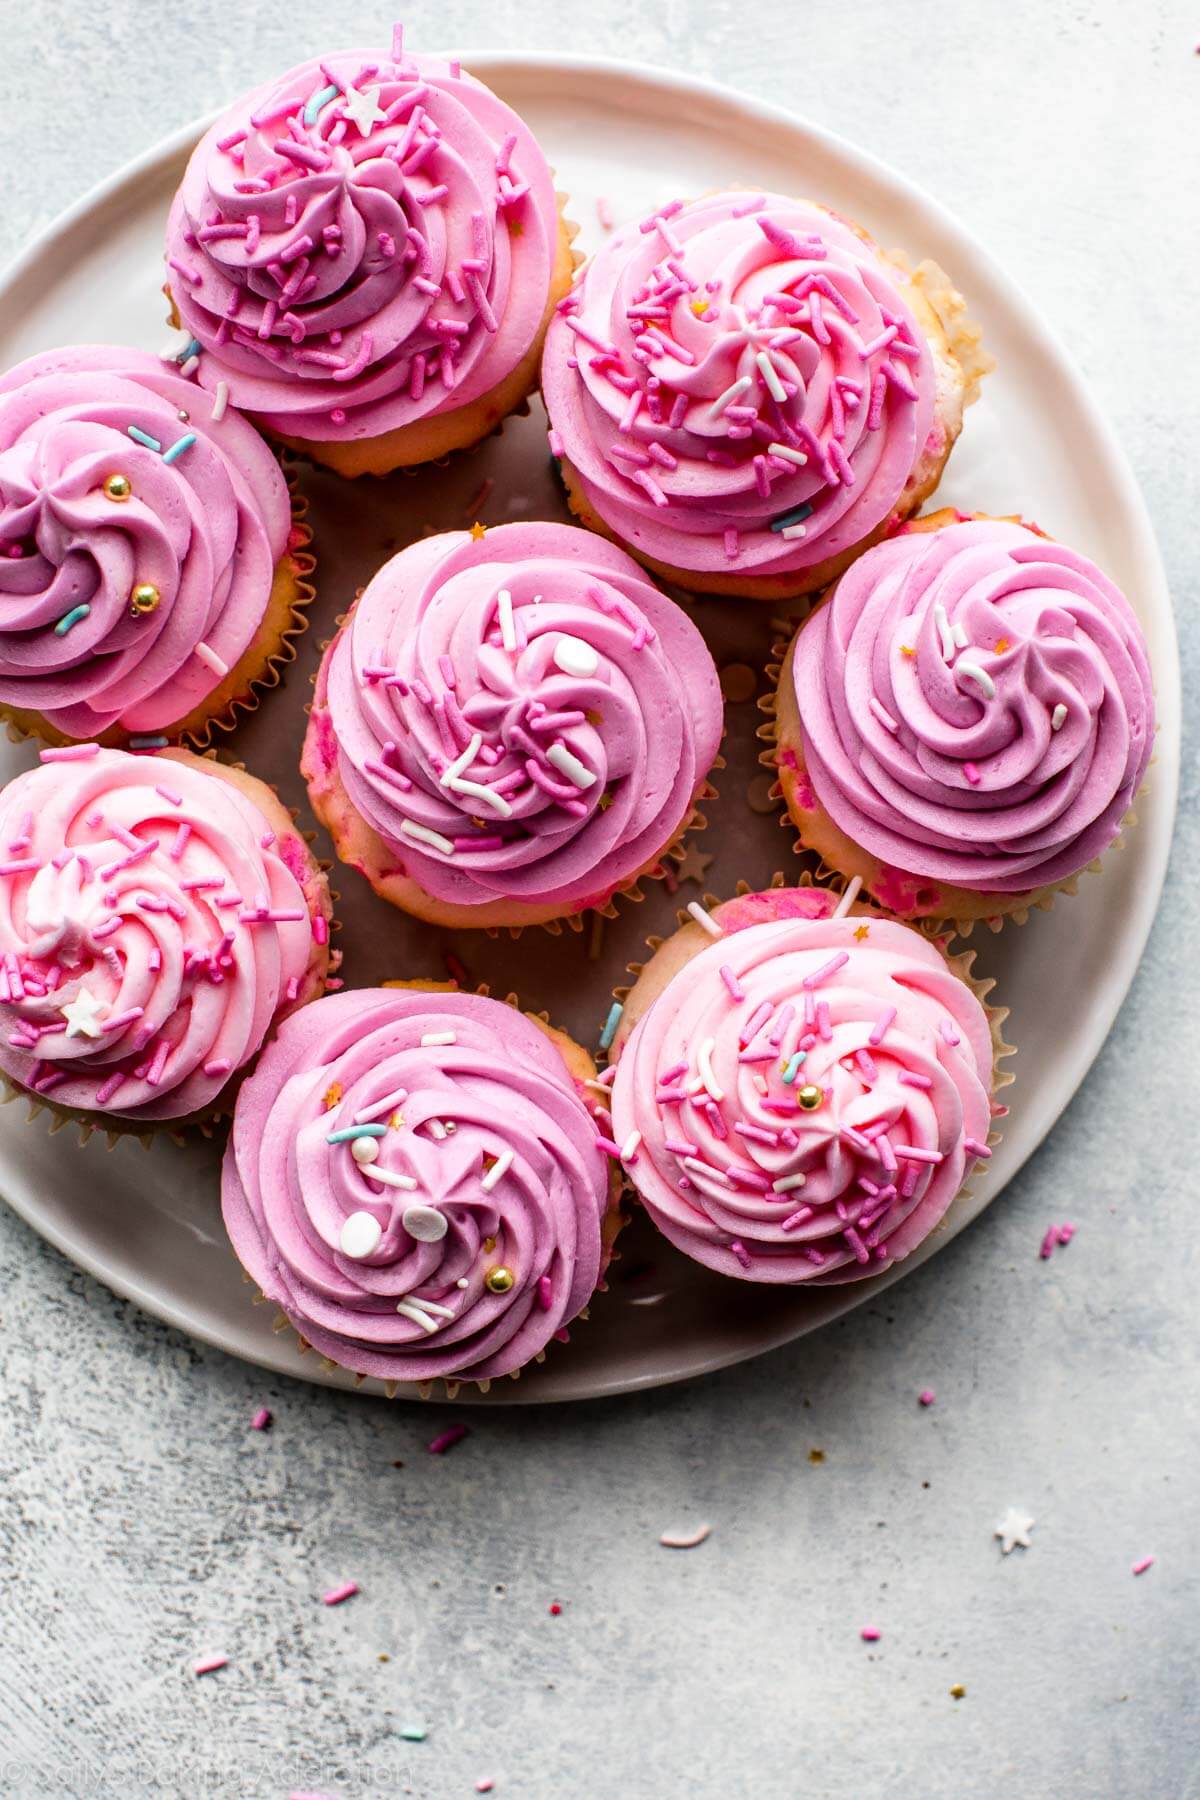
Recipe: Confetti Cupcakes with Pink Frosting
1. Follow the Recipe
Well, duh. This sounds pretty obvious, right? Well actually… no! We often substitute ingredients in recipes based on what we have. Subbing out eggs, reducing sugar, using liquid sweetener instead, all-purpose instead of cake flour, baking soda for powder (no! don’t do it!), egg whites instead of whole eggs, etc. I do not recommend doing this unless the recipe states. Don’t sabotage your time, effort, and money! Ingredients are needed for a reason and, more often than not, a cupcake recipe fail is because the recipe wasn’t properly followed. I’m guilty too!
I always recommend following a recipe the first time you try it, then making alterations as you see fit the next time.
2. Room Temperature Ingredients
This one could get a little too long so I’m just going to direct you to my entire post on why room temperature ingredients are important. To sum it up: “room temperature” isn’t listed next to ingredients for fun. There’s science and legitimate reason behind it. If a recipe calls for room temperature ingredients, use room temperature ingredients. See the article I linked in this paragraph for more explanation. 🙂
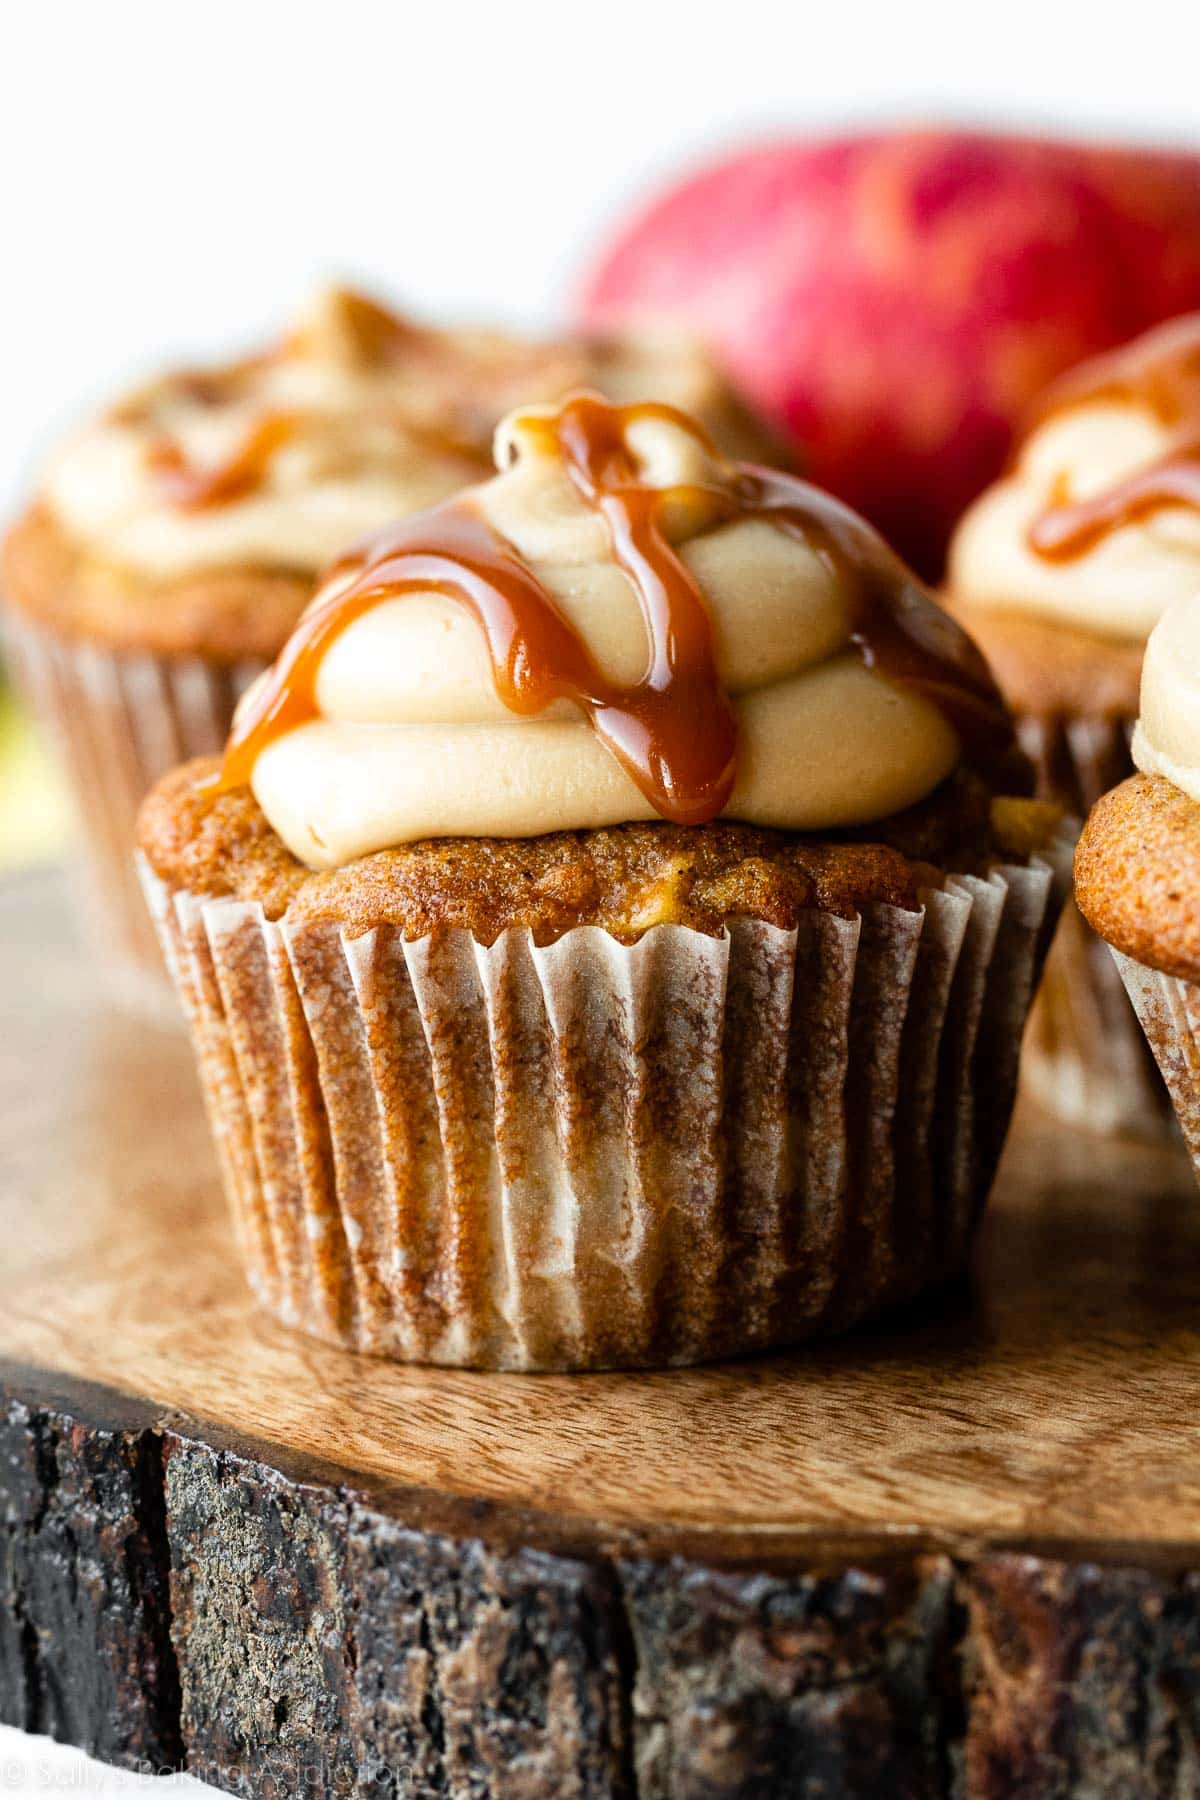
Recipe: Apple Cupcakes with Salted Caramel Frosting
3. Don’t Over-mix, Don’t Under-mix
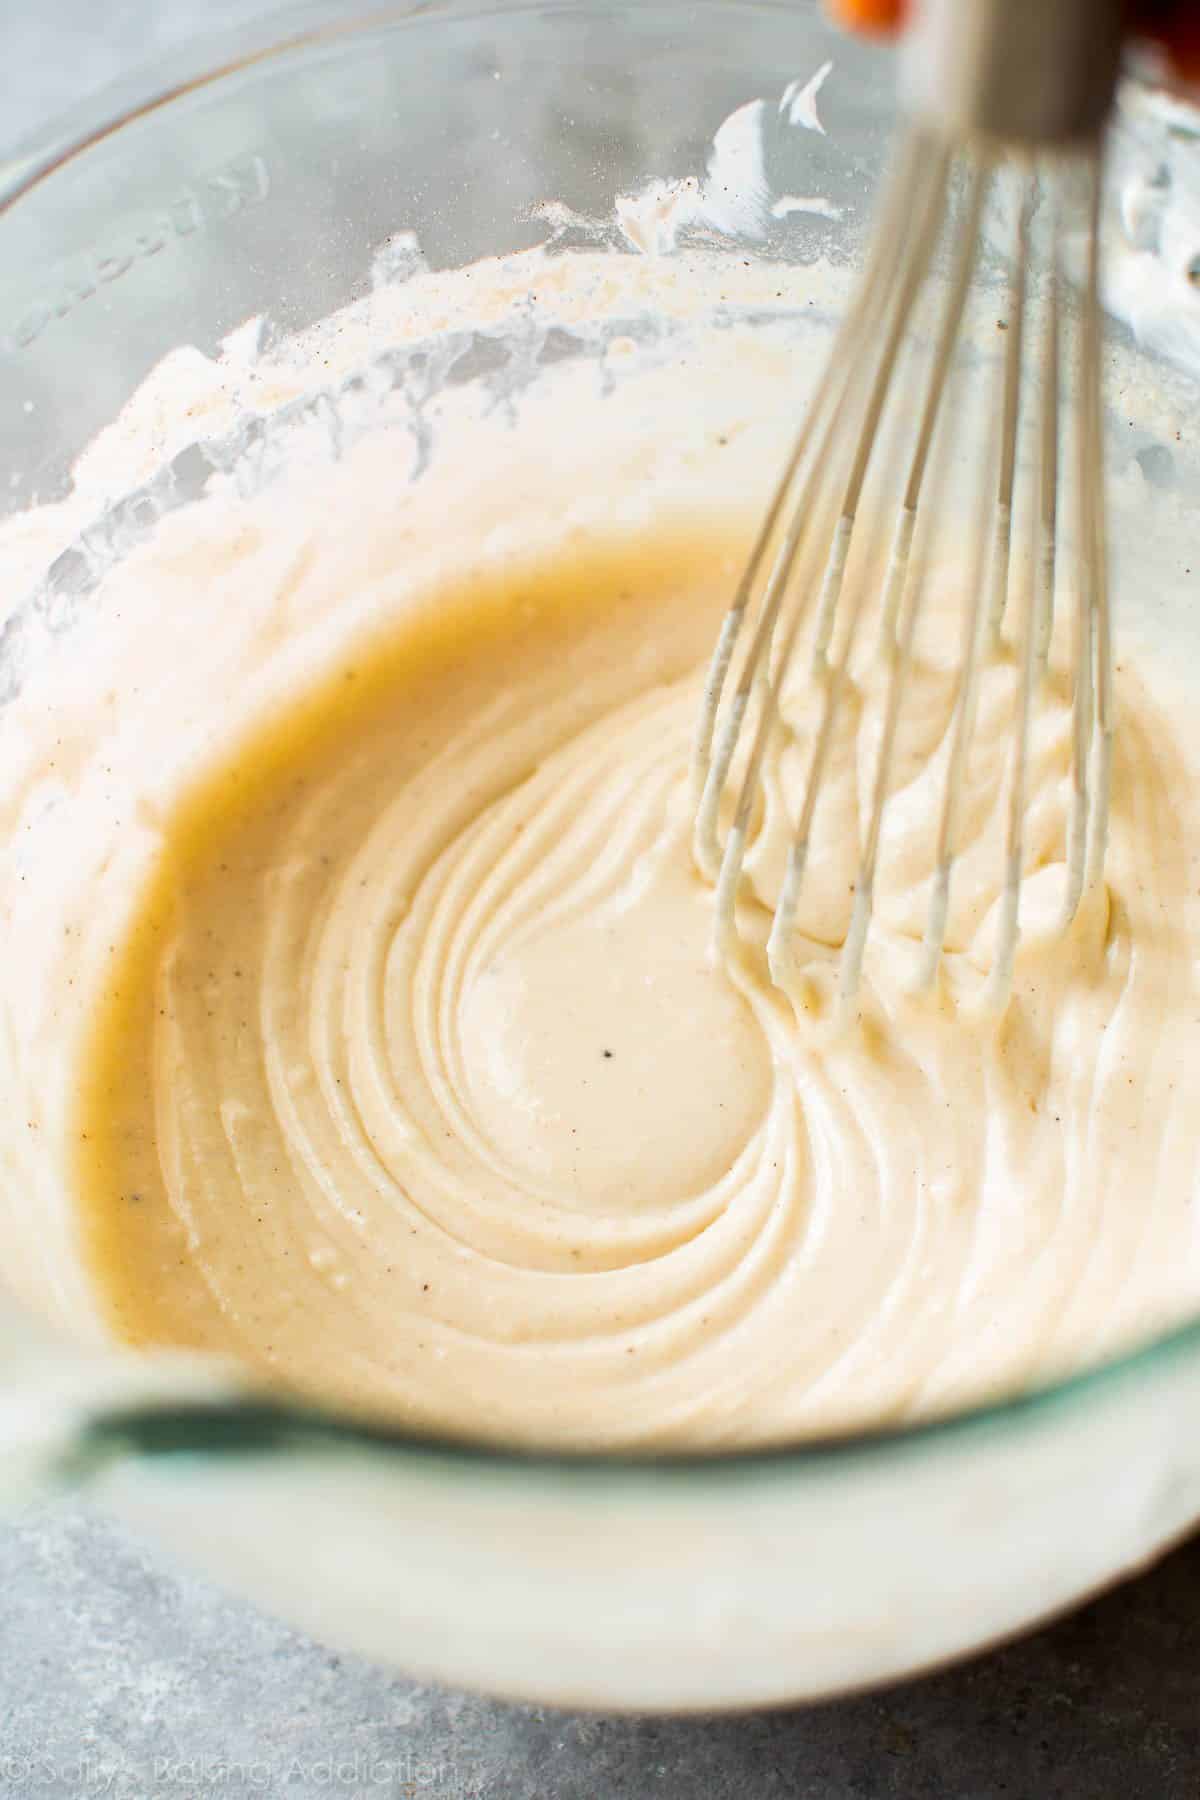
Not too much, not too little. Make sure you’re mixing the cupcake batter together *just until* the wet and dry are combined. Overmixing batter, whether that’s for cakes, cupcakes, breads, muffins, etc, lends a tough-textured baked good. Don’t turn on the mixer then leave the room. Goodness no!
Not to get all NERDY on ya or anything (hi, have we met?) but if you overmix the batter, you run the risk of over-developing the gluten. This results in squat-looking cupcakes, dense-textured cupcakes, and heavy-tasting cupcakes. Mix just until there are no more pockets of flour. And maybe a few more seconds to rid any big lumps.
Likewise, don’t undermix—obviously we want all of the ingredients incorporated together.
4. High Quality Cupcake Liners
Did you know that a cupcake liner is kind of a big deal?!?! Seems silly, right? I started using higher quality + grease-proof liners a few years ago. My cupcakes stopped sticking to the sides of the wrapper (ugh I hated that!!) and the liners no longer oozed grease. If the cupcake liner feels cheap, it probably is cheap. I swear by these parchment paper liners or any quality liners labeled “grease-proof.”
For a little pizazz, I love these!!
5. Fill Cupcake Pans Appropriately
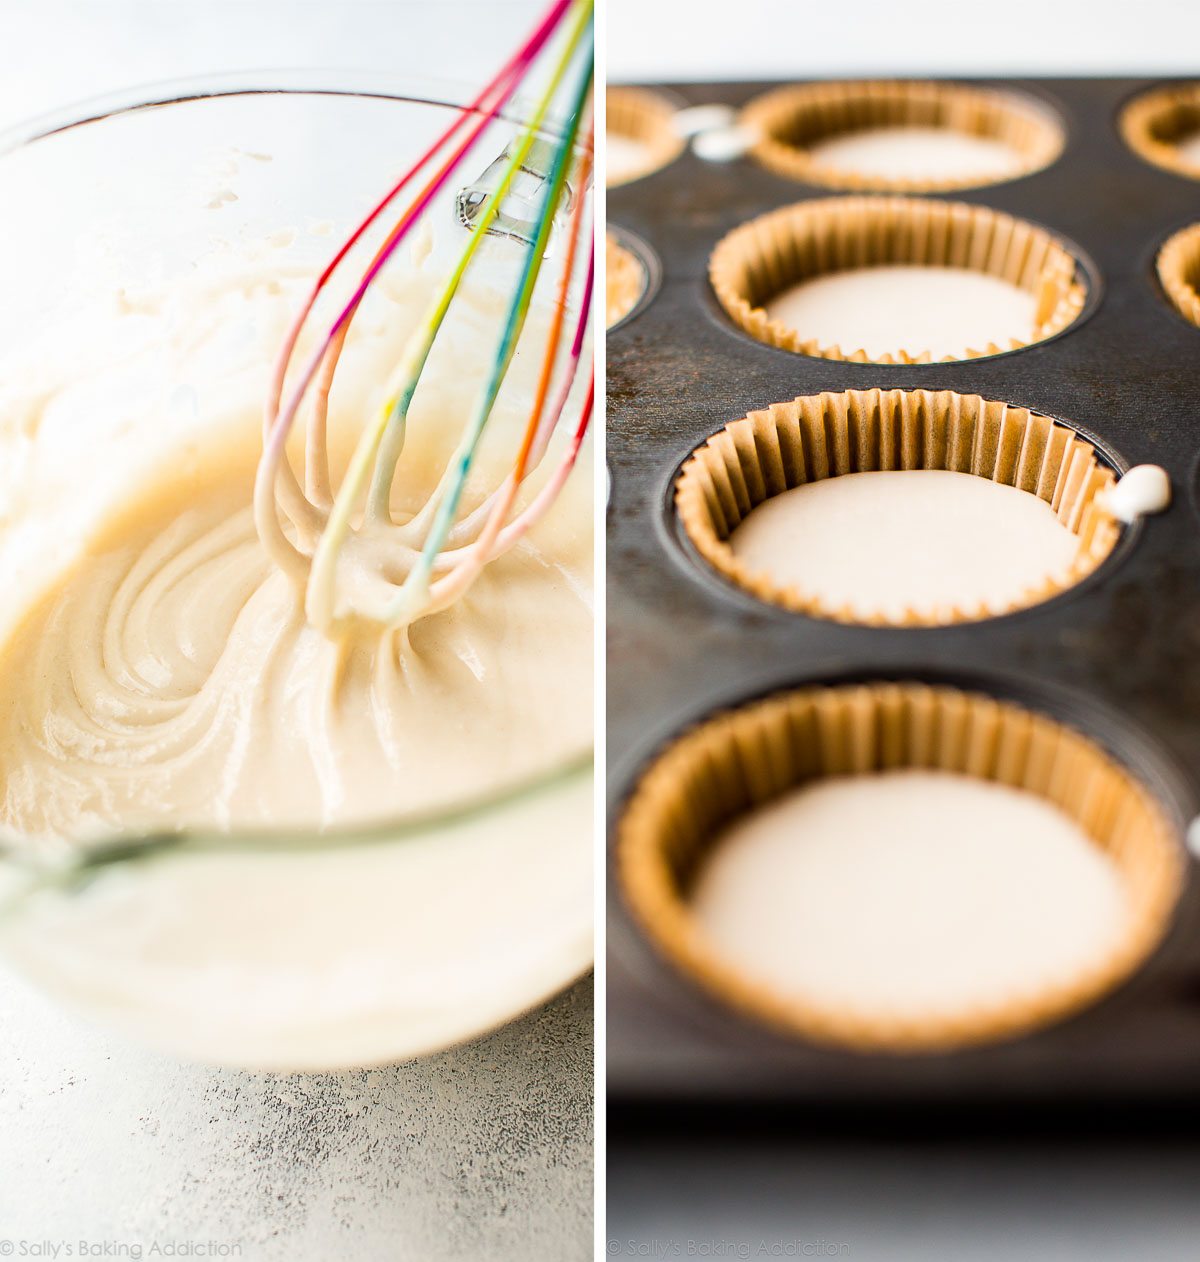
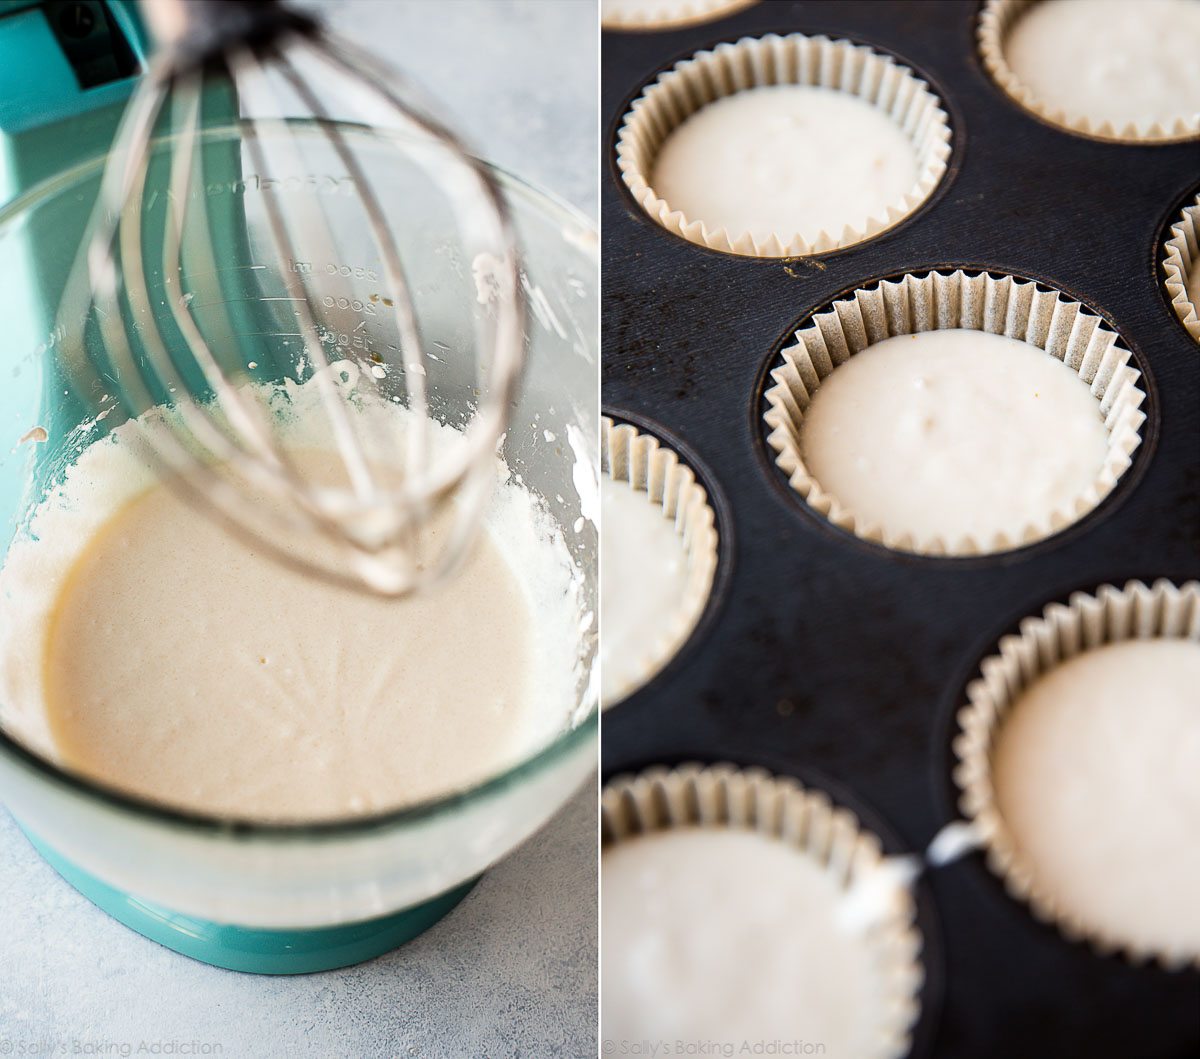
Did you know this one simple step can make or break your batch? It’s often something we overlook completely—just pour/scoop batter into the cupcake wrappers and bake. Well, depending on the recipe, you could be over-filling or under-filling the liners. This leads to:
- cupcakes that rise up, then sink
- cupcake “mushroom tops”
- overflowing
Unfortunately, most recipes don’t tell you how far to fill your liners. My general rule? 2/3 full (about 3 scant Tablespoons). All of my cupcake recipes turn out when filled this high—with the exception of my chocolate cupcakes. 1/2 full is imperative there!
If the batter is very thin, use a bowl that has a spout and pour the batter into each cup. If the batter is thick, use a large spoon or an ice cream scoop if you prefer.
6. Oven Thermometer, Every Time
Unless you have a brand new or regularly calibrated oven, your oven’s temperature is likely inaccurate. Isn’t that crazy?? When you set your oven to 350°F, it might not really be 350°F inside. It could only be off by a little—10 degrees or so. Or more than that—100 degrees or even more. While this might not seem like a big deal to you, it is a huge problem for baked treats!
A temperature mismatch results in dried-out baked goods. Burnt uneven cakes and cupcakes. Heavily browned or undercooked in the centers. And as you know, when it comes to baking, accuracy is everything; there is little room for error. Having an oven whose temperature is off can ruin your baked good, not to mention the time, energy, and money spent. The inexpensive remedy is an oven thermometer. Place it in your oven so you always know the actual temperature. Trust me!
Do you have a convection oven? Read #7 in my best baking tips.
7. 1 Batch in the Center
Only 1 batch at a time in the very center of the oven. I know that sounds crazy!! But my reason is because you get the best possible results when the oven only concentrates on that 1 batch. If you absolutely need to bake more than one batch at a time, make sure you rotate the cupcake pans from the top rack to bottom rack a couple times in the baking process to encourage even browning. And turn the pans around as well. Ovens have hot spots!
But if you’re only baking 1 batch: center of the oven. That’s the oven’s magic spot.
Recipe: Lemon Blueberry Cupcakes
8. Bounce-Back Test
You can determine if a batch of cupcakes is done in the oven by testing with a toothpick, right? You know, sticking a toothpick into the center of the cupcake and if it comes out clean, they’re done? Sure that works. But here is what I always do instead. And you don’t need to waste time and fumble around for a toothpick!
Remove the cupcakes from the oven or leave them in, your choice. Gently press down on the cupcake. If the cupcake bounces back completely, they are done. If your finger left a dent in the cupcake, they need more time. So easy. I always do this!
And this nifty little trick can be used on muffins as well.
9. Allow to Cool Completely
This sounds like a no-brainer, but we’re often in a rush—myself included. Especially when I need to photograph a cupcake recipe! Decorating cupcakes before they are completely cool is, well, a recipe for disaster. The frosting will melt. Whenever I need a batch of cupcakes to cool down on the fly, I let them cool for 10 minutes inside the cupcake pan. Then I remove them from the pan and stick each cupcake in the freezer for about 20 minutes. They’re cool and ready for decoration. Easy and quick.
10. Store Properly
Unfrosted cupcakes are wonderful left at room temperature for a few days. Cover them tightly and they’ll stay soft, moist, and fluffy until you’re ready to decorate them. After you frost them, they’re OK for a day or two at room temperature, but should be refrigerated after that. I always let cupcakes come to room temperature before serving. The cupcake itself tastes best that way!
Traveling with cupcakes? I love this cupcake carrier. Sturdy, tall tops (for tall frosting!), and keep the cupcakes in place.
Recipe: Cream-Filled Chocolate Cupcakes
Make your next batch your BEST BATCH!
Further reading:
- My 10 Best Baking Tips
- Top 5 Cookie Baking Success Tips to Improve Your Next Batch
- How to Properly Measure Baking Ingredients
- Why Room Temperature Ingredients Make a Difference
- Stock Your Kitchen with These 8 Best Baking Pans
- 14 Best Baking Tools Every Baker Needs


Which flower is best for cupcakes? Ap Bleached or un bleached need answer as ap as Im hungry for the desserts LOL
Hi Debbie, we prefer to use unbleached flour, but bleached flour will work as well for recipes that call for all-purpose flour.
I would love to make these with the miniature cupcakes pan. What adjustments in baking do I need to do this?
Hi Laura, mini cupcakes typically bake for 11-13 minutes at the same oven temperature.
Hi! My oven has both a “Bake” feature and “Convection Bake”. From what I have read convection bake can remove moisture which isn’t ideal for baked goods so I typically use the bake feature but would love to hear your opinion on which one you find is better! Thanks!
Hi Paige! We always recommend conventional settings for baking (not convection/fan). The flow of air from convection heat can cause baked goods to rise and bake unevenly and it also pulls moisture out of the oven. If you do use convection/fan settings for baking, lower your temperature by 25 degrees F and keep in mind that things may still take less time to bake. Hope this helps!
Thank you for this great information! I love your website and will be trying some of your cupcake recipes!
Happy baking, Debbie! Here are all of our cupcake recipes for browsing. Let us know what you try first!
Have you used the tulip cupcake liners? I am thinking of purchasing the grease proof ones to bake for a wedding dessert buffet. Any tips or concerns with these?
PS Love your site. It is the only place I go for baking recipes. I have made the lemon blueberry cake and cupcakes. Rave reviews from friends. Thanks 🙂
Hi Lori, tulip cupcake liners should work just fine! Be sure to purchase high quality cupcake liners — the better the quality, the better they will look and should not become greasy. Thank you so much for making and trusting our recipes!
Hello
I love you website and your recipes you’re doing great! My question is why is my cupcakes getting wet and sticky after baking
I had to level my oven after my kitchen was remodeled. I noticed that my cakes were not even on top. I will try your recipe for the pumpkin cupcakes. My autistic son loves everything pumpkin. I love to bake and I took all of the Wilton classes on cake decorating. This is my hobby baking and decorating. Thanks for the info and the recipe.
With a cake recipe and doing it as cupcakes would the recipe need to be modified in anyway or will it work vice versa
Hi Aisha, Cupcake batter that produces about 12-15 cupcakes is the perfect amount for a 3 layer 6 inch cake. You can essentially turn any batch of cupcakes into a small layer cake. You may find this post helpful!
Hi Sally,
this is not as much of a comment as it is a question. Do you have any tips for cake/cupcake photography?
Thank you.
Hi Raegan! Here’s a helpful post with lots of photography tips 🙂
Hello,
Let me first begin by saying thank you for having a trusted and tested website that always produces a delicious baked product when instructions and tips are followed.
This is very helpful since my daughter and I are beginner bakers and your website gives us the confidence to make a delicious dessert.
I am emailing you to ask for your help.
We would like to make your strawberry shortcake cupcakes in a jumbo size muffin pan.
Can you help us with those measurements?
We have made this recipe before and would like to make them again in a jumbo size muffin pan for 6 cupcakes, not one jumbo cupcake.
Thank you so much for your time and assistance,
Hi Falecia, We are so happy to hear that you both have been enjoying the website and recipes! You can certainly use that batter for jumbo size cupcakes but we are unsure of the exact bake time you would need. No change necessary to the recipe, just fill your jumbo liners about 2/3 full. Keep your eye on them and bake until a toothpick inserted in the center comes out clean.
Hi. Just want to ask. I’ve followed a cupcake recipe on youtube. His batter is kind of liquidy but mine turns out thick. What might be the problem with it? Is that fine? Thank you.
Hi Carol, it’s hard to say when we don’t know the recipe. You may find this post on properly measuring baking ingredients helpful!
Hey! What rack level in the oven do you recommend baking cupcakes? Just curious 🙂
Thanks!
Hi Kate, we typically recommend the lower third section of your oven. Towards the bottom, but not the very bottom. Hope that helps!
Hi…. Do you double up on the baking cups? Thx!
Hi Tommy, We don’t double up. If you are using liners we highly recommend getting grease proof liners, as we’ve never had a problem with muffins or cupcakes sticking once we began using them.
My issue with the wrappers is completely different. All is fine with chocolate cupcakes. But when I make white cupcakes the wrapper falls away from the cupcake when they cool. Any idea why?
Hi Jen, when cupcakes peel away from the wrapper, it’s usually because they are under baked. For next time, try leaving them in a minute or two longer. Sometimes, it’s simply the brand of cupcake liners.
Thank you for the tip on quality cupcake liners. Besides the cake sticking to the sides of the paper, I’m also always disappointed when I pick out a cute cupcake liner and then after it bakes the design is faded or barely noticeable. The link you shared were only brown paper liners. Do you know if they make the grease-proof liners in fun vibrant colors/designs? Also, what are your thoughts on the colorful silicone cupcake holders? Have you used those before?
Hi Lezlie, We love these cupcake liners for fun, vibrant colors. Silicone liners should be fine, but we haven’t tried them. Let us know how your cupcakes turn out if you do!
Hi Sally,
I need to bake 40 cupcakes for an event. Do you suggest baking one tray at a time(12pcs) or two trays at different levels? I have only one wire rack and one black tray in my oven, if that helps! Thanks.
Hi Sam, for the most even baking, we recommend baking on only one rack at a time. Otherwise, the cupcakes at different levels will bake and start to brown at different rates. Hope this helps!
Hi Sally,
What would you recommend reducing the time to when using regular batter and baking mini-cupcakes? Should the cups also be filled 2/3 full? Thanks – they’re always a hit!
Hi Miriam! It may depend on the recipe, but usually for mini cupcakes we bake for about 11-13 minutes, same oven temperature as stated in the full cupcake recipe. 2/3 full is a good rule of thumb.
Hi Sally! Love your recipes! I’m planning to make some cupcakes for a gathering, and a few people are gluten free. Have you had success with any specific flour replacements? I’ve used Bob’s Red Mill 1-for-1 in the past with okay success. Please let me know if you have any specific suggestions! Thank you!
Hi Patti, we haven’t tested our recipes with gluten free flour, but some readers have reported success using 1:1 flour substitutes (like Cup4Cup or Bob’s Red Mill 1:1 like you’ve tried in the past). If you make any GF cupcakes, let us know how they turn out!
I use King Arthur 1:1 gluten free flour and they come out great!!
I always have a problem trying to decorate cupcakes like you do on your page. What size tip do I need to get them to look like yours?
Hi Victoria! Here’s my post all about piping tips with a video tutorial for decorating.
I live at over 7000 ft above sea level. What changes do I need to make for high elevation? I have heard a lot more flour is usually needed. Is this correct?
I wish I could help, but I have no experience baking at high altitude. I know some readers have found this chart helpful: https://www.kingarthurflour.com/learn/high-altitude-baking.html
Hi! When doubling (or quadrupling) a cupcake recipe is it better to make the batter and then bake in batches or make batches of batter and bake each set as they are ready? Concerned what a wait would do to the batter.
Thanks!
Hi Clare, I always recommend smaller batches of batter. With too much batter not only does it have to sit for a while but you run the risk of over or under mixing.
Thank you for this post! I love the bounce-back test trick. I’ll need to try it next time! I made your yellow cupcakes last weekend and they were delicious, as always. 🙂 I had extras so I put them in a ziplock bag in the freezer. Will they still be good if I get them to room temperature? They are not frosted. Thanks!
Yep, I would thaw overnight in the refrigerator then bring to room temperature before frosting/serving.
You couldn’t be more spot-on with the necessity of an oven thermometer – I couldn’t believe how off my oven was (and of course, it’s off by a different amount each time…). The thermometer makes a world of difference!
Super nerdy question – Do you leave the batter on the counter while one batch is in the oven? Will exposure to air or being settled for 10ish give mixed textures in batches?
I will leave it on the counter for a short time while the first batch is baking! You can give it a quick gentle stir before filling the liners for a second batch if you think it has settled out.
I get extremely excited when you post something new! Thanks for the tips. I can’t wait to practice them out!
LOVE these tips, especially the one about the oven temp!! Also, thank you for reminding me to let things cool completely. The hardest part is waiting for that first taste! 😉