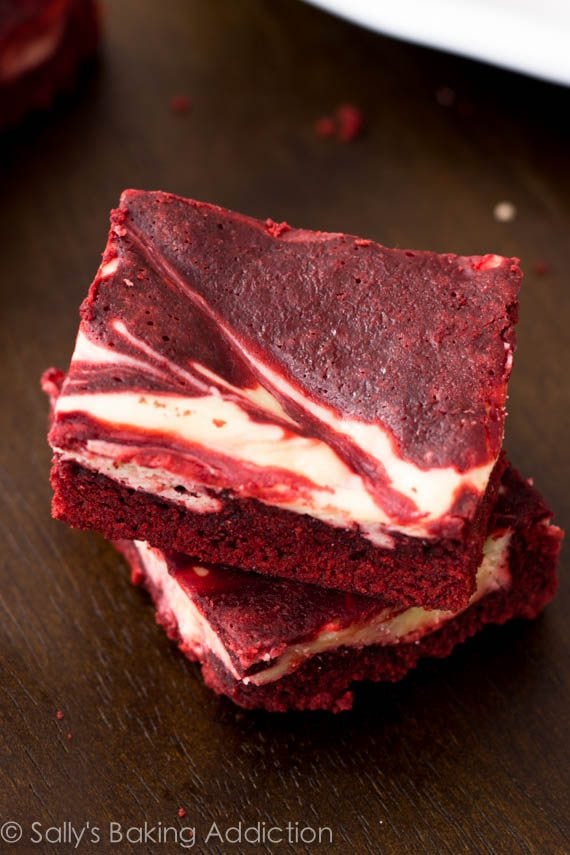
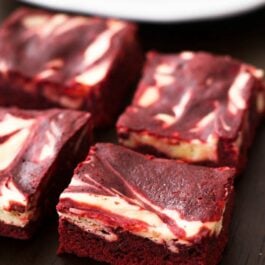
Decadent red velvet brownies swirled with cheesecake.
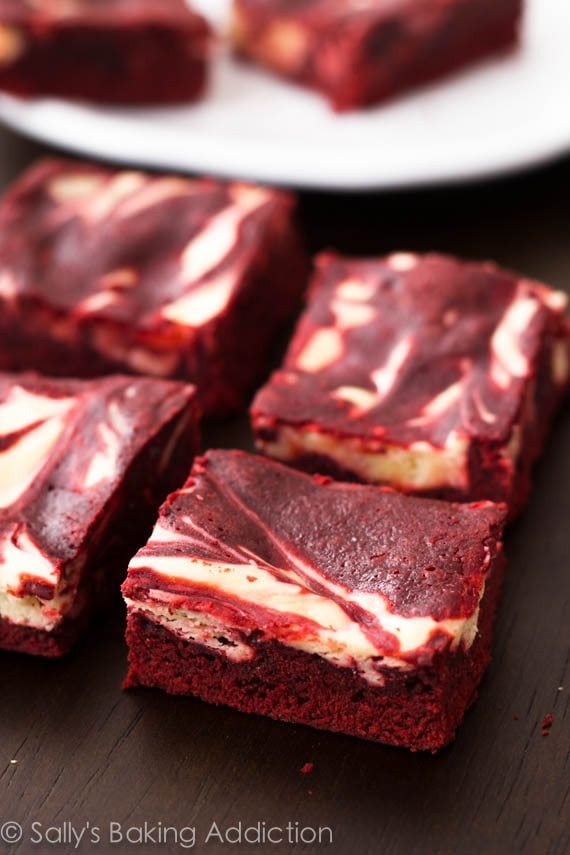
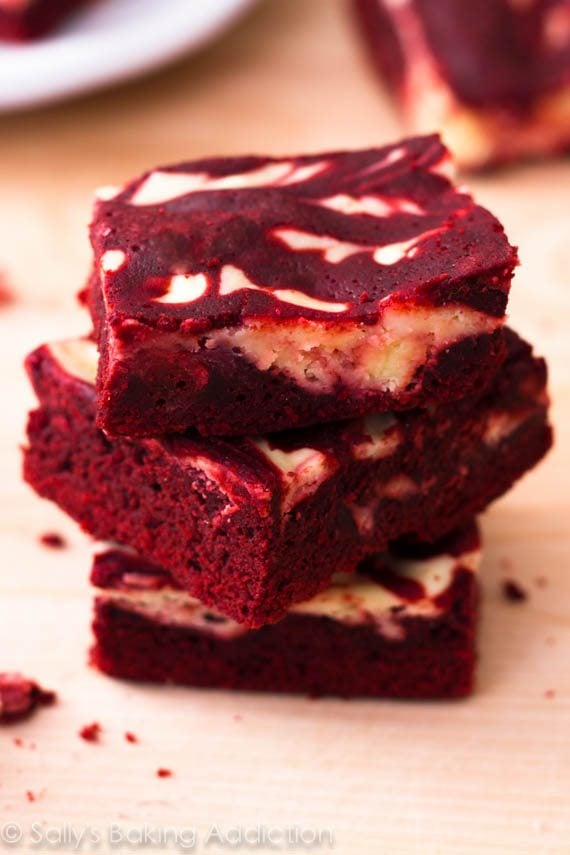
For those unfamiliar with red velvet, let me take you through a quick briefing about what this gorgeous little dessert flavor is like. Traditional red velvet desserts aren’t vanilla flavored or chocolate flavored. They are a combination of the two with a slightly tart tang from the buttermilk used in most recipes. Red velvet cake is sort of like a dense buttery vanilla cake with a mild chocolate flavor. And when it’s done right, it’s unbelievably good.
Today’s brownies are basically a fudge chocolate brownie with lots of buttery vanilla flavors. The brownie batter is red, tinted with red food coloring and a touch of white vinegar to make the red stand out against all the cocoa powder. They are beautifully swirled with sweet cream cheese and are quite dense like a typical brownie.
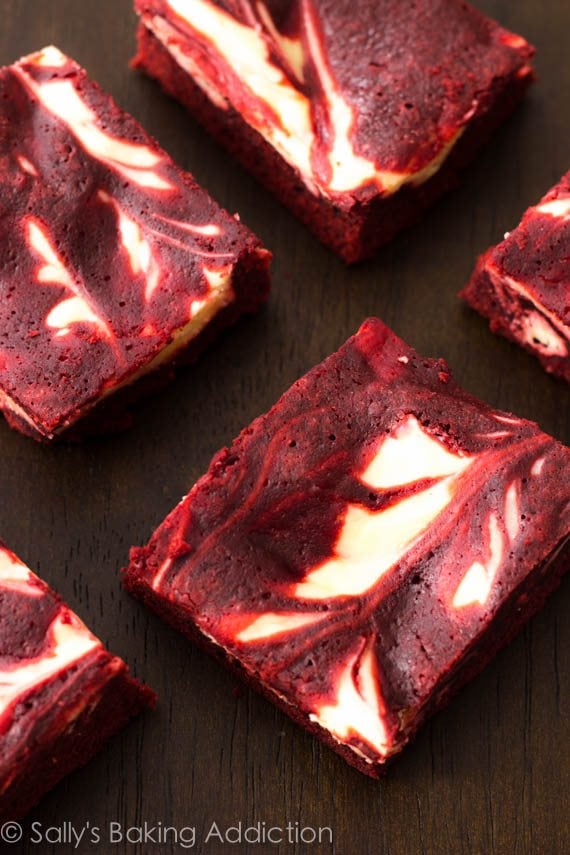
These brownies are pretty easy to make and are the perfect recipe for red velvet beginners. The cream cheese swirl is equally simple. Whip out your hand-held electric mixer and beat one 8 ounce brick of softened cream cheese with 1/4 cup sugar, 1 egg yolk, and vanilla extract. Beat everything together until completely smooth.
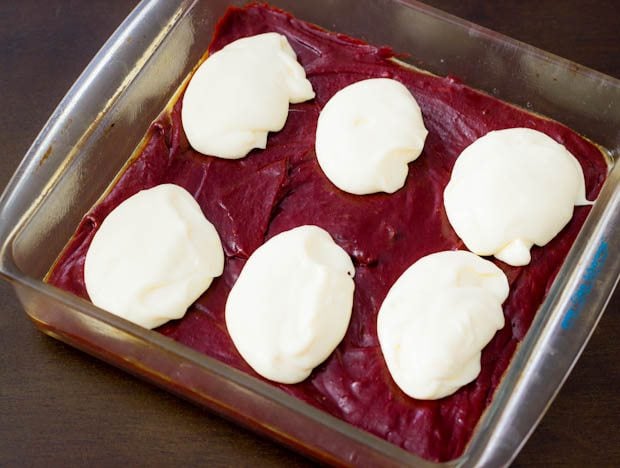
Now, let’s swirl. Pour almost all of the red velvet batter into the baking pan, leaving a few Tablespoons behind. Dollop with the cream cheese mixture, then scoop the last couple of Tablespoons of brownie batter on top. Note: I topped the cream cheese mounds with more red velvet brownie batter because I was afraid so much cream cheese on top would brown in the oven. The picture below is before I covered with more red velvet batter.
Swirl it all together with a knife as best you can—both layers are quite thick.
More Red Velvet Recipes
- Red Velvet Cake or Red Velvet Cupcakes
- Red Velvet Cake Roll
- White Chocolate Red Velvet Cookies
- Red Velvet Seven Layer Bars
- Red Velvet Whoopie Pies
- Red Velvet Chocolate Chip Cookies or Stuffed Red Velvet Cookies
Red Velvet Cheesecake Swirl Brownies
- Prep Time: 20 minutes
- Cook Time: 30 minutes
- Total Time: 3 hours
- Yield: 16 brownies
- Category: Brownies
- Method: Baking
- Cuisine: American
Description
Chewy, moist, decadent red velvet brownies swirled with cheesecake.
Ingredients
Red Velvet Brownies
- 2 large eggs
- 1/2 cup (8 Tbsp; 113g) unsalted butter
- 1 cup (200g) granulated sugar
- 2 teaspoons pure vanilla extract
- 1/4 cup (21g) unsweetened cocoa powder
- 1/8 teaspoon salt
- 1 and 1/2 teaspoons red gel food coloring*
- 3/4 teaspoon white vinegar
- 3/4 cup (94g) all-purpose flour (spooned & leveled)
Cheesecake Swirl
- 8 ounces (226g) full-fat brick cream cheese, softened to room temperature
- 1/4 cup (50g) granulated sugar
- 1 egg yolk
- 1/2 teaspoon pure vanilla extract
Instructions
- Preheat the oven to 350°F (177°C). Spray an 8-inch square baking pan with nonstick spray. Set aside.
- Make the brownie layer first: In a small bowl, beat the 2 eggs together. Set aside. Melt the butter in a large microwave safe bowl in 30 second increments until melted. Stir in 1 cup sugar, 2 teaspoons vanilla extract, cocoa powder, salt, food coloring, and vinegar. Mix each of those ingredients into the batter in that order. Whisk in the eggs, then fold in the flour until completely incorporated. Do not overmix. Pour the brownie batter into prepared baking pan, leaving about 3-4 Tablespoons for the top.
- Make the cheesecake swirl: With a handheld mixer on medium speed, beat the softened cream cheese, 1/4 cup sugar, egg yolk, and 1/2 teaspoon vanilla in a medium bowl until completely smooth—about 1 minute. Dollop spoonfuls of the cream cheese mixture on top of the prepared brownie batter. Cover with the last few Tablespoons of brownie batter. Glide a knife through the layers as best you can (both layers are pretty thick), creating a swirl pattern.
- Bake the brownies for 28-30 minutes or until a toothpick inserted in the middle comes out clean. Allow the brownies to cool completely before cutting into squares. Cover brownies and store at room temperature for 3 days or in the refrigerator for up to 6 days.
Notes
- Freezing Instructions: Brownies will freeze well, up to 2 months. Thaw overnight in the refrigerator.
- Special Tools (affiliate links): 8-inch Square Pan | Electric Mixer (Handheld or Stand) | Glass Mixing Bowls | Whisk | Red Gel Food Coloring
- Double Batch: Simply double all the ingredients and bake in a 9×13-inch pan for around 45 minutes—give or take. Same oven temperature.
- Red Food Coloring: I prefer using gel food coloring, but liquid food coloring will work, too. If using liquid red food coloring, increase to 1 Tablespoon.
- Adapted from Food Network, with a few changes.


Hi Sally I just made your mocha cheesecake brownies where your recipe called for 1 egg in the cheesecake but this one calls for 1 egg yolk. I’m always nervous separating eggs and I was wondering what the difference was. Is it that this one is a topping not a layer? And can I make these brownies like those and not swirl but have it be a layer? Thanks!!
Hi Manish, you can try layering these brownies instead of swirling, but we aren’t sure if there will be enough brownie batter for that. Let us know if you try it! There are lots of handy tools out there for egg separating that make it a little easier if you’re interested 🙂
I made this with my mother twice and it turned out excellent! 100% on everything
Idk where I went wrong. I baked these for longer than 30 minutes and the center was not done, but the edges were. I ended up throwing it away. I baked in a glass dish so not sure if that had something to do with it or being high altitude.
Hi Jane, glass dishes may take just a bit longer to bake, but not much. It’s normal for the edges to be more baked than the middle, and it should firm up a bit as it cools. However, if the edges are browning too quickly, you can tent the pan with foil so that the edges are protected while the middle continues to bake. We wish we could help on the topic of high altitude baking, but we have no experience baking at high altitude. Some readers have found this chart helpful: https://www.kingarthurflour.com/learn/high-altitude-baking.html