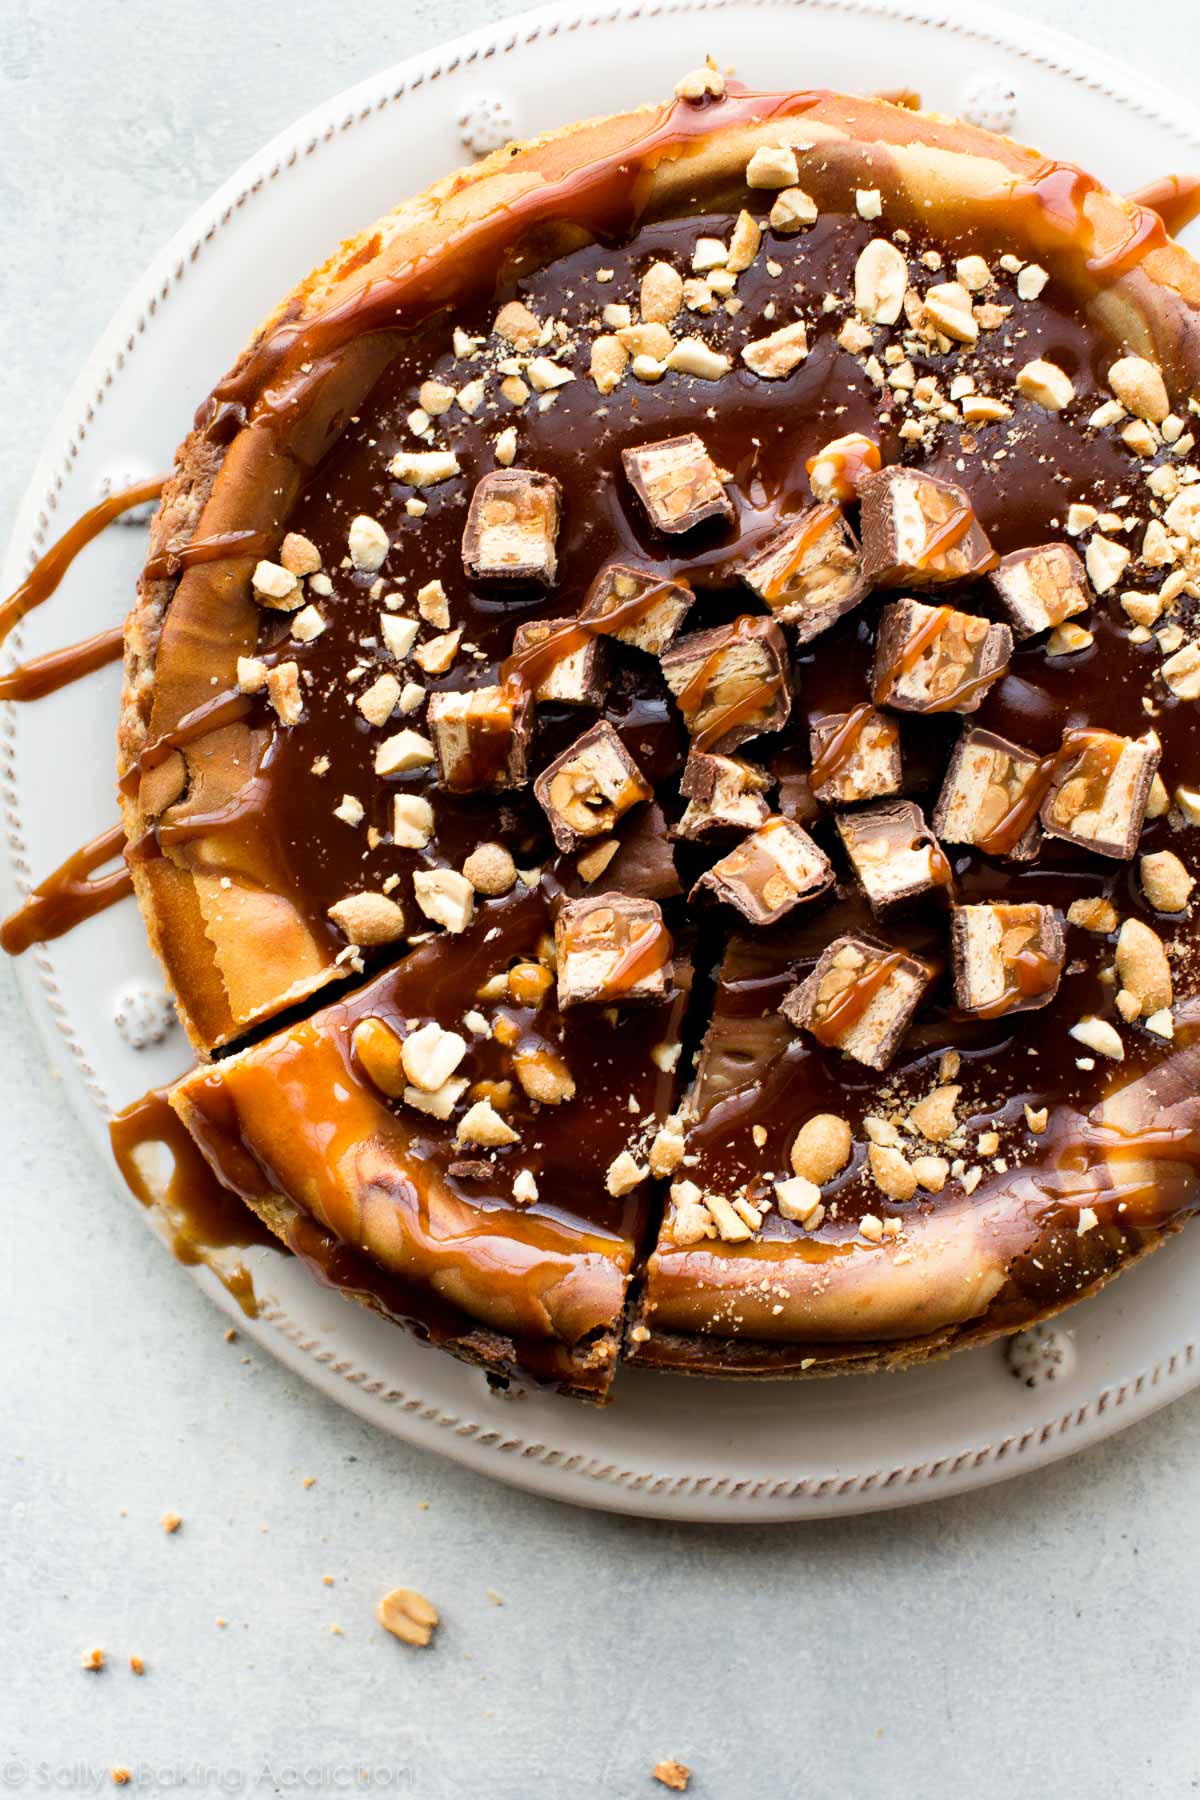
I must confess.
It’s been 3 years since I posted a new cheesecake recipe. And it wasn’t even a real cheesecake. It was a swirly twirly number by the name of pumpkin cake cheesecake.
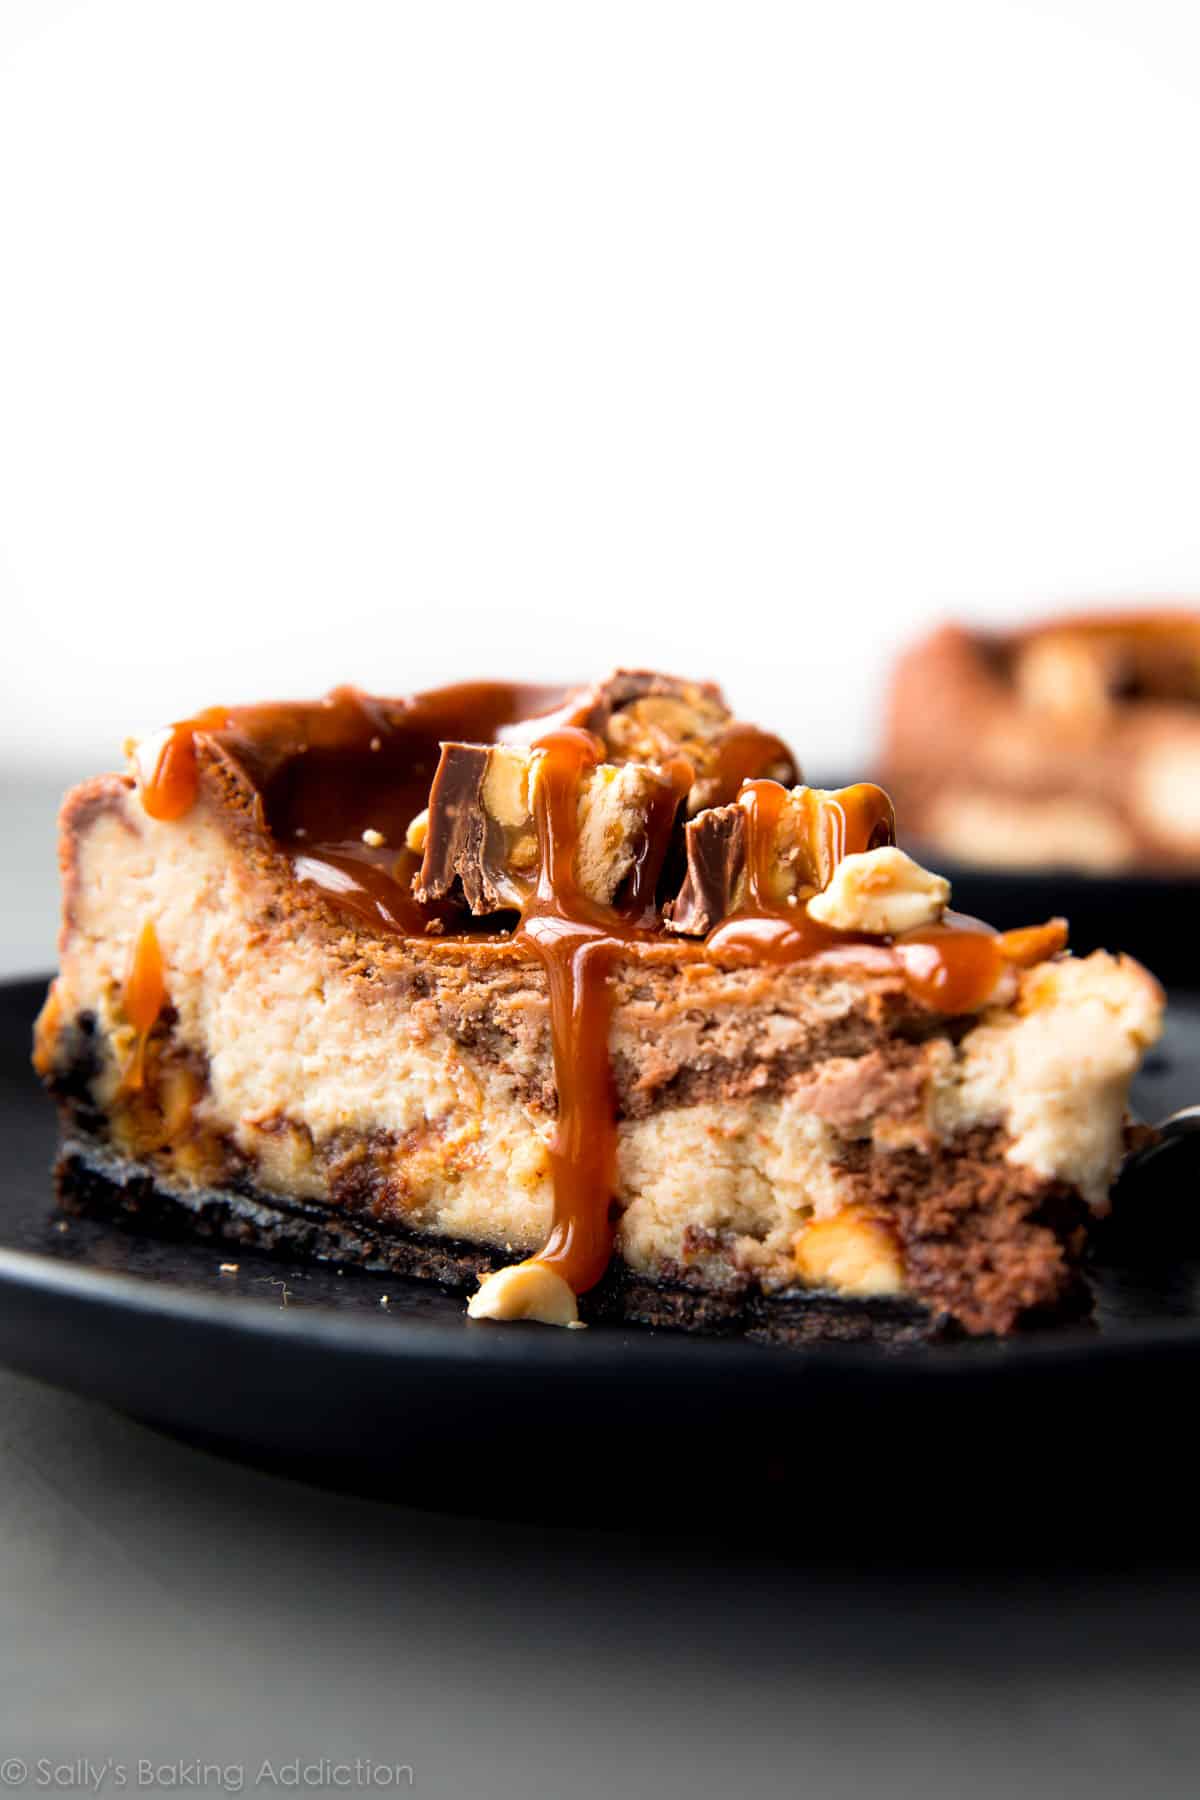
Today we’re visiting the swirly twirly cheesecake atmosphere again. We’re trading pumpkin for peanut butter, chocolate, Snickers, and caramel.
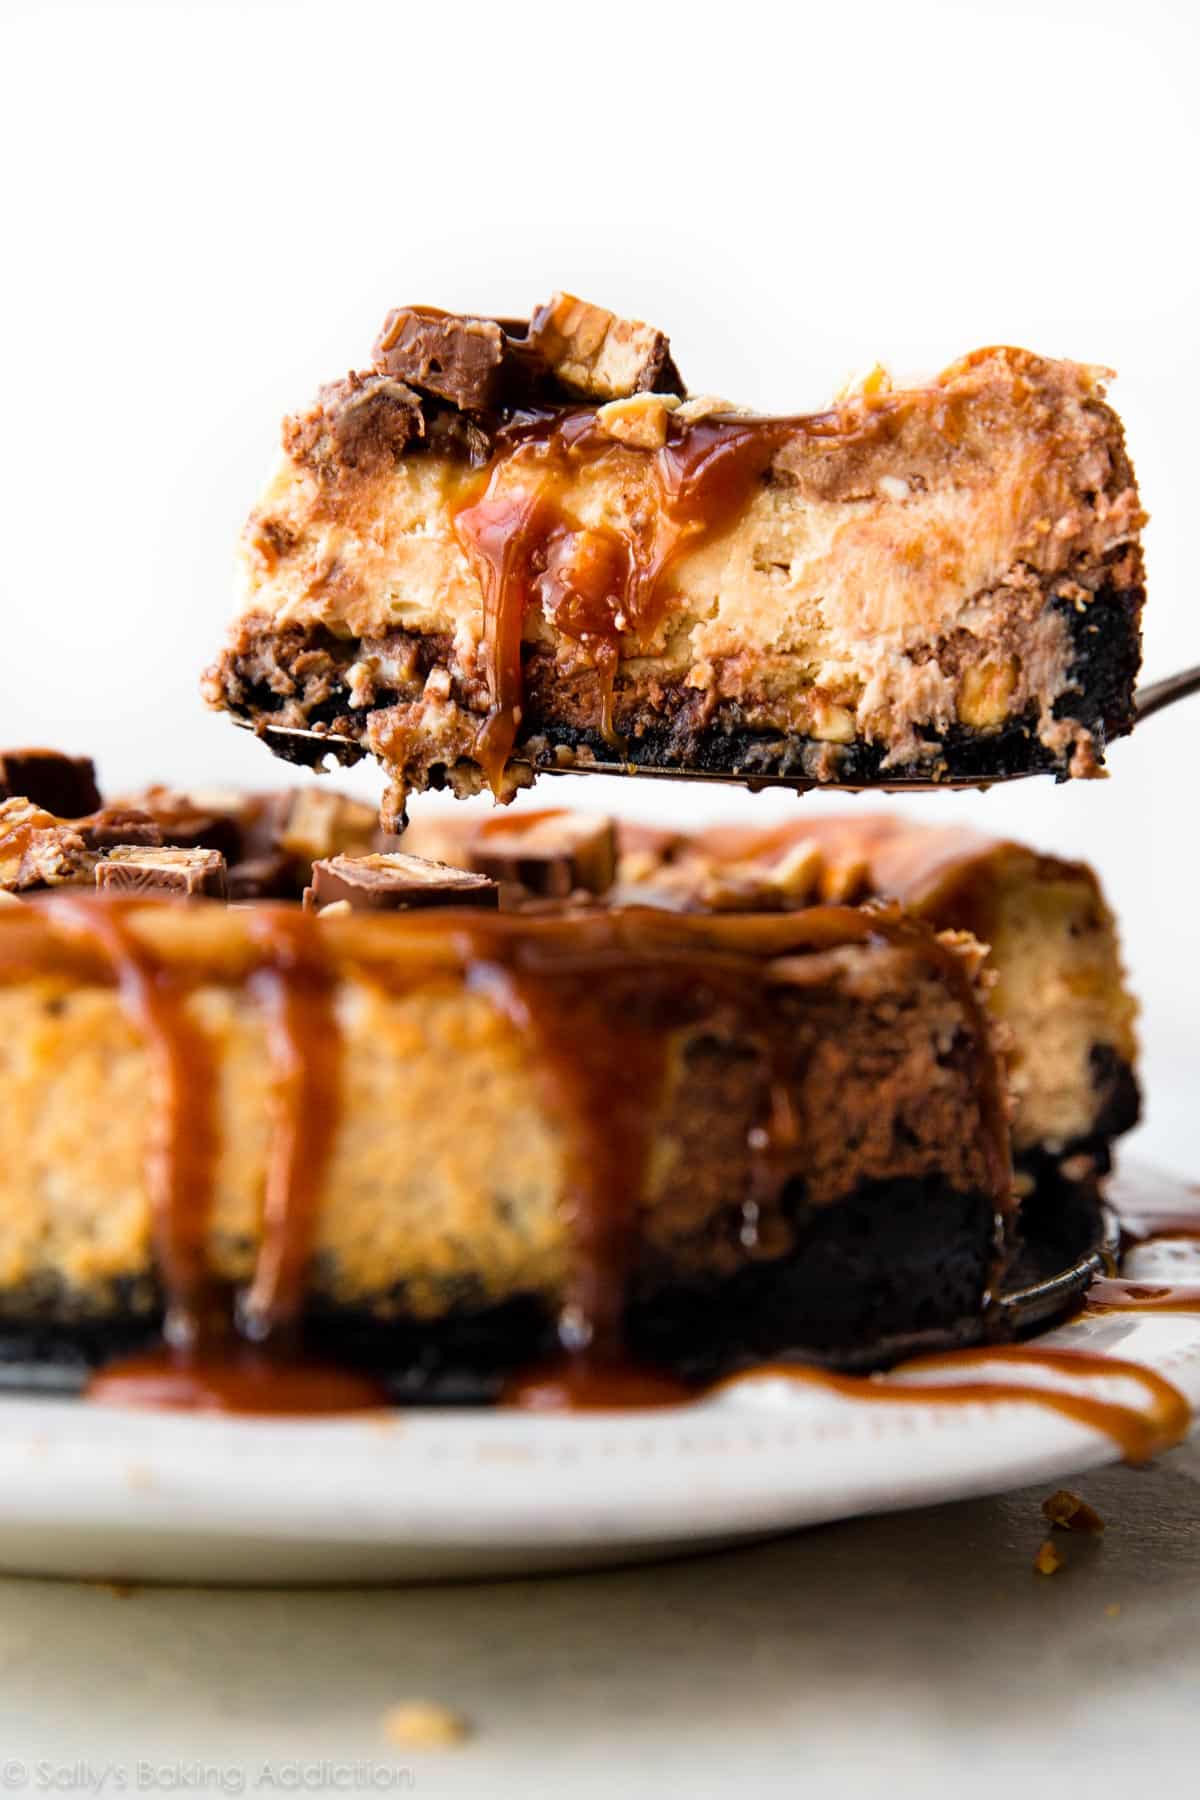
Let’s take a second to think about what this Snickers cheesecake means.
- A layer of Oreo crust which is BUTTER and OREOS.
- A peanut butter cheesecake (similar to these peanut butter pretzel cheesecake bars).
- A chocolate cheesecake.
- Salted caramel liquid gold.
- Salty peanuts + Snickers bars.
In other words, calories. This all really means: calories. If you clicked on Snickers cheesecake today and expected something other than a mountain of delicious calories… you may be backwards.
Let’s review each layer inside the Snickers cheesecake.
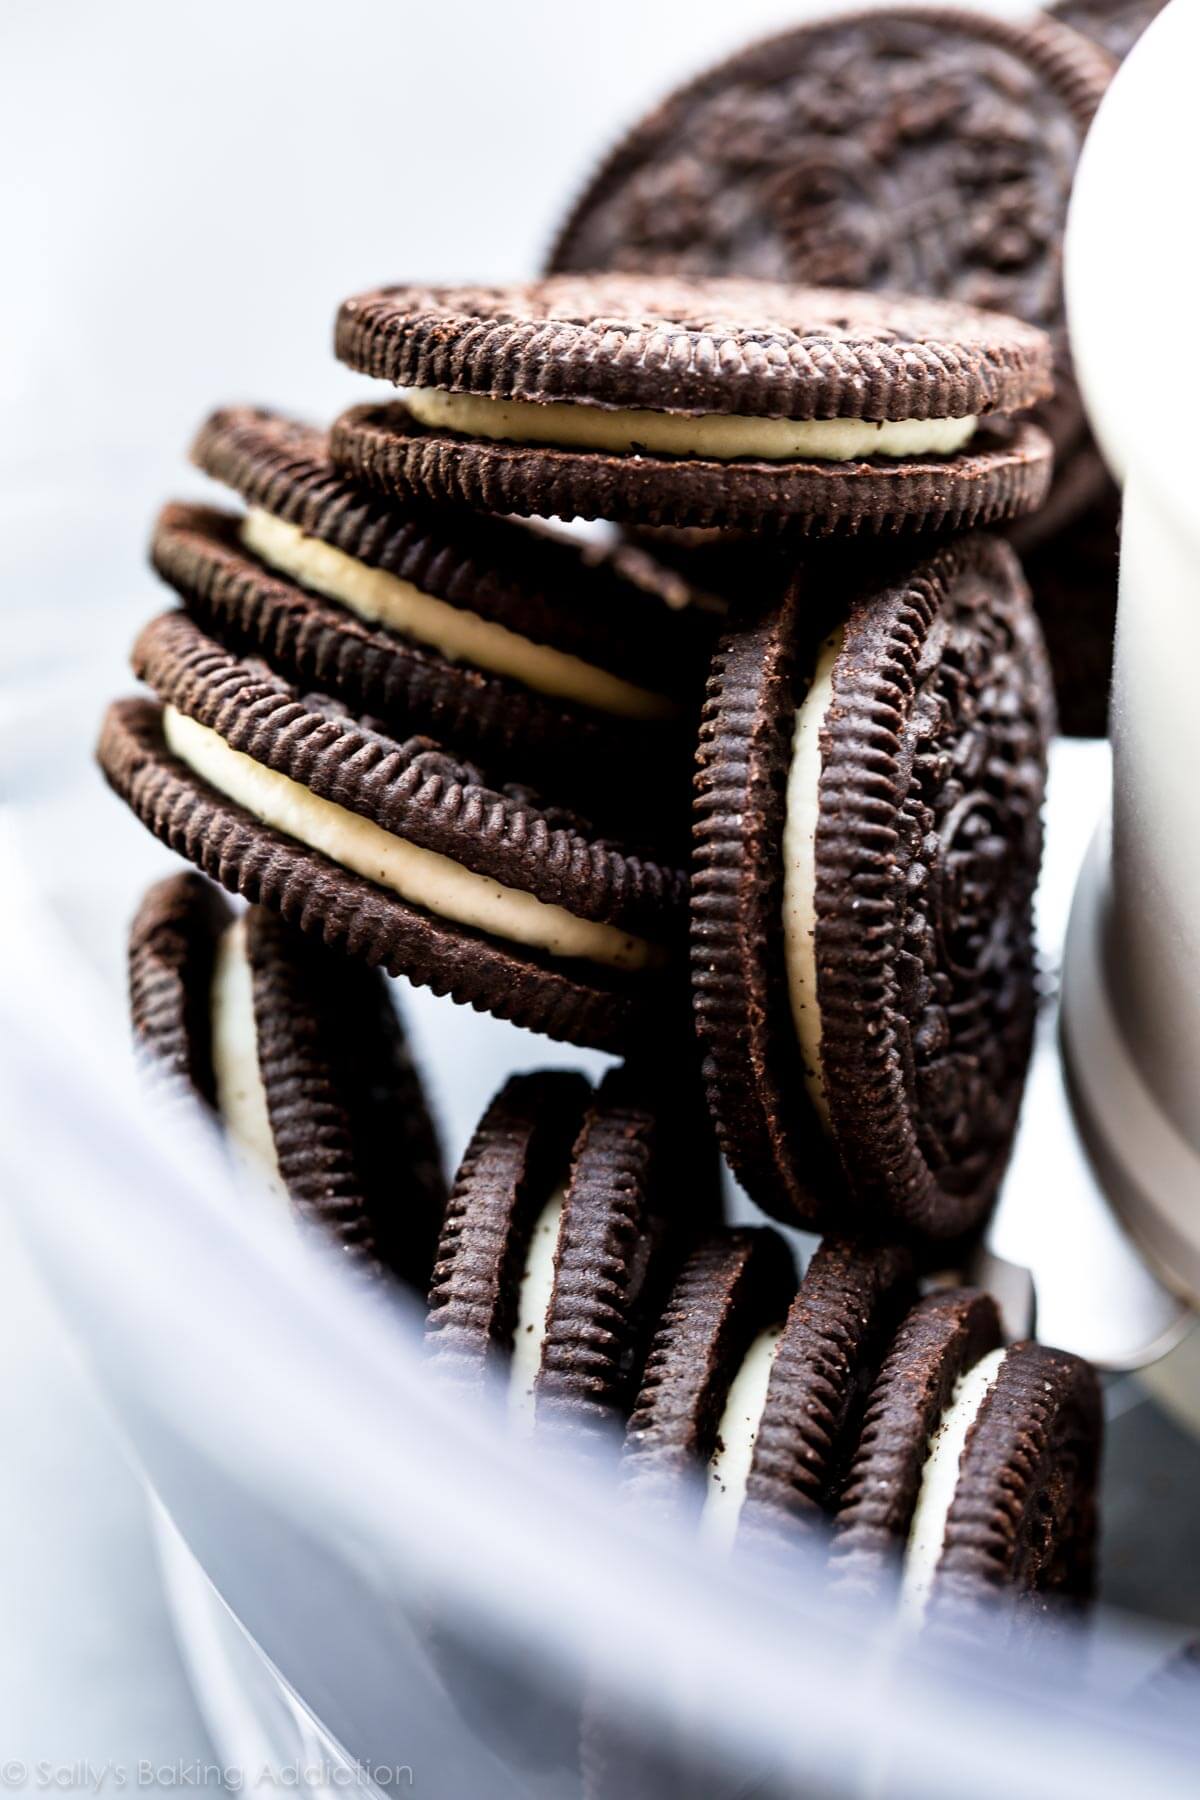
Oreo cookie crust: Is there really an alternative that can live up to an Oreo cookie crust? All you have to do is pulse Oreos into a crumb (the entire cookie), mix with melted butter, and press into your springform pan. Make sure you pre-bake the crust for about 10 minutes. It’s the same crust we use for cookies & cream pie and white chocolate raspberry cheesecake bars.
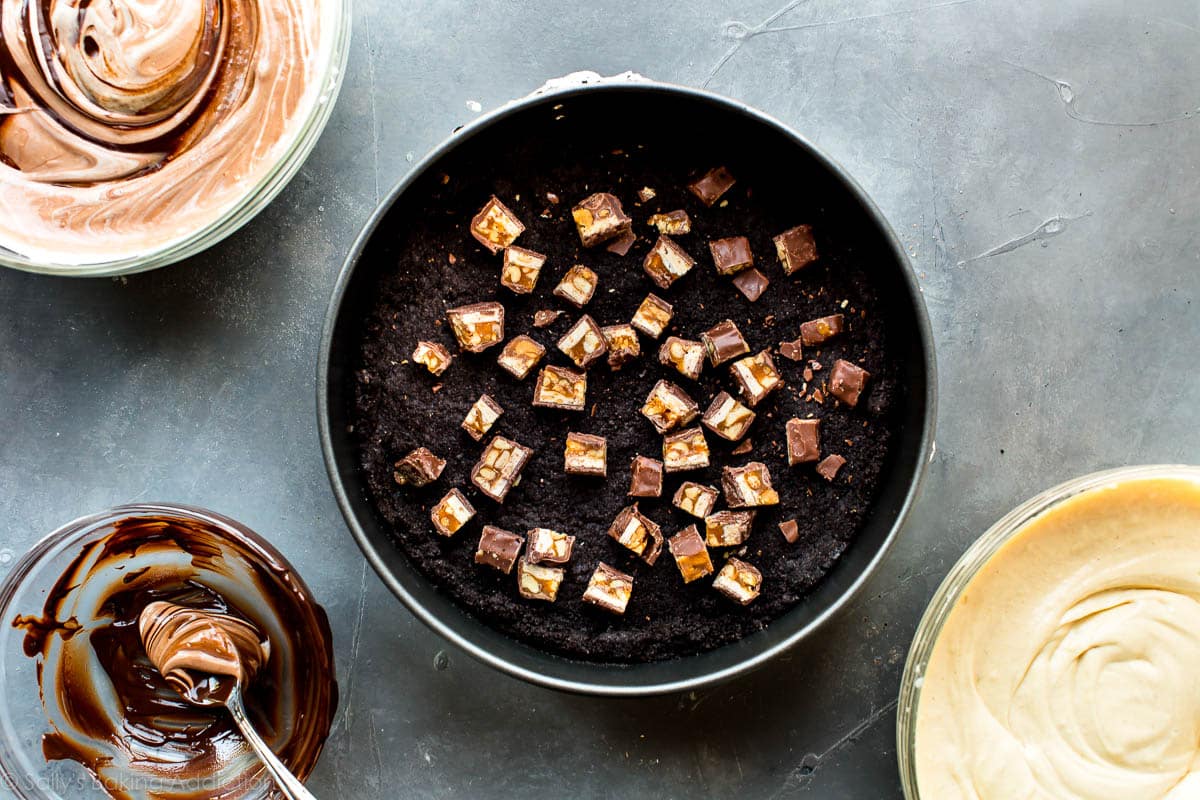
Chopped Snickers: Remove the warm Oreo crust from the oven and sprinkle some chopped Snickers on top. This is the base of your Snickers cheesecake. I love the Snickers chunks inside!
Cheesecake: The cheesecake portion is my go-to cheesecake. Creamy, luscious, and thick… I never stray from this basic cheesecake batter. You’ll need brick-style cream cheese, sugar, eggs, and sour cream. You’ll divide the cheesecake batter in half. There’s about 7 cups total, so 3.5 cups each. Half will be chocolate flavored, half will be peanut butter flavored.
*I reduced the amount of sour cream down to 3/4 cup from my blueberry swirl cheesecake recipe. Because we’re adding chocolate and peanut butter to the batter, I wanted to reduce something down to avoid overflowing.
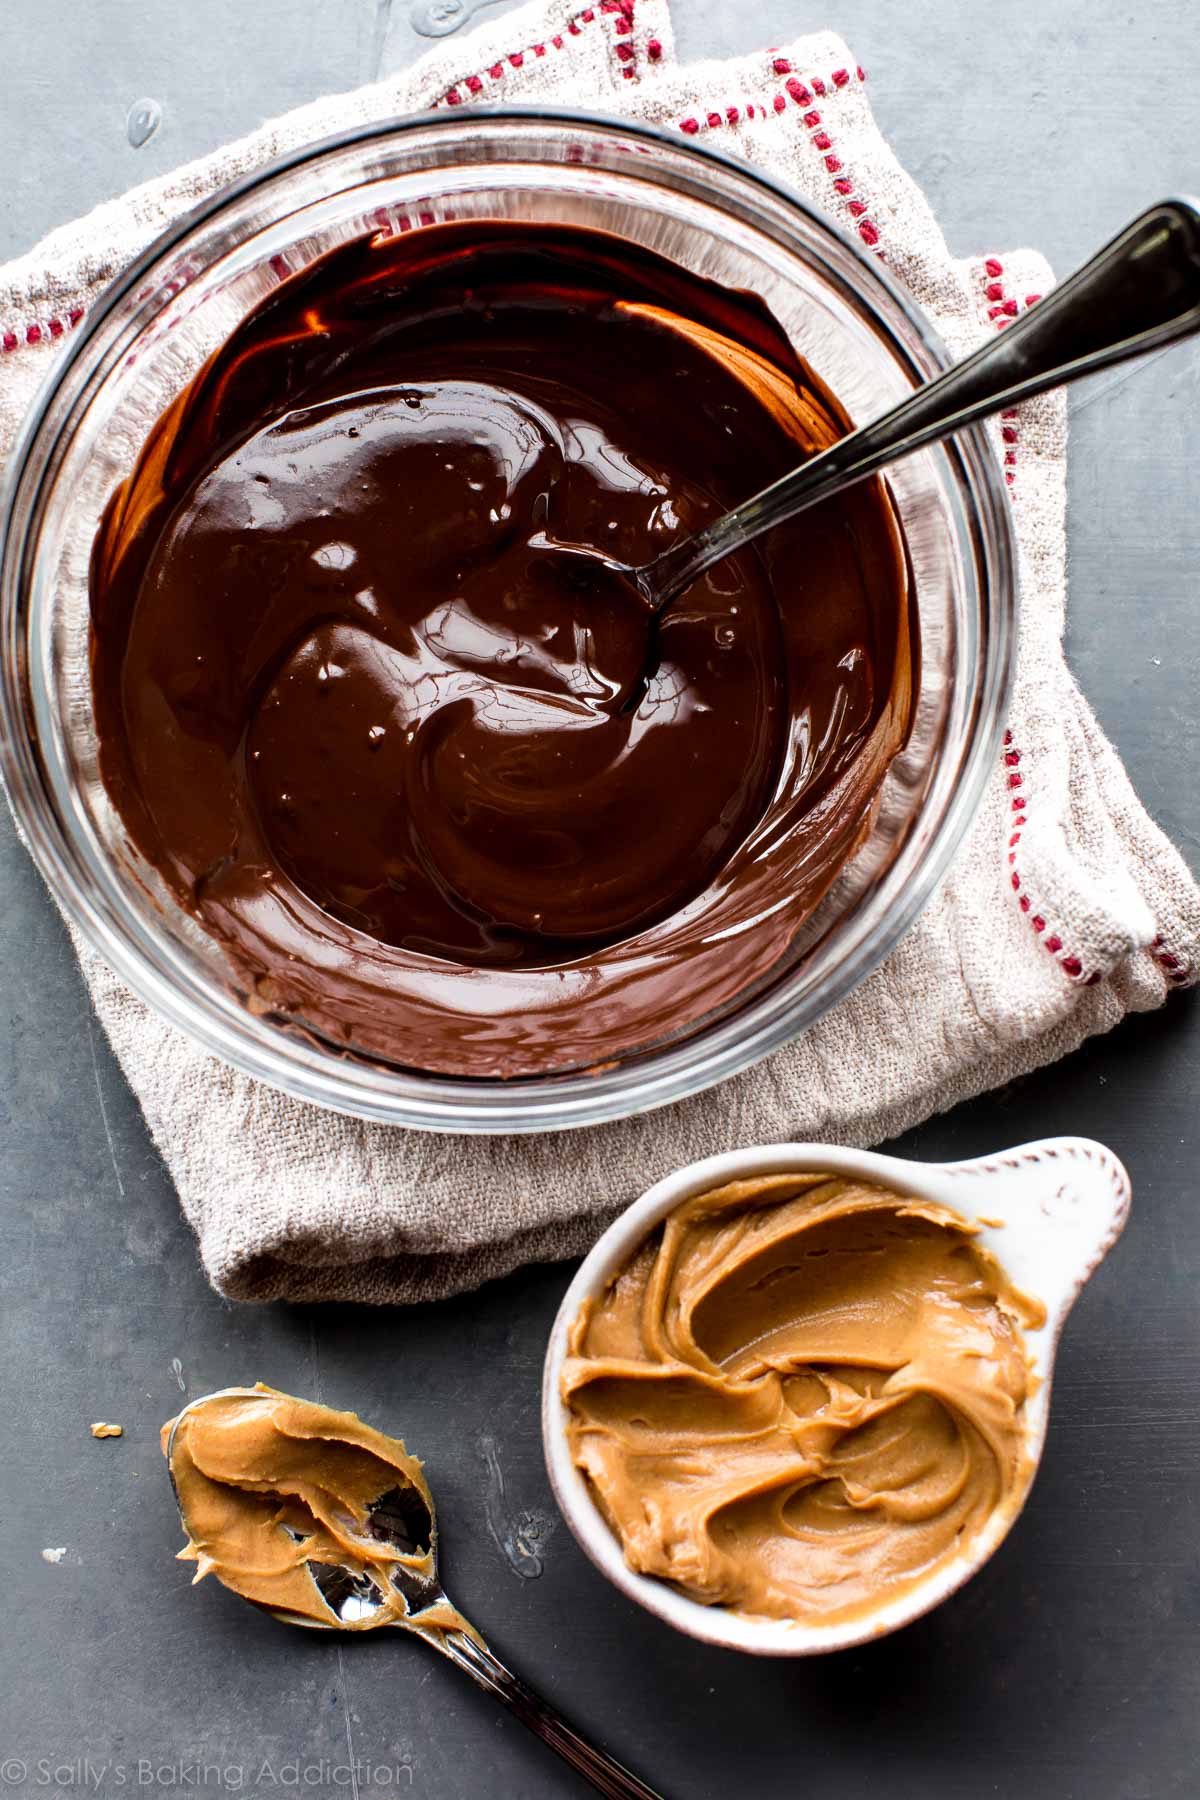
Here’s how to do it. Melt 4 ounces (about 115g) of pure chocolate, let it slightly cool, then stir into half of your cheesecake batter. TIP: Since you have to wait for it to cool, I usually melt the chocolate at the beginning of the recipe so it has a chance to cool down as I pre-bake the Oreo cookie crust.
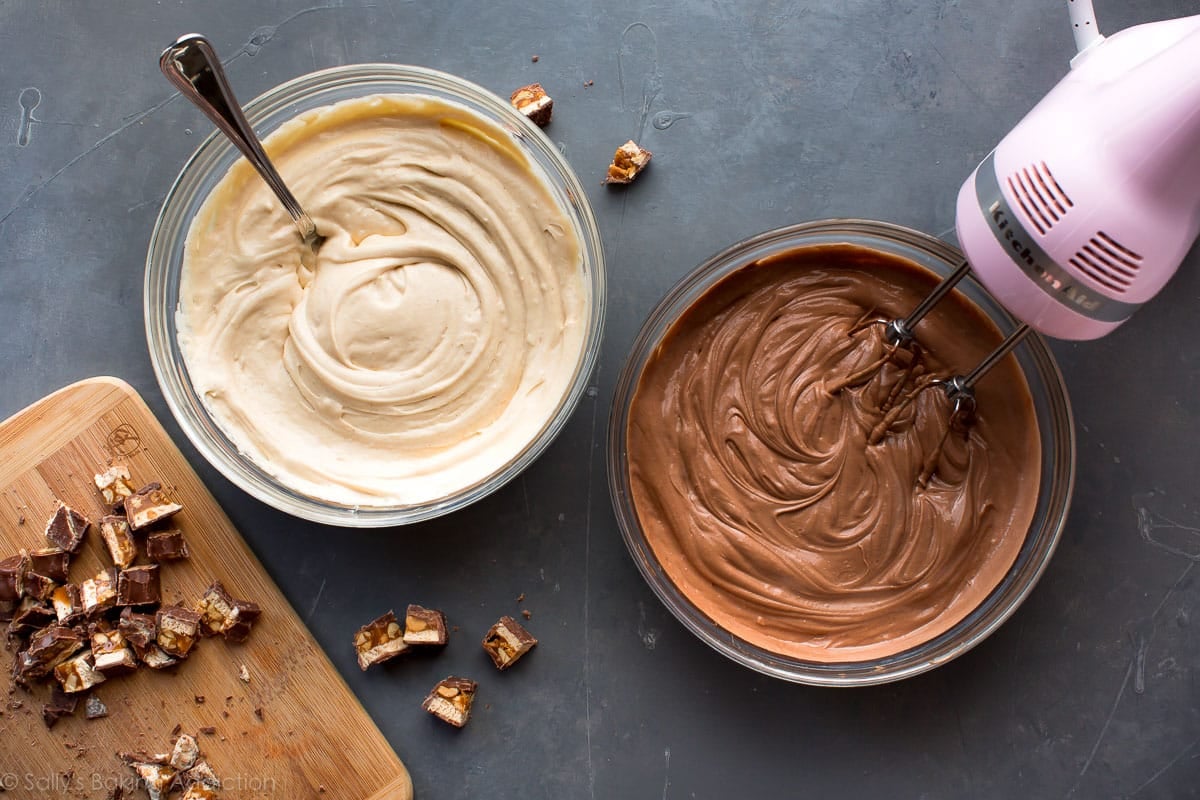
The other half of cheesecake batter is peanut butter flavored. Super simple stuff here: just beat 1/3 cup (85g) of creamy peanut butter into the batter. See the picture below? Left: peanut butter batter. Right: chocolate batter.
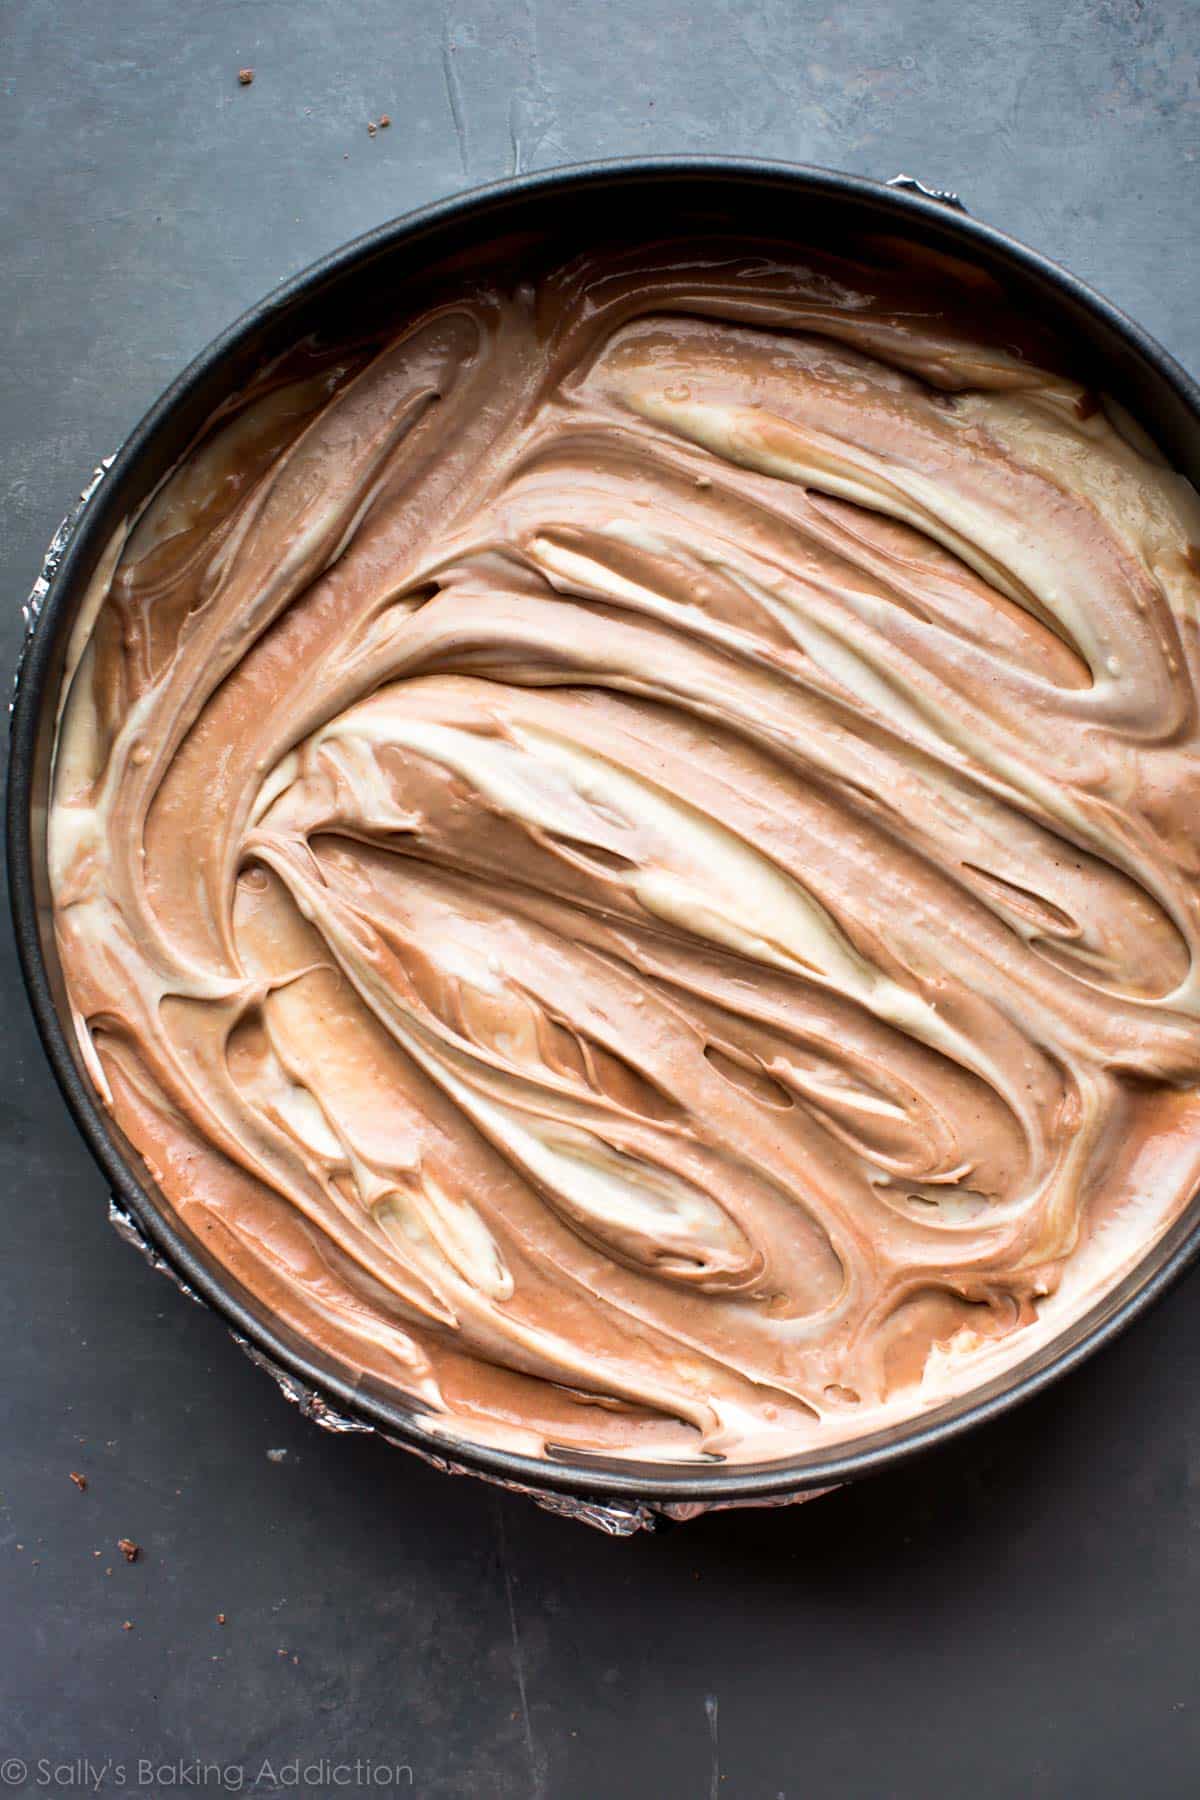
Layer and swirl both batters on top of the Oreo cookie crust. Then BAKE!
Cheesecake Water Bath
I promise a water bath is nothing complicated. All you’re doing wrapping your springform pan in aluminum foil and placing it in a roasting pan, filling it with hot water, and baking. What’s the point, you ask?
I actually have an entire post and video tutorial for How to Make a Cheesecake Water Bath.
You see, cheesecake loves a humid environment. The steam from the hot water will lift the cheesecake up slowly and evenly, reducing the risk of cracks on the surface. Additionally, this slow and even baking method helps prevent the cheesecake from sinking back down as it cools. Taking a few extra minutes to prepare a water bath for this cheesecake recipe is well worth it.
Make sure you plan ahead because this cheesecake has a few stages. First, cheesecakes are notorious for taking awhile to bake through. Second, it must sit in the oven after baking as the oven cools down— this is another trick to avoid cheesecake cracks. Third, once the cheesecake is room temperature, you must chill it. Because of all these steps, this is a great recipe to begin the night before.
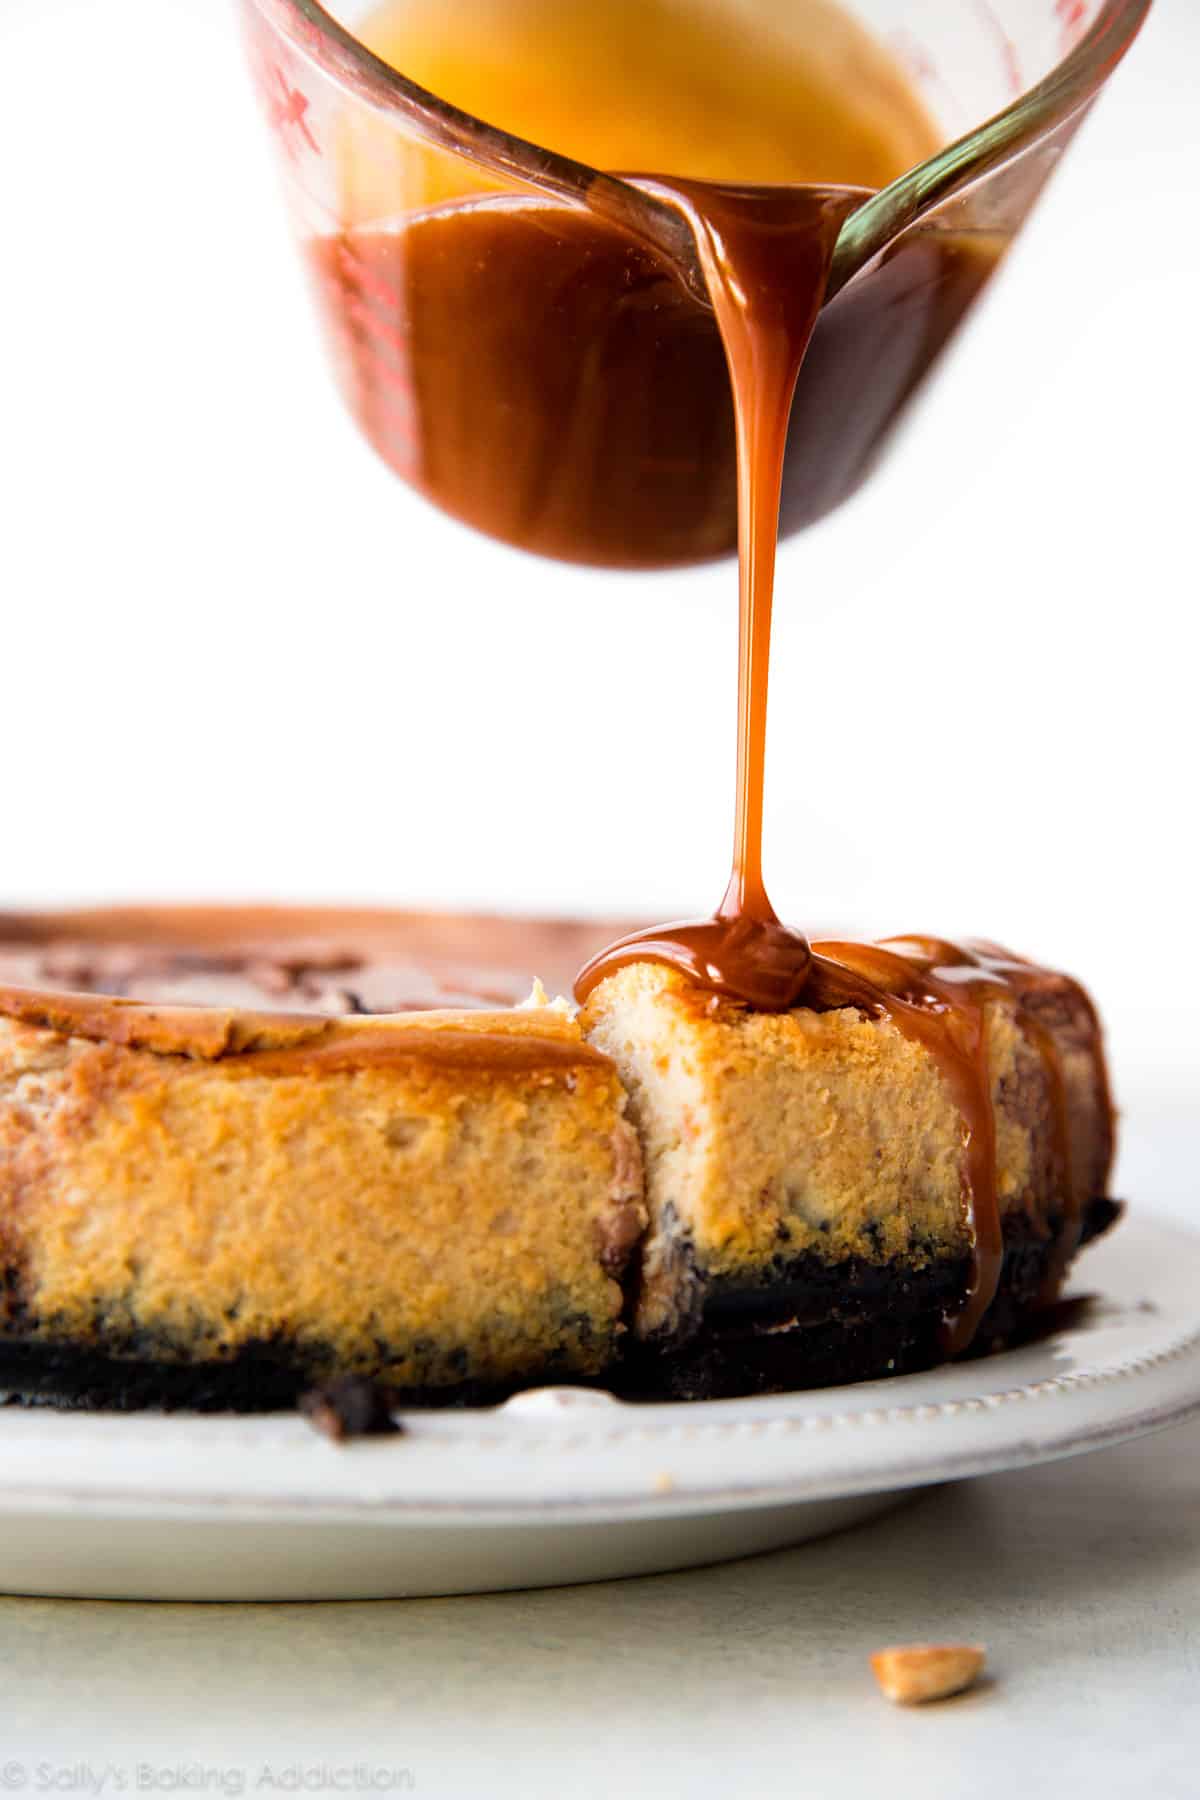
After cheesecake has chilled in the fridge, take that sucker out and decorate it. I obviously kept things simple, can’t you tell? 😉 I loaded it up with salted caramel, peanuts, and more Snickers bars. Decorate the Snickers cheesecake however you’d like, but I definitely wouldn’t leave off that caramel. If your cheesecake ended up cracking (it still happens no matter what you do!), the caramel can cover it all up. Magic.
More Snickers recipes to try!
- Another version of Snickers cheesecake in Sally’s Candy Addiction
- Snickers cheesecake bars
- Snickers cupcakes
- Caramel Snickers 7 layer bars
If you love cheesecakes, be sure to try my peanut butter Butterfinger cheesecake and caramel turtle cheesecake, too!
Print
Snickers Cheesecake
- Prep Time: 30 minutes
- Cook Time: 60 minutes
- Total Time: 2 hours, 30 minutes (plus chilling)
- Yield: serves 12
- Category: Cheesecake
- Method: Baking
- Cuisine: American
Description
Super decadent and rich Snickers cheesecake is made with a peanut butter and chocolate swirl, salted caramel, peanuts, and Snickers candy bars on top!
Ingredients
Crust
- 22 regular Oreo cookies (not Double-Stuf)
- 5 Tablespoons (71g) unsalted butter, melted
- 8 fun-sized Snickers, chopped (save some for topping)
Filling
- 24 ounces (678g) full-fat brick cream cheese, softened to room temperature
- 1 cup (200g) granulated sugar
- 3/4 cup (180g) full-fat sour cream (or full-fat yogurt), at room temperature
- 2 teaspoons pure vanilla extract
- 3 large eggs, at room temperature
- 1/3 cup creamy peanut butter*
- 1 4-ounce (115g) bar semi-sweet chocolate, melted and slightly cooled
- toppings: salted caramel, chopped Snickers, peanuts
Instructions
- *Time-saving tip: You need melted and slightly cooled chocolate in step 4. Melt it before you begin so it has time to cool before beating into the cheesecake.*
- Make the crust: Lower oven rack to the lower third position and preheat to 350°F (177°C). Lightly grease a 10-inch springform pan (NOT 9-inch) with nonstick cooking spray. In a food processor or blender, pulse the whole Oreos (cream filling and cookie) into a fine crumb. You should have about 2 cups (packed) crumbs, or 250g. Combine the Oreo crumbs and melted butter together in a medium bowl. Press tightly into the bottom and up the sides of prepared pan. Wrap aluminum foil on the bottom and tightly around the outside walls of the springform pan. This helps prevent leakage. Bake for 10 minutes. Sprinkle some of the chopped Snickers on top of the warm crust. Reserve the rest to decorate on top of the cheesecake.
- Make the filling: Using a handheld or stand mixer fitted with a paddle attachment, beat the cream cheese and granulated sugar together on medium speed in a large bowl, about 3 full minutes until the mixture is smooth and creamy. Add the sour cream and vanilla extract and beat until combined. On low speed, add the eggs one at a time, beating after each addition until just blended. Do not overmix the filling after you have added the eggs. Divide the batter in half. (There’s about 7 cups, so 3.5 cups each.)
- Beat the peanut butter into half of the cheesecake batter. Beat the melted and slightly cooled chocolate into the other half.
- Layer both batters into the pan on top of the crust. This doesn’t have to be done in any fancy way, just randomly spoon both into the crust. Using a knife, swirl the two together.
- Prepare the simple water bath (see note): If needed for extra visuals, see my How to Make a Cheesecake Water Bath; the visual guide will assist you in this step. Boil a pot of water. You need 1 inch of water in your roasting pan for the water bath, so make sure you boil enough. I use an entire kettle of hot water. Place the pan inside of a large roasting pan. Carefully pour the hot water inside of the pan and place in the oven. (Or you can place the roasting pan in the oven first, then pour the hot water in. Whichever is easier for you.)
- Bake for 55–70 minutes or until the center is almost set.* Turn the oven off and open the door slightly. Let the cheesecake sit in the oven for 1 hour. Remove from the oven and allow to cool completely at room temperature. Refrigerate for at least 6 hours or overnight (preferred).
- Loosen the cheesecake from the rim of the pan and remove the rim. Top with salted caramel, the rest of the chopped Snickers, and/or peanuts. Cut into slices and serve chilled. Cover leftover cheesecake and store in the refrigerator for up to 4 days.
Notes
- Make Ahead Instructions: This cheesecake can be made the day before. It has to chill for quite some time before serving. See step 7. Another way to make this cheesecake ahead of time is to freeze it. Cheesecake can be frozen up to 2–3 months. Thaw overnight in the refrigerator before serving.
- Special Tools (affiliate links): 10-inch Springform Pan | Food Processor | Electric Mixer (Handheld or Stand) | Large Roasting Pan
- Peanut Butter: Do not use natural or homemade peanut butter. You need thick, creamy peanut butter like Jif, Skippy, or similar.
- Chocolate: Make sure you’re using pure chocolate, not chocolate chips, in the cheesecake batter. Real chocolate melts down into the proper texture for mixing into the batter. I prefer a Ghirardelli, Nestle, or Baker’s brand 4 ounce semi-sweet chocolate bar. Found in the baking aisle next to the chocolate chips.
- Pan: A 9-inch springform pan is too small. The cheesecake will overflow. Use a 10-inch springform pan. If a 9-inch springform pan is all you have, simply fill it up 3/4 full. Discard remaining batter or make mini cheesecakes like these salted caramel chocolate chip mini cheesecakes.
- Alternate Water Bath Method: This method works as well, and you don’t have to bake the cheesecake IN water. Boil a kettle or pot of water. You need 1 inch of hot water in your roasting pan for the water bath, so make sure you boil enough. Place the cheesecake on the center oven rack of the preheated oven. Place a large metal baking or roasting pan (do not use glass—I usually use a 9×13-inch baking pan or an extra-large cast iron skillet) on the bottom rack. Pour boiling water into the empty pan, about 1 inch deep. Immediately close oven to trap the steam inside. This unique water bath adds steam to the oven without having the cheesecake sit inside the water itself. No need to wrap the springform pan in foil. See How to Make a Cheesecake Water Bath for more information.
- Important: Avoid overbaking the cheesecake. When the cheesecake is done, there will still be a 2- or 3-inch wobbly spot in the center; the texture will smooth out as it cools.


This is the most delicious cheesecake I have ever had! It was my first time making one and your directions were so easy to follow. Thank you for all of your work and fantastic recipes!
I loved this recipe I made it for Culinary art early Thanksgiving it came out wonderful!!
Oh my……..what a magnificent cheesecake! I made it last night, decorated the top this morning, and delivered it this afternoon to a dear relative with 3 young kids. Here’s their feedback:
“This cheesecake is to die for–5 stars across the board”.
Beautiful recipe. Thank you.