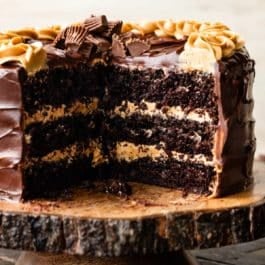
This super moist dark chocolate peanut butter cake marries the flavors of rich dark chocolate and sweet creamy peanut butter—a match made in heaven if ever there was one. Fill and coat the cake with peanut butter frosting, then cover the whole dessert with semi-sweet chocolate ganache, pipe more peanut butter frosting on top… and get ready to swoon, because this is love at first bite.
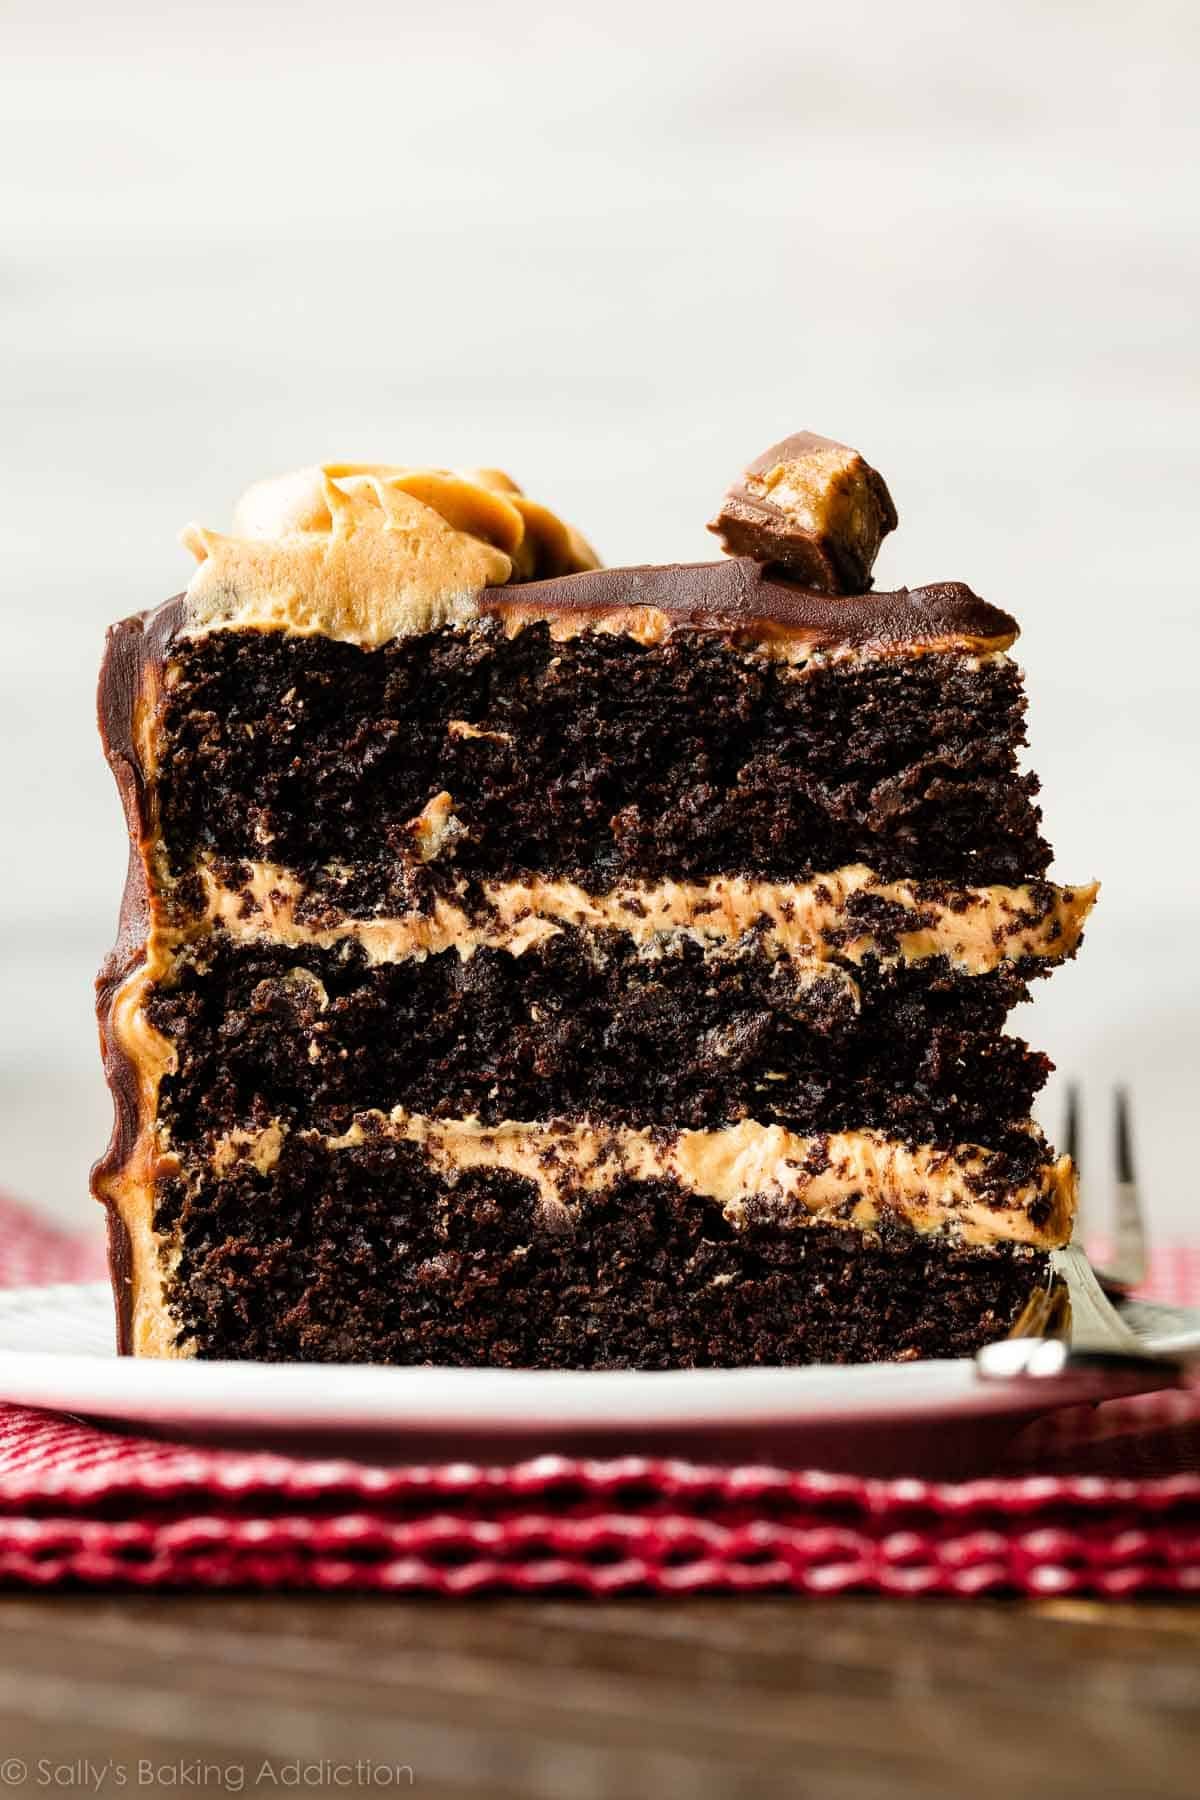
Meet our newest most eligible bachelor: the dark chocolate peanut butter cake. This cake is rich. Like, ultra-rich. I think the term “filthy rich” might even apply here.
Here’s Why You’ll Swoon Over This Cake
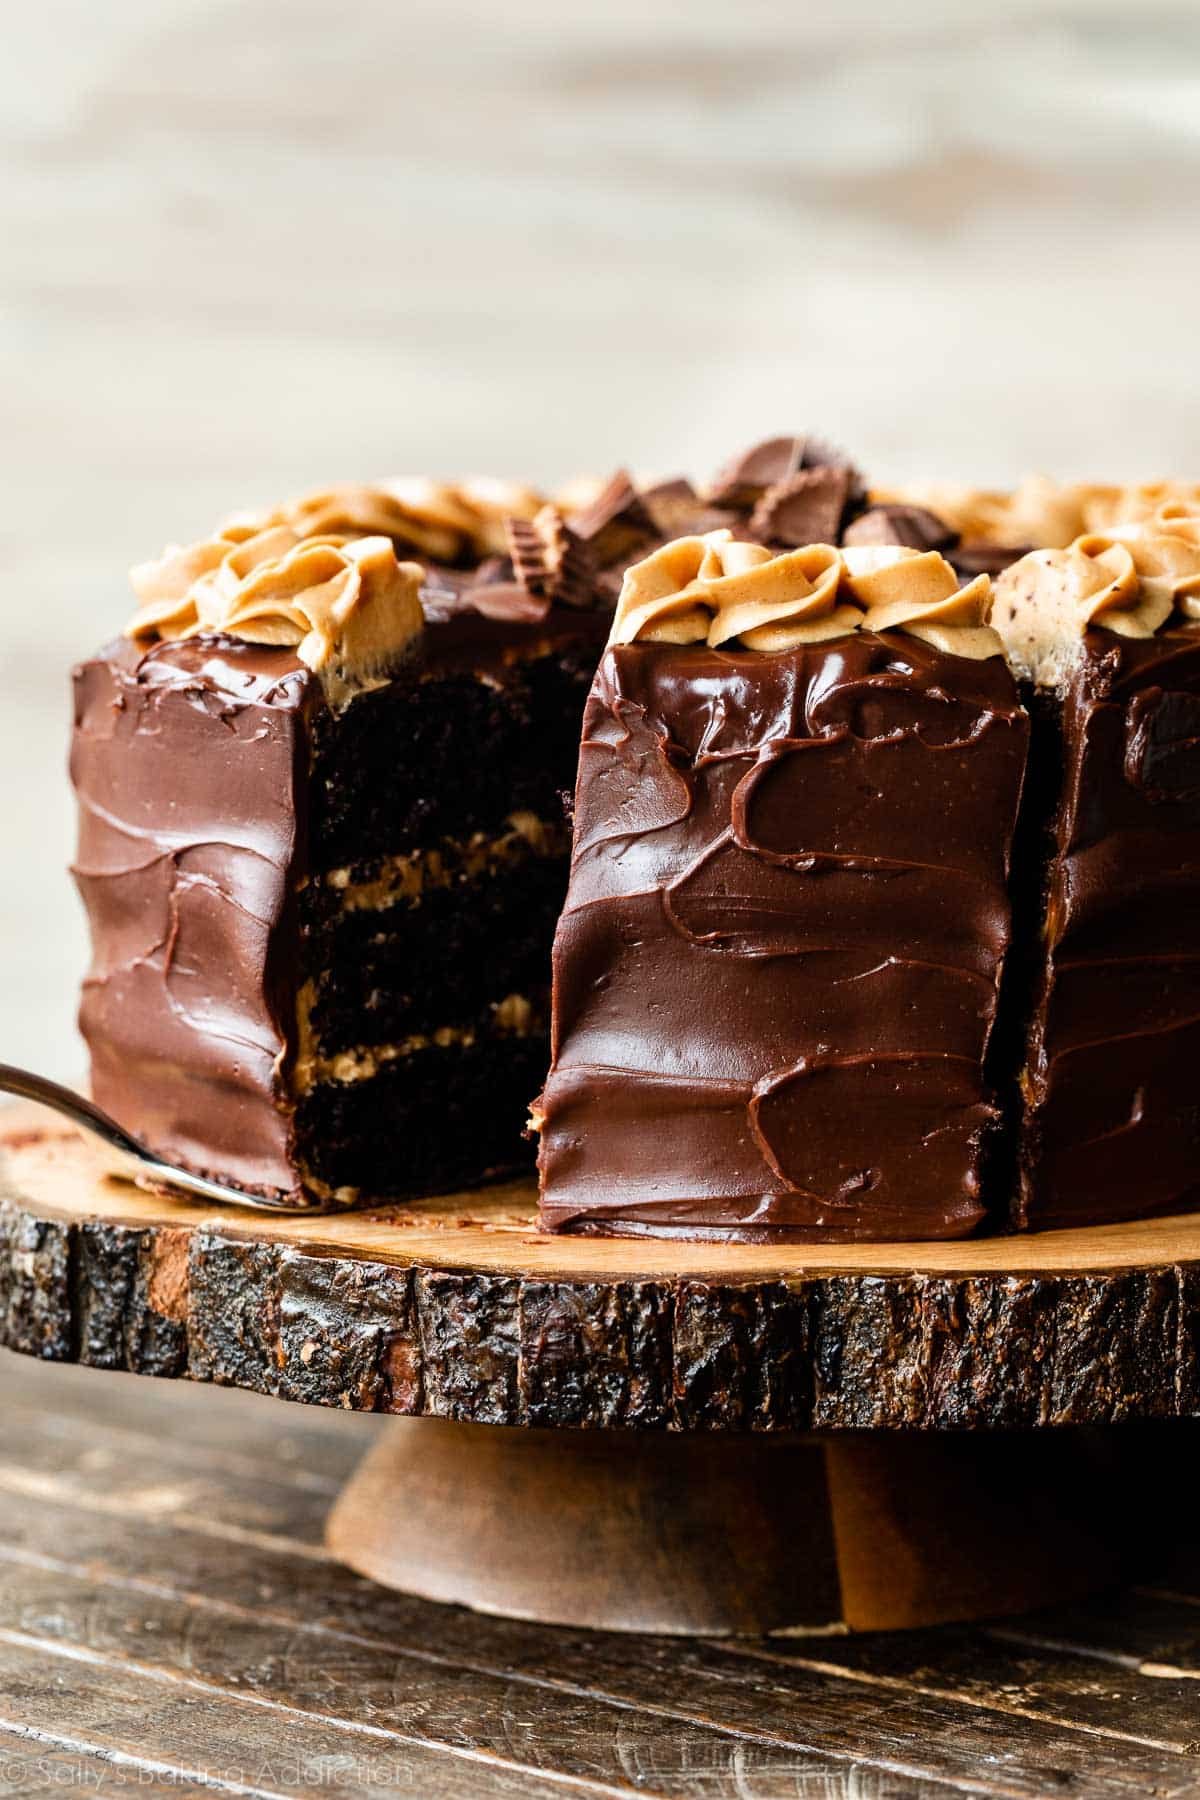
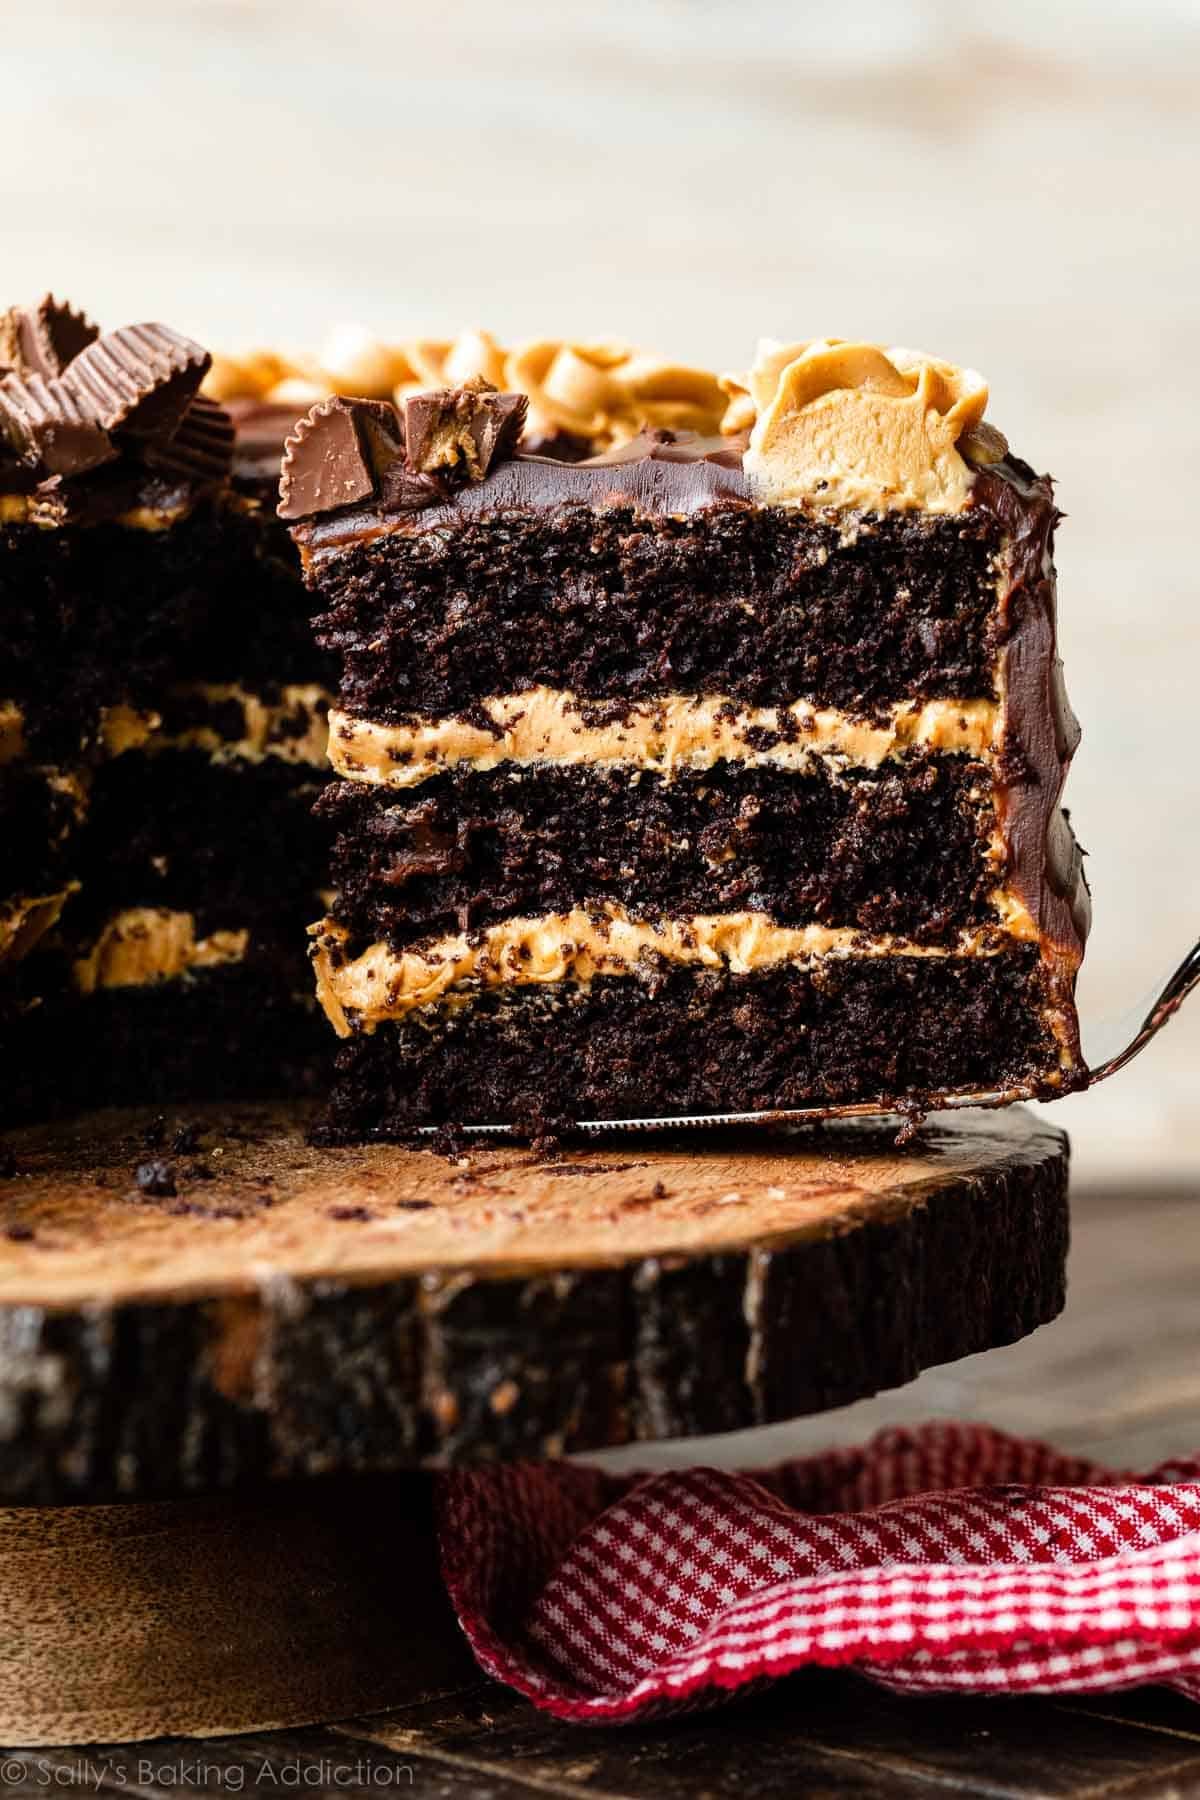
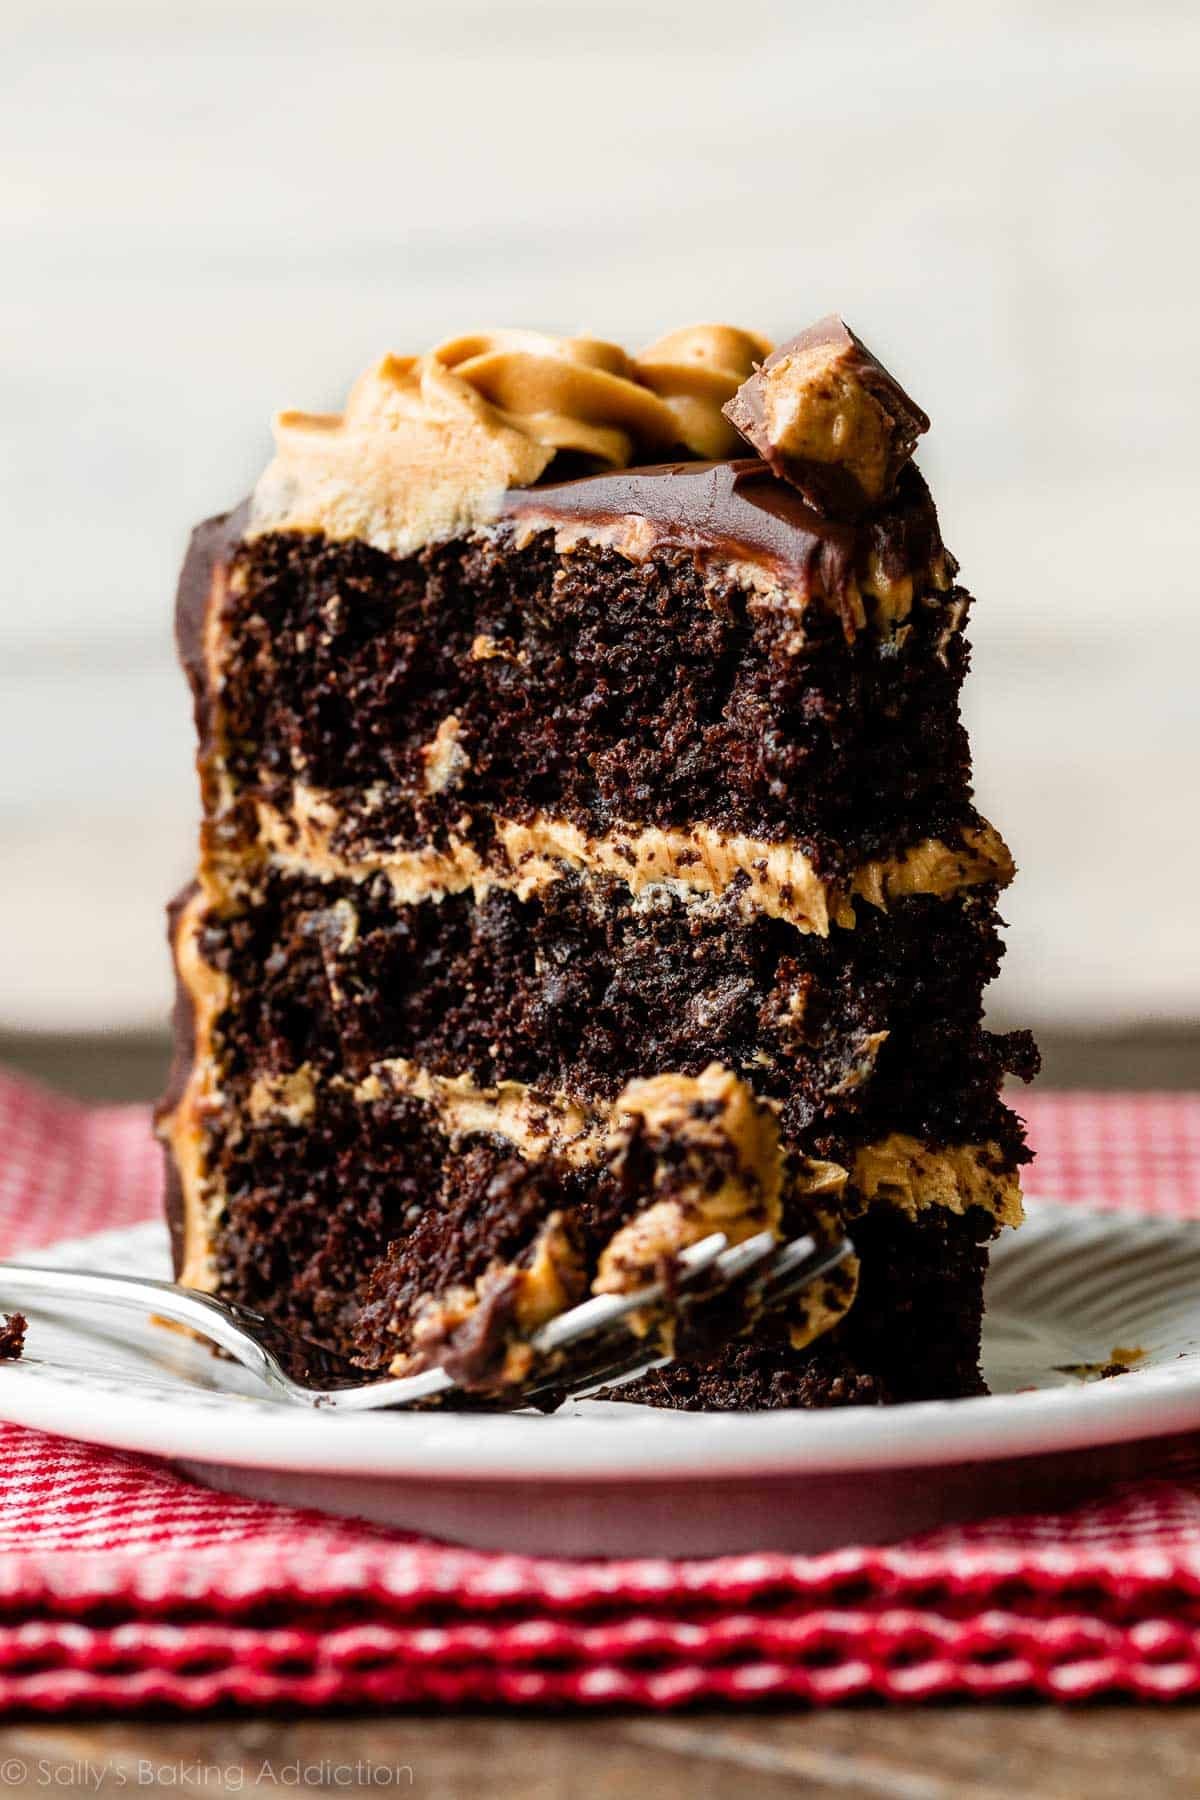
- Cake crumb is fudge-like and moist, yet a little light and spongey.
- Enjoy extra texture from the chocolate chips. (I insist you don’t leave these out! Taste testers said the chocolate chips are a welcome contrast to the smooth frosting and cake… and I agree.)
- Peanut butter frosting packs BIG flavor.
- It’s sweet, but not overly so; the lightly sweetened peanut butter frosting and dark chocolate ganache is a nice break from cloyingly sweet buttercream.
- Very rich! If you’re going to indulge, put this layer cake on the menu.
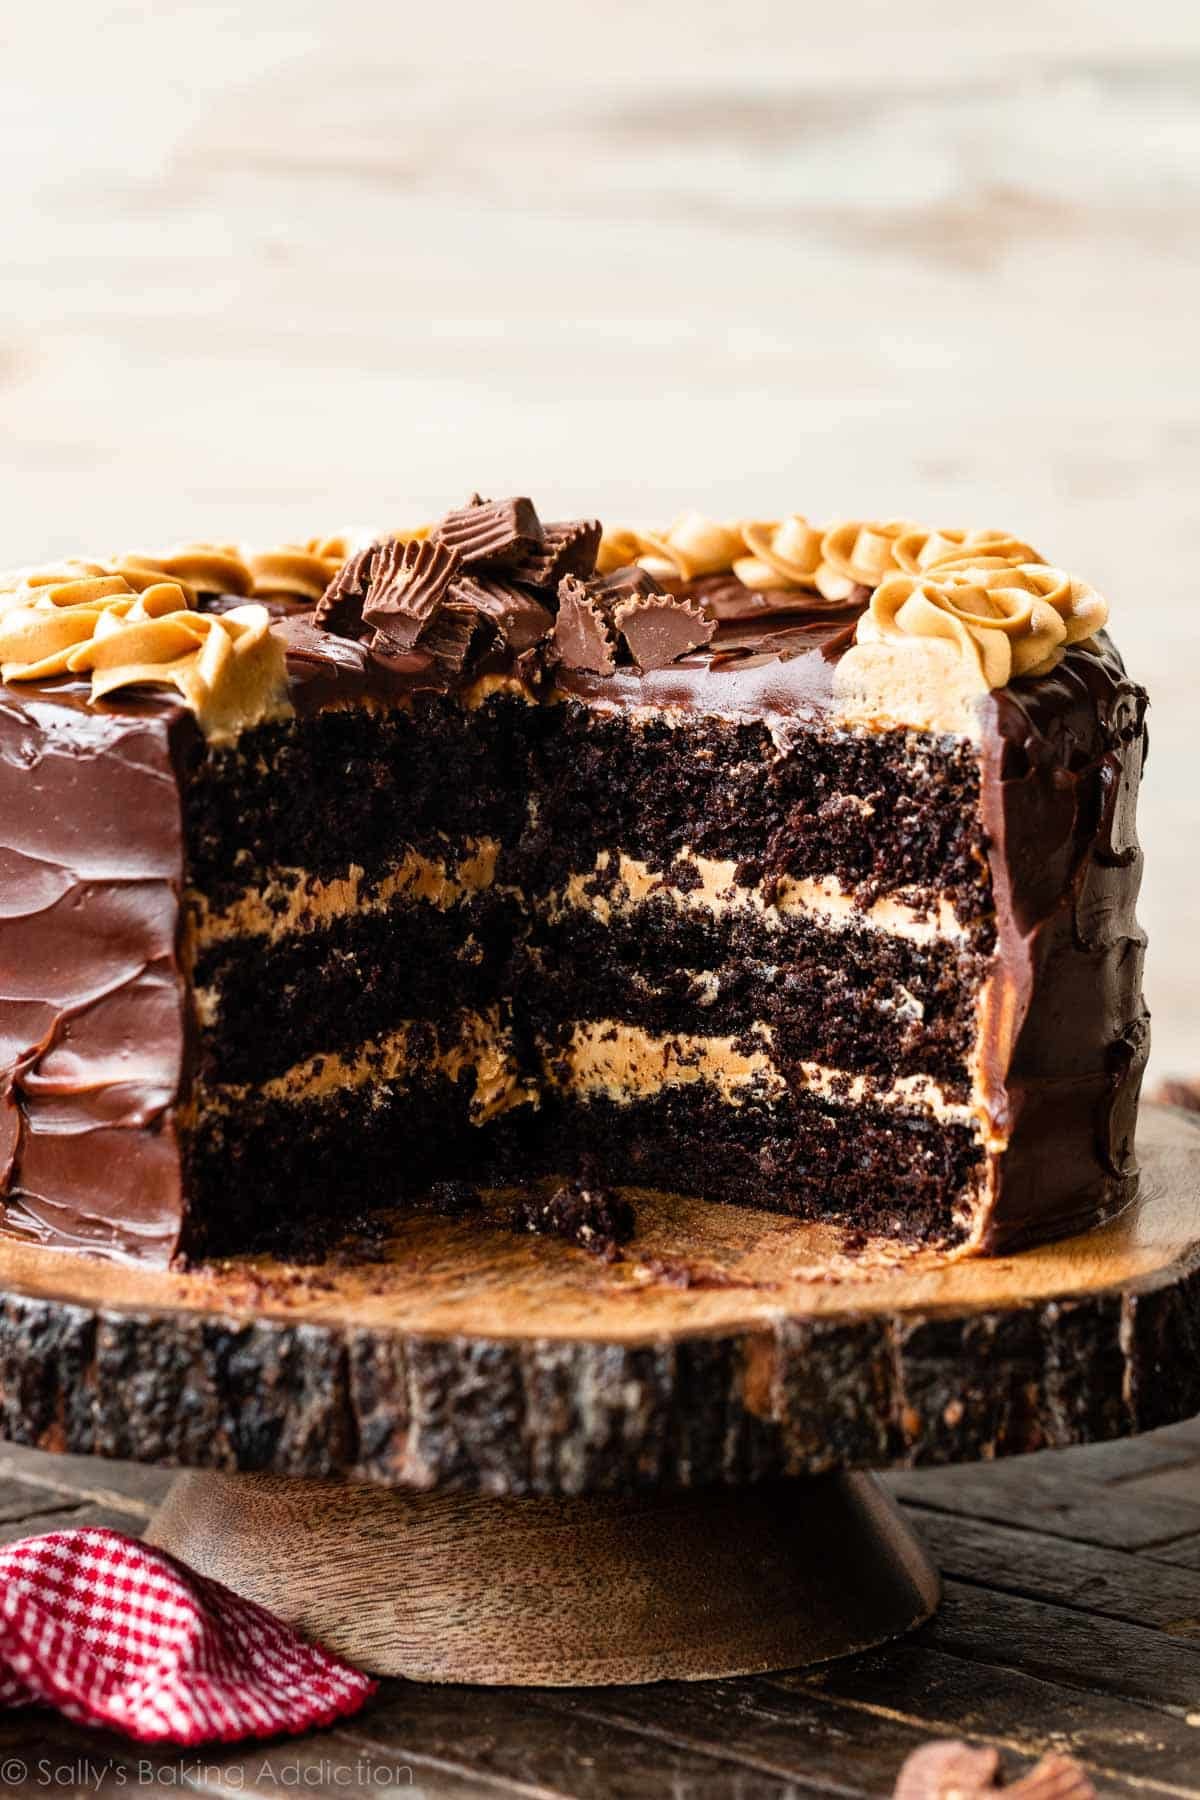
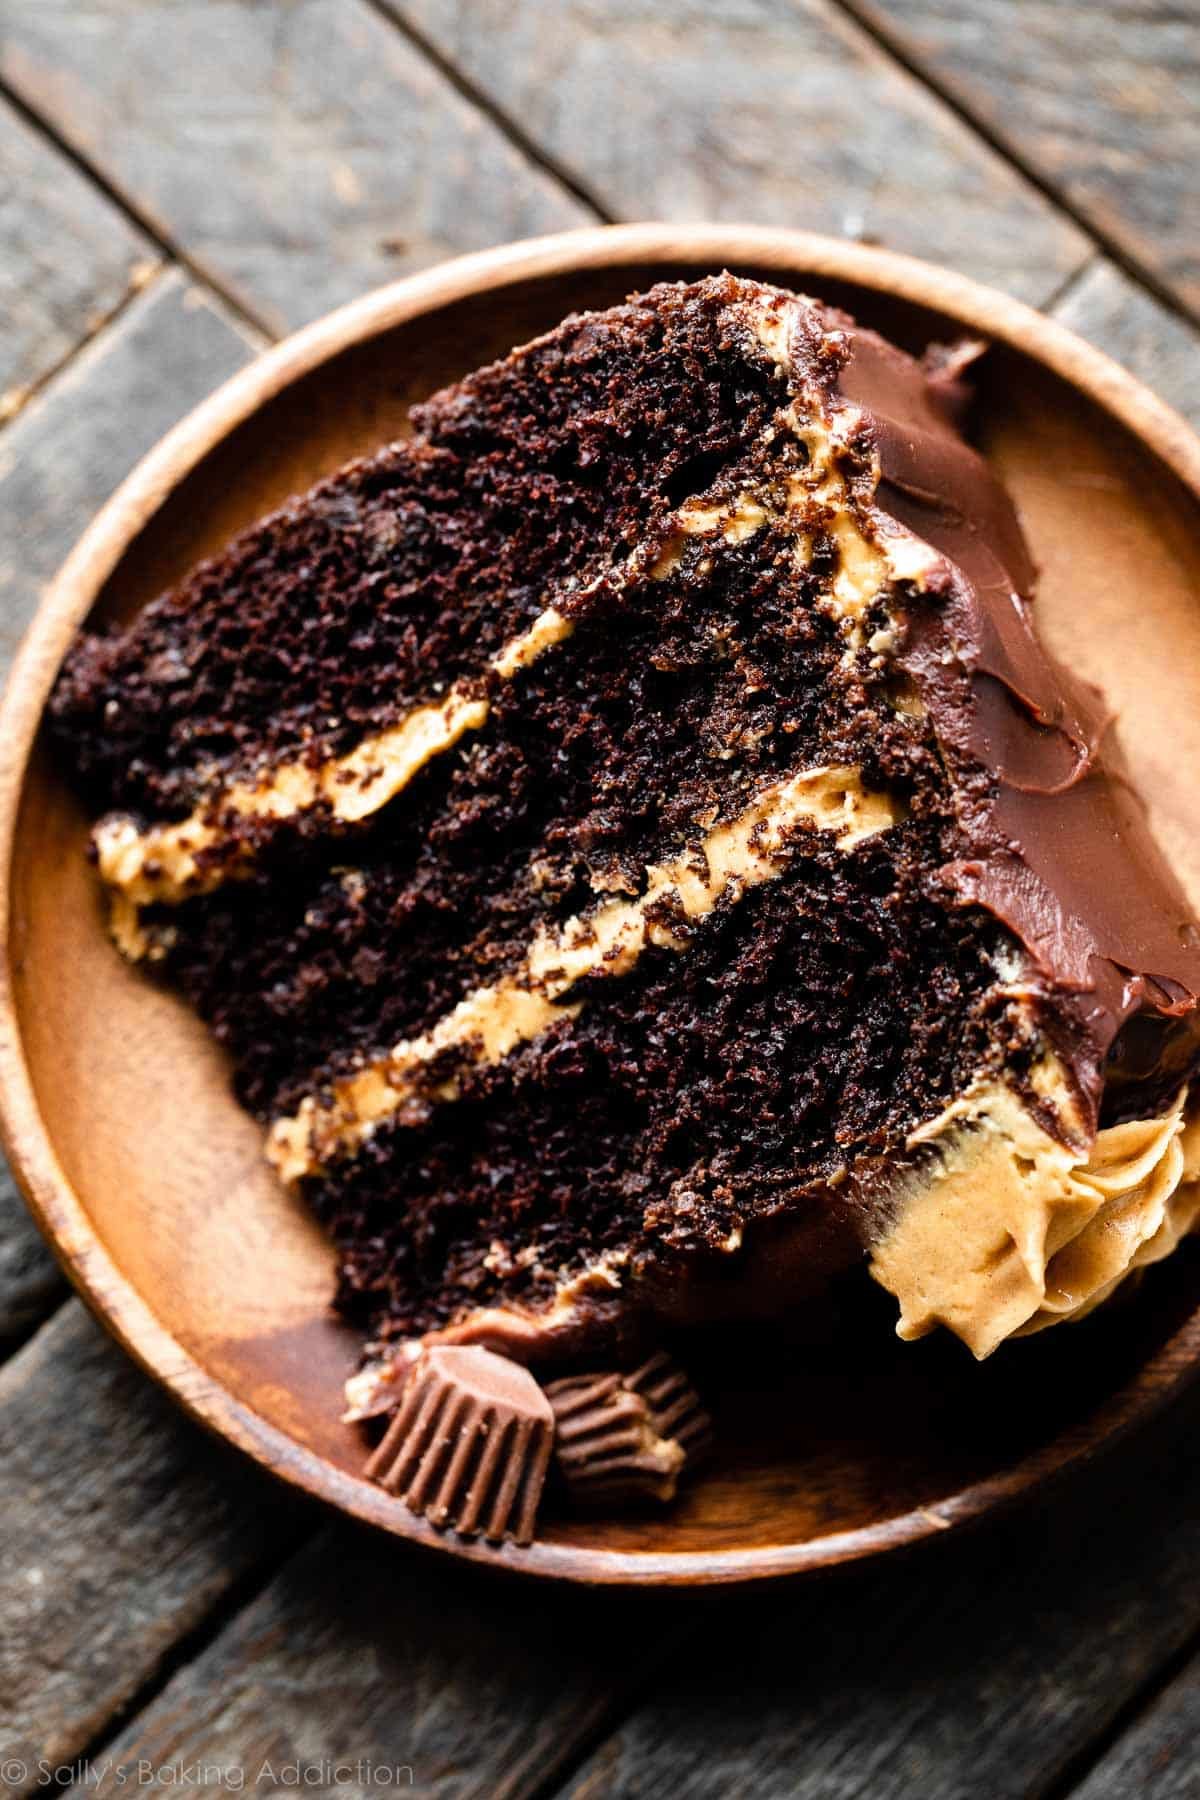
3 Parts to Chocolate Peanut Butter Cake
Let’s break down each component of this unapologetically indulgent cake:
- Dark Chocolate Cake: We’re starting with the same cake batter from dark chocolate mousse cake and chocolate raspberry cake, both reader favorites. The cake batter is essentially the same as this chocolate cake, but we’re using the sour cream variation because it produces a sturdier cake—certainly beneficial for tall and towering layers.
- Peanut Butter Frosting: Slather on a layer of creamy peanut butter frosting between each cake layer, and use it to apply a crumb coat to the exterior of the cake. It’s a scaled-up version of my original peanut butter frosting recipe.
- Chocolate Ganache: Top the whole cake with 2-ingredient semi-sweet chocolate ganache. I originally frosted this cake with a chocolate buttercream, but all of my taste testers said it was simply too rich and too sweet. “Hard to finish a slice,” most said. With chocolate ganache, one taster distinctly said, “I cannot stop eating this.”
My team and I made at least 6 of these cakes during the testing phase and we had some VERY happy neighbors and friends.
A Cake With Serious Chocolate Flavor
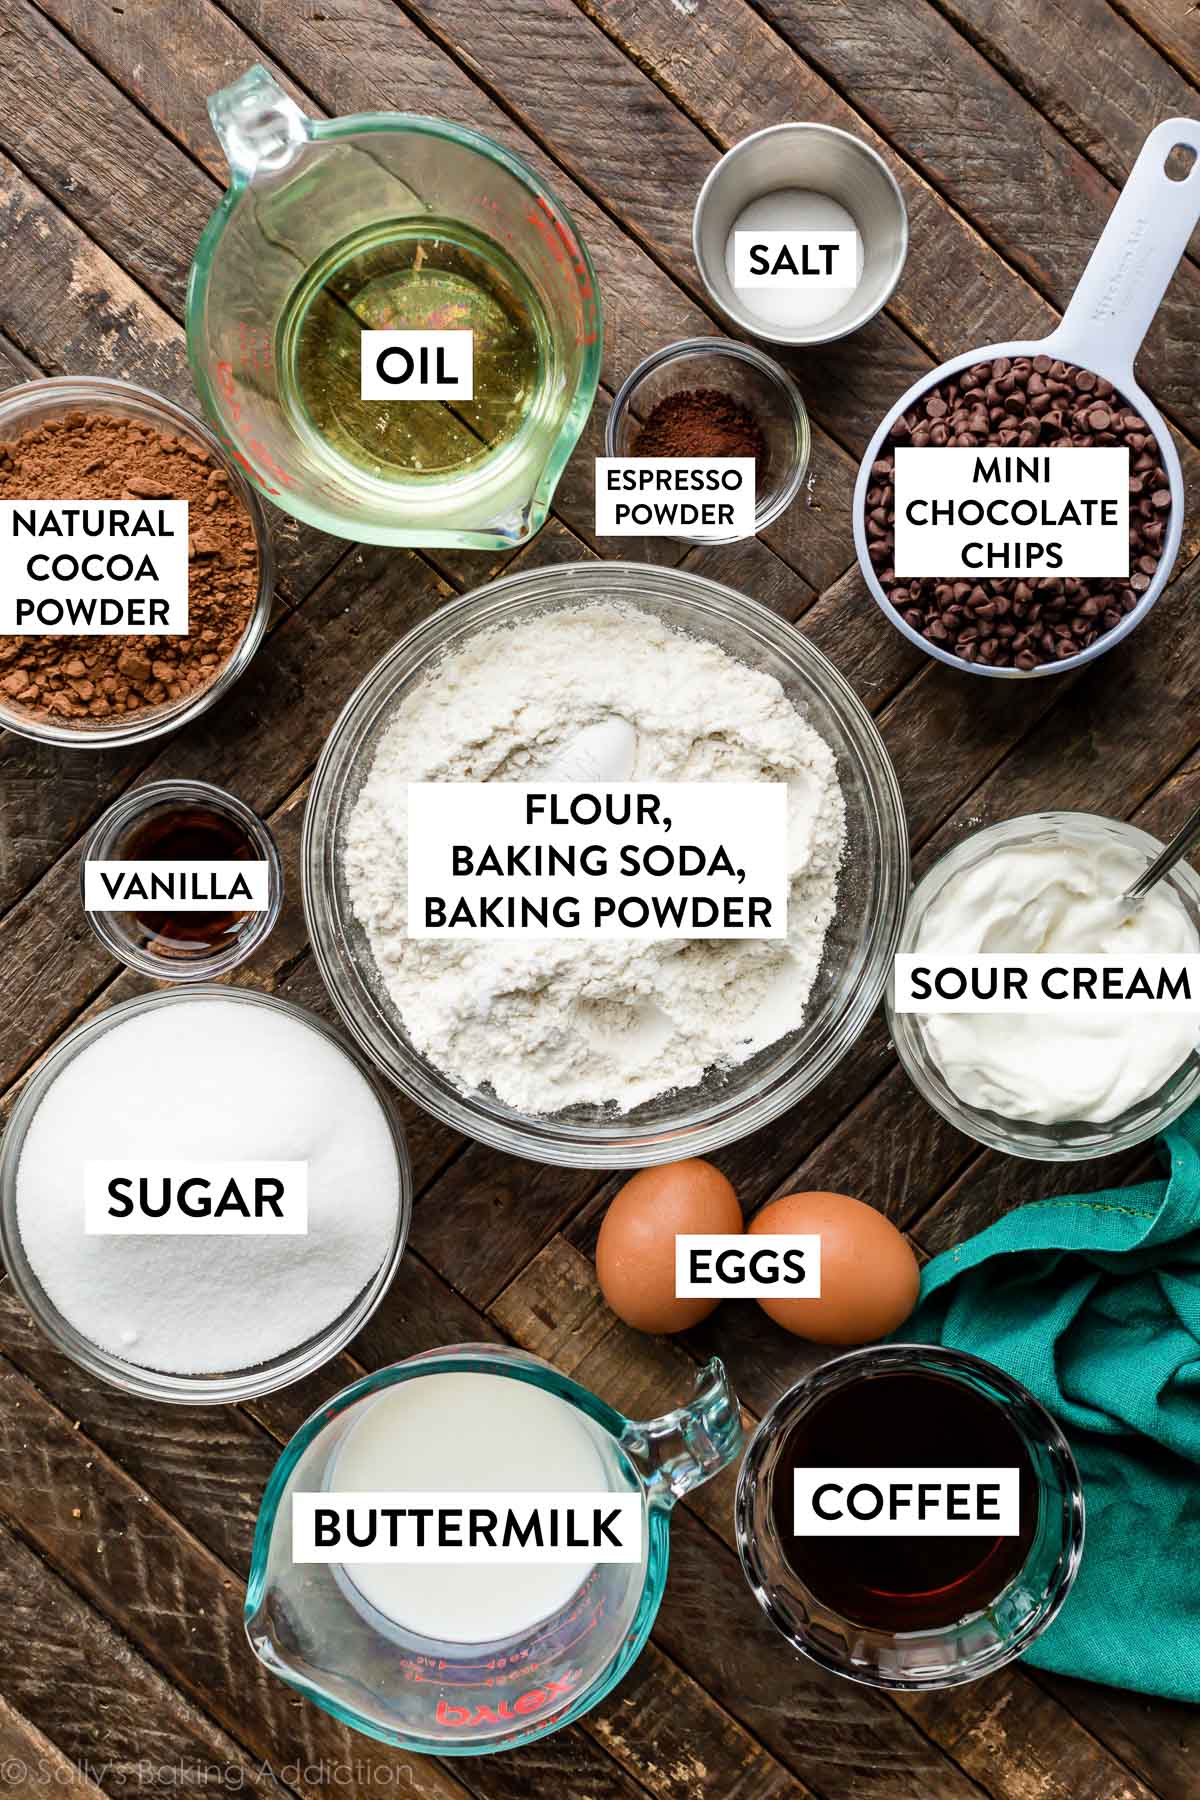
You need a handful of basic baking ingredients for the cake batter. The acidity in both sour cream and buttermilk is a must to provide proper leavening. (If desired, see baking powder vs baking soda for more information.) A touch of espresso powder and hot coffee further enhances the chocolate flavor. The cake will not taste like coffee—rather, the two add depth to the cake’s dark chocolate flavor. Feel free to skip the espresso powder and replace hot coffee with hot water.
- Why hot liquid? The hot liquid encourages the cocoa powder to bloom and dissolve.
Chocolate chips take the chocolate flavor to the next level, and, as I mentioned above, they also supply phenomenal texture. Toss them in a little flour before folding into the batter.
Creamy Peanut Butter Frosting
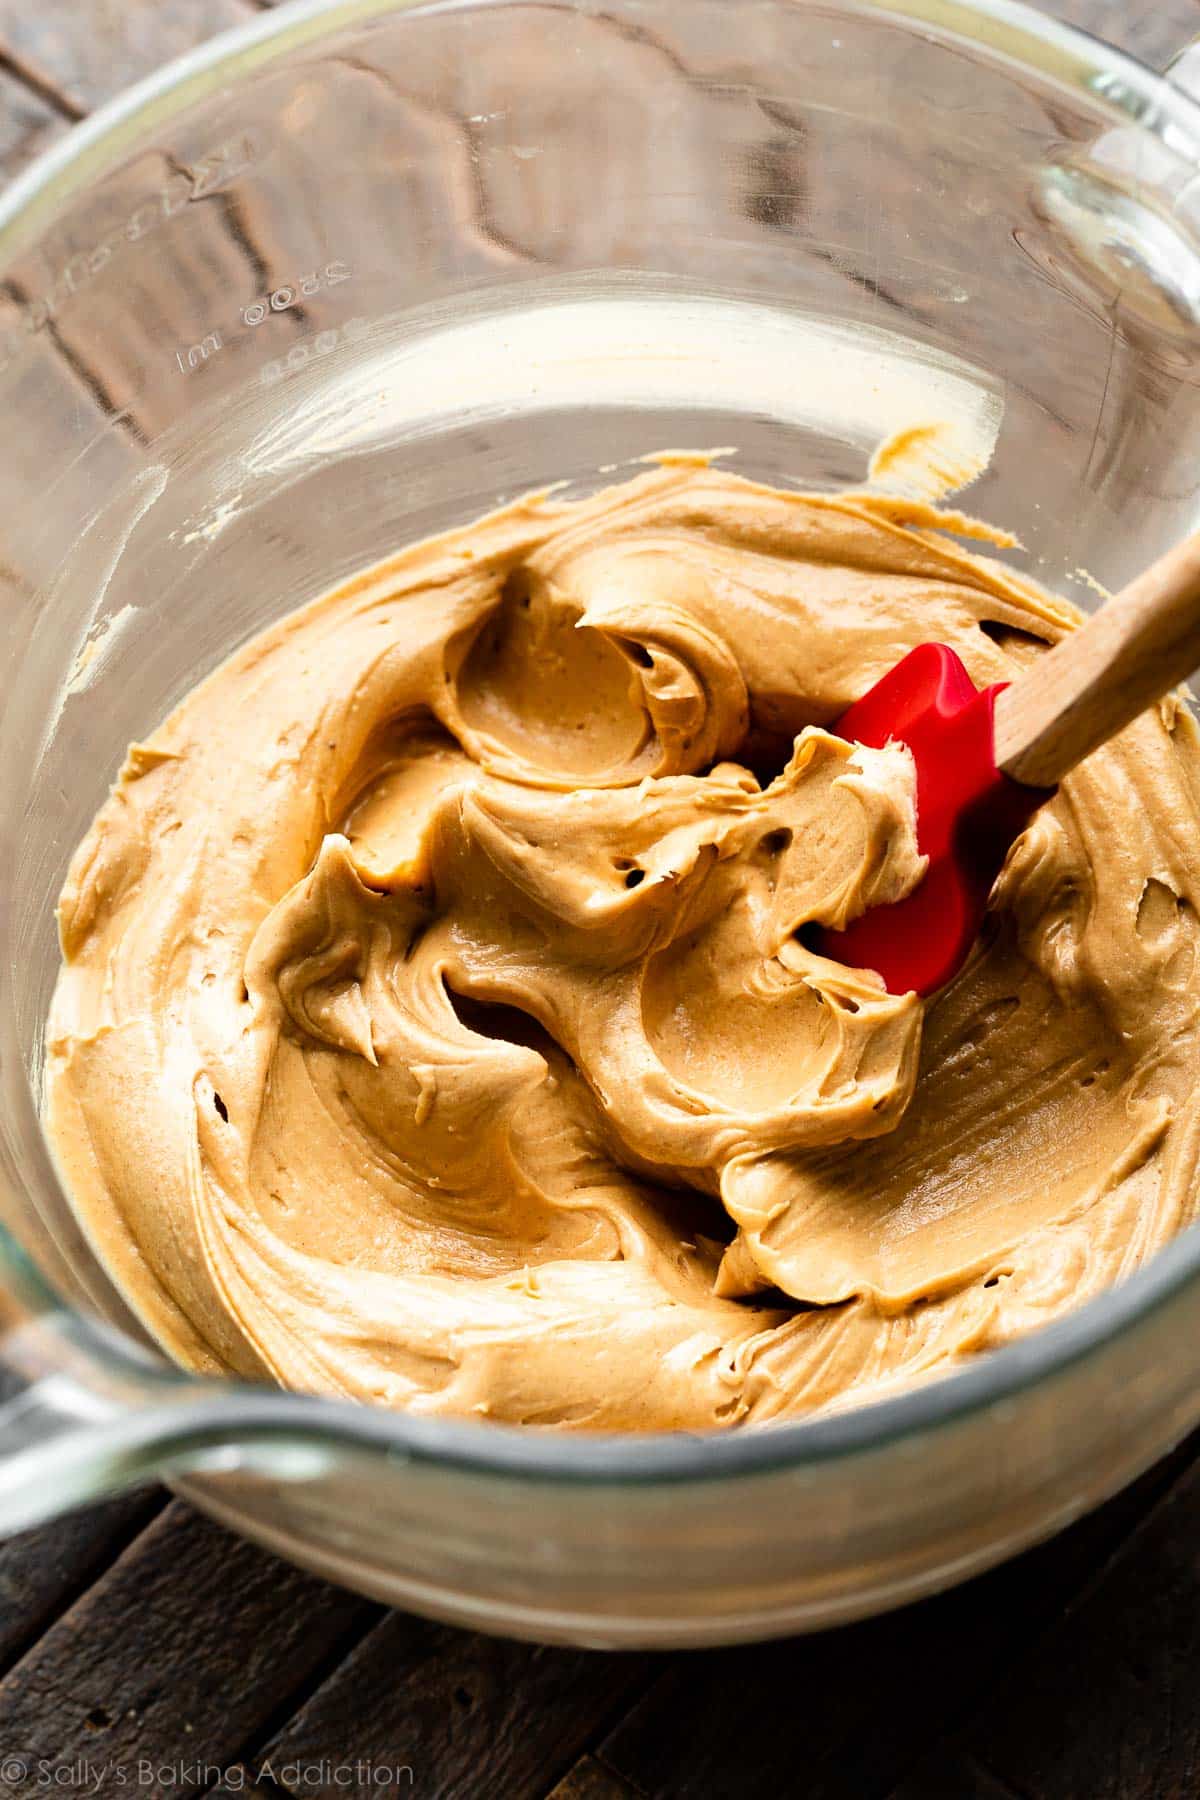
I played around with the ingredients in my usual creamy peanut butter frosting recipe, and made some adjustments in order to yield just the right amount for this cake. You need 5 ingredients:
- Butter
- Peanut Butter: Use the conventional kind, like Jif or Skippy, rather than natural.
- Confectioners’ Sugar: I know you’ll appreciate that there’s less than 2 cups of confectioners’ sugar, a far cry from the usual 6 or 7 cups required for buttercream on a tall layer cake.
- Heavy Cream: You also need this for the chocolate ganache.
- Vanilla Extract
You’ll end up with 3.5–4 cups (about 850g), which is enough frosting for filling, crumb-coating, and some basic piping on the exterior. This frosting has incredible peanut butter flavor because it’s packed with nearly 2 cups of it! There’s no other way to make it. 😉
2 Ingredient Chocolate Ganache
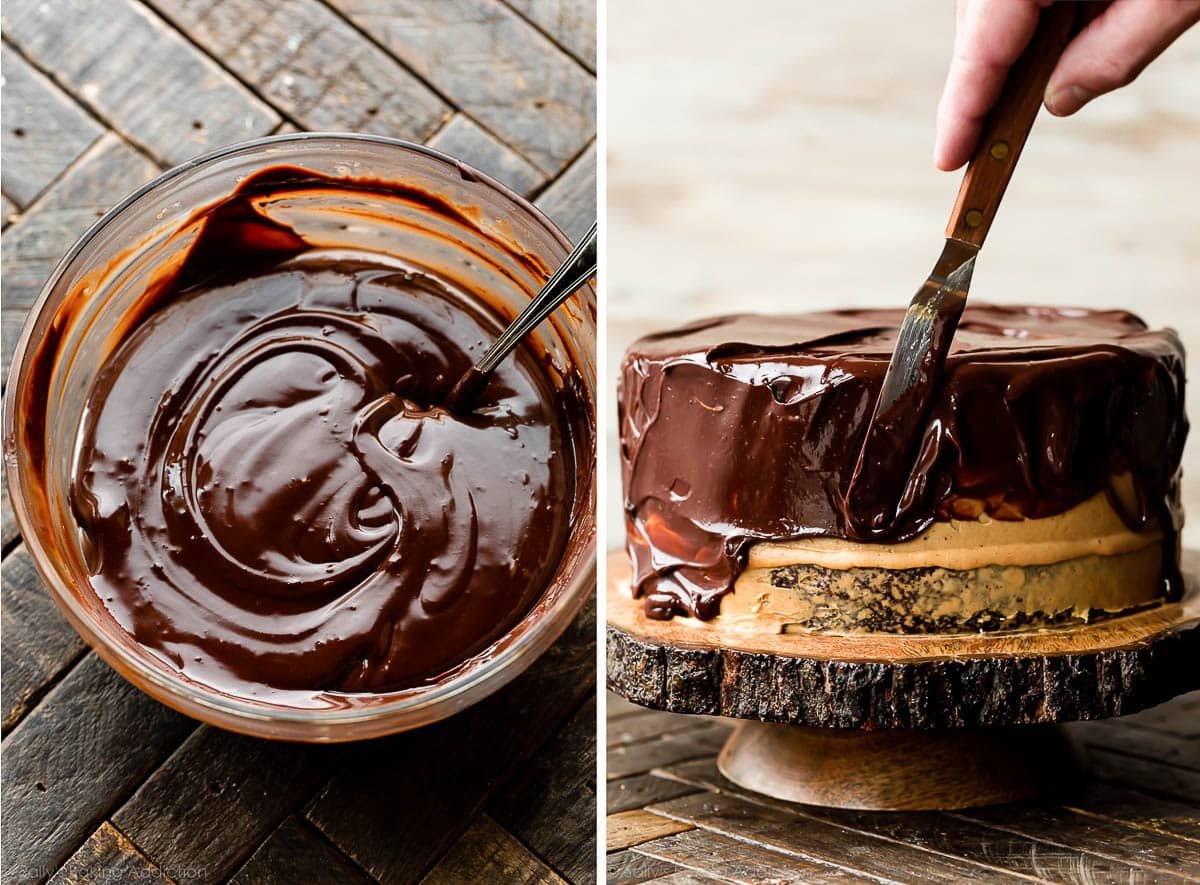
I won’t go into a lot of detail about how to make the ganache because I have a complete chocolate ganache tutorial for you. You need just 2 ingredients: chopped semi-sweet baking chocolate (about 56–60% cacao) and warm heavy cream.
#1 Success Tip: Wait 20–30 minutes for the ganache to thicken before pouring or spooning onto the cake, which is convenient because you also have to wait for the crumb-coated cake to chill.
As you can watch in the video tutorial below, a chilled cake helps set or solidify the ganache as you’re applying it, which helps prevent major drips/big messes.
How to Assemble & Decorate This Chocolate Peanut Butter Cake
I’m NOT a professional cake decorator and with all of my layer cakes, I prefer simplicity. Let me share how I stack and decorate this beauty:
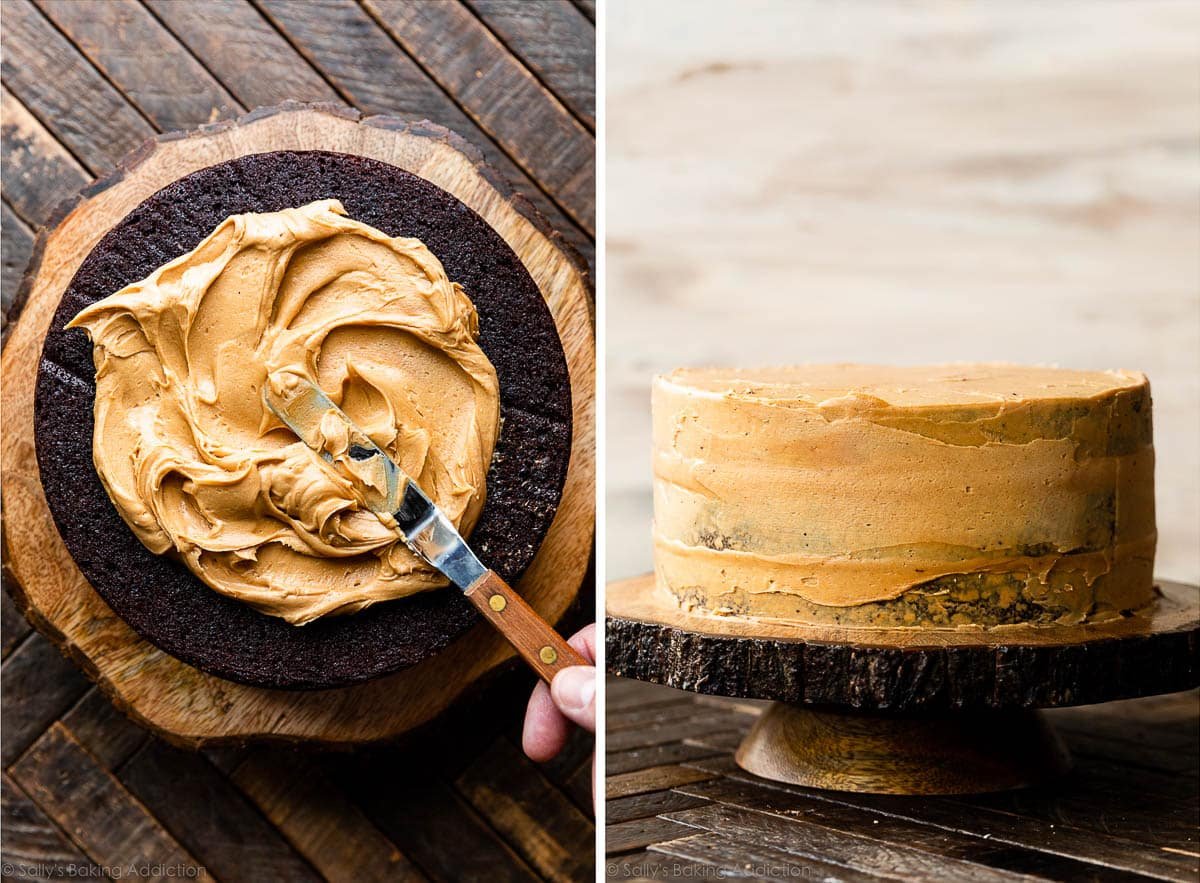
Assemble: Place the bottom cooled cake layer on your cake stand or serving plate. Using a large icing spatula or small offset spatula, evenly cover the top with about 1 cup of peanut butter frosting. Top with 2nd cake layer and another 1 cup of frosting. Top with the third cake and then spread a thin layer of the peanut butter frosting on top and around the sides as a crumb coat. Run a bench scraper around the cake to smooth it out. Refrigerate the cake for at least 30 minutes and up to 3 hours to set the crumb coat.
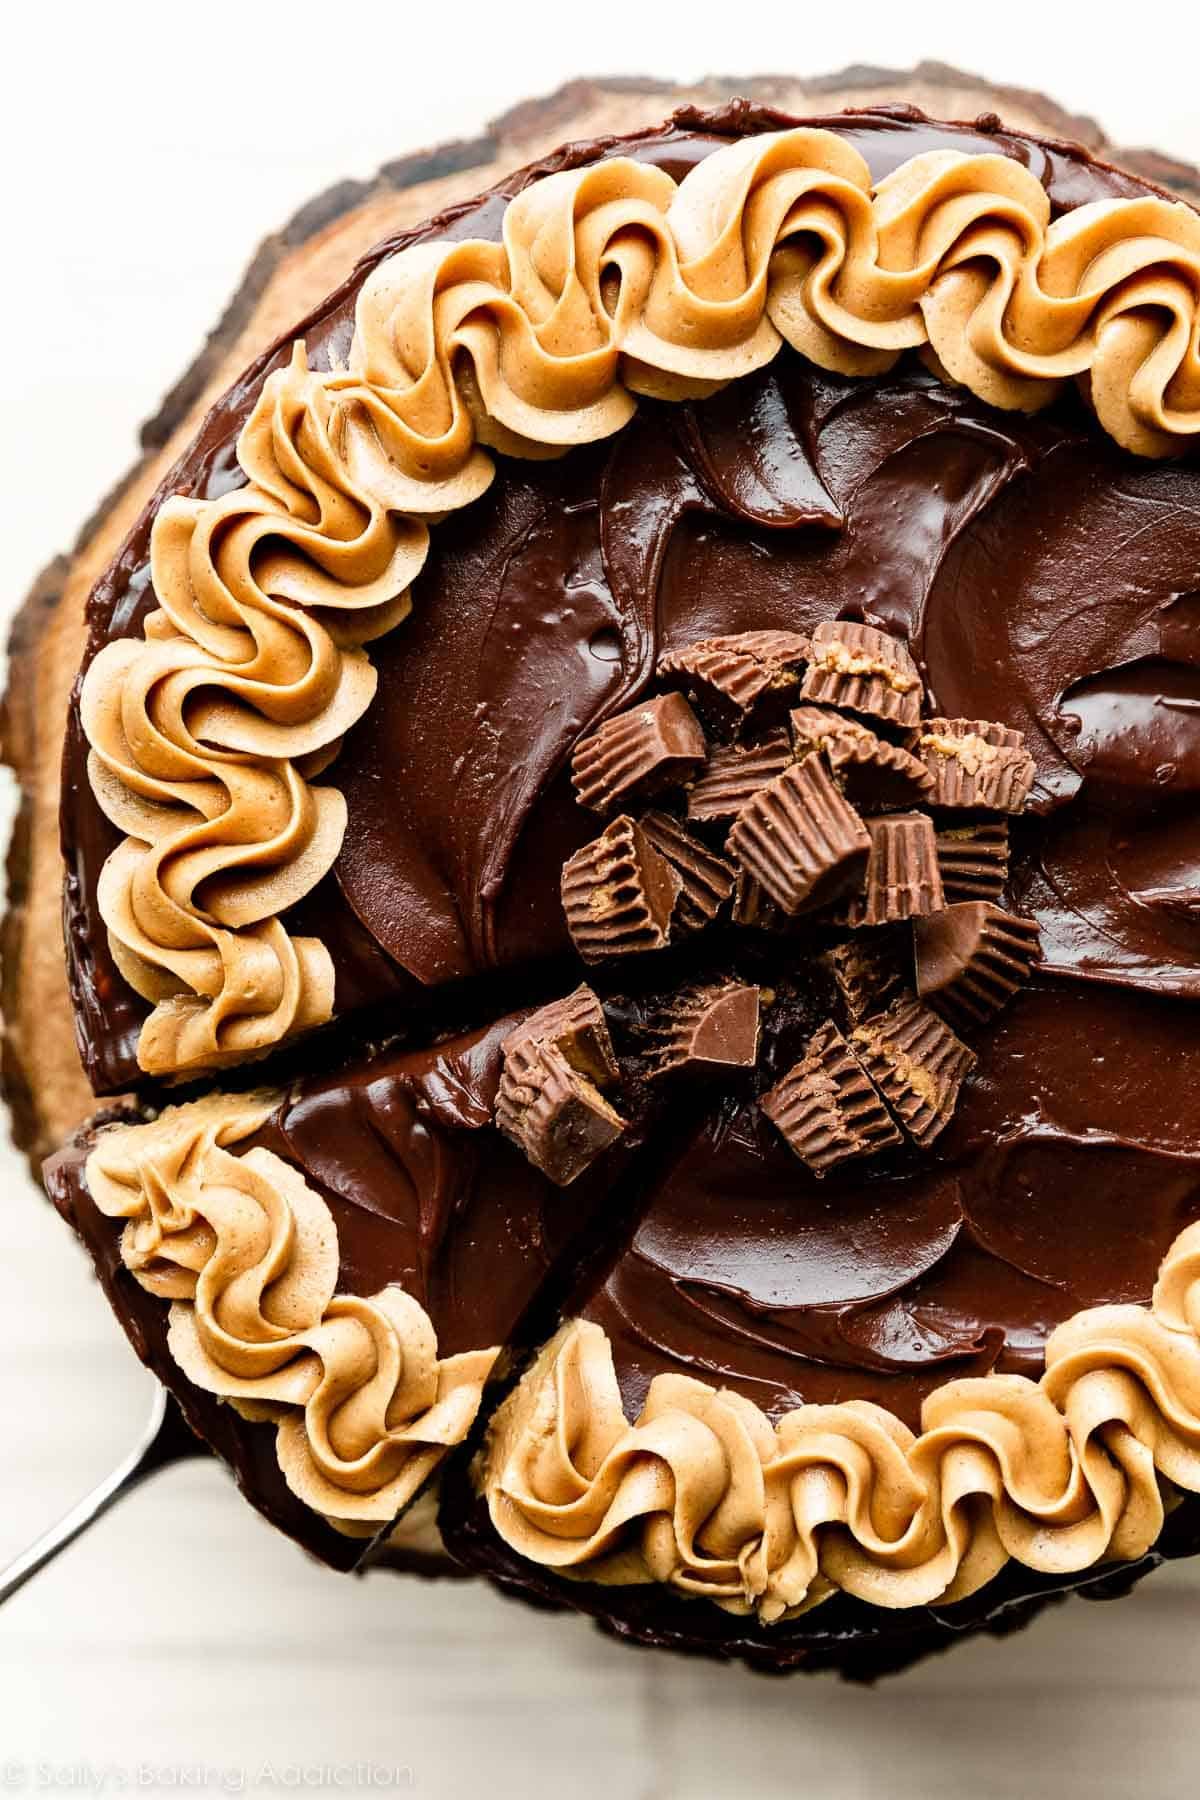
Decorate: Pour slightly cooled chocolate ganache on top, then, once again, run a bench scraper around the sides to smooth it out. Finally, fill a piping bag (reusable or disposable) with the remaining peanut butter frosting and pipe around the edges of the cake. I use Wilton 1M for the piped detail. If desired, you can finish off this chocolate peanut butter bombshell with peanut butter cups.
If you’re just learning how to use piping tips, my piping tips guide is a helpful resource, and don’t miss these complete lists of cake success tips and cake decorating tools.
Now it’s your turn! Swoooon.
Recommended Tools
- Stand Mixer or Handheld Mixer
- 3 9-inch Cake Pans (8-inch also works, but I recommend 9-inch for this cake)
- Parchment Paper Rounds
- Large Icing Spatula and/or Small Offset Spatula
- Cake Turntable (optional, I don’t use one for this)
- Bench Scraper
- Piping Bag (disposable or reusable) & Wilton 1M Piping Tip
- Cake Carrier for storing and transporting
Chocolate Peanut Butter Cake
- Prep Time: 1 hour, 30 minutes (includes chilling)
- Cook Time: 25 minutes
- Total Time: 4 hours (includes cooling)
- Yield: serves 12-14
- Category: Cake
- Method: Baking
- Cuisine: American
Description
This super moist chocolate peanut butter cake combines rich chocolate cake with creamy peanut butter frosting and smooth chocolate ganache. Crumb-coated cake and ganache must chill before assembling and decorating the cake. See recipe Notes for further information about some ingredients.
Ingredients
- 1 and 3/4 cups (219g) all-purpose flour (spooned & leveled)
- 3/4 cup (62g) unsweetened natural cocoa powder* (see note)
- 1 and 3/4 cups (350g) granulated sugar
- 2 teaspoons baking soda
- 1 teaspoon baking powder
- 1 teaspoon salt
- 2 teaspoons espresso powder (optional)*
- 1/2 cup (120ml) canola or vegetable oil
- 2 large eggs, at room temperature
- 3/4 cup (180g) full-fat sour cream, at room temperature
- 1/2 cup (120ml) buttermilk, at room temperature*
- 2 teaspoons pure vanilla extract
- 1/2 cup (120ml) hot water or black coffee*
- 1 cup (170g) mini semi-sweet chocolate chips (tossed in 1 Tablespoon flour)
Peanut Butter Frosting
- 3/4 cup (12 Tbsp; 170g) unsalted butter, softened to room temperature
- 1 and 3/4 cup (440g) creamy peanut butter*
- 1 and 3/4 cup (210g) confectioners’ sugar
- 1 teaspoon pure vanilla extract
- pinch of salt
- 3 Tablespoons (45ml) heavy cream or heavy whipping cream, at room temperature
Chocolate Ganache
- 8 ounces (226g) quality semi-sweet chocolate, finely chopped*
- 1 cup (240ml) heavy cream or heavy whipping cream
- optional garnish: chopped or mini peanut butter cups
Instructions
- Preheat oven to 350°F (177°C). Grease three 9-inch cake pans, line with parchment paper rounds, then grease the parchment paper. Parchment paper helps the cakes seamlessly release from the pans. (If it’s helpful, see this parchment paper rounds for cakes video & post.)
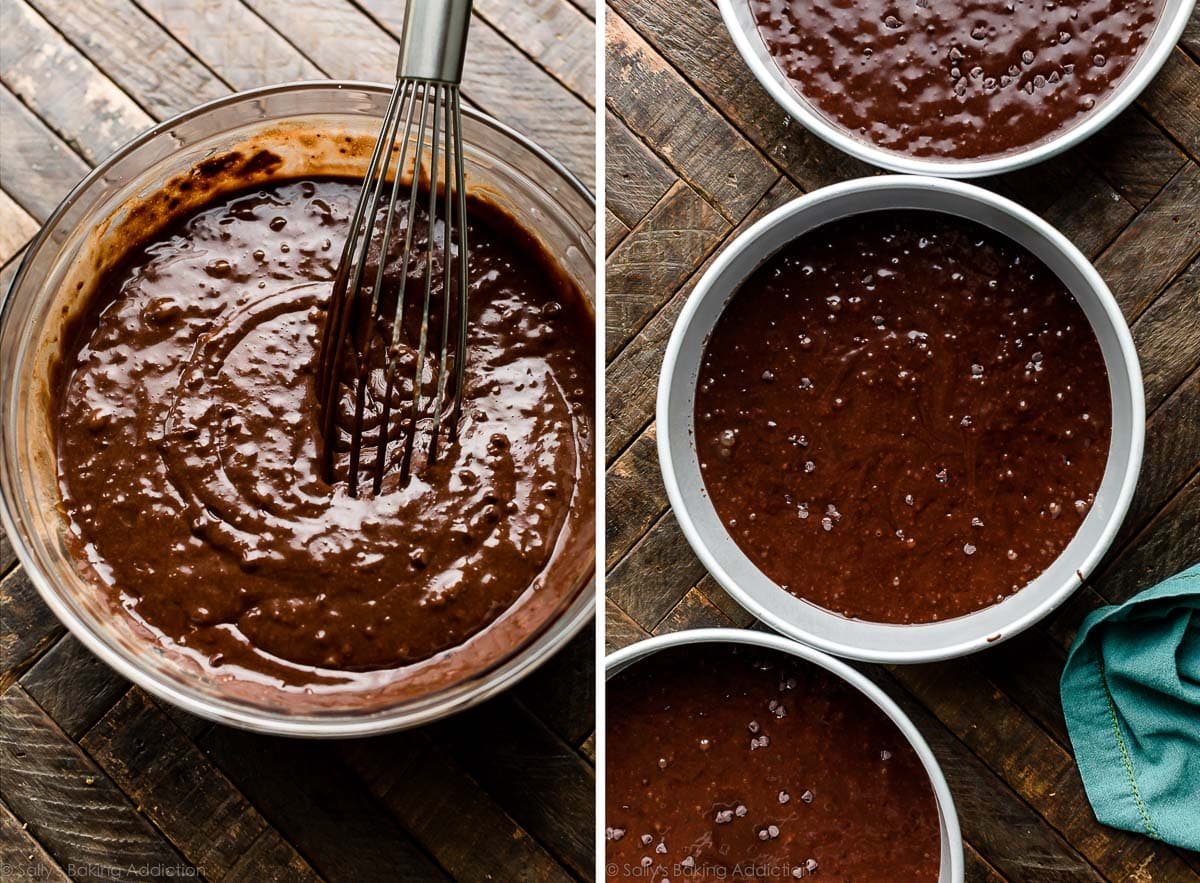
- Make the cake: Whisk the flour, cocoa powder, sugar, baking soda, baking powder, salt, and espresso powder (if using) together in a large bowl. Set aside. Using a handheld or stand mixer fitted with a whisk attachment (or you can use a whisk), mix the oil, eggs, and sour cream together on medium-high speed until combined. Add the buttermilk and vanilla and beat until combined. Pour the wet ingredients into the dry ingredients, add the hot water/coffee, and whisk or beat on low speed until the batter is completely combined. Fold in the flour-coated chocolate chips. Batter is thin and you may see some air bubbles on the surface—that’s normal. You should have about 6–6.5 cups of batter, or around 1400g.
- Divide batter evenly between 3 pans. Bake for approximately 24–26 minutes. Baking times vary, so keep an eye on yours. The cakes are done when a toothpick inserted in the center comes out clean.
- Remove the cakes from the oven and set on a wire rack. Allow to cool completely in the pan. The cakes may slightly sink in the middle as they cool—that’s expected.
- As the cakes cool, make the peanut butter frosting: With a handheld or stand mixer fitted with a paddle attachment, beat the butter on medium high speed until creamy and smooth, about 2 minutes. With a rubber spatula, scrape down the sides and bottom of the bowl as needed. Add the peanut butter and beat until completely combined, about 1–2 minutes. Scrape down the sides and bottom of the bowl as needed to help combine. Mixture will be thin. Add confectioners’ sugar, vanilla extract, and salt and then pour in the heavy cream with the mixer running on low speed. After all of the cream has been added, turn the mixer up to medium-high speed and beat for 1–2 minutes, or until fully combined and creamy. Add up to 1/4 cup more confectioners’ sugar if frosting seems quite thin. You should end up with about 3.5–4 cups (850g) of peanut butter frosting. This amount makes enough for the filling, crumb coat, and for a little piping on top.
- Assemble cake + apply crumb coat: Place 1 cake layer on your cake stand, cake turntable, or serving plate. Using a large icing spatula or small offset spatula, evenly cover the top with about 1 cup peanut butter frosting. Repeat with 2nd and 3rd cake layers, spreading about 1 cup of peanut butter frosting in between each layer. Spread a thin layer of frosting on the top and around the sides as a crumb coat. Run a bench scraper around the cake to smooth out crumb coat. Chill uncovered in the refrigerator for at least 30 minutes and up to 3 hours to set the crumb coat.
- As your crumb coat sets, make the chocolate ganache: Place finely chopped chocolate in a medium heat-proof bowl. Heat the cream in a small saucepan over medium heat until it begins to gently simmer. (Do not let it come to a rapid boil—that’s too hot!) Pour over chocolate, then let it sit for 2–3 minutes to gently soften the chocolate. With a metal spoon or small rubber spatula, very slowly stir until chocolate has melted and mixture is smooth. Ganache is thin. The finer you chopped the chocolate, the quicker it will melt with the cream. If it’s not melting, do not microwave it. If needed, see Troubleshooting Chocolate Ganache. Once ganache mixture is smooth, let it chill for 20-30 minutes in the refrigerator to thicken before spreading on chilled crumb-coated cake.
- Pour/spoon thickened ganache on chilled cake. Smooth the top with an icing spatula and the sides with a bench scraper. If desired, pipe remaining peanut butter frosting around the edge of the cake. I used Wilton 1M piping tip on the pictured cake. Garnish with peanut butter cups, if desired. Serve cake immediately or chill, uncovered, for up to 4–6 hours before serving. Cake can be served at room temperature or chilled.
- Cover leftover cake tightly and store in the refrigerator for 5 days. I like using a cake carrier for storing and transporting.
Notes
- Make Ahead & Freezing Instructions: Prepare cake through step 4. Wrap the individual baked and cooled cake layers tightly and refrigerate for up to 2 days or freeze up to 3 months. Bring to room temperature, then continue with step 5. You can prepare the peanut butter frosting in advance. Cover and refrigerate for up to 3 days. Bring to room temperature before using and beat in a little more room-temperature heavy cream to thin out if necessary. You can also prepare the chocolate ganache ahead of time. Refrigerate prepared ganache for up to 3 days. Bring to room temperature before spreading onto cake. Frosted cake freezes well, up to 3 months. Thaw overnight in the refrigerator, then bring to room temperature or serve cold.
- Special Tools (affiliate links): 9-inch Cake Pans | Glass Mixing Bowl | Whisk | Electric Mixer (Handheld or Stand) | Large Icing Spatula and/or Small Offset Spatula | Cake Turntable, Cake Stand, or Serving Platter | Bench Scraper | Piping Bag (Disposable or Reusable) | Wilton 1M Piping Tip | Cake Carrier (for storing)
- Cocoa Powder: This recipe requires natural cocoa powder for its acidity, so do not use dutch-process.
- Espresso Powder/Coffee: Espresso powder and coffee will not make the cake taste like coffee. Rather, they deepen the chocolate flavor. I highly recommend them both. If coffee isn’t your thing, you can leave out the espresso powder and use extra hot water instead of the hot coffee.
- Sour Cream: Instead of sour cream, you can use plain yogurt. The cake won’t taste as rich, but it’s a fine substitute.
- Buttermilk: Buttermilk is required for this recipe. You can make your own DIY version of buttermilk if needed. Add 1 teaspoon of white vinegar or lemon juice to a liquid measuring cup. Then add enough whole milk to the same measuring cup until it reaches 1/2 cup. (In a pinch, lower-fat or nondairy milks work for this soured milk, but the cake won’t taste as moist or rich.) Stir it around and let sit for 5 minutes. The homemade “buttermilk” will be somewhat curdled and ready to use in the recipe.
- Peanut Butter: To prevent the frosting from separating or coming out too thin or oily, use processed creamy peanut butter such as Jif or Skippy.
- Why Room Temperature? All refrigerated items should be at room temperature so the batter and frosting mix together easily and evenly. Read more about why room temperature ingredients are important.
- Chocolate Ganache: You can use high-quality dark or semi-sweet chocolate chips if needed, but when melting chocolate, I recommend using pure chocolate baking bars (chocolate chips have stabilizers). You can find them right next to the chocolate chips in the baking aisle. I like Bakers or Ghirardelli brands, the ones labeled semi-sweet (56% cacao), which come in 4-ounce (113g) bars.
- Cupcakes: Here’s a very similar recipe for dark chocolate cupcakes with peanut butter frosting. Feel free to fill them with the peanut butter frosting (instead of frosting them with it) and top each with chocolate ganache.


I’m planning to make this recipe soon. Is it possible to bake all the batter in a 10 inch springform pan and to cut it in half? If so, how long and at what temp would I have to bake it? I unfortunately don’t have 9 inch pans and wouldn’t want to buy 3 if not necessary. Would really appreciate the help or any tips. Thanks!
Hi Trisha, we fear that will still be too much batter for a 10-inch springform pan. It will risk overflowing and uneven baking. You could, however, fill your pan no more than half way, and bake the layers in batches. They’ll be a bit thinner than the 9-inch rounds you see here, and bake time will be slightly less. Same temperature. Hope you enjoy the cake!
This was my first ever attempt at making a legitimate (not box) cake, and it was such a success! I made this for my coffee-loving husband’s birthday and swapped the peanut butter frosting for dark chocolate coffee mousse. The chocolate cake is moist and intense, and the smattering of chocolate chips in the batter added a perfect touch! Chilling the ganache for 20 minutes before using gave me the perfect spreadable consistency.
Coffee lovers in this house. Could I use shots if espresso instead of hot coffee?
Hi Ashlyn, espresso would be great here, though espresso is usually stronger than coffee – you could water it down a bit before using.
So amazing! I made this (cake + pb frosting) for my 2 year old’s birthday. I did a construction theme so the chocolate and peanut butter worked so well for dirt/digging/construction theme. Probably the best chocolate cake I’ve ever had! Loved the added texture of the chocolate chips and the chocolate/pb combination is always a win in my book! This website is now my go-to for…everything!
What a fun cake idea, Jennifer! Glad it was a hit and happy birthday to your 2 year old 🙂
We loved this cake. Granddaughters loves peanut butter so did frosting in the peanut butter with ganash trim and rees’s cup hearts
This is by far the BEST cake I have ever made! It has a moist and fluffy texture, is VERY flavorful, it looks beautiful, and most importantly, it’s not overly sweet! The Peanut Butter icing is so smooth and creamy and assembling the cake was much easier than I expected. The ganache adds the perfect touch and keeps the sweetness balanced. I followed the recipe exactly as written and found the instructions very easy to understand. Even a beginner baker would have success! I have recently learned that weighing ingredients as opposed to measuring makes a huge difference. The only thing I did differently was I chopped 6 mini Reeces Peanut Butter cups and covered the top of the cake with them surrounded by the piped icing. One of my daughters-in-law does not care for cake at all and she ate 2 pieces and even took some home! This recipe is now at the top of my Favorites list! I took a photo of the end result and have shown many people and suggested they try this recipe! Thank you for sharing this recipe!
Best cake I’ve ever made. Absolute perfection. Everyone at our gathering swooned over it. Cant wait to make it again. The peanut butter frosting is wonderfully delicious.
This cake was really great. It was a bit rich for me, but that goes with the PB&Chocolate territory. My son (who requested it for his birthday) loved it. The recipe is super clean and everything came out very well after following the recipe.
Can I put peanut butter in the cake?
This recipe is perfect. I made it for my husband’s birthday and it was soft, moist, perfectly balanced, easy to make. I was super happy and proud of myself I made a cake that looked like and tasted like it came from a professional bakery.
My only snags, which I admit were self afflicted, were I weirdly felt like I didn’t have enough frosting. I probably put too much in between the layers. It was pretty thin as a crumb coat. Part of that was the cake was really soft I felt like I couldn’t spread it without breaking. It cooled sufficiently, but I almost felt like I should have put it in the fridge? But the cake wasn’t so soft that it fell apart everywhere after it set in the fridge. I had to make extra frosting to decorate on the top. My frosting probably could have been a little thinner too? Then the ganache turned out great, but I wanted it really smooth and I ended up overworking the ganache when I spread it on the cake. We have been eating this cake for a week now and it has stayed soft the whole time.
Wonderful recipe. Easy to make delicious. Moist perfect cake for a beautiful celebration.
I made this cake today and followed your instructions exactly as written. I thought it was odd that the recipe states to leave the cakes in the pans while they cool (I have been baking over thirty years and have never done this) but again, followed instruction. All three of my cakes stuck to the pans and I have ended up with a nightmare for my families lunch tomorrow. I will try the cake again but will not leaves cakes to cool in pans! Just through since this happened to me I might need to share for others.
Hi Katy! Did you line the pans with parchment paper? This prevents sticking. Hope the cake is a hit!
I thought I would mention that I am celiac and used a 1:1 cup replacement gluten free flour and I was VERY impressed with how the cake turned out- very moist, very nice crumb. So for those who are wondering if it works, it does!
I made this cake for my roommate’s birthday and it was a HUGE success! LOVE how moist the cake is and all the flavours were just perfect! Only comments from me:
– I made a similar cake in the past and personally found the peanut butter on the outside just a bit too much for my personal taste, so this time around, I made half the amount of peanut butter frosting and only had it between the cake layers. This worked out just fine!
– My roommate likes white chocolate, so half of the chocolate chips were white instead, this also turned out fine
– I did notice the batter tasted a little sour at the start. so I saw that this happened to another commenter, I just added a bit more sugar until it didn’t taste sour anymore, which seemed to work out ok. No idea if it would even have been sour after baking, but thought I’d play is safe
This was my first cake from scratch and it was AMAZING! Everyone loved it! It was moist and flavorful. I strongly dislike coffee and you couldn’t taste it at all, it really did enhance the chocolate flavor. I didn’t use any ganache and colored my PB frosting, then used a stencil and added an airbrushed design. Everyone was so impressed.
So excited to try this cake! We live at elevation (3700 ft)… would you recommend any changes to account for this?
Hi Valerie, I wish we could help, but have no experience baking at high altitude. Some readers have found this chart helpful: https://www.kingarthurflour.com/learn/high-altitude-baking.html
I tried this recipe for the first time this week, and I was very pleased with how evenly each cake layer baked; I have a tiny European oven, so I had to bake one layer at a time. I will say, however, that the cake tasted sour in spots, and I’m not sure where I went wrong. I mixed my dry and my wet ingredients (separately) well, and I made sure everything was incorporated before distributing among my baking pans. I’ll definitely try this recipe again and hopefully avoid sour cake.
My ganache was liquid. I used 226 g dark chocolate and 240 ml heavy cream as written. Unfortunately it remained liquid and was unusable so my cake had only peanut butter frosting.
The chocolate cake itself is fantastic. Lovely flavor AND texture. The PB frosting is very tasty but overwhelming after a couple bites.
Hi Valerie! We have more details and some helpful troubleshooting tips in our chocolate ganache post. Make sure to use full fat heavy cream (not half and half or anything else).
Everyone loved this cake. I substituted the flour for a gluten free baking flour and no one even noticed. My husband said “It is an usually good cake.” Delicious! I did not have enough leftover frosting for piping, and that must have been a distribution error on my part.
Absolute perfection and even better than we anticipated! Big hit for the whole family and will definitely be a regular in our home.
This cake was so dry. I’ve tried your chocolate cake and it’s amazing. But this one definitely needs more moisture.
Hi Tray, this cake batter is essentially the same as our chocolate cake, but we’re using the sour cream variation because it produces a sturdier cake. We’d be happy to help troubleshoot why yours may have come out a bit dry! Was the cake over baked by chance? Even just a minute or two can dry out the cake. Be sure to spoon and level (or use a kitchen scale) to measure your flour to ensure it isn’t over measured. This post on how to prevent dry and dense cakes will be a helpful resource to review as well. Thank you for giving this one a try!
I made a gluten free version of this in three 6″ pans, baked for around 22 mins, and it was absolutely delicious and rich in all the best ways! Will be an occasional indulgent repeat recipe, or sure!