Small cakes are certainly convenient for small celebrations. This 1-layer 6-inch chocolate cake serves 4, so it’s perfect for date night, a Valentine’s Day dessert, a small family birthday celebration, or for whenever you need a scaled-down cake. We all love it with chocolate ganache on top. You can also use this chocolate cake batter to make a small batch of cupcakes.
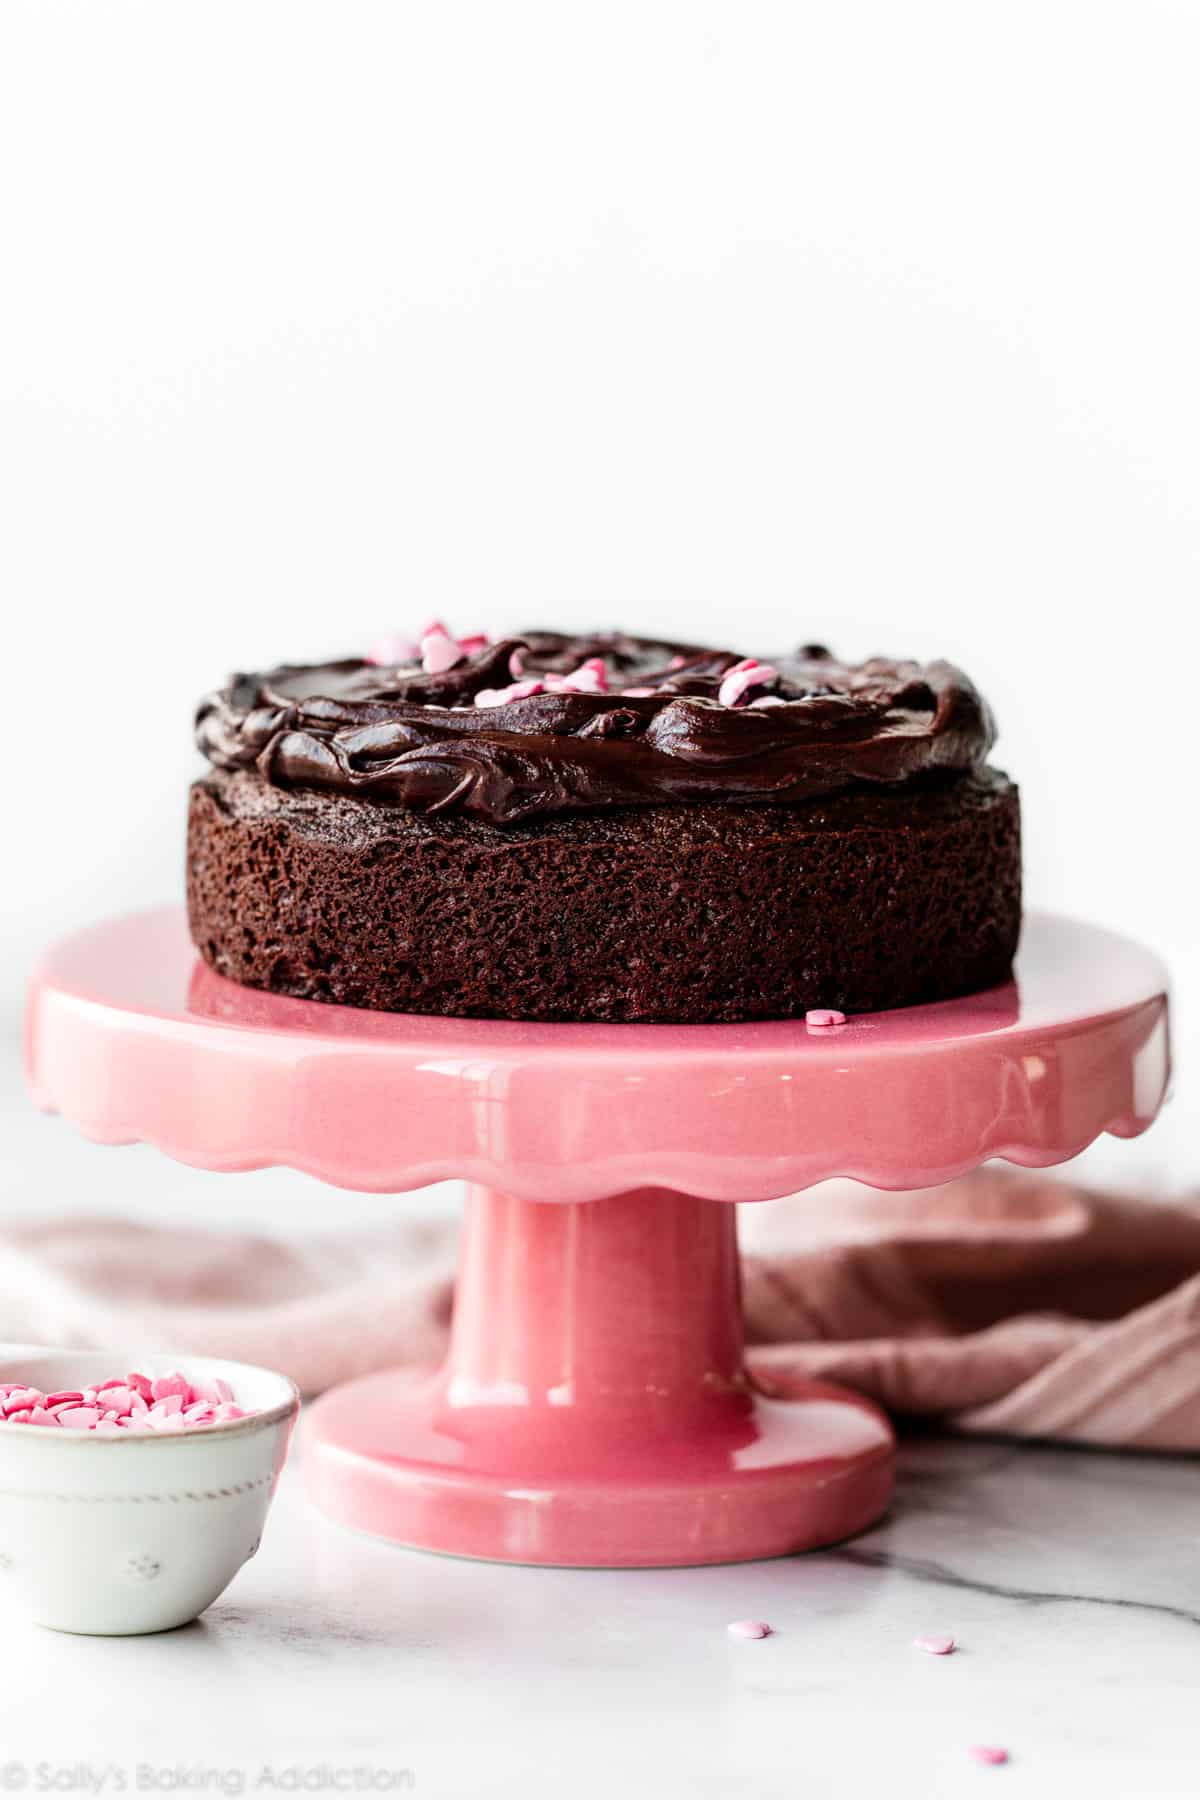
This Is a 1-Layer 6-Inch Chocolate Cake
Over the past year, I’ve received many requests for smaller variations of normally large desserts. My team and I have directed a lot of bakers to our 6-inch cake recipes blog post, where I teach you how to turn cupcake batter into a 6-inch layer cake. But what if you don’t need 3 layers?
Here’s my 1-layer 6 inch chocolate cake recipe. I worked on this recipe with Valentine’s Day on my mind. Wouldn’t it be nice to make a tiny cake without a ton of leftover slices? But even beyond Valentine’s Day dessert recipes, it’s massively convenient to have a dessert option for small gatherings or celebrations, as part of your Mother’s Day recipes or Father’s Day recipes, or just an at-home date night.
If you need a chocolate cake recipe that’s just a smidge larger, this mint chocolate cake will give you one 9-inch round cake.
Small Chocolate Cake Details
- Flavor: This cake is sweet with divine chocolate flavor, especially when you pair it with deep dark chocolate ganache (recipe included below). Wait for the cake to cool completely before digging in. I find its chocolate flavor develops after a few hours.
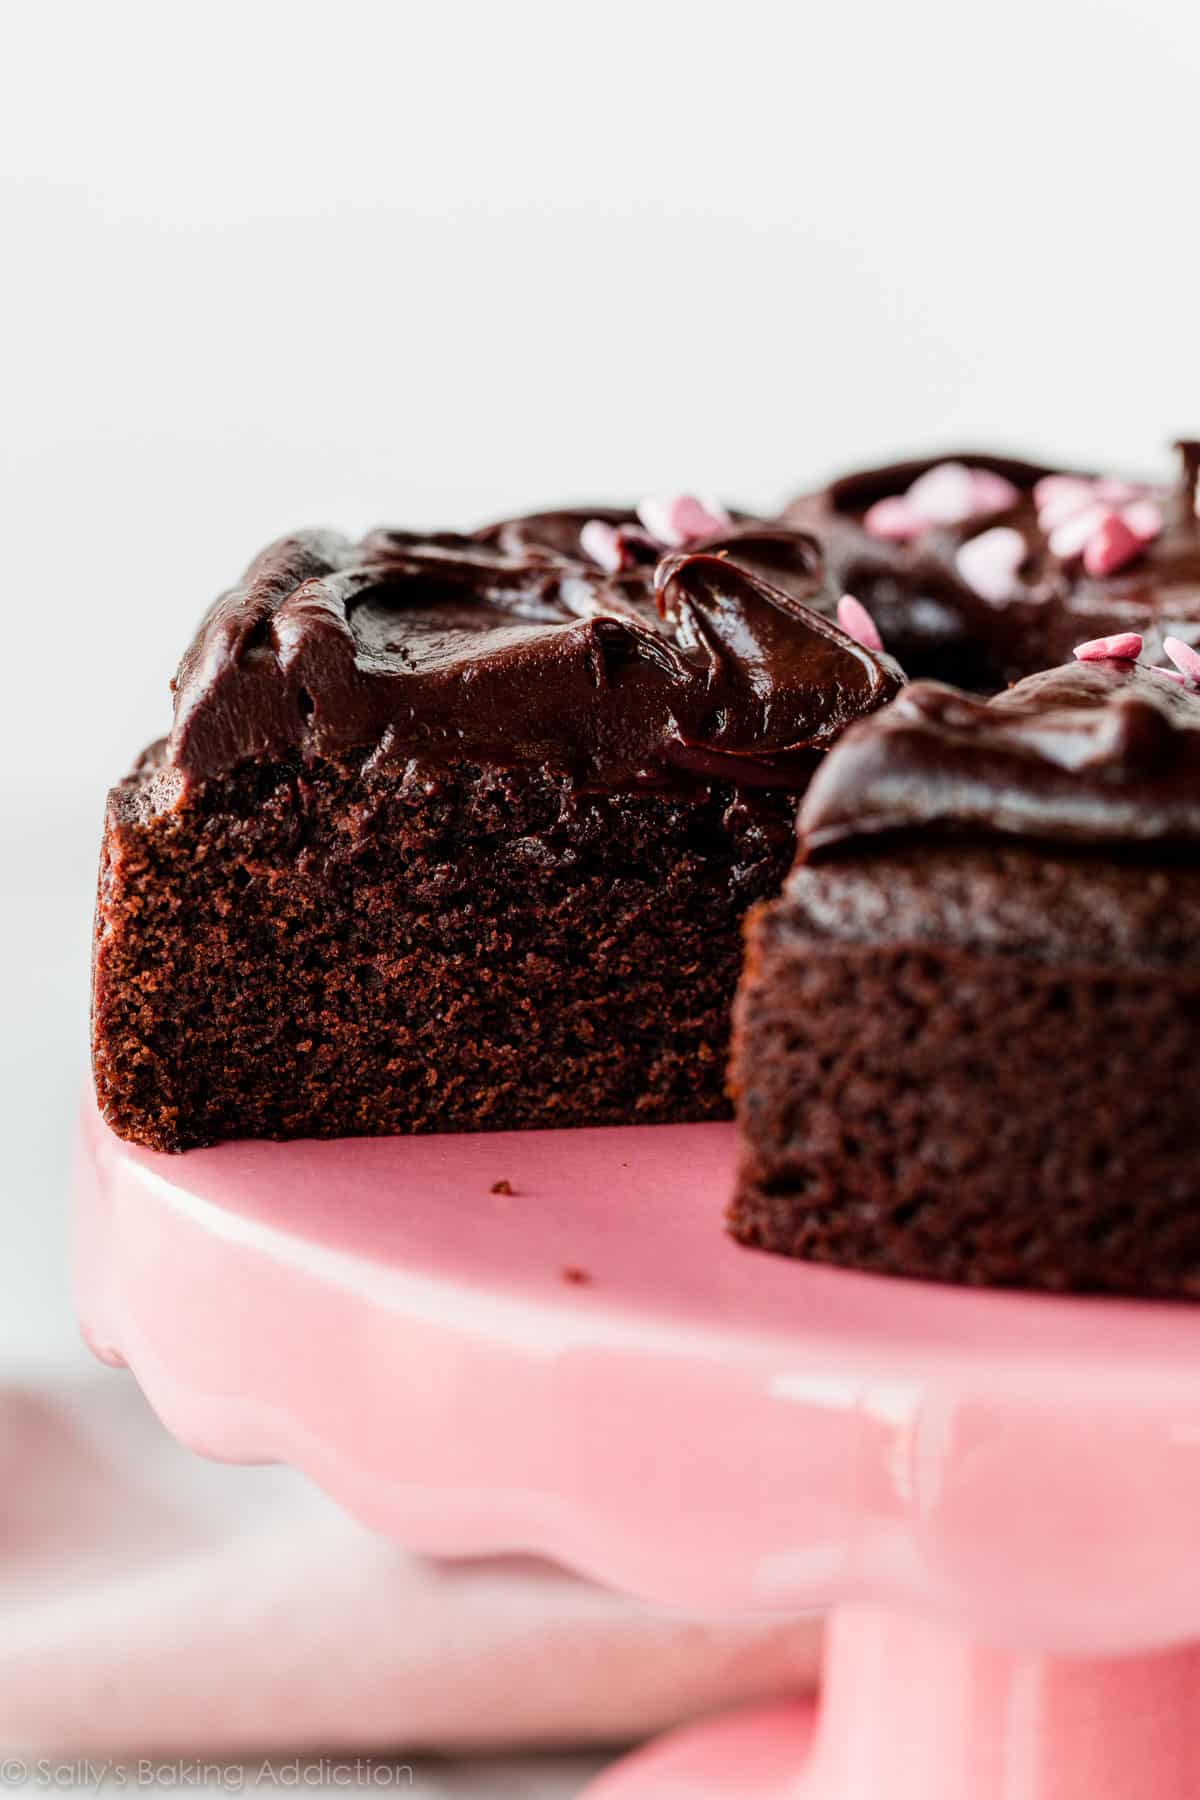
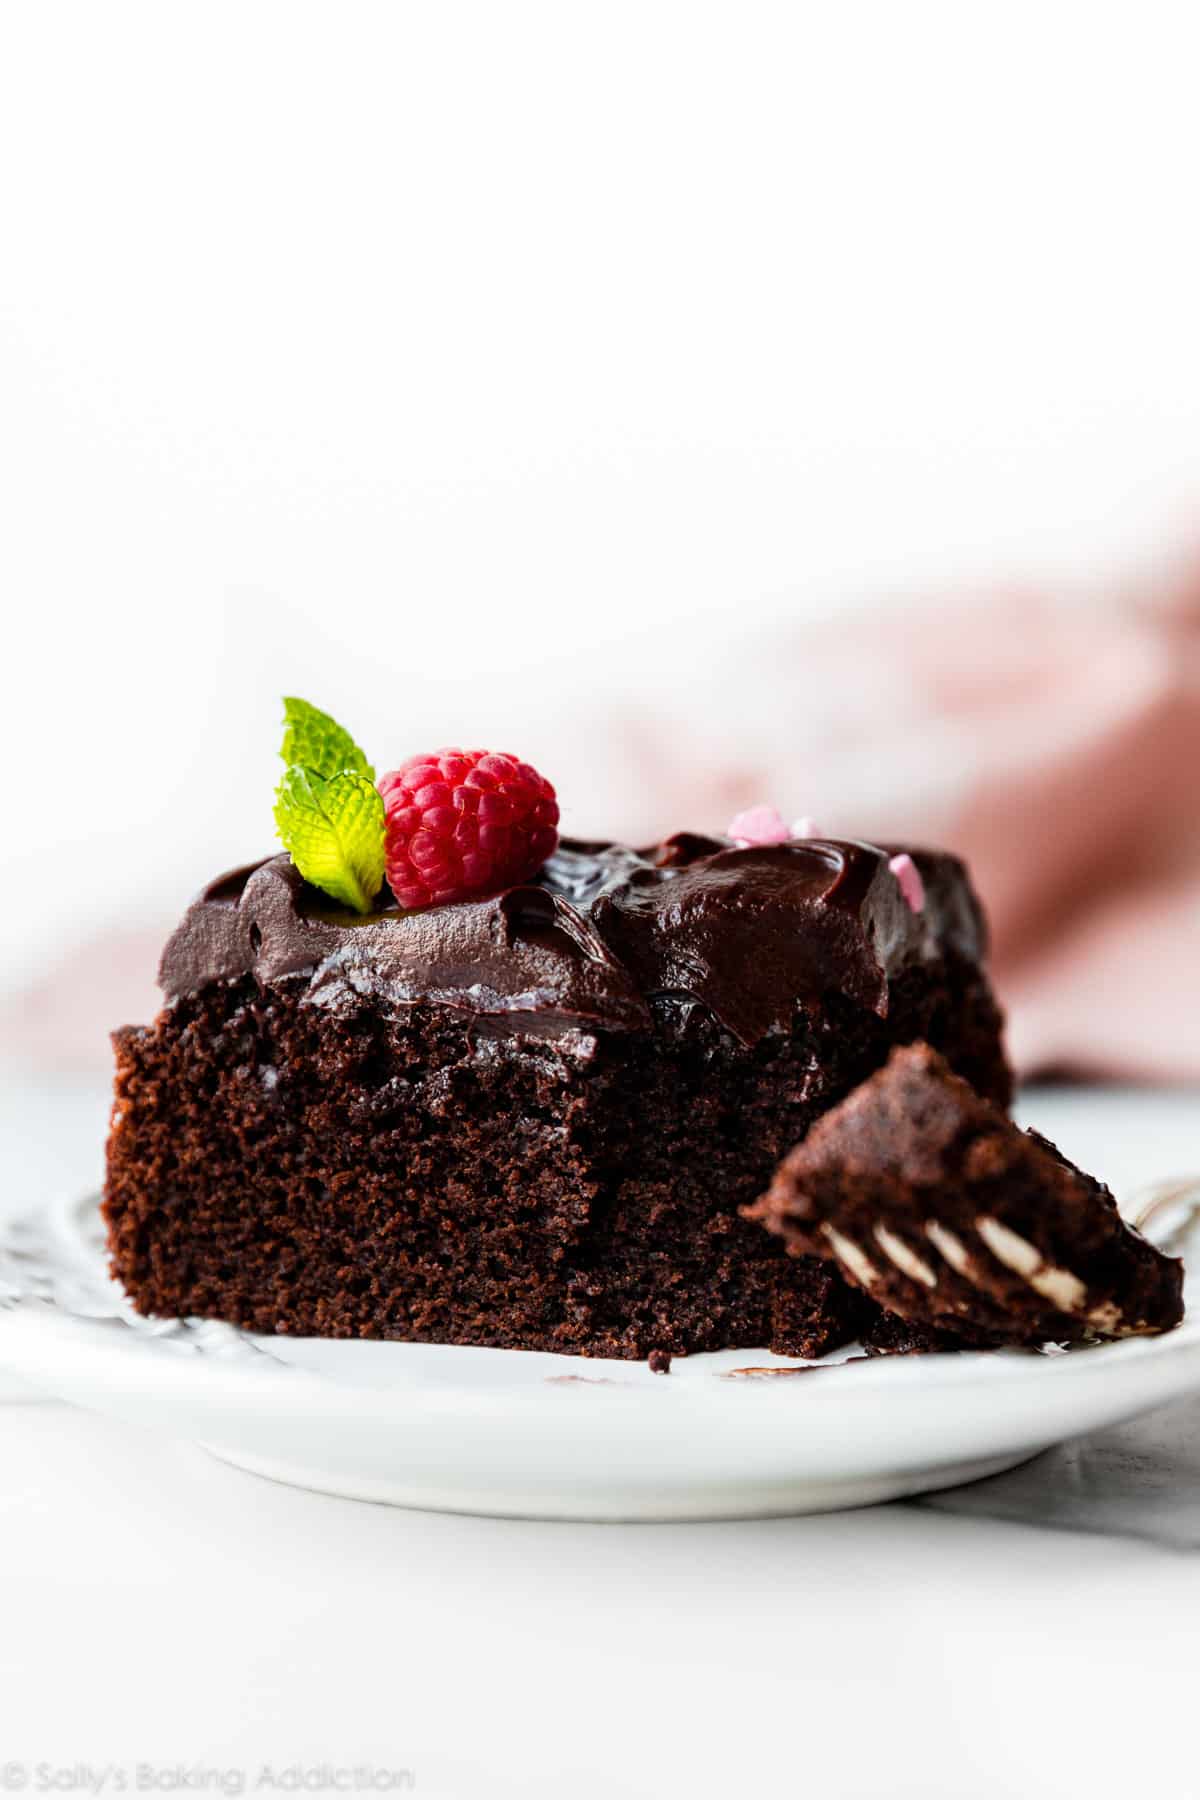
- Texture: If it’s not over-baked, this cake is soft, rich, and indulgently moist. Have you ever made the sour cream version of my larger layered chocolate cake? The texture is pretty much identical. Any unfrosted edges become delicately crisp (not in a bad way!), which adds a little textural dimension to each slice.
- Ease: Since the cake is so small and there’s no elaborate decorating required, this is a very manageable recipe for beginner bakers. The ingredient list is pretty straightforward and you don’t even need to use a mixer.
- Time: Set aside a few hours to complete this cake recipe. The cake is pretty thick, so it takes close to 30 minutes to bake through. The longest stretch of time, however, is waiting for the cake to cool.
- Equipment: Nothing special except for a 6-inch cake pan (affiliate link to the exact cake pans I use and love).
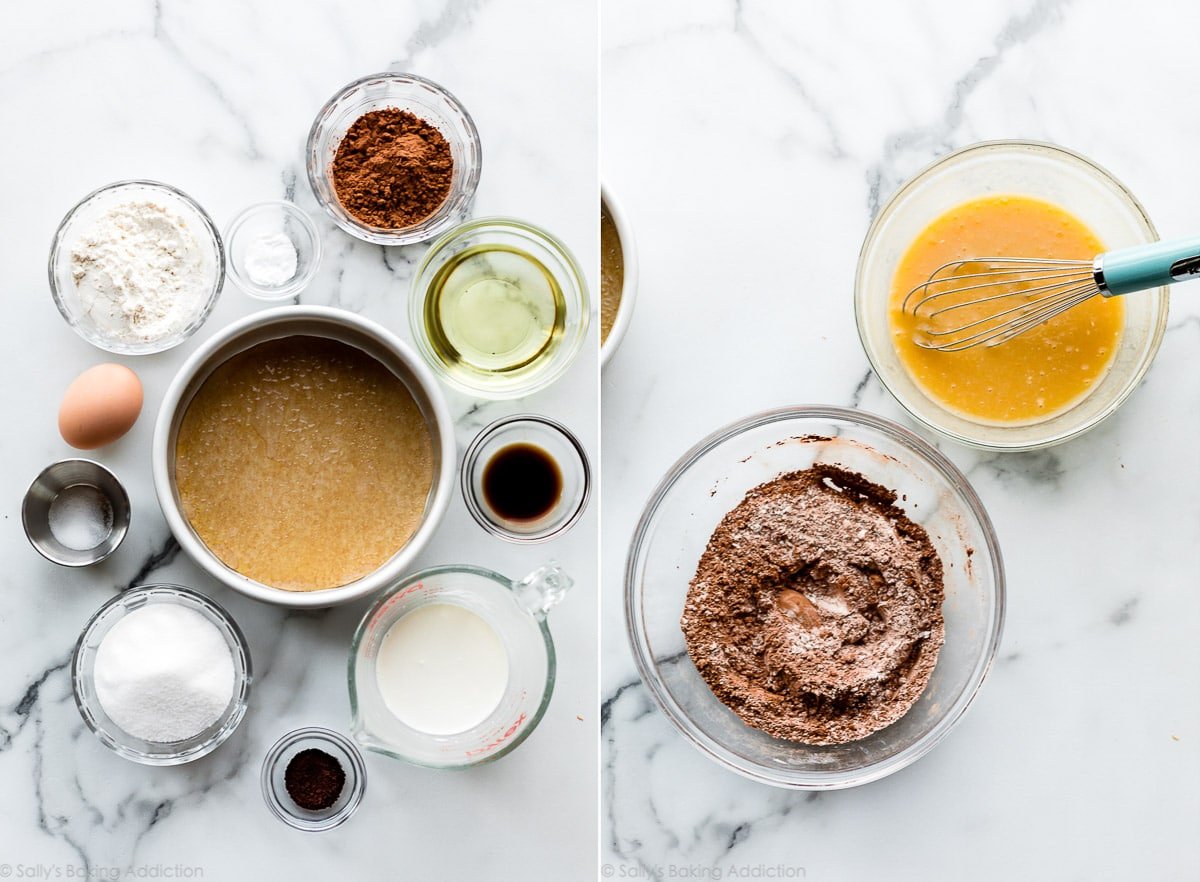
Overview of the Ingredients & Process
Though you can find the full printable recipe below, let me walk you through a couple steps and answer some possible questions that may arise.
The batter comes together in 2 mixing bowls. Whisk flour, unsweetened natural cocoa powder, baking soda, espresso powder, and salt together in one bowl. The espresso powder is optional, but definitely use it if you have it. Espresso powder accentuates and deepens the chocolate flavor. In another bowl, whisk oil, sugar, egg, vanilla extract, and buttermilk. Buttermilk is our acidic ingredient and crucial for this cake’s rise. If you don’t have buttermilk, use the DIY version detailed in the notes below.
Expect a semi-thick cake batter.
Like I recommend with all my 6-inch cakes, use a parchment paper round. Trace the bottom of your 6-inch cake pan on a piece of parchment paper. Cut out the parchment circle. Very lightly grease the cake pan. Place the parchment round inside. Grease the parchment round too. Yes, grease the pan AND the parchment (I use nonstick spray). This promises an ultra-nonstick environment for your small chocolate cake.
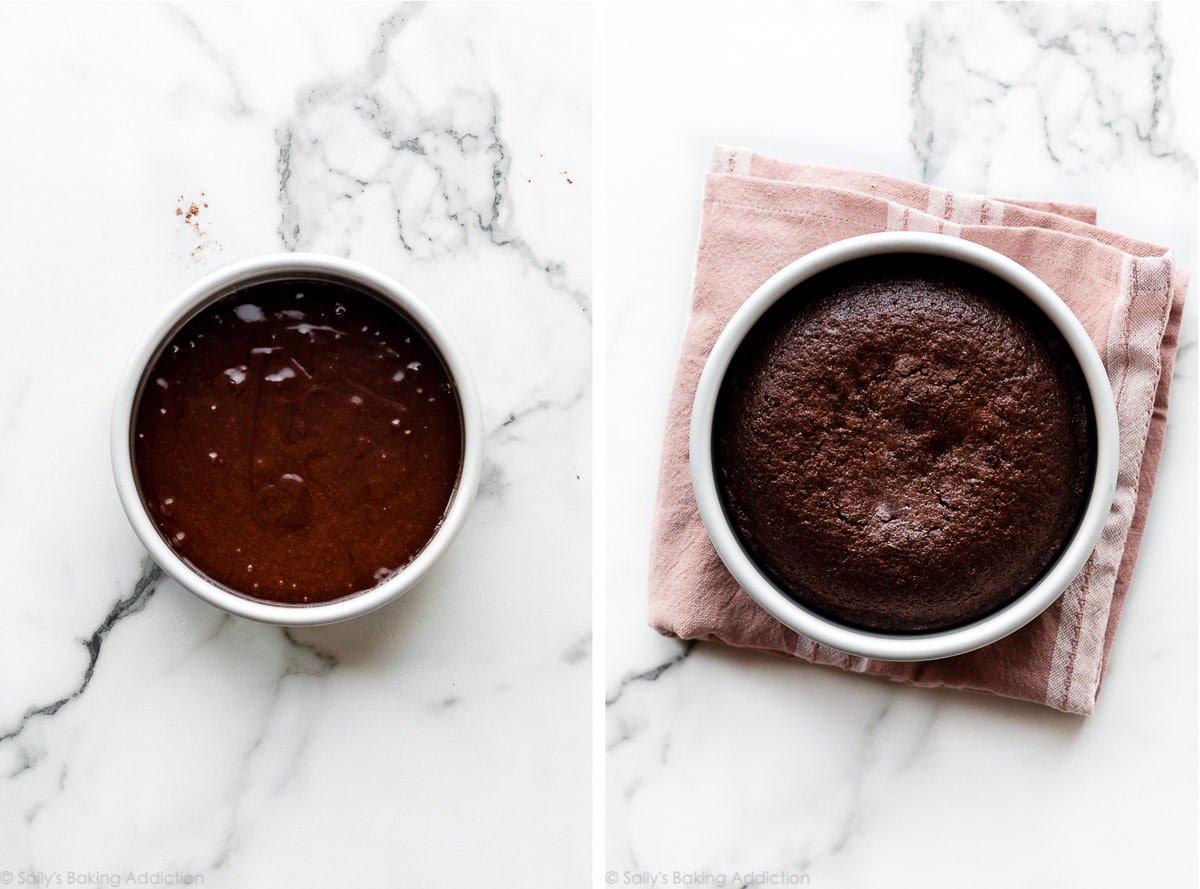
Though its diameter is small, this is a thick chocolate cake. It’s pretty moist, too. Because of its thickness and delicious moisture, the cake may sink a little in the very center. Don’t fret over that. (Cover it up with ganache!) As long as a toothpick inserted in the center of the cake comes out clean, it’s done.
Toppings
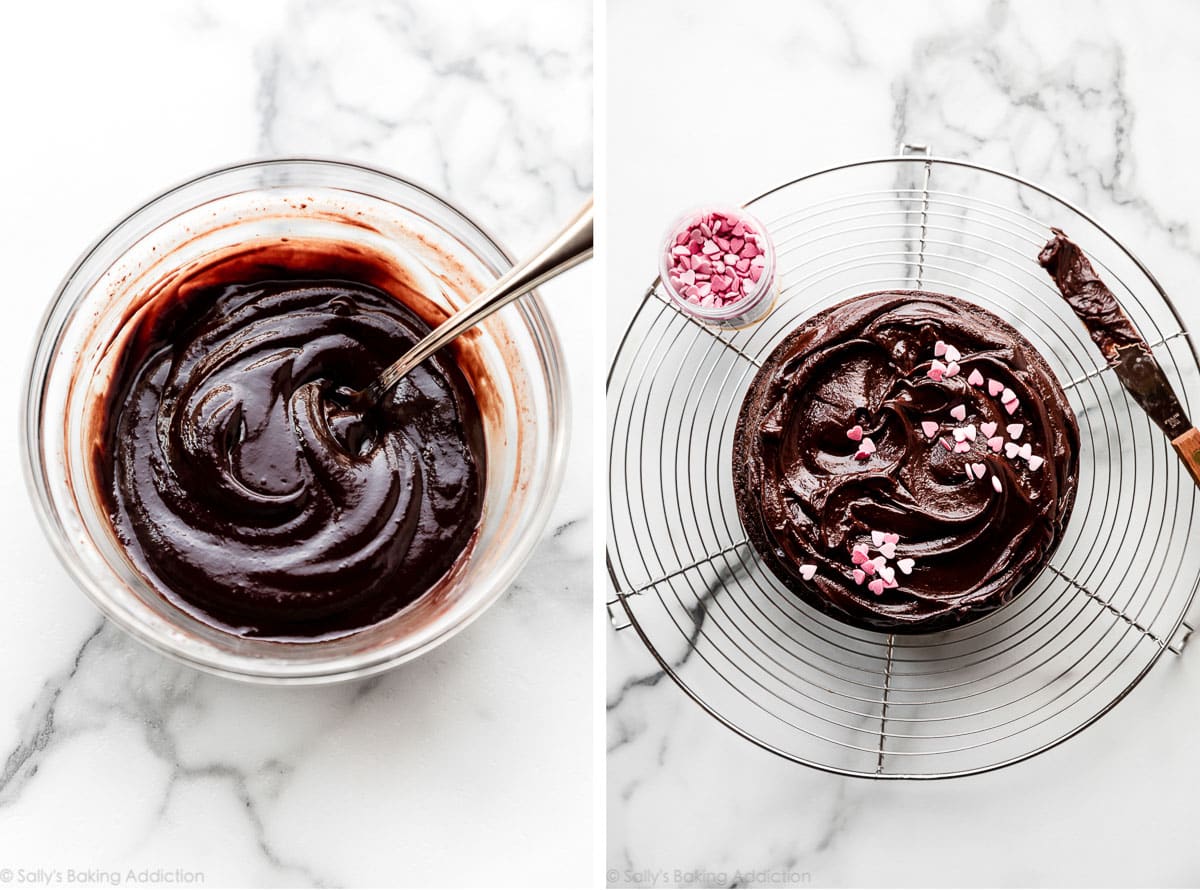
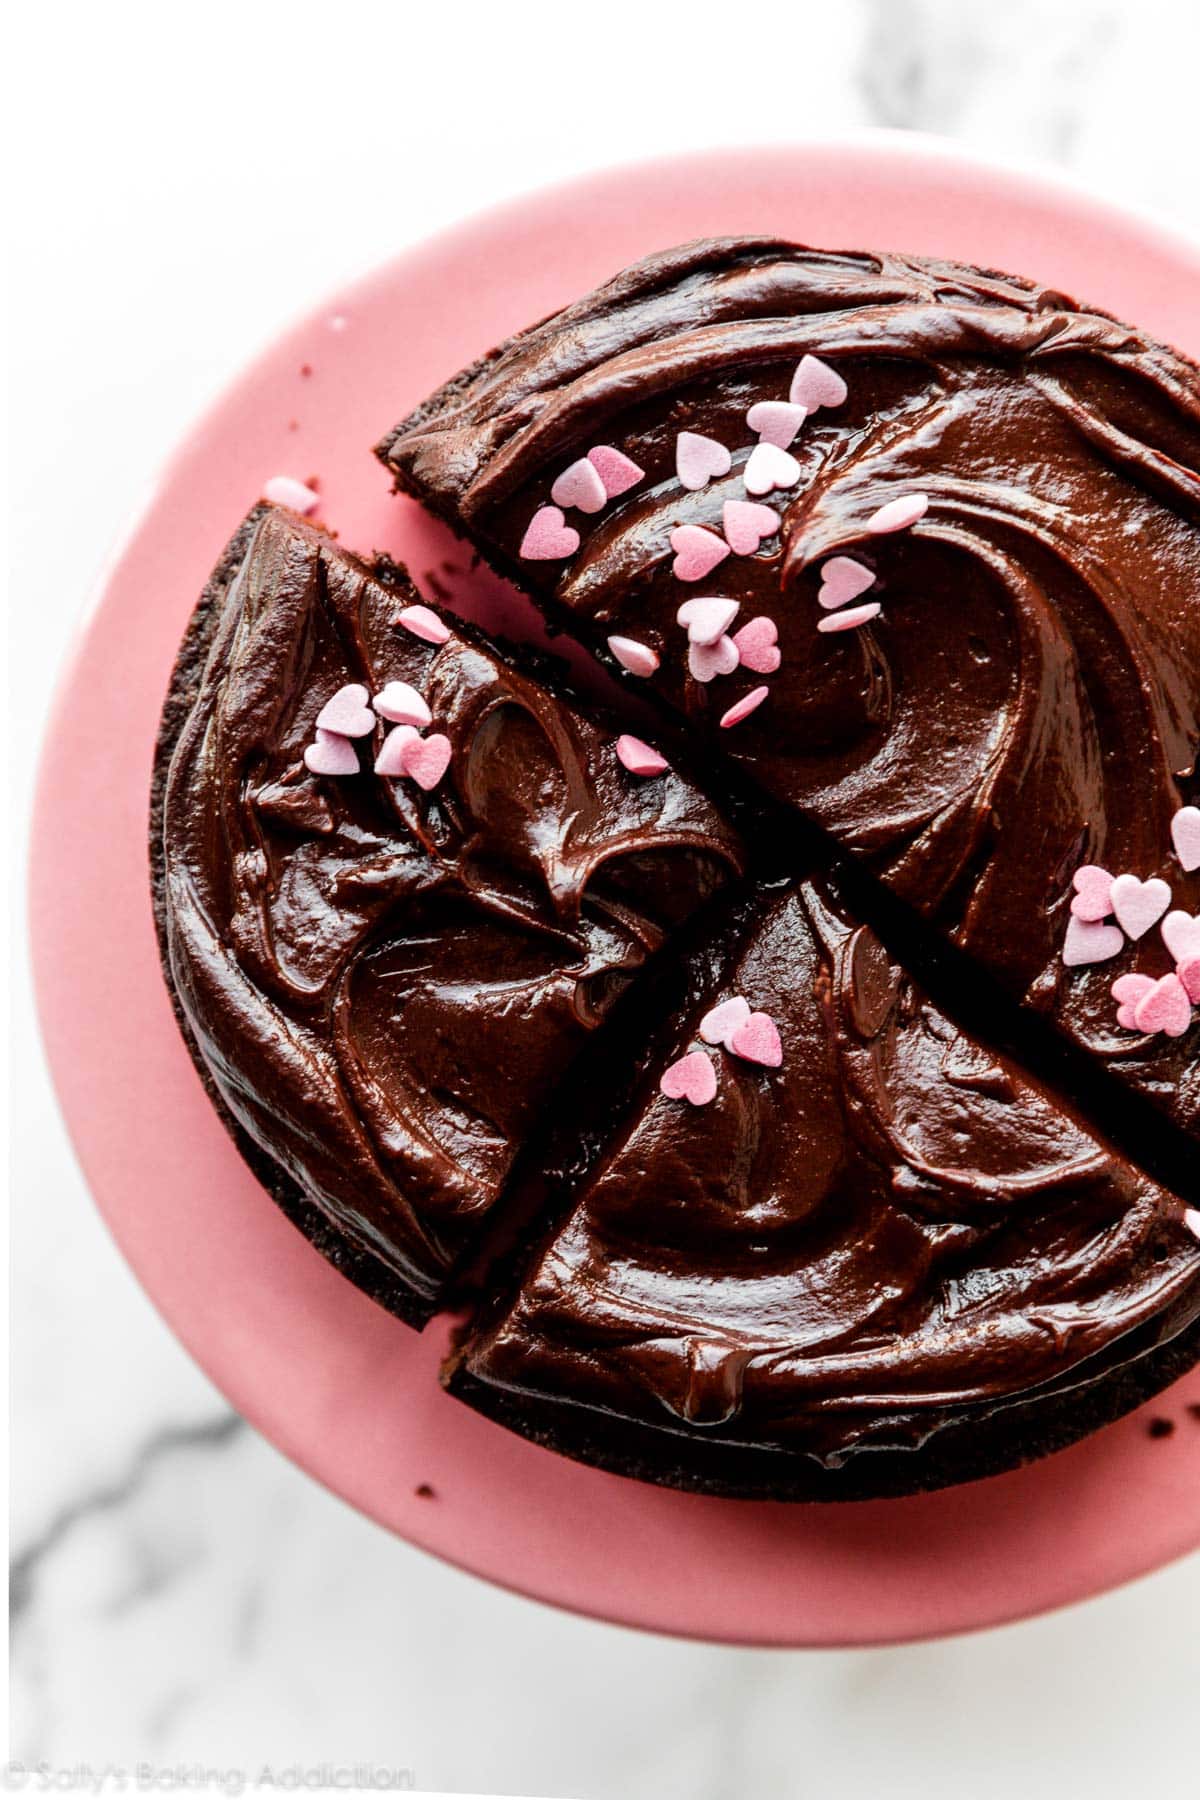
You can top this small chocolate cake with chocolate ganache (recipe included below), buttercream, or whipped cream. For a thick layer of buttercream, I recommend halving this chocolate buttercream, this strawberry buttercream, this peanut butter frosting, or this vanilla buttercream. For a lightly sweetened whipped cream topping, you could halve the mocha whipped cream paired with my flourless chocolate cake or halve this vanilla whipped cream recipe.
The pictured heart sprinkles are no longer available, but here is a similar set. (Affiliate link.) And I bought this adorable pink cake stand from Home Goods a few years ago.
Use This Batter for 6 Chocolate Cupcakes
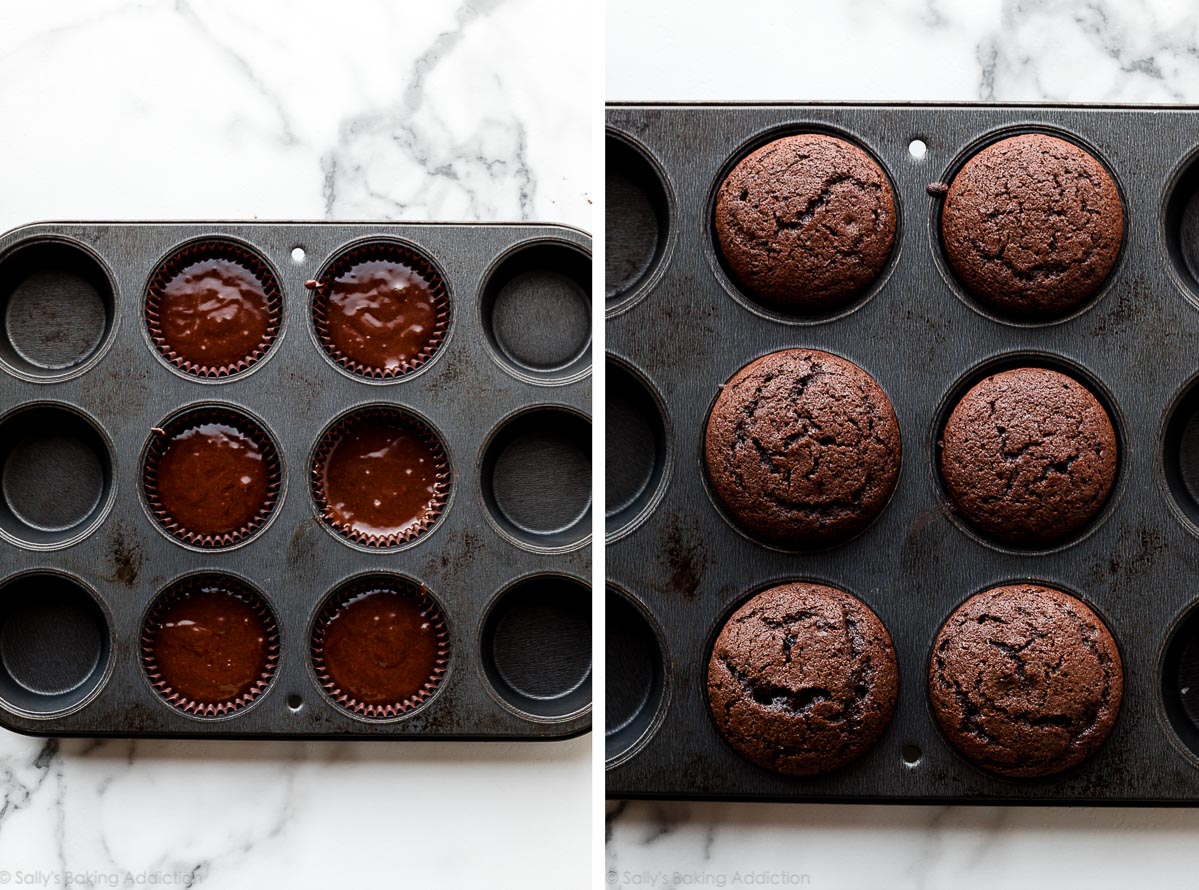
So what if you want a smaller batch of chocolate cupcakes? Yes, you can absolutely use this recipe. This chocolate cake batter yields about 1 and 1/2 cups of batter total, which makes 6 standard size cupcakes. How does it weigh up against my standard chocolate cupcakes recipe? Well, this batter is a little thicker so the cupcakes aren’t quite as light, delicate, and spongy. They’re soft and moist, but have a slightly heavier crumb.
- For a cupcake topping, use any of the topping options listed above.
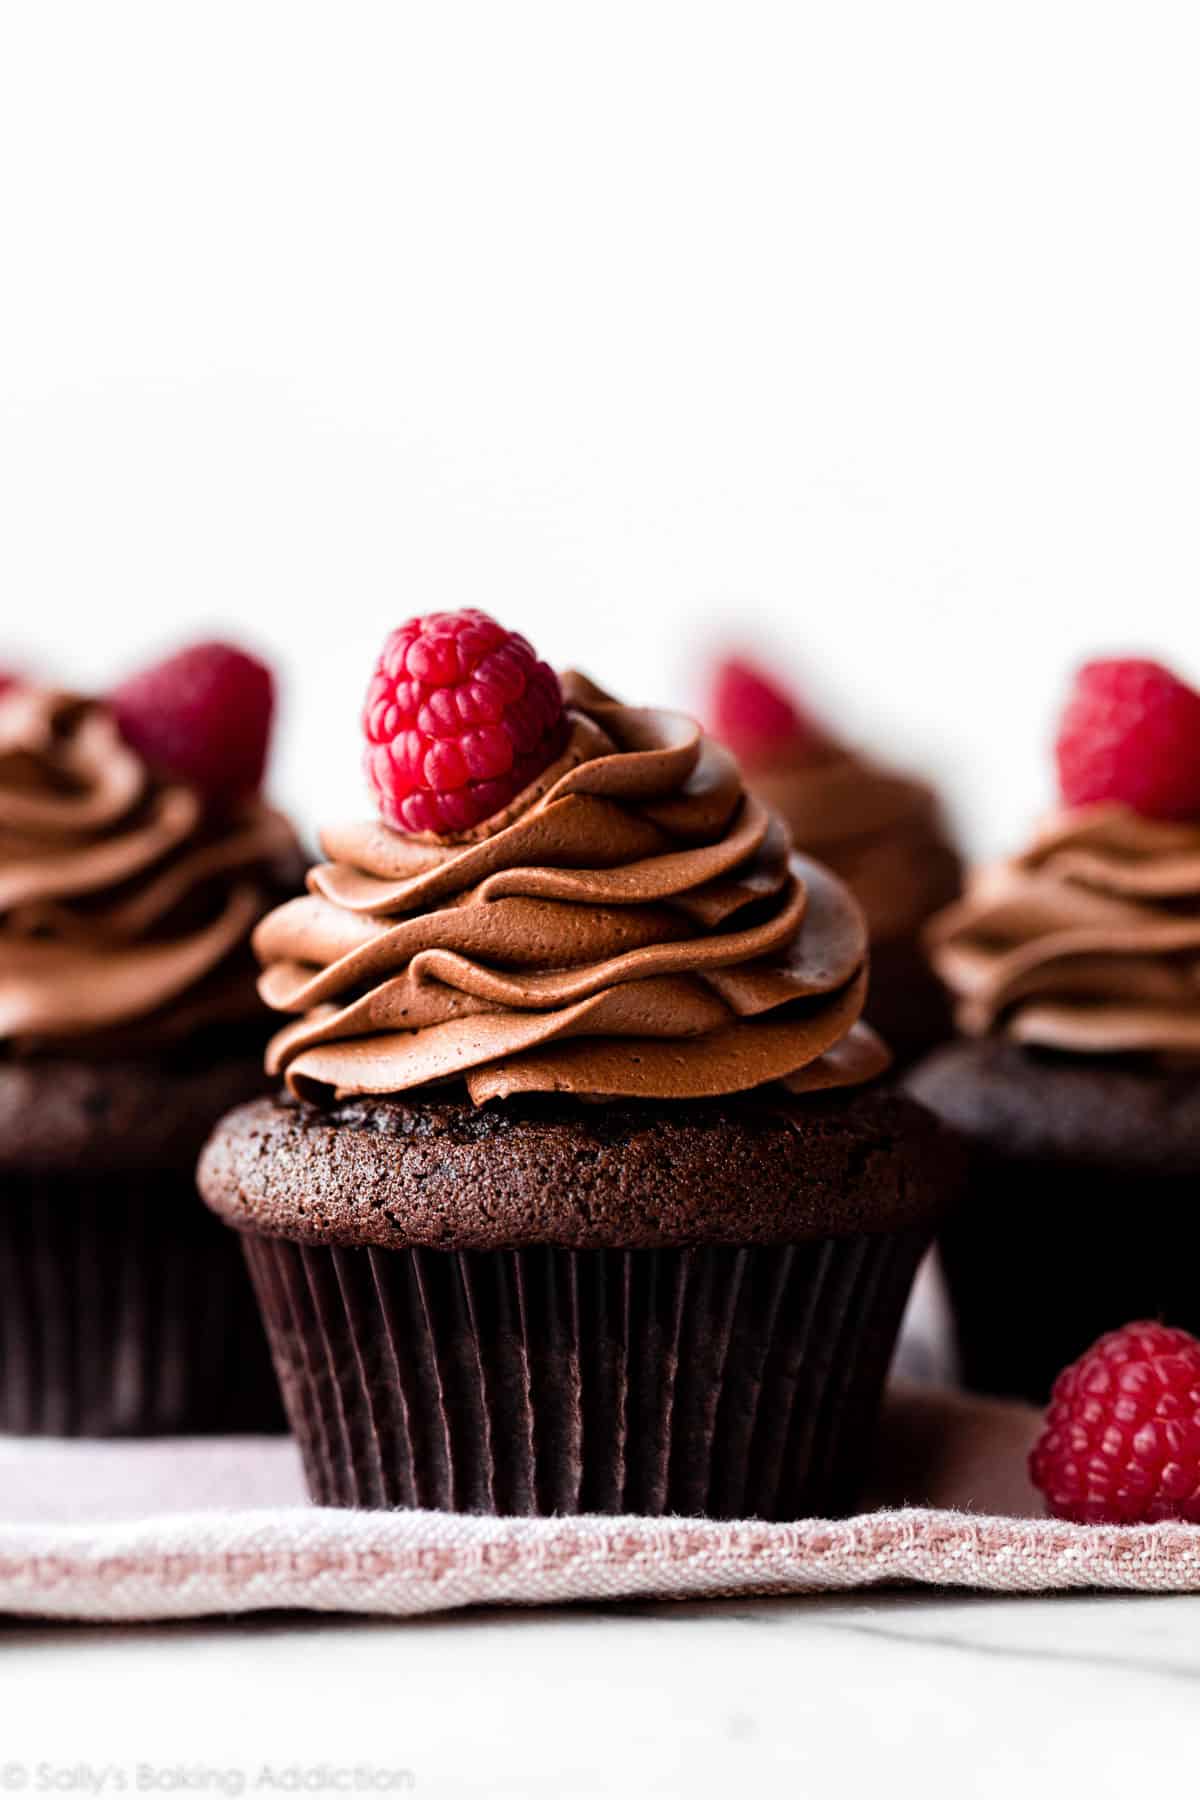
- For the pictured frosted cupcakes, I used the chocolate ganache recipe below. After the ganache cools completely, you can beat it with an electric mixer for about 3–4 minutes to make whipped ganache. Tastes like chocolate mousse! You can read more about it in the recipe below or in my chocolate ganache post.
What About a Vanilla Version?
I don’t have a vanilla version of this recipe at this time. Though I haven’t tested it, I’m confident you could halve this 1-layer sprinkle cake recipe to yield a 1-layer 6-inch vanilla cake or 6 vanilla cupcakes. Feel free to omit the sprinkles for a plain vanilla cake.
Print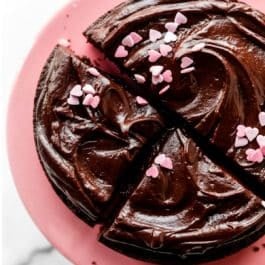
Small Chocolate Cake (6 Inch)
- Prep Time: 20 minutes
- Cook Time: 30 minutes
- Total Time: 3 hours (includes cake and ganache cooling)
- Yield: serves 4
- Category: Dessert
- Method: Baking
- Cuisine: American
Description
This 1-layer 6-inch chocolate cake serves 4, so it’s perfect for any occasion calling for a scaled-down cake. You can also use this chocolate cake batter to make a small batch of 6 chocolate cupcakes. For best success, review the recipe Notes before starting.
Ingredients
- 1/2 cup (63g) all-purpose flour (spooned & leveled)
- 1/4 cup (21g) unsweetened natural cocoa powder
- 1/4 teaspoon baking soda
- 1/2 teaspoon espresso powder (optional)
- 1/4 teaspoon salt
- 1/4 cup (60ml) vegetable oil
- 1/2 cup (100g) granulated sugar
- 1 large egg, at room temperature
- 1/2 teaspoon pure vanilla extract
- 1/4 cup (60ml) buttermilk, at room temperature
Chocolate Ganache
- one 4-ounce (113g) quality semi-sweet or bittersweet chocolate bar, finely chopped
- 1/2 cup (120ml) heavy cream or heavy whipping cream
- optional garnish: raspberries, mint, and/or sprinkles
Instructions
- Preheat oven to 350°F (177°C). Grease a 6-inch round cake pan, line with a parchment paper round, then grease the parchment paper. Parchment paper helps the cake seamlessly release from the pan. (If it’s helpful, see this parchment paper rounds for cakes video & post.)
- Make the cake: Whisk the flour, cocoa powder, baking soda, espresso powder, and salt together in a large bowl. In a medium bowl, whisk the oil, sugar, egg, vanilla extract, and buttermilk together in a medium bowl. Pour the wet ingredients into the flour mixture and whisk until smooth and combined.
- Pour the cake batter evenly into prepared cake pan.
- Bake for around 27–30 minutes or until the cake is baked through. To test for doneness, insert a toothpick into the center of the cake. If it comes out clean, it’s done. Avoid over-baking. Cake is thick and moist, so the center may slightly sink. That’s normal. Allow cake to cool in the pan set on a wire cooling rack. Cool completely before frosting.
- Make the chocolate ganache as the cake cools because the ganache must cool too: Place chopped chocolate in a medium heat-proof bowl. Heat the cream in a small saucepan over medium heat until it begins to gently simmer. (Do not let it come to a rapid boil—that’s too hot!) Pour over chocolate, then let it sit for 2–3 minutes to gently soften the chocolate. With a metal spoon or small silicone spatula, very slowly stir until completely combined and chocolate has melted. Ganache will be thin, so let it cool and thicken for at least 30–60 minutes before using. Refrigerating speeds this up, but the ganache will not cool evenly. Stir it a few times as it sets in the refrigerator so it remains smooth. You can also let the ganache fully cool and thicken (takes about 2 hours). After 2 hours, you can whip the cooled ganache with a handheld or stand mixer fitted with a whisk attachment until light in color and texture, about 3–4 minutes on medium-high speed. (Whipped ganache can be spread or piped. It is pictured on the cupcakes in the post above. I used Wilton 1M piping tip.)
- Spread ganache on cooled cake. If ganache has cooled and thickened enough (or if you whipped it), you could pipe it with a piping bag/tip. Decorate with optional garnishes, if desired. Slice and serve.
- Cover leftover cake tightly and store at room temperature for 1 day or in the refrigerator for up to 5 days.
Notes
- Make Ahead & Freezing Instructions: The cake can be baked, cooled, and covered tightly at room temperature overnight. Frosted or unfrosted cake can be frozen up to 2–3 months. If desired, see my How to Freeze Cakes post. Thaw cake overnight in the refrigerator and bring to room temperature before decorating/serving. For make-ahead instructions for the chocolate ganache, see step 5 in my chocolate ganache post.
- Special Tools (affiliate links): 6-inch Round Cake Pan | Glass Mixing Bowls | Whisk | Cooling Rack | Saucepan | Silicone Spatula | Electric Mixer (Handheld or Stand) *optional for whipping ganache | Piping Bag (Reusable or Disposable) | Wilton 1M Piping Tip
- Cocoa Powder: Use natural cocoa powder, not dutch-process. (See dutch-process vs natural cocoa powder for more information.)
- Espresso Powder: Espresso powder will not make the cake taste like coffee. Instead, it deepens the chocolate flavor. It’s optional, but for best taste, I highly recommend it. You can use the same amount of instant coffee (the powder) instead of espresso powder if desired.
- Amount of Sugar: I tested this recipe with 6 Tablespoons of sugar and the cake wasn’t as sweet, of course, but it tasted pretty plain. I recommend sticking with 8 Tbsp (1/2 cup). Topping with chocolate ganache definitely balances out the sweetness.
- Buttermilk: Buttermilk is required for this recipe. You can make your own DIY version of buttermilk if needed. Add 1/2 teaspoon of white vinegar or lemon juice to a liquid measuring cup. Then add enough whole milk to the same measuring cup until it reaches 1/4 cup. (In a pinch, lower-fat or nondairy milks work for this soured milk, but the cake won’t taste as moist or rich.) Stir it around and let sit for 5 minutes. The homemade “buttermilk” will be somewhat curdled and ready to use in the recipe.
- 6 Cupcakes: Preheat oven to 350°F (177°C). Line a standard muffin pan with 6 liners. Prepare the batter as directed in step 2 above. Pour or spoon the batter into the liners. Fill each 2/3 full to avoid spilling over the sides or sinking. Bake for 20–22 minutes, or until a toothpick inserted in the center comes out clean. Don’t over-bake, which will dry out the cupcakes. Allow the cupcakes to cool completely before frosting.
- Chocolate in Ganache: Ganache will only set if the correct chocolate is used. You can use high-quality chocolate chips if needed (I prefer Ghirardelli semi-sweet chocolate chips), but I recommend using pure chocolate baking bars. You can find them right next to the chocolate chips in the baking aisle. They are sold in 4-ounce (113g) bars. I like Bakers or Ghirardelli brands. You can use other varieties of chocolate too, such as milk chocolate (aka German chocolate), bittersweet, or dark chocolate. If using white chocolate, reduce the cream to 1/3 cup (80ml). White chocolate is softer, so you need less cream.
- Dairy-Free Alternative for Heavy Cream in Ganache: Use 1/2 cup full-fat canned coconut milk. Shake it up before opening and measuring. Whisk on the stove as it heats and bring to a simmer.
- 8-inch Pan or 2-Layer Cake: You can use this cake batter in an 8-inch round cake pan in step 1. The cake will be thinner and the bake time is about 24–25 minutes, but use a toothpick to test for doneness just as instructed above. I don’t recommend doubling this recipe to make a 2-layer cake because it will be quite thick and taste heavy. Instead, divide the batter between 2 6-inch cake pans (bake time would be shorter) or divide the batter from these chocolate cupcakes in 2 6-inch cake pans. Start checking with a toothpick at 26 minutes.


It’s delicious! How would one adjust the proportions to make a regular 9 inch or 9×13 cake?
Hi Judi, we’d recommend trying the cake from this mint chocolate cake — it’s a single layer 9 inch cake, so it’s a little bigger than this one without being as large as our triple chocolate cake. You can, of course, choose a different topping than the mint frosting. Hope you enjoy it!
Hi! I can’t find Expresso powder anywhere. The instant coffee is very expensive and only comes in large jars. Do you have any other suggestions or more recipes for a single layer 6 inch cake?
PS-my husband and I loved the Lava cake for 2. Thank you!
Hi Cindy! You can leave out the espresso powder if needed. We love King Arthur brand – you can order it online if you would like for future baking.
This recipe made a delicious, not overly sweet chocolate cake that was really enjoyed by all ( especially warm with double cream)made the 2 layer 8” version.
Do you have a recipe for vanilla buttercream that I could I use in place of the ganache? How many cups would it take? Thanks.
Hi Peggy, here is our vanilla buttercream. It makes 2.5 cups as written, so halving it should be perfect for this cake.
My wife and I enjoy your recipes so much and are really appreciative of your extra effort to make small batch recipes. My wife and I are in our last sixties and diabetic and aren’t supposed to eat sweets but at this stage of the game I want to enjoy what I have left and sweets are my weak spot. Thank you so much for the extra effort you put into making these, when you wonder about whether it’s worth it or not I can tell you these two old people love you. Thanks again and we look forward to your next recipes.
I save the whey when I make my own yoghurt, (and strain for Greek). I often use the whey to replace buttermilk in recipes such as muffins, scones, marinades. Do you think it would work for this cake?
We’ve never tried it, Gloria! Let us know if you do.
Thank you for this recipe, Sally. I’ve been looking for a one-egg cake recipe to add to my repertoire. I made it as a birthday cake and just used store bought icing. The texture was wonderful but I found that the cake needed the icing because it not that sweet by itself. I’m wondering if you think adding more salt, sugar or even coffee would help the cake have a richer flavor?
Hi Danielle, we’re glad you enjoyed it! Did you use the optional espresso powder? That will help deepen the chocolate flavor a bit. We don’t recommend adding liquid coffee to the batter, but you can certainly try tweaking the amounts of salt and sugar to your liking. We’d start small, and then make adjustments for more/less with each batch.
I didn’t have espresso powder so I used instant coffee powder instead. Maybe it’s not as strong as espresso powder would be so I should have used more?
I will try again soon. I love that playing around with this recipe is guilt-free since there isn’t so much of each ingredient used.
Can I use gluten free flour?
Hi Katie! We haven’t tested this recipe with gluten free flour, so we’re unsure of the results. Although some readers report using an all-purpose 1:1 gluten-free flour in many of our recipes with success, you should expect slightly different results anytime you substitute ingredients. Or you may enjoy this flourless chocolate cake or any of our naturally gluten free recipes instead!