These banana nut scones are deliciously moist, flaky, and crumbly. Combining the flavor of banana bread and the texture of scones, this banana scone recipe is everything you crave for breakfast. Don’t skip the maple icing because it’s one of the best parts!
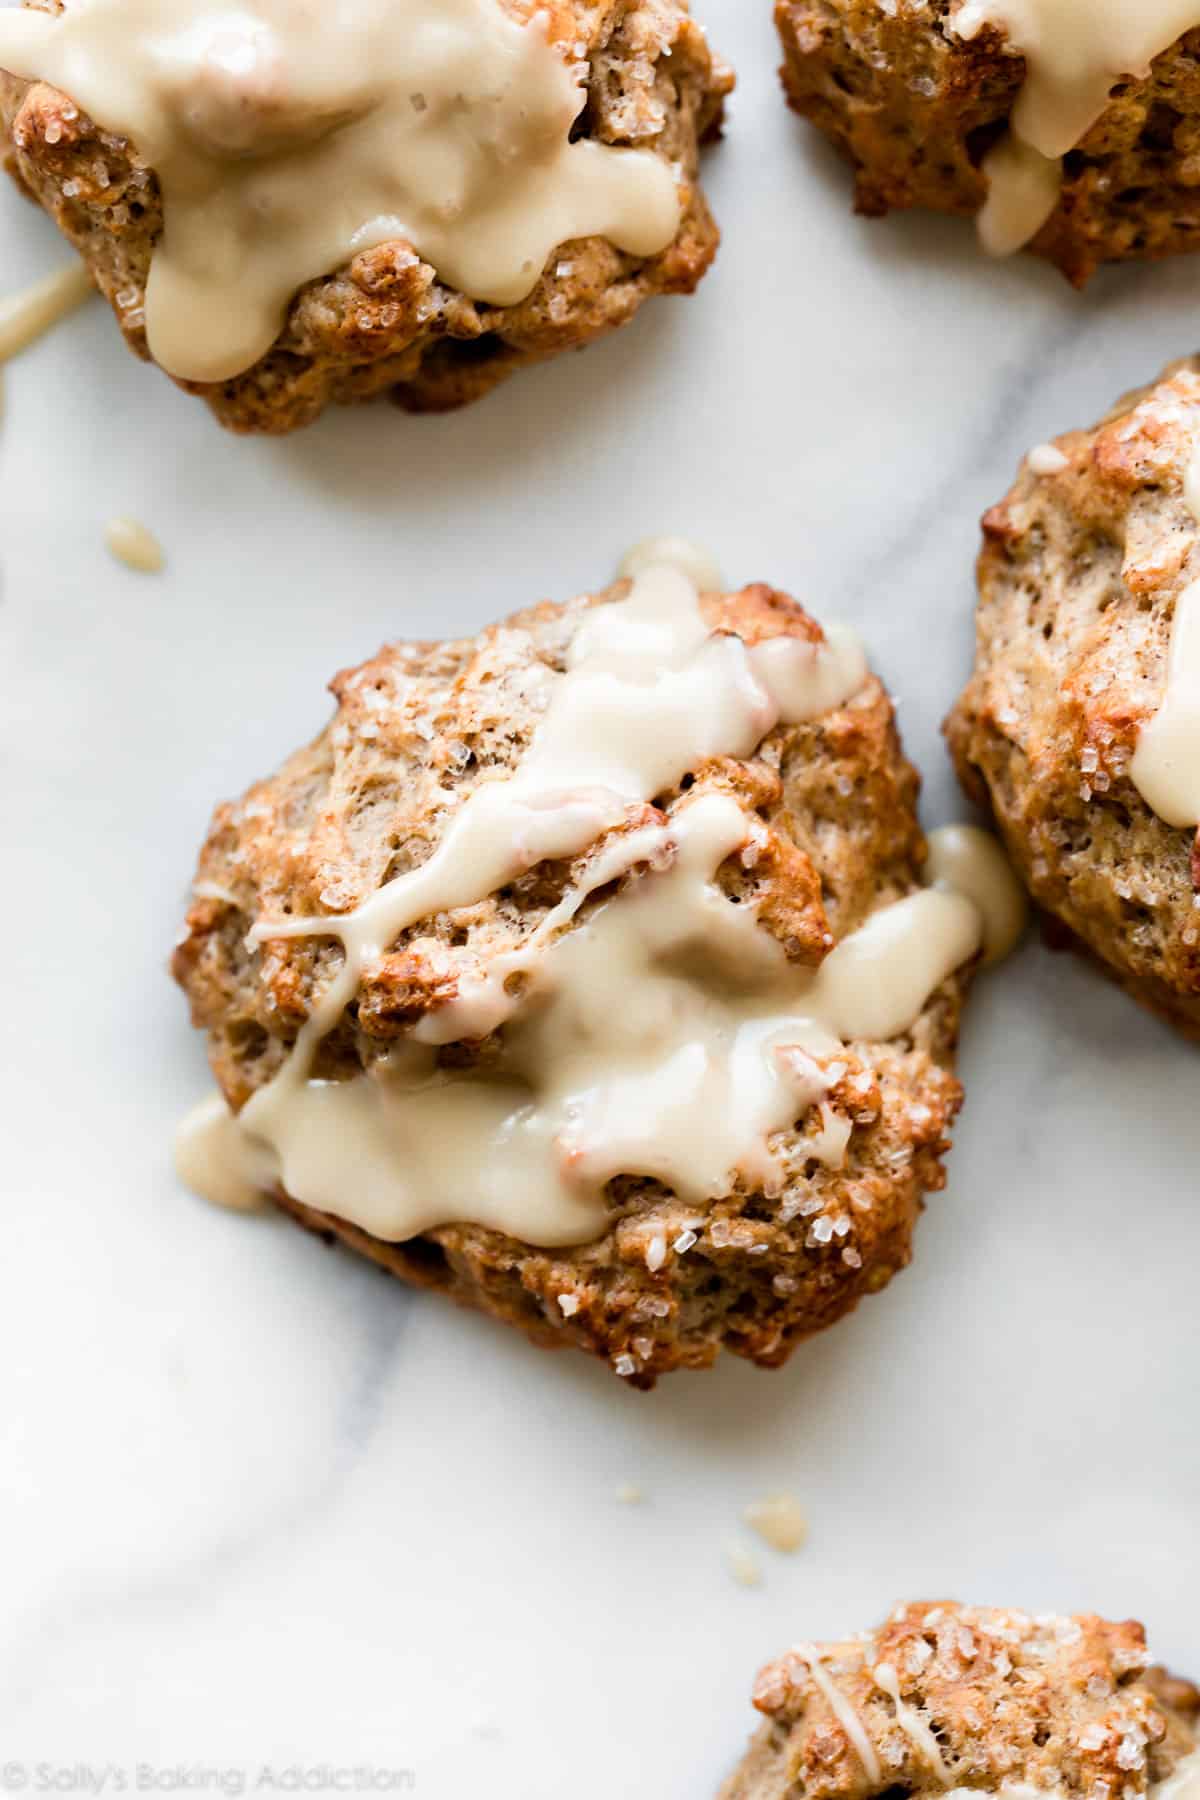
These banana scones were a complete spur-of-the-moment recipe. When I have a bounty of extra ripe bananas, I usually bake a couple loaves of banana bread or my favorite banana muffins. My mom was visiting, so I decided to try something new and special. We both love scones and banana bread, so I decided to combine the two.
We ended up LOVING them, especially the walnuts in each bite. I tweaked the recipe a few times after that and I’m confident these are the best banana scones. They’re crumbly and flaky on the outside, but have that deliciously soft banana bread texture inside. We topped them with crunchy coarse sugar and a generous drizzle of maple icing.
These banana nut scones turned out 19385x better than I dreamed and instantly climbed to the top of my favorite scone list. Admittedly, I have about over a dozen favorite scone recipes!
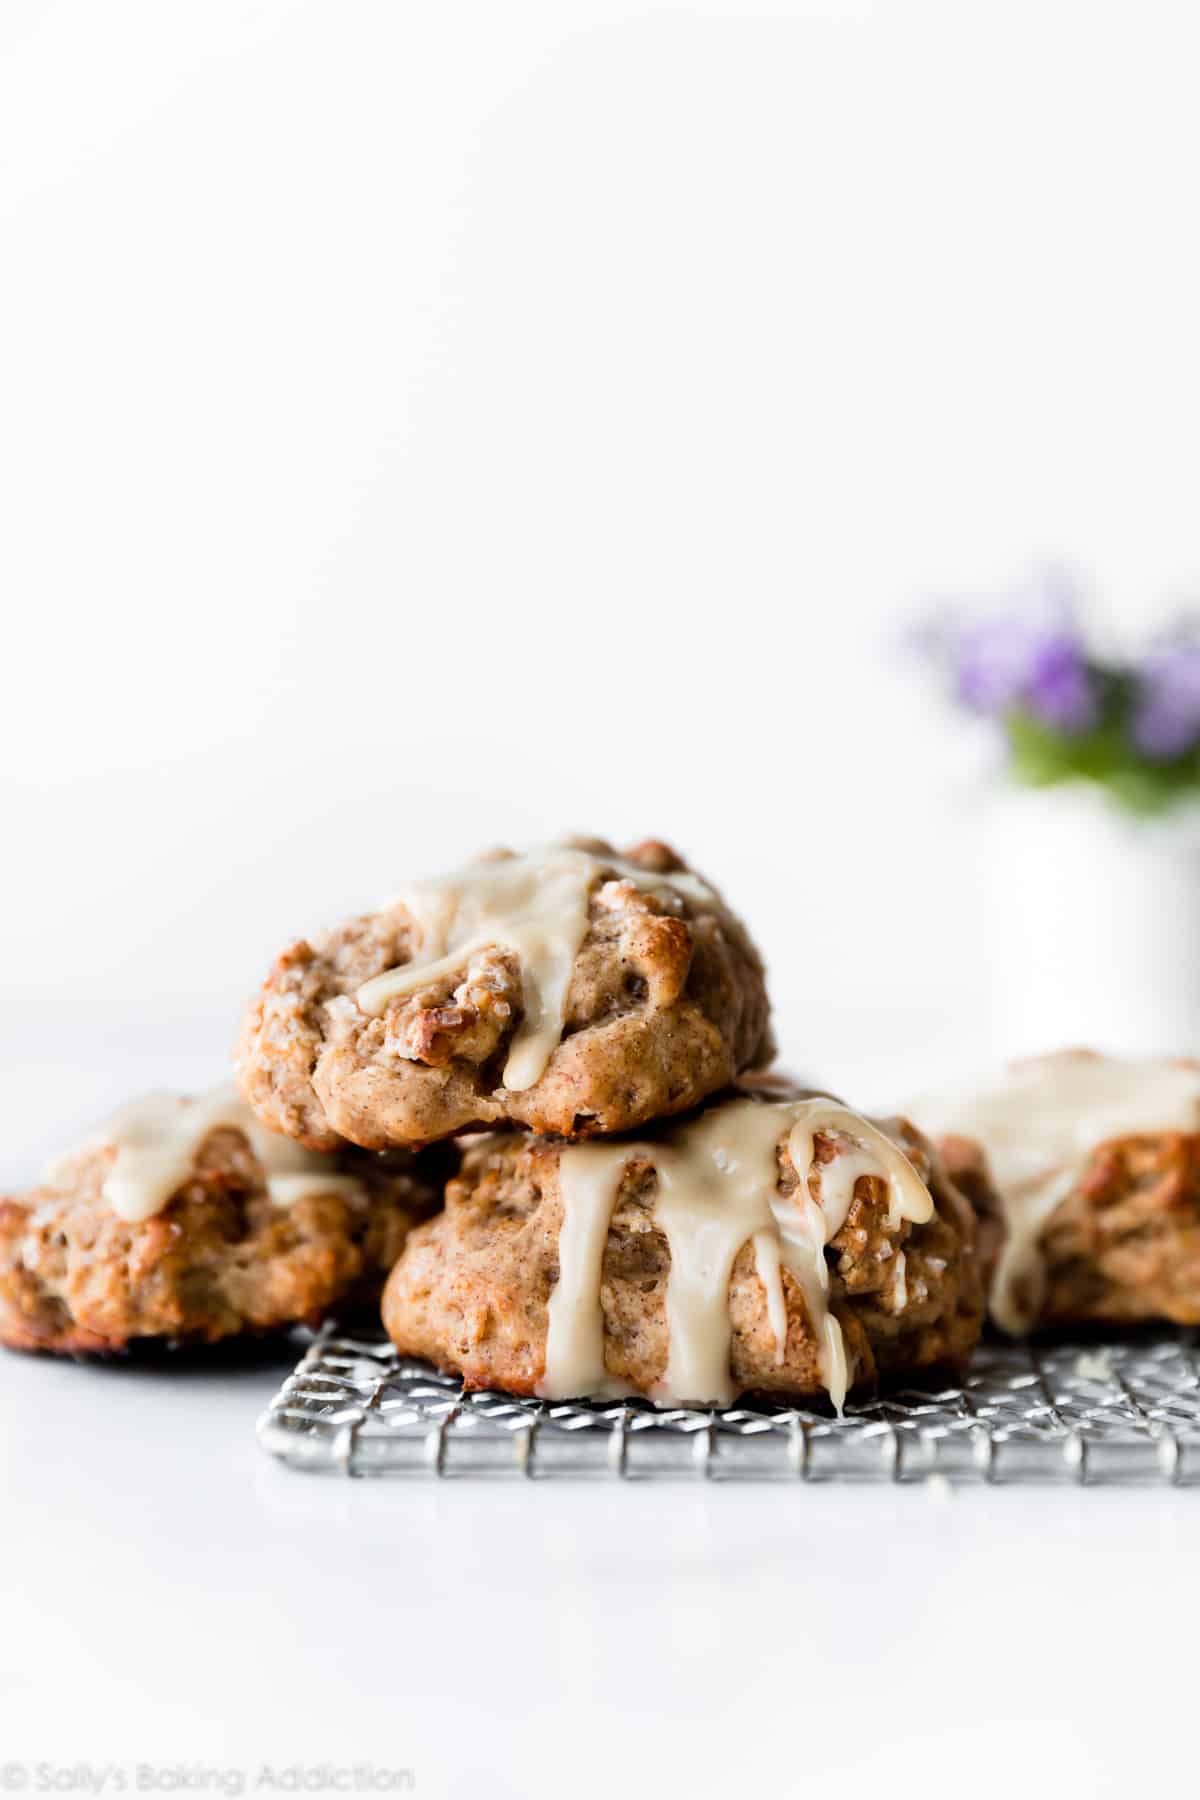
Banana Bread & Banana Muffins Vs. Banana Scones
What banana scones have that banana bread and banana muffins do not:
- Crackly crunchy top
- Irresistible crispy crumbles
- Nooks & crannies for delicious icing absorption
- Flaky center
Banana bread and banana muffins will never be banana scones!!!
Banana Scone Ingredients
You need a handful of basic ingredients for banana scones including flour, brown sugar, bananas, egg, butter, and a few others. The best performance award goes to the following 4 power ingredients: mashed bananas, yogurt, frozen butter, and brown sugar.
- Bananas: You need about 3 medium or 2 large ripe bananas. Make sure they are spotty brown. When mashed, they should yield 1 cup (230g). The most efficient way to mash bananas is to use your handheld or stand mixer. Try to rid all those banana lumps!
- Greek Yogurt: The first time I made these banana scones, I used heavy cream. Heavy cream is my favorite standard scone ingredient. The scones were good, but they spread all over baking sheet even though I increased the flour. Rather than add even more flavorless flour, I swapped the cream for yogurt. The yogurt helps keep the scones moist, a far cry from the cardboard scones we’ve all tasted before.
- Grated Frozen Butter: Not just cold butter—frozen butter. Why? It’s important to use cold butter in scone baking. When the little bits and pieces of butter melt as the scones bake, they release steam and create little pockets of air. As a result, the scones are a little airy on the inside while remaining crisp on the outside. You want the butter to melt in the oven, not before the scones even hit the oven. Frozen butter is easy to grate and grated butter is easy to cut into the dry ingredients. You’ll use frozen butter in these ham & cheese scones, too.
- Brown Sugar: Why use flavorless white sugar when you can use deliciously moist and rich-tasting brown sugar? I have the same mindset when making banana bread!
I call these power ingredients because they make a POWERFUL difference in how the scones taste. For mega banana scone success, I recommend you follow this recipe closely.
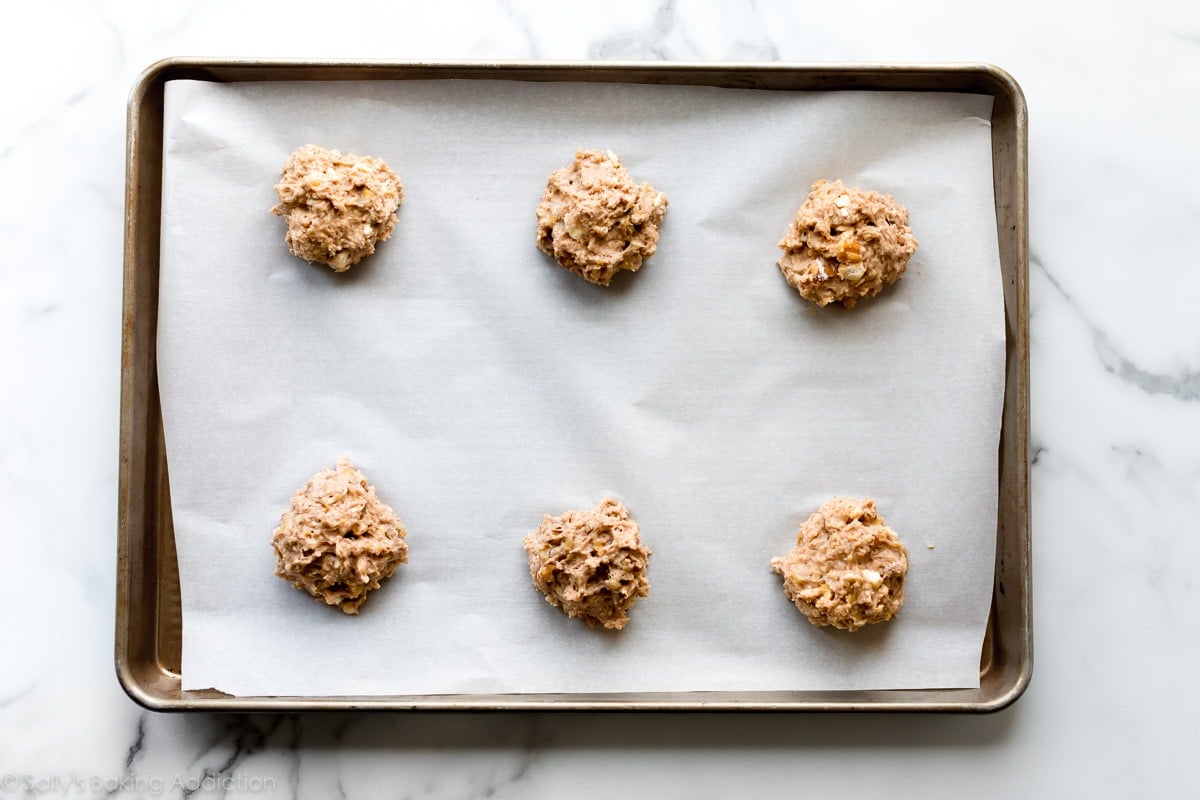
How to Make Banana Scones
- Mix the wet ingredients. This includes the mashed bananas.
- Mix the dry ingredients.
- Cut in the butter. You can use a pastry cutter, two forks, or your hands.
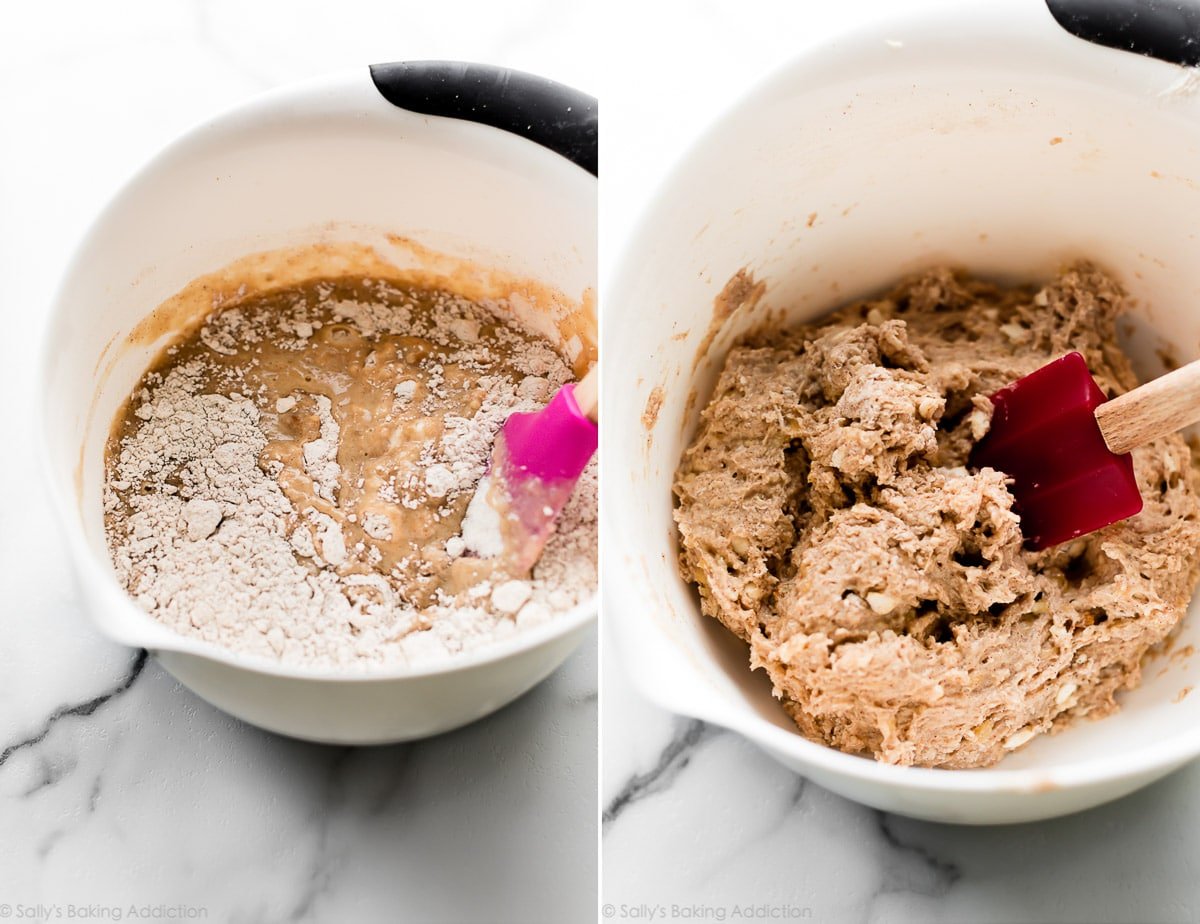
- Mix the wet & dry ingredients together.
- Spoon dough onto baking sheets. Use a 1/4 cup measuring cup.
- Brush with milk and sprinkle with coarse sugar.
- Bake. Then drizzle with icing!
This banana scone recipe yields about 12 palm-sized scones. Expect a sticky and craggily dough. Like biscuits, avoid overworking the dough. You’ll notice that I brush the scones with milk before baking. This is an essential step! This layer of liquid “sets” on top and drizzles down the sides as the scones bake, creating an even crispier exterior.
Can I Use Frozen Bananas?
Yes and I do this often. Thaw the frozen bananas at room temperature. Drain off any excess liquid, mash, then use as instructed in the recipe below. See How to Freeze & Thaw Bananas for Baking.
My #1 Scone Trick
My #1 tip when making any scones is to keep the scone dough as cold as possible. If the scones are room temperature or warm going into the oven, they will overspread and the texture will be ruined. Don’t be afraid to refrigerate your wet ingredients as you’re working on the dry ingredients. And you can refrigerate the scone dough prior to baking too.
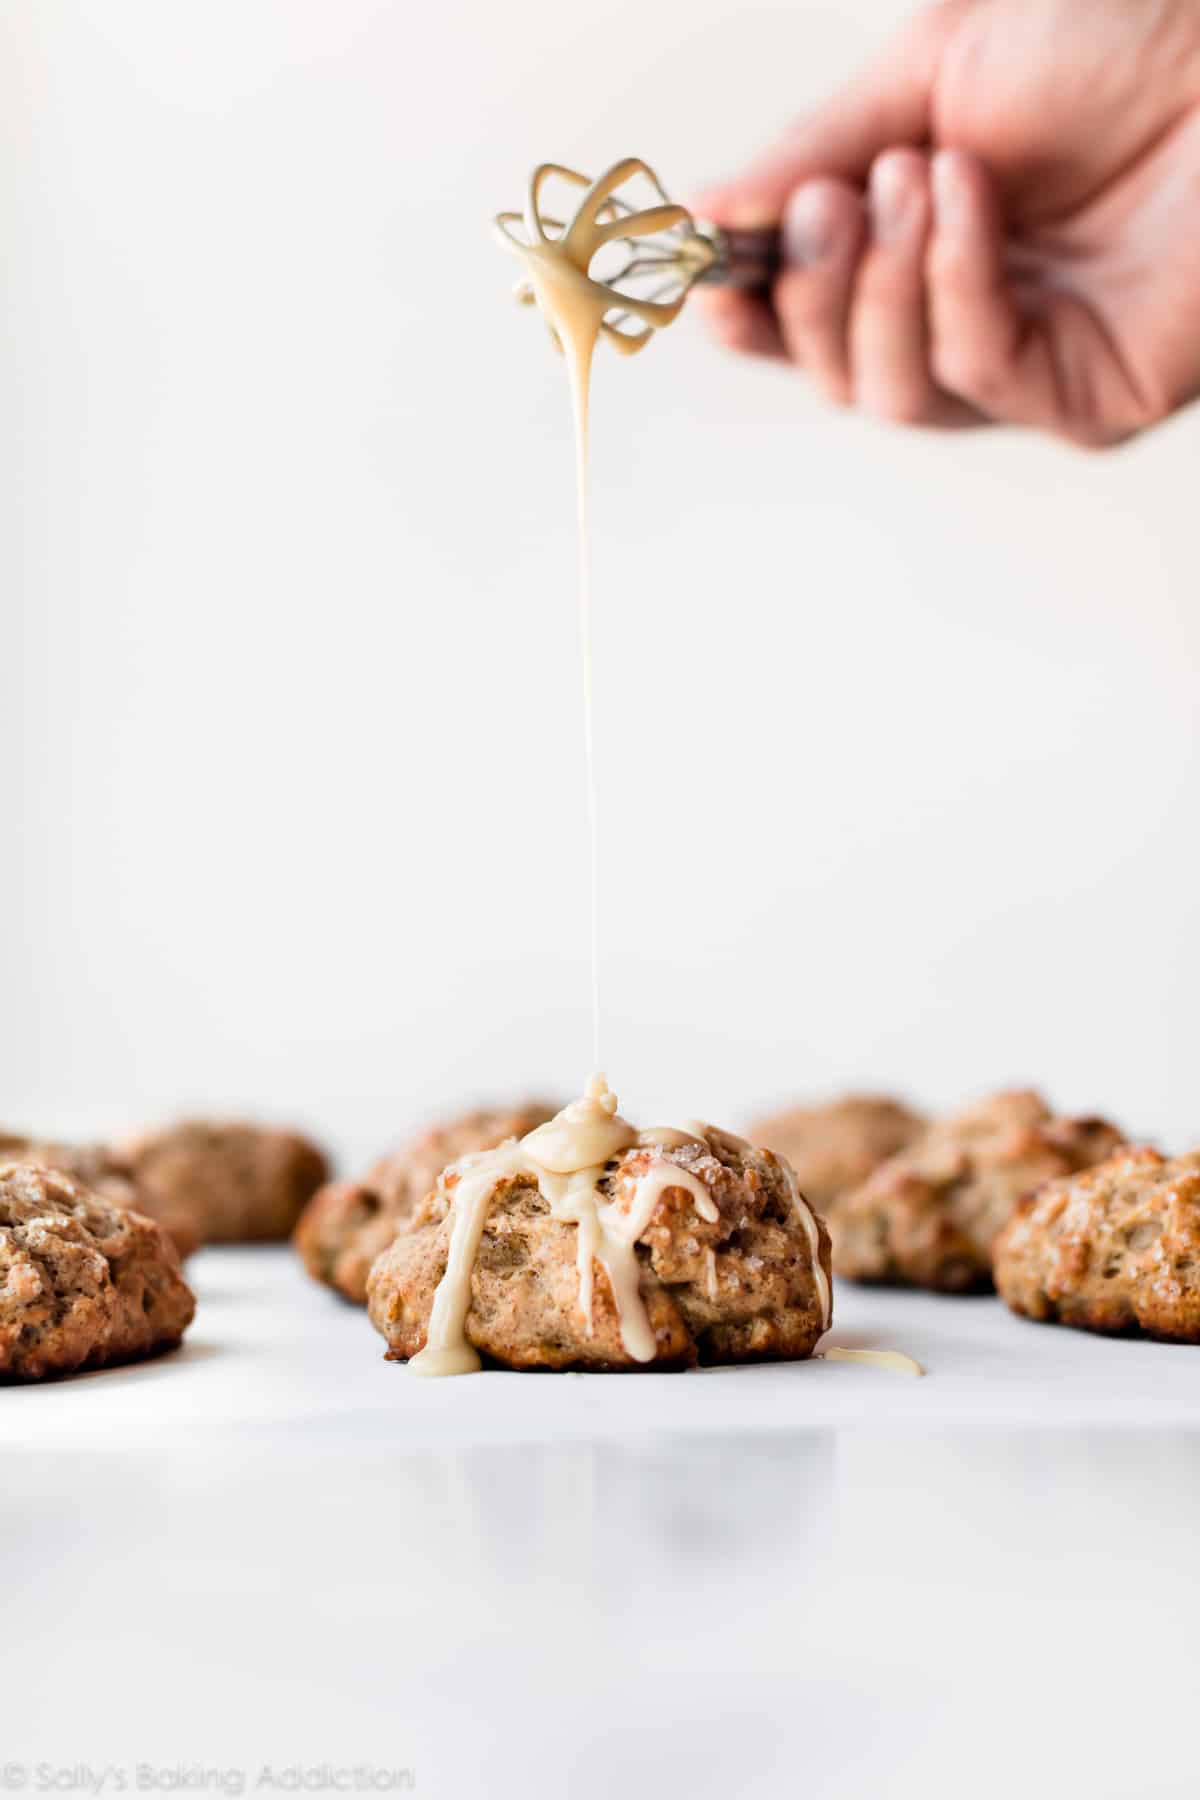
The Best Finishing Touch: Maple Icing
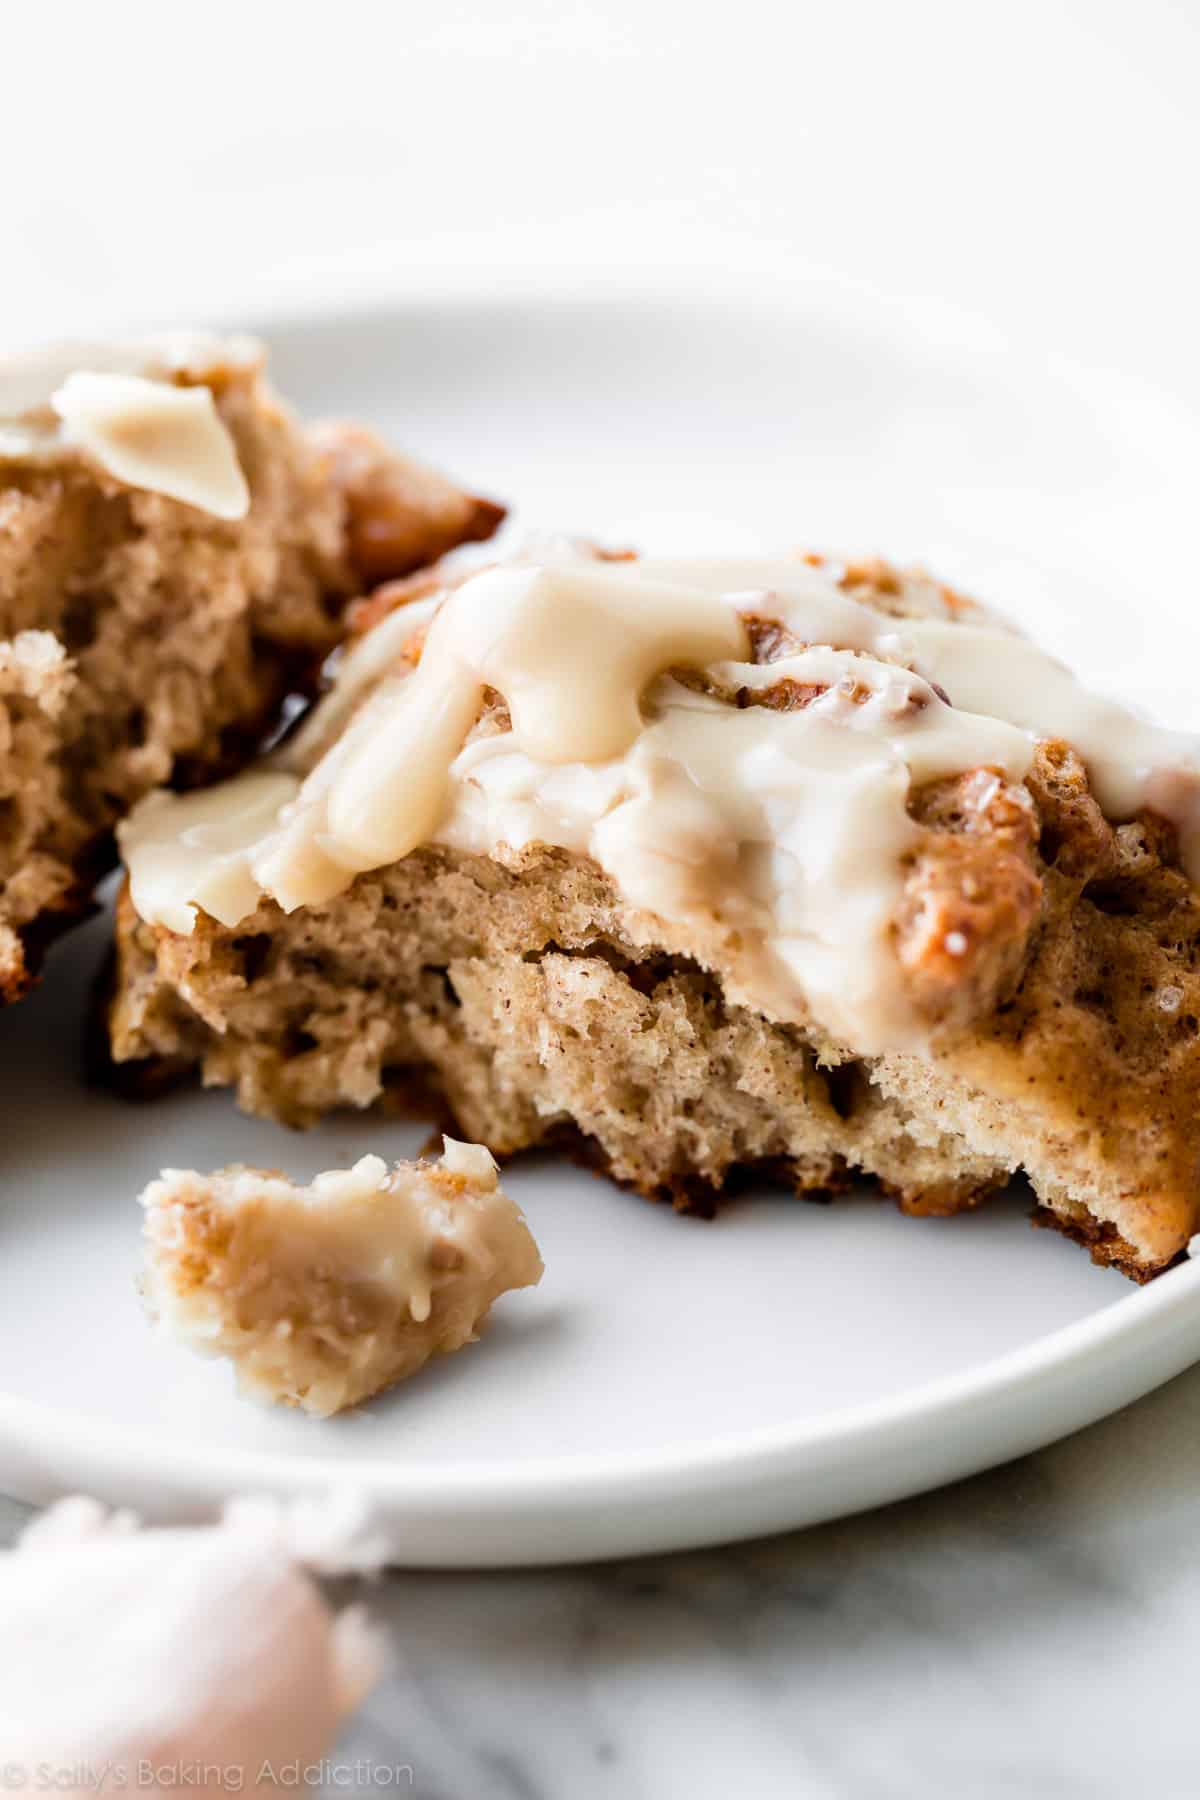
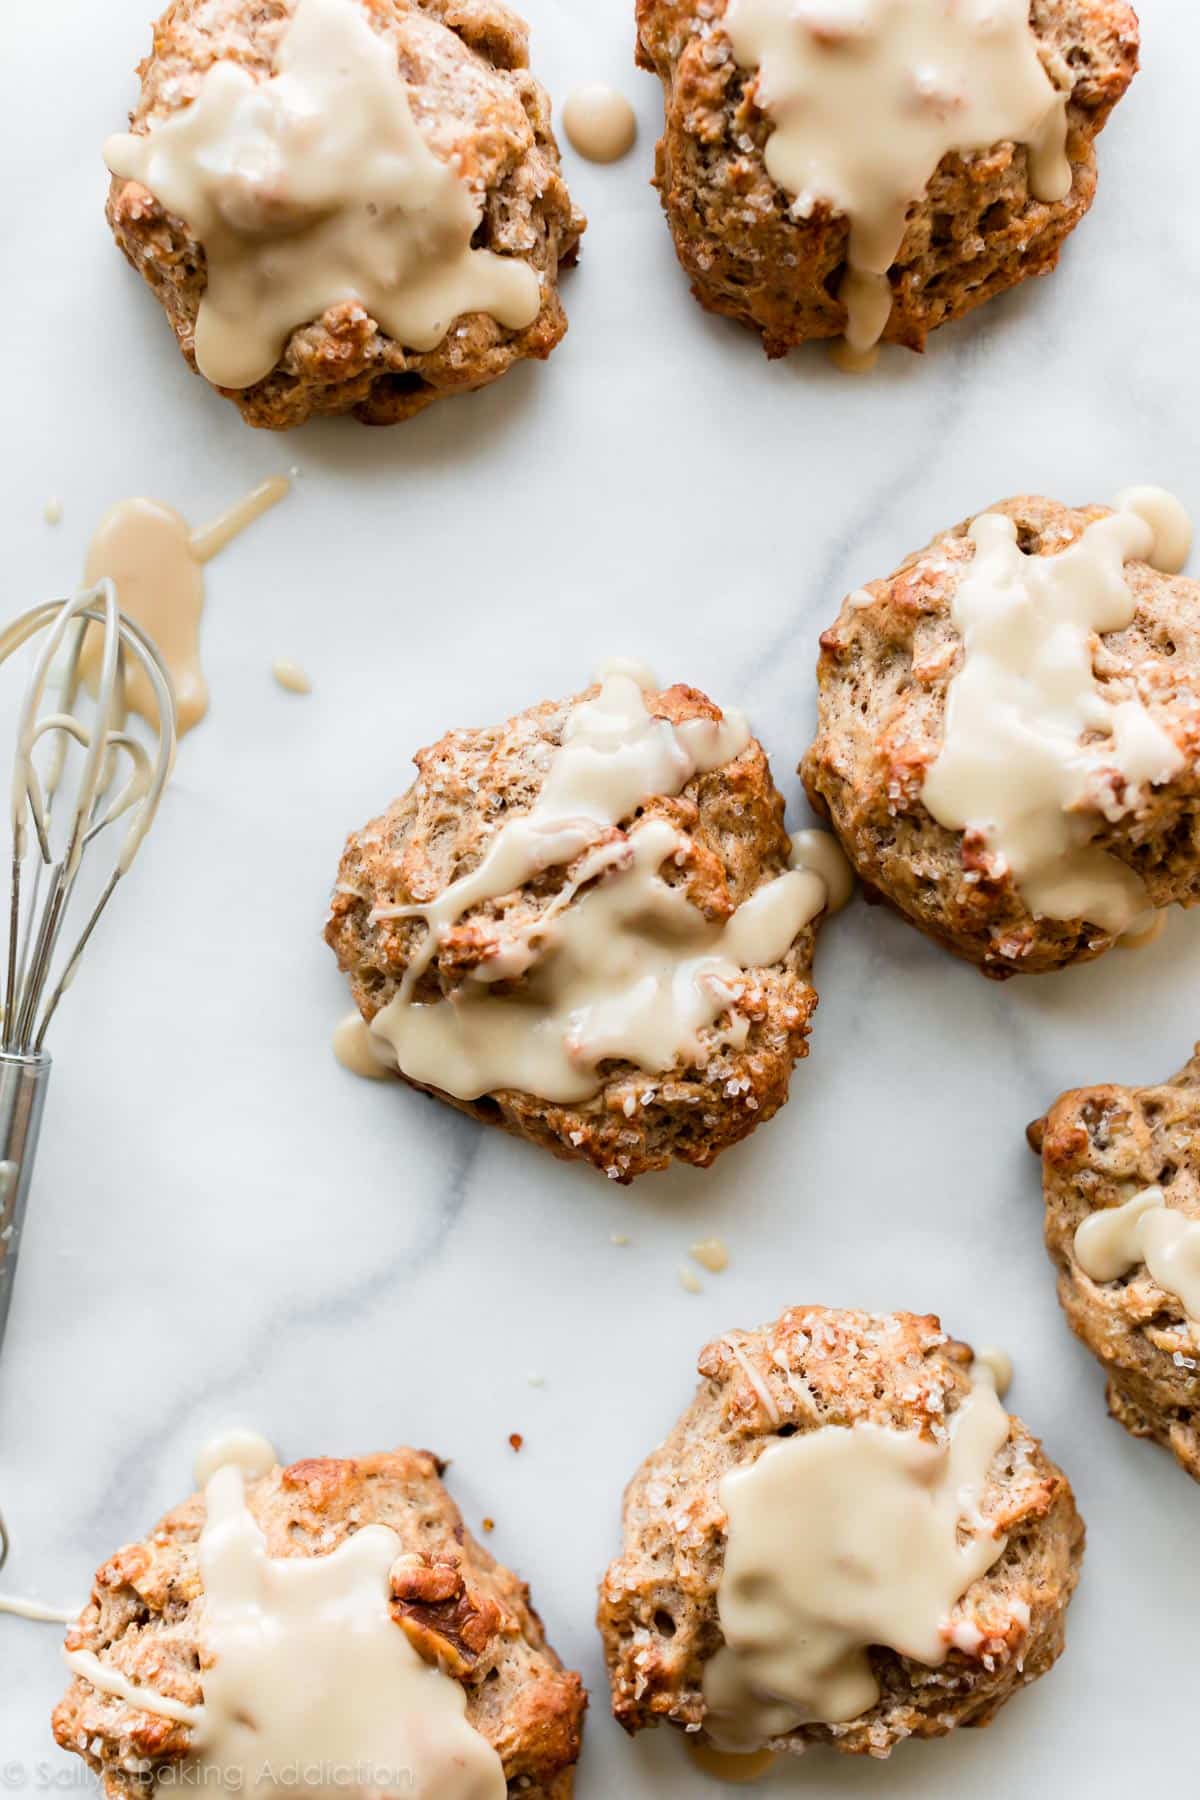
These banana scones have all the flavor from banana bread including cinnamon spice, brown sugar, and banana. Maple icing is the BEST finishing touch… because everything is better blanketed with maple!! Simply melt butter and maple syrup together, then whisk in sifted confectioners’ sugar. The icing seeps into all the cracks and crevices. That top maple-soaked surface is the best part!
This banana scone recipe yields such a unique texture—an incredible mash up of banana bread and scones. Get those bananas browning and start pre-heating your oven!
More Favorite Banana Recipes
- Banana Cake & Banana Cream Pie
- Banana Bread & Banana Muffins
- Banoffee Pie
- Chocolate Banana Muffins & Banana Chocolate Chip Streusel Muffins
Banana Nut Scones with Maple Glaze
- Prep Time: 30 minutes
- Cook Time: 25 minutes
- Total Time: 1 hour
- Yield: 12 scones
- Category: Breakfast
- Method: Baking
- Cuisine: English
Description
Deliciously moist, flaky, and crumbly banana nut scones with maple glaze. Not quite banana bread or banana muffins, but everything you crave for breakfast!
Ingredients
- 1 cup (230g) mashed bananas (about 3 medium or 2 large ripe bananas)
- 1/4 cup (60g) plain Greek yogurt (or any plain yogurt or sour cream)
- 1/2 cup (100g) packed light or dark brown sugar
- 1 large egg
- 1 teaspoon pure vanilla extract
- 2 and 1/2 cups (313g) all-purpose flour (spooned & leveled)
- 2 and 1/2 teaspoons baking powder
- 1 and 1/2 teaspoons ground cinnamon
- 1/8 teaspoon ground nutmeg
- 1/2 teaspoon salt
- 5 Tablespoons (71g) unsalted butter, frozen
- 1 cup (125g) chopped walnuts (optional)
- top before baking: 3 Tablespoons (45ml) milk and coarse sugar
Maple Glaze
- 2 Tablespoons (28g) unsalted butter
- 1/3 cup (80ml) pure maple syrup
- 1 cup (112g) sifted confectioners’ sugar
Instructions
- Preheat oven to 400°F (204°C). Line 2 large baking sheets with parchment paper or a silicone baking mat. Set aside.
- In a stand mixer or medium bowl with a handheld mixer, beat the mashed bananas, yogurt, brown sugar, egg, and vanilla extract together. Set aside.
- In a large bowl, whisk the flour, baking powder, cinnamon, nutmeg, and salt together. Grate the frozen butter (I use a box grater to grate it; a food processor also works for grating). Toss the grated butter into the flour mixture and combine it with a pastry cutter, two forks, a food processor, or your fingers until the mixture resembles coarse meal. Set aside.
- Drizzle wet ingredients over flour mixture, add the walnuts, and then toss the mixture together with a rubber spatula until everything appears moistened. Try your best to not overwork the dough at any point. Dough will be sticky and a little wet. Drop scones, 1/4 cup of dough each, at least 3 inches apart on the prepared baking sheet. Brush scones with milk, then top with a little coarse sugar if desired for extra crunch. Tastes great!
- Bake for 20-25 minutes or until lightly golden and cooked through. Remove from the oven and cool as you make the icing. The scones taste even better after they cool down!
- Make the icing: In a small saucepan over low heat, melt the butter and maple syrup together, whisking occasionally. Once the butter has melted, remove from heat and whisk in the sifted confectioners’ sugar. Drizzle over scones.
- Scones are best enjoyed right away, though leftover scones keep well at room temperature or in the refrigerator for about 3-5 days.
Notes
- Make Ahead & Freezing Instructions: Some options here. The baking powder is initially activated once wet and if you hold off on baking, the scones won’t rise as much in the oven. However, the decrease in rise is so slight that it doesn’t make a noticeable difference. That being said, you can shape this scone dough into wedges and refrigerate overnight before baking. You can also freeze before baking. Freeze scone dough wedges on a plate or baking sheet for 1 hour. Once relatively frozen, you can layer them in a freezer-friendly bag or container. Bake from frozen, adding a few minutes to the bake time in the recipe below. Or thaw overnight, then bake as directed. You can also freeze the baked and cooled scones before topping with icing. To thaw, leave out on the counter for a few hours or overnight in the refrigerator. Warm in the microwave for 30 seconds or on a baking sheet in a 300°F (149°C) oven for 10 minutes.
- Special Tools (affiliate links): Electric Mixer (Handheld or Stand) | Glass Mixing Bowls | Box Grater | Pastry Cutter | Baking Sheet | Silicone Baking Mat or Parchment Paper | Pastry Brush | Coarse Sugar (optional)
- Frozen Bananas: You can use frozen bananas here. Thaw the frozen bananas. Drain off any excess liquid, mash, then use as instructed in the recipe. See How to Freeze & Thaw Bananas for Baking.
See more scone recipes.
See more breakfast recipes.


These were not the texture I was expecting for a scone, but they were delicious and I would definitely make them again. Great way to use your overripe bananas up. I’m not sure why some folks seem to have trouble with the temperature or time – I followed the recipe precisely and they turned out perfectly ♀️