Yeasted bread has never been easier. This simple mixing method produces the most beautiful and crusty cranberry nut no knead bread with practically zero hands-on work!
This recipe is brought to you in partnership with Red Star Yeast.

Here’s a recipe you’re going to memorize and I’m not saying that because it’s so simple. I’m saying it because it’s an unbelievably and awesomely delicious homemade bread with a major crust, a soft and chewy texture, and plenty of irresistible nuts and dried cranberries to keep each piece interesting and unique. You won’t be able to stop making it. You won’t be able to stop eating it. And, as such, you’ll memorize the recipe in no time. That’s a guarantee.
I’ve made this no knead bread 4x within 2 weeks and I’m not even a bread person. But it MADE ME A BREAD PERSON. Not sure if that’s a bad thing?
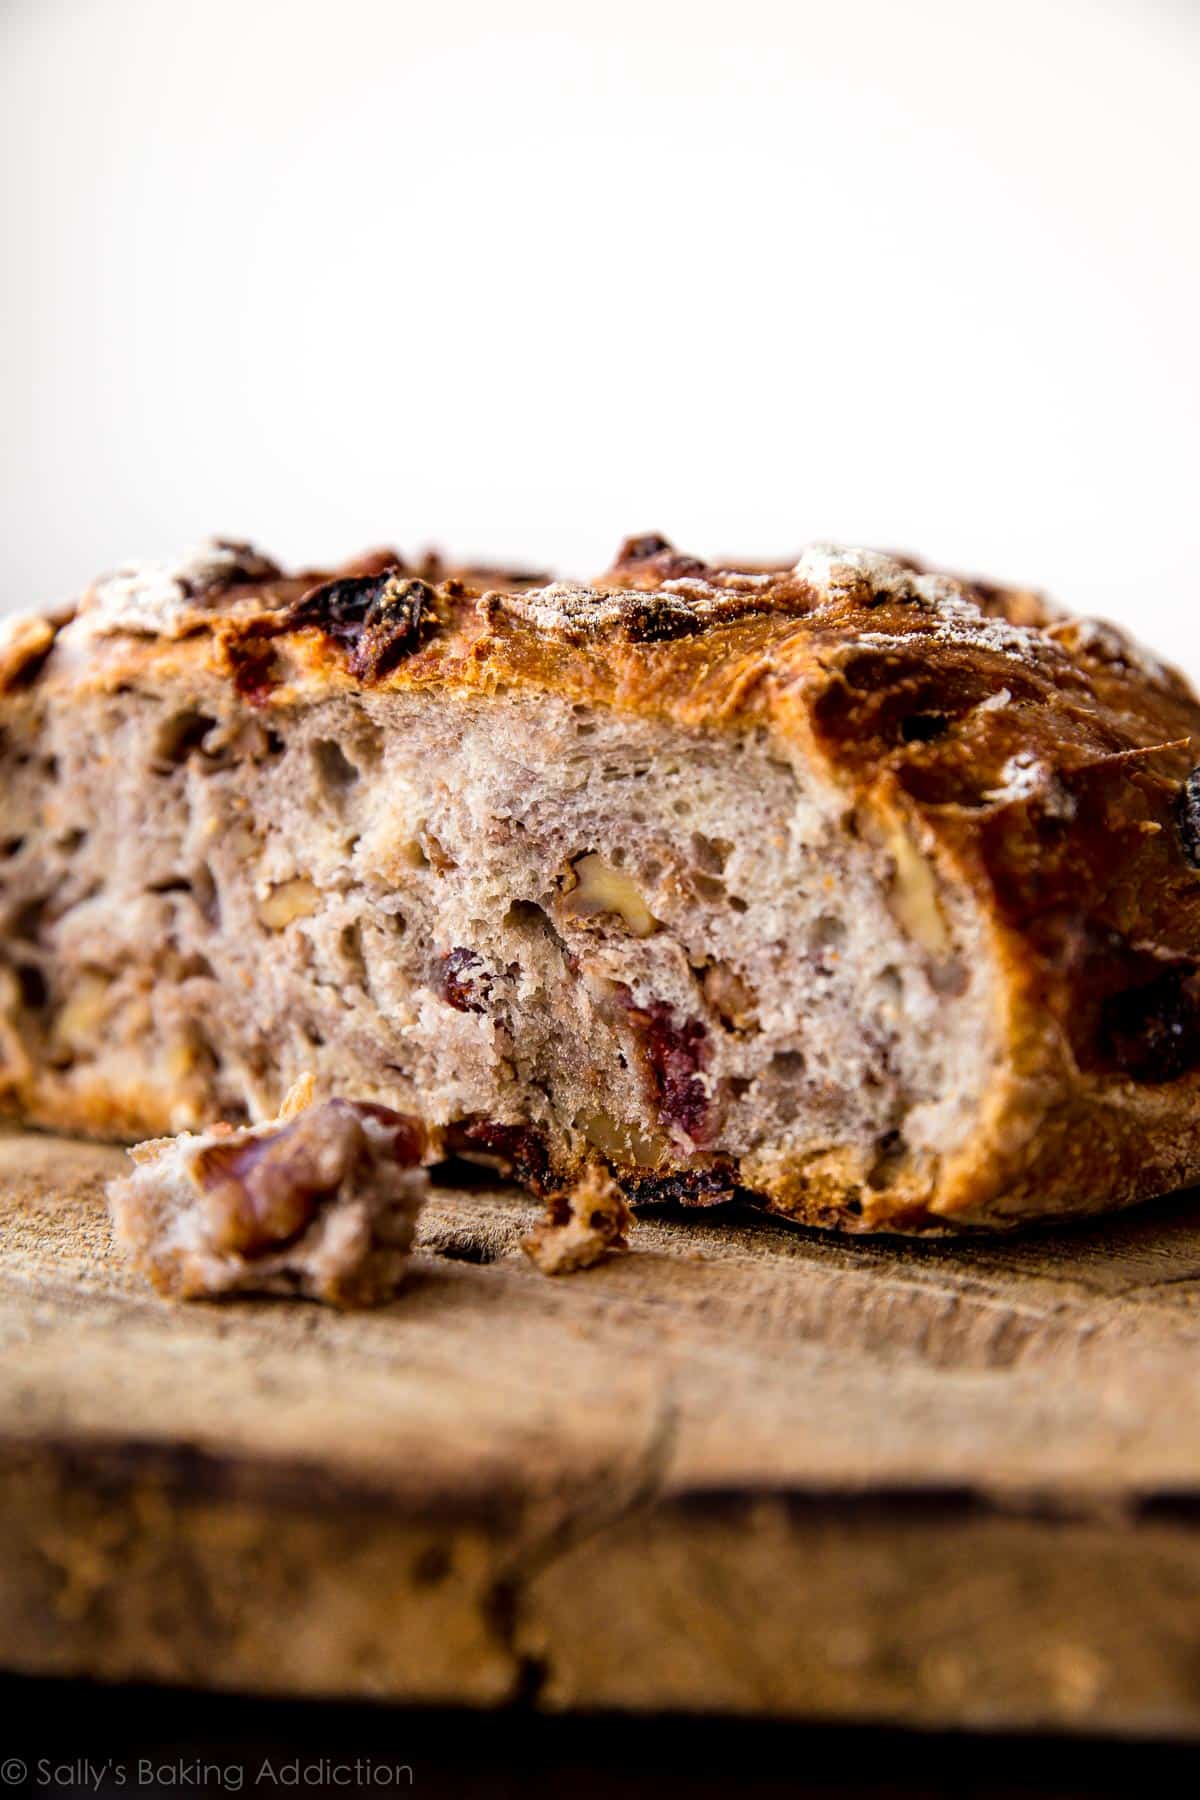
“Homemade bread” and “easy” are terms that don’t typically go hand-in-hand. When you think of homemade bread, you get pretty freaked out, right? Seems like a terrible idea, majorly complicated, and a general waste of time. This recipe, however, will completely change that universal thought. I realize that’s a pretty big promise, but I’m confident your perception of homemade bread will switch from “too fancy schmancy” to “wow, I can do this.”
This bread, like my homemade artisan bread, seeded oat bread, and olive bread, has all the bells and whistles and takes zero effort to make. If you’re feeling lazy… this recipe is for you.
Overview: How to Make No Knead Bread
- Stir 5 ingredients together. Don’t even break out your mixer.
- Stir in extras like chopped walnuts and dried cranberries.
- Shape into a ball and leave it alone for a day.
- Kick up your feet and don’t knead the dough.
- Score an X on top of the dough, let it rest, then bake it.
- You’re done.
This whole no-work, no-knead, professional-bread-at-home concept has swarmed the internet and after some research, I found it originally came from Jim Lahey of Sullivan Street Bakery in NYC. It’s all very basic ingredients, but his method is unique, which includes an 18 hour rise time. 18 hours?! Yes! Don’t be nervous, this 18 hours gives the dough a chance to ferment. And the fermentation time requires absolutely nothing from you. Just set it on your counter and forget about it until the next day. We love using this same method for Homemade English Muffins. In both recipes, the magic happens when you’re not looking!
Only 5 Ingredients for No Knead Bread
You don’t need a lot of ingredients to make homemade bread and you might already know that if you’ve tried this sandwich bread recipe. You only need 5 ingredients here, which include kitchen staples like flour, salt, and honey. You’ll also need a little warm water to bring all the ingredients together and activate the yeast. For the yeast, we’re using Platinum Yeast from Red Star, my favorite. Don’t be nervous—yeast doesn’t bite, I promise. 🙂 It’s just another ingredient you’re adding.
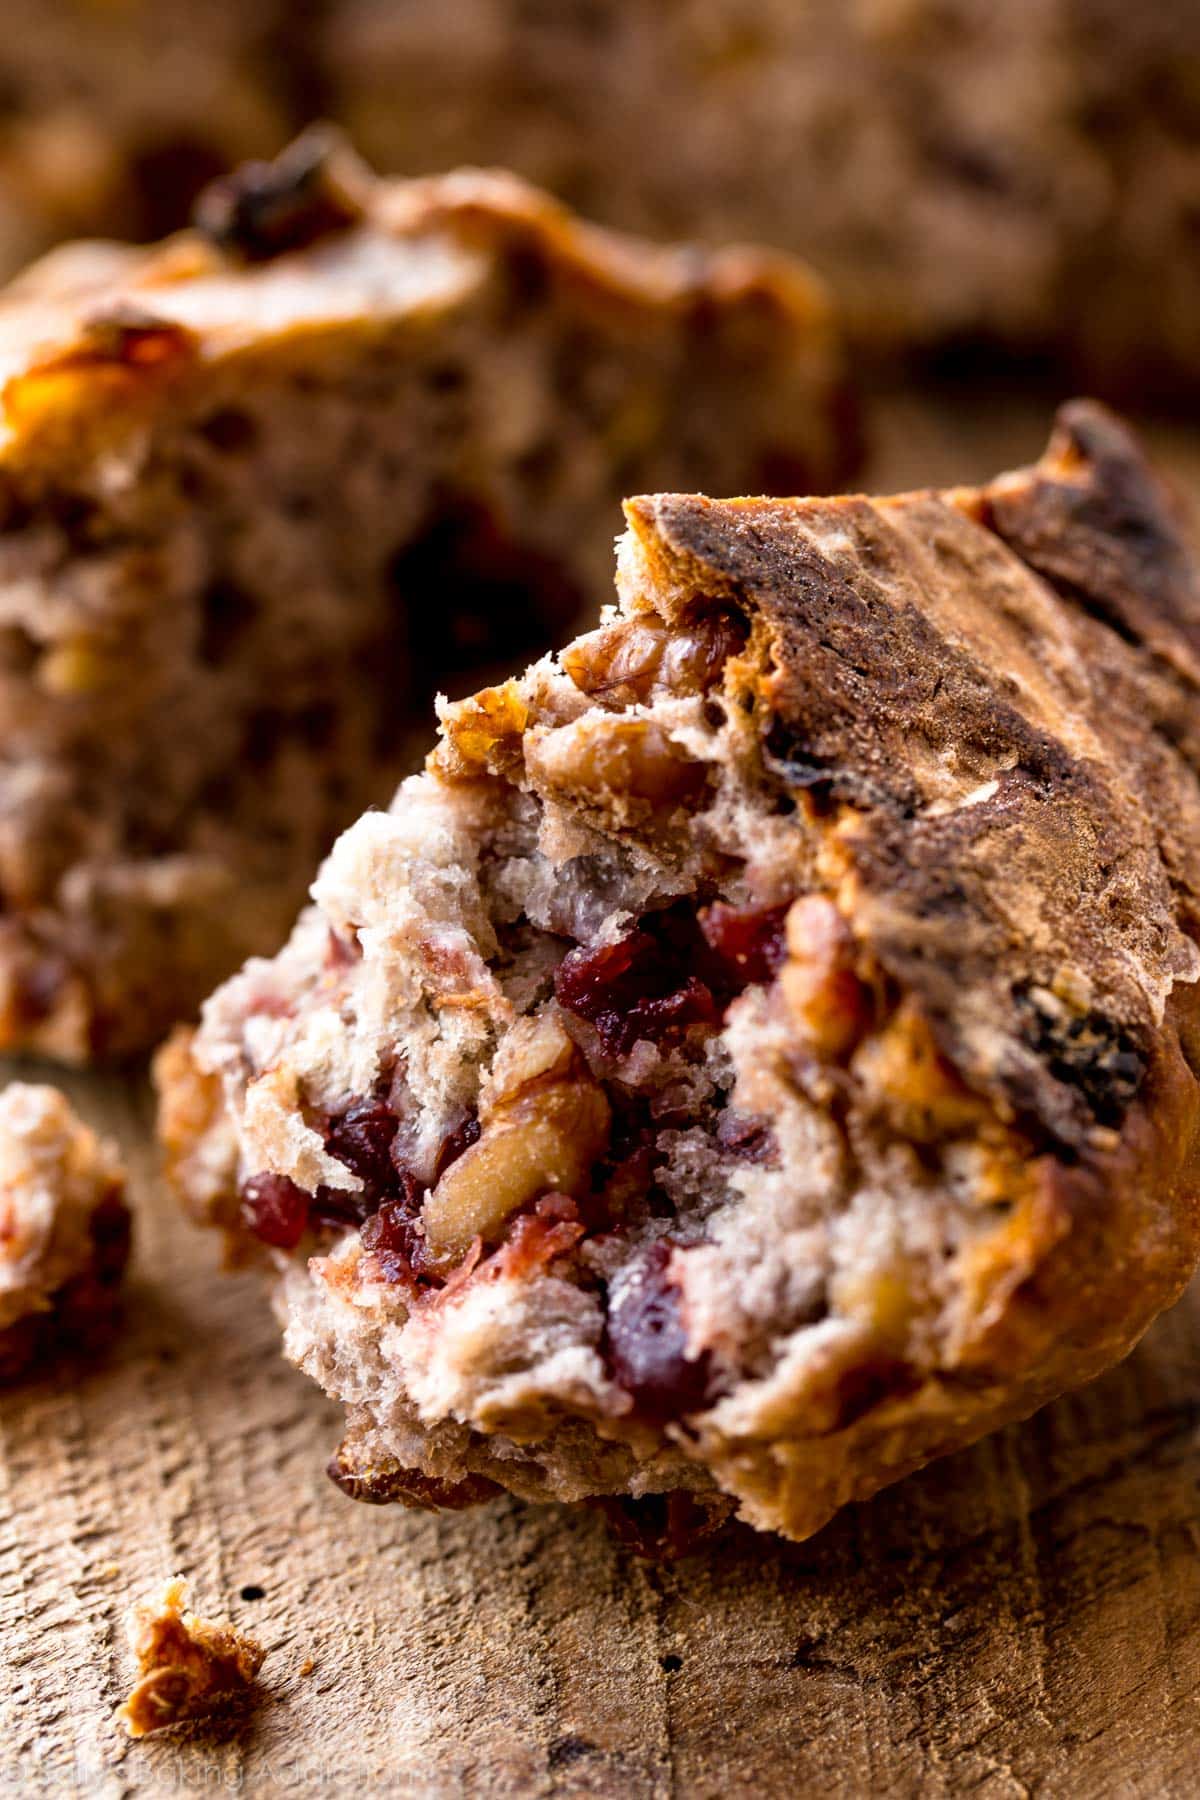
Honey isn’t usually added to traditional no knead bread recipes, but I wanted a little extra flavor here. A couple Tablespoons of flour make up for the added liquid. There’s also lots of walnuts and cranberries for interesting texture. Not that this bread needs any assistance in the texture category. It’s SO crisp and crusty. Just look at it! And that long rise time ensures an amazingly chewy texture.
By the way, if you enjoy honey in your homemade bread, you’ll love this no knead honey oat bread because the flavor really stands out. The process is also very similar to today’s easy bread recipe.
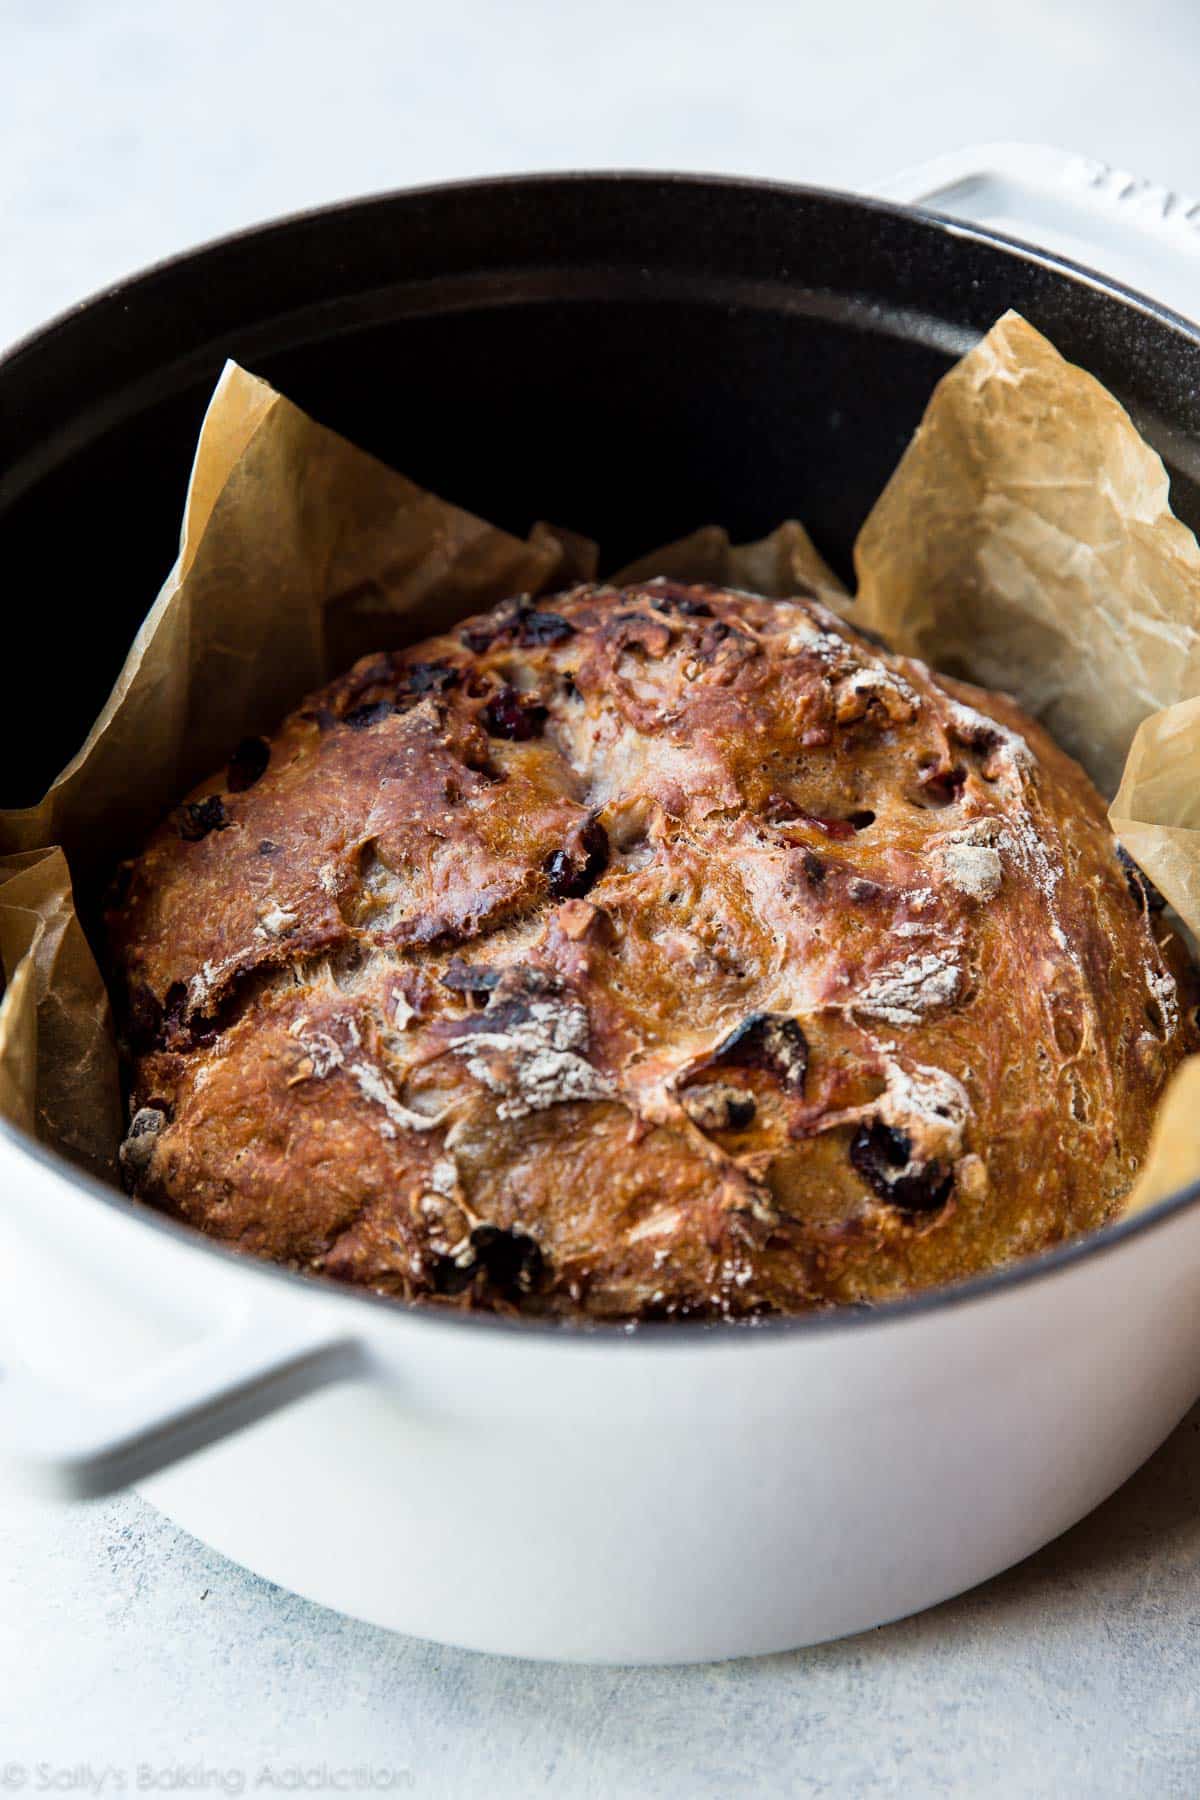
You’ll bake the bread in a super hot dutch oven. If you don’t have one, you can use any heavy duty pot with a lid, providing it’s oven-proof.
Why Bake No Knead Bread in a Dutch Oven?
Baking the bread with the lid on traps steam inside the pot, creating that perfect crust. A lid is KEY to this bread recipe’s success! You won’t regret picking up a dutch oven.
No Dutch Oven? No Problem.
While baking the bread in a dutch oven is key to this bread’s texture, you can get around it. Instead, place the rounded dough on a parchment paper lined or generously floured nonstick baking pan. (No need to pre-heat the pan in the oven like you do the dutch oven.) Score the bread as noted in step 3 below. Preheat the oven (same oven temperature). After the oven is preheated, place scored dough/baking pan on the center rack. Then place a shallow metal or cast iron baking pan or skillet (I usually use a metal 9×13-inch baking pan; do not use glass) on the bottom oven rack. Carefully and quickly pour 3-4 cups of boiling water into it, and then quickly shut the oven door to trap the steam inside. The steam helps create a crispier crust. Bake for about 30 minutes. For a more accurate test, the bread is done when an instant read thermometer reads the center of the loaf as 195°F (90°C).
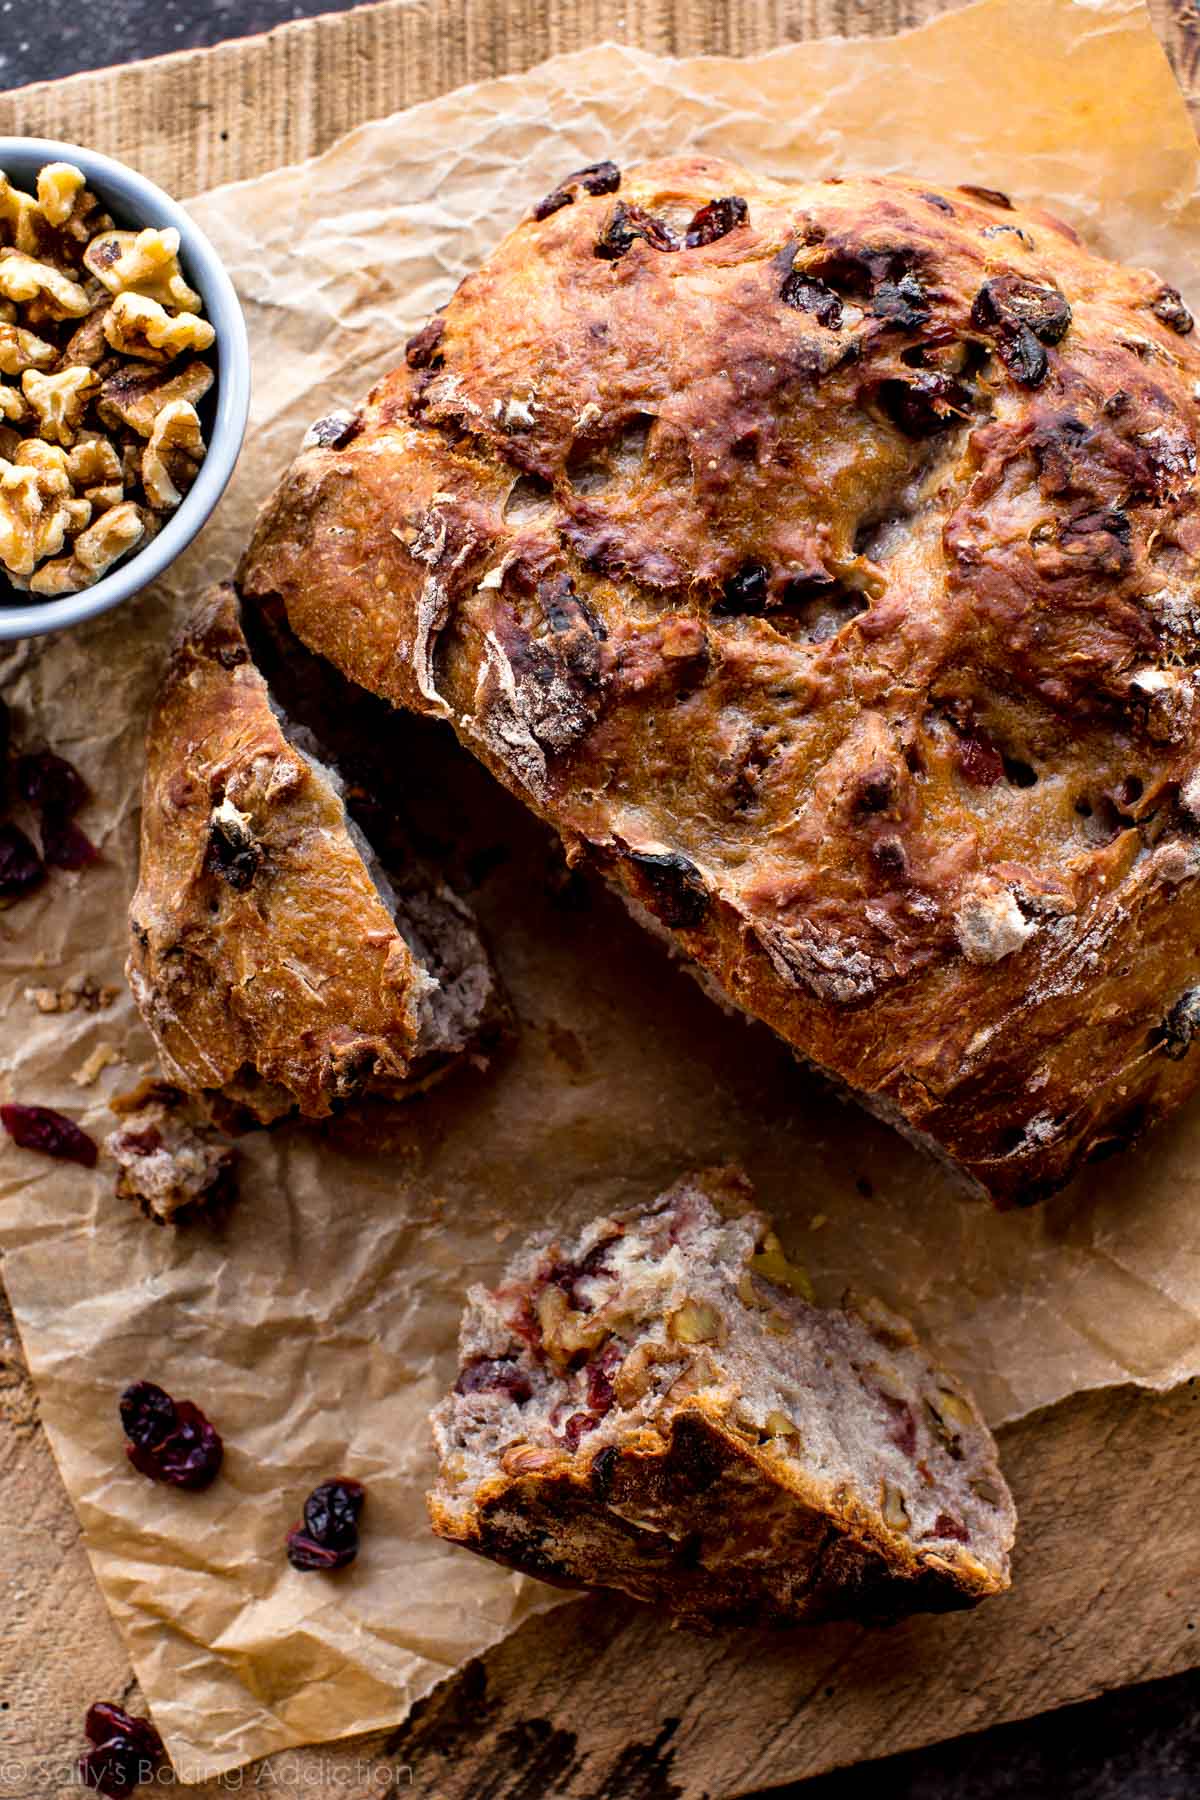
It’s so easy, you’ll be silly not to try it. And you’ll really be missing out!
Step-by-step pictures and additional tips below the recipe.
Print
Crusty Cranberry Nut No Knead Bread
- Prep Time: 20 minutes
- Cook Time: 35 minutes
- Total Time: 20 hours
- Yield: 1 loaf; 10-12 servings
- Category: Bread
- Method: Baking
- Cuisine: American
Description
Yeasted bread has never been easier. This simple mixing method produces the most beautiful and crusty cranberry nut no knead bread with practically zero hands-on work! If you’re new to working with yeast, reference my Baking with Yeast Guide for answers to common yeast FAQs.
Ingredients
- 3 cups + 2 Tablespoons (390g) all-purpose flour (spooned & leveled), plus more for hands
- 2 teaspoons coarse sea salt (I find the flavor lacking using regular table salt)
- 1/2 teaspoon Platinum Yeast from Red Star instant yeast
- 3/4 cup (95g) chopped nuts (I like walnuts or pecans)
- 3/4 cup (105g) dried cranberries*
- 1 Tablespoon (21g) honey
- 1 and 1/2 cups (360ml) warm water (about 95°F (35°C))
Instructions
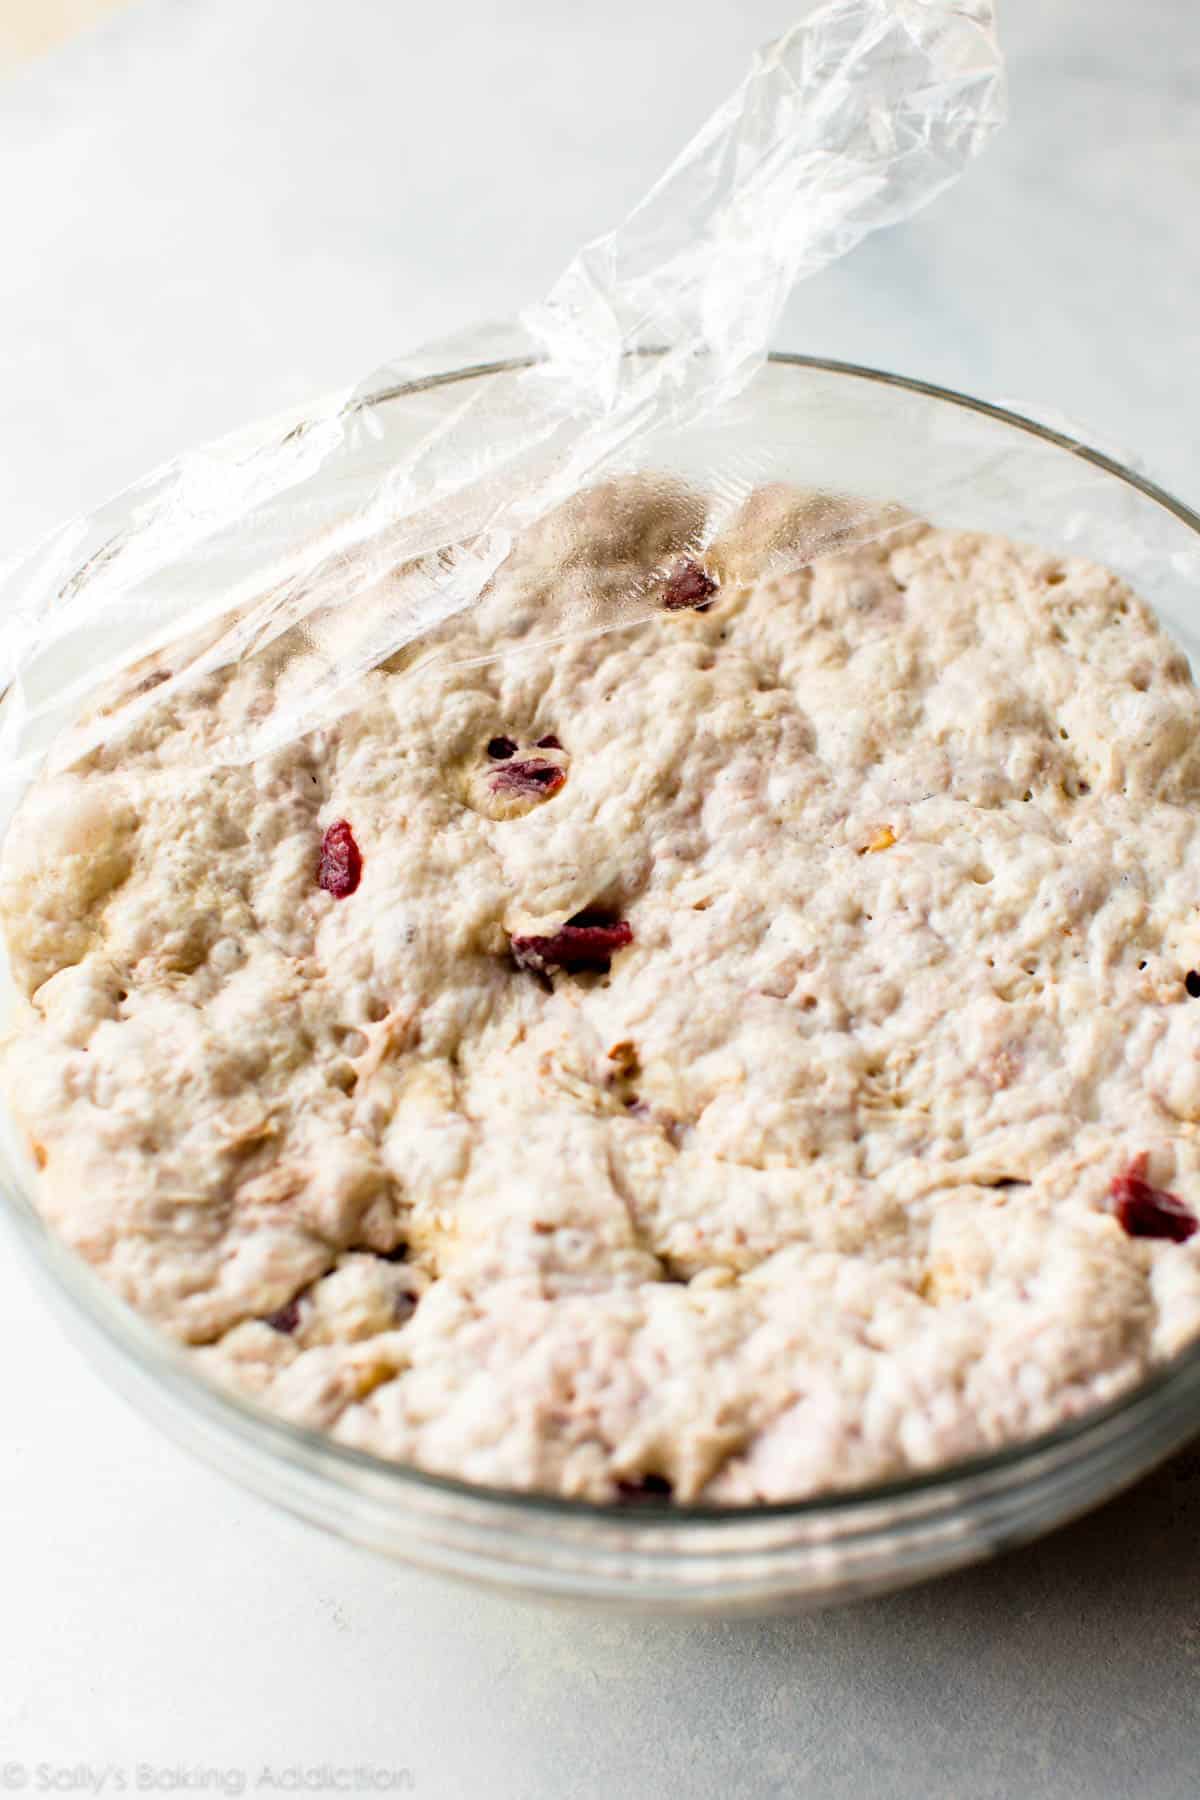
- *No need to grease the bowl, and do not use a mixer in this step because the dough is too sticky for a mixer.* Stir the first 6 ingredients together in a large bowl, and then stir in the warm water. The dough will be pretty sticky—don’t be tempted to add more flour—you want a sticky dough. Gently shape into a ball as best you can. Cover tightly with plastic wrap or aluminum foil. Set on the counter at room temperature (honestly any normal room temperature is fine!) and allow to rise for 12-18 hours. The dough will double in size, stick to the sides of the bowl, and be covered in air bubbles.
- Turn the dough out onto a lightly floured work surface and, using lightly floured hands, shape into a ball as best you can. Doesn’t have to be perfect. Transfer dough to a large piece of parchment paper. (Large enough to fit inside your pot and one that is safe under such high heat. I use this parchment and it’s never been an issue.) Place the ball of dough + parchment inside a bowl so the dough doesn’t spread out as it rests.
- Using a very sharp knife or bread lame (you could even use kitchen shears), gently score an X into the top. Cover dough lightly with plastic wrap or a clean kitchen towel and let it rest for 30 minutes.
- During this 30 minutes, preheat the oven to 475°F (246°C). (Yes, very hot!) Place your dutch oven (with the lid) or heavy duty pot inside for 30 minutes so that it’s extremely hot before the dough is placed inside. After 30 minutes, remove the dutch oven from the oven and carefully place the dough inside by lifting it up with the parchment paper and sticking it all—the parchment paper included—inside the pot. Cover with the lid.
- Bake for 25 minutes with the lid on. Carefully remove the lid and continue baking for 8-10 more minutes until the bread is golden brown. How to test for doneness: Give the warm bread a light tap. If it sounds hollow, it’s done. For a more accurate test, the bread is done when an instant read thermometer reads the center of the loaf as 195°F (90°C).
- Remove pot from the oven, carefully remove the bread from the pot, and allow to cool on a wire rack for 20 minutes before slicing.
- Cover and store leftover bread at room temperature for 1 week.
Notes
- Make Ahead & Freezing Instructions: The dough takes up to 18 hours to rise, so this is a wonderful recipe to begin 1 day ahead of time. You can also bake the bread, allow it to cool, and freeze for up to 3 months. Thaw in the refrigerator and allow to come to room temperature before serving. You can also freeze the dough. Complete the recipe through step 2. Wrap in plastic wrap and place in a freezer-friendly container. To bake, allow dough to thaw completely at room temperature and then continue with step 3 and the rest of the recipe instructions.
- Special Tools (affiliate links): Glass Mixing Bowl | Lodge Cast Iron Dutch Oven or Le Creuset Dutch Oven | Parchment Paper | Bread Lame | Instant Read Thermometer | Cooling Rack
- Dutch Oven: Use a 6 quart or larger dutch oven or any large oven-safe pot with an oven-safe lid. If your dutch oven is smaller than 6 quarts, you can halve the recipe (instructions remain the same, just halve each ingredient) or make the recipe as directed in step 1, shape the dough into 2 balls in step 2, and bake them one at a time in your smaller dutch oven. While the 2nd dough waits, lightly cover and keep at room temperature. The bake times in the recipe above (25 mins and then 8-10 mins) will both be a little shorter for smaller loaves.
- No dutch oven? See post above for alternative.
- Yeast: If you don’t have instant yeast, you can use active-dry. I’ve never had a problem using active dry yeast in this recipe– and with no other changes needed. Works wonderfully!
- Bread Flour or Whole Wheat Flour: I use all-purpose flour here since it’s more readily available to most bakers. However, I love baking bread with bread flour and it can definitely be substituted with no other changes needed to the recipe. You can also substitute 1 cup of the flour for whole wheat flour. Do not use all whole wheat flour, as the bread will taste quite dense and heavy.
- Cranberries: Dried cranberries (or raisins) are best for this wet dough. I haven’t tried this bread with fresh or frozen cranberries.
- Parchment Paper: If your parchment paper can only be heated to a certain temperature, bake the bread at that temperature. Bake the bread a little longer to compensate for the lower temperature.
- Reference my Baking with Yeast Guide for answers to common yeast FAQs.
- Recipe adapted from Red Star Yeast, method originally from Jim Lahey.
Gently stir all of the ingredients together:
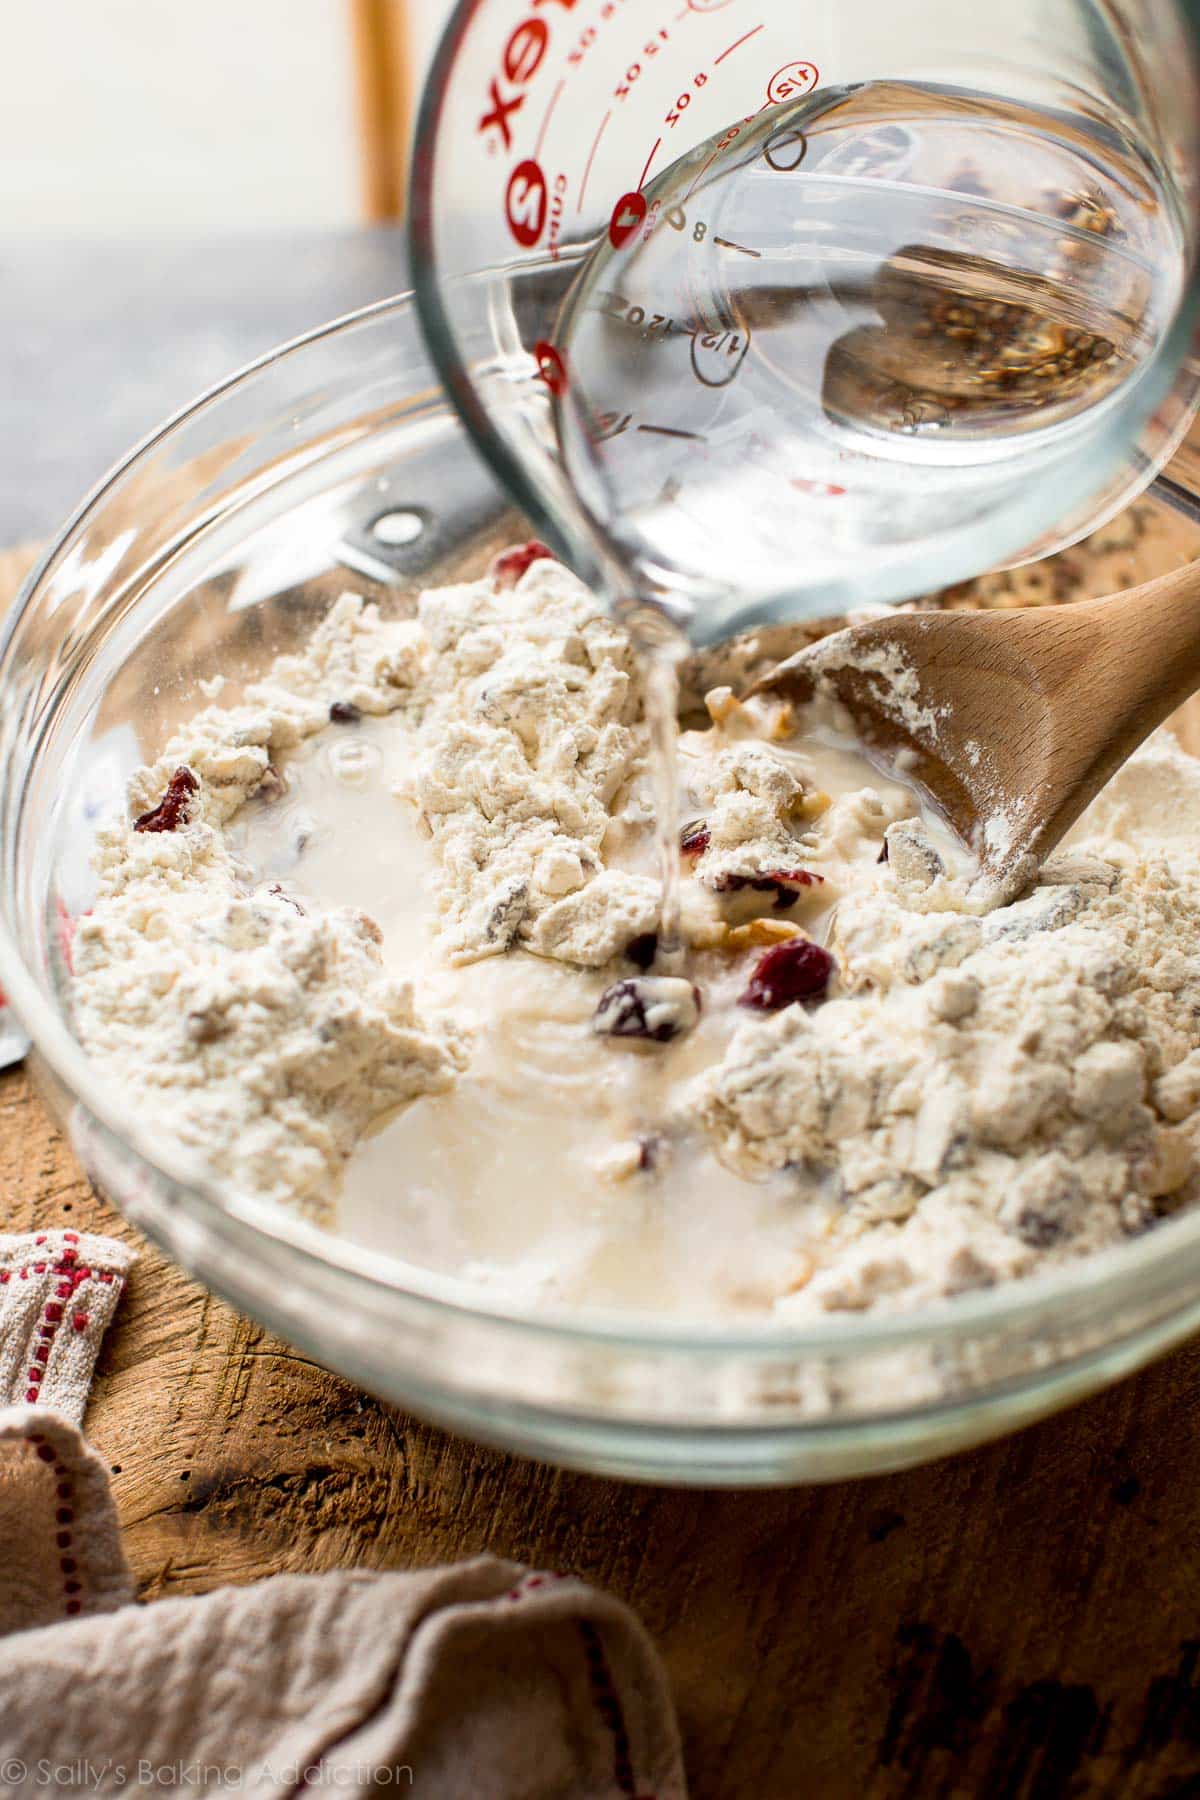
This will be a super sticky dough. Remember, do NOT be tempted to add more flour. It will stick to your hands. That’s nothing a quick wash can’t fix!
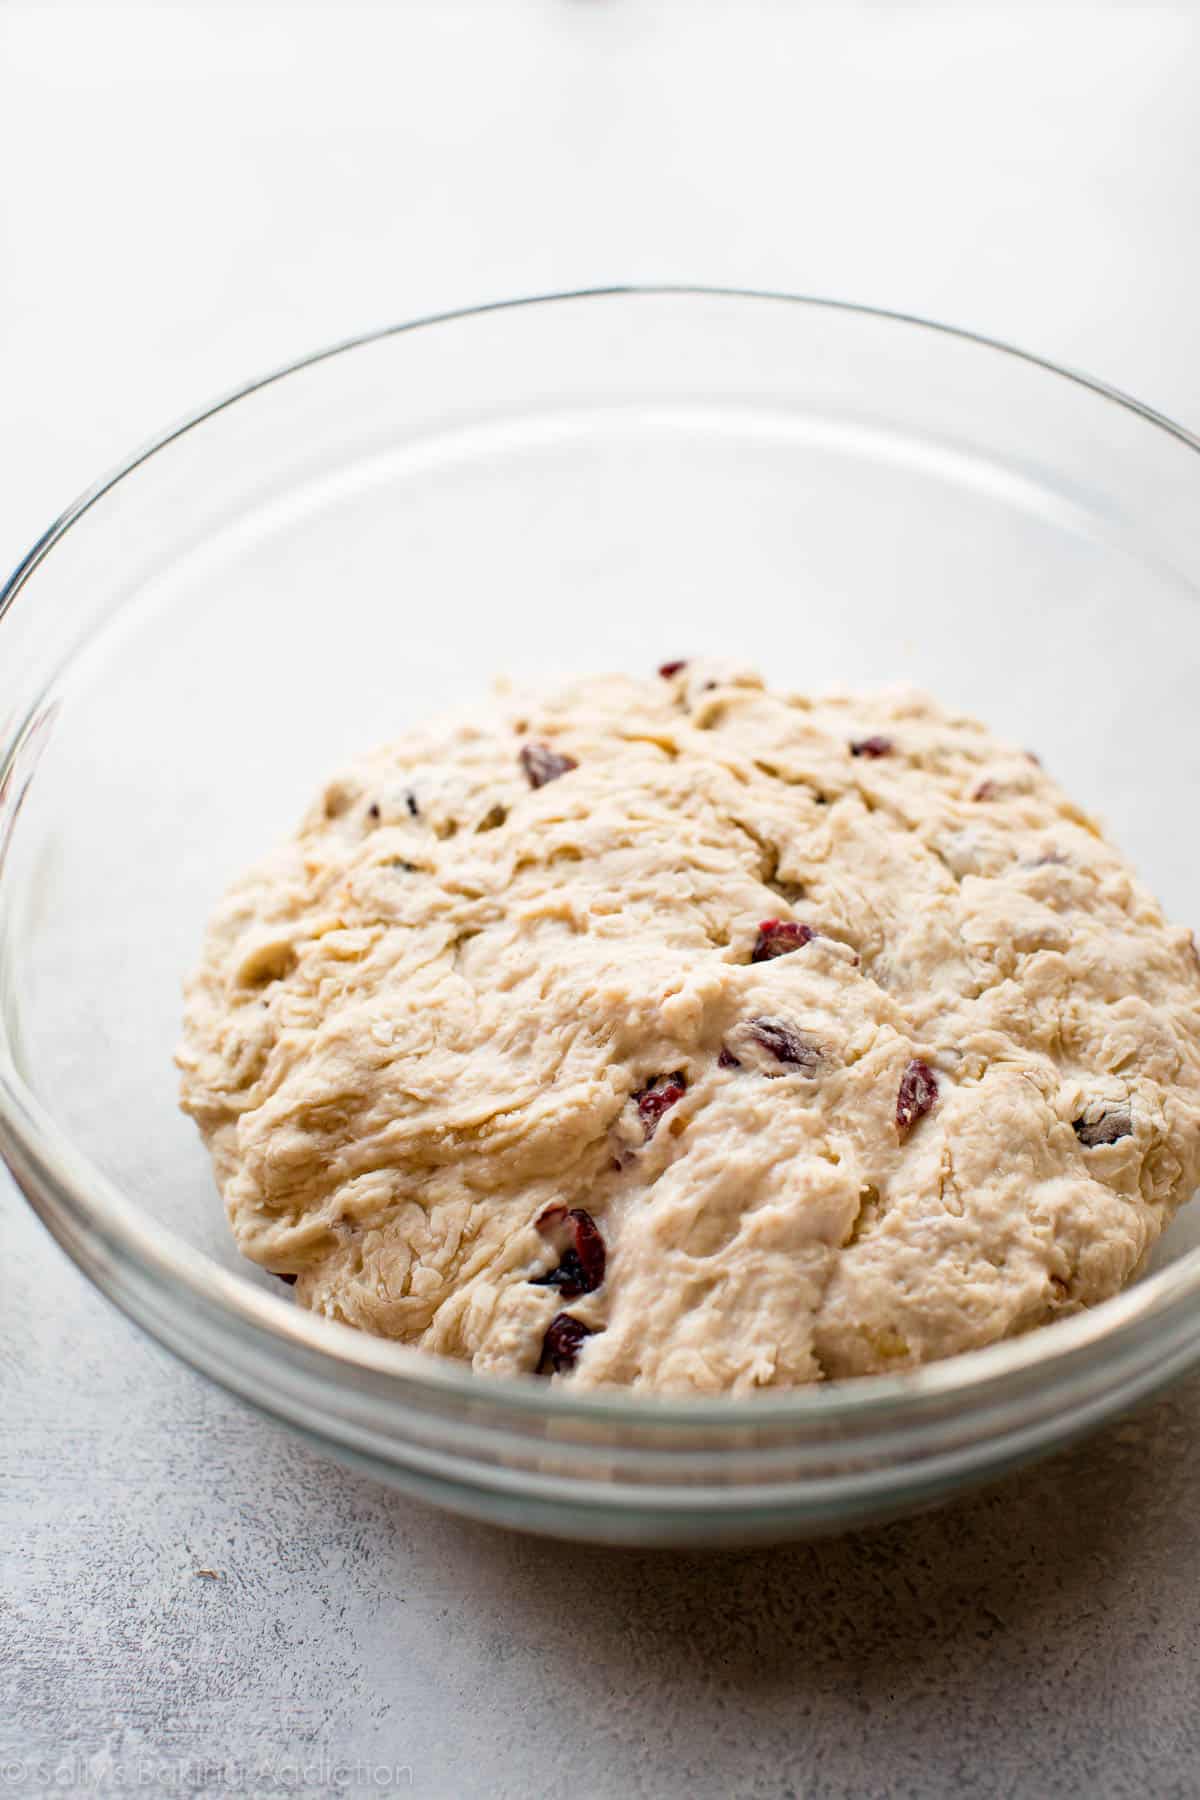
Let the dough rise at room temperature. This recipe is very forgiving. Any normal-ish room temperature is fine. You’ll know that the dough is finished rising when it has doubled in size and air bubbles have formed on top.
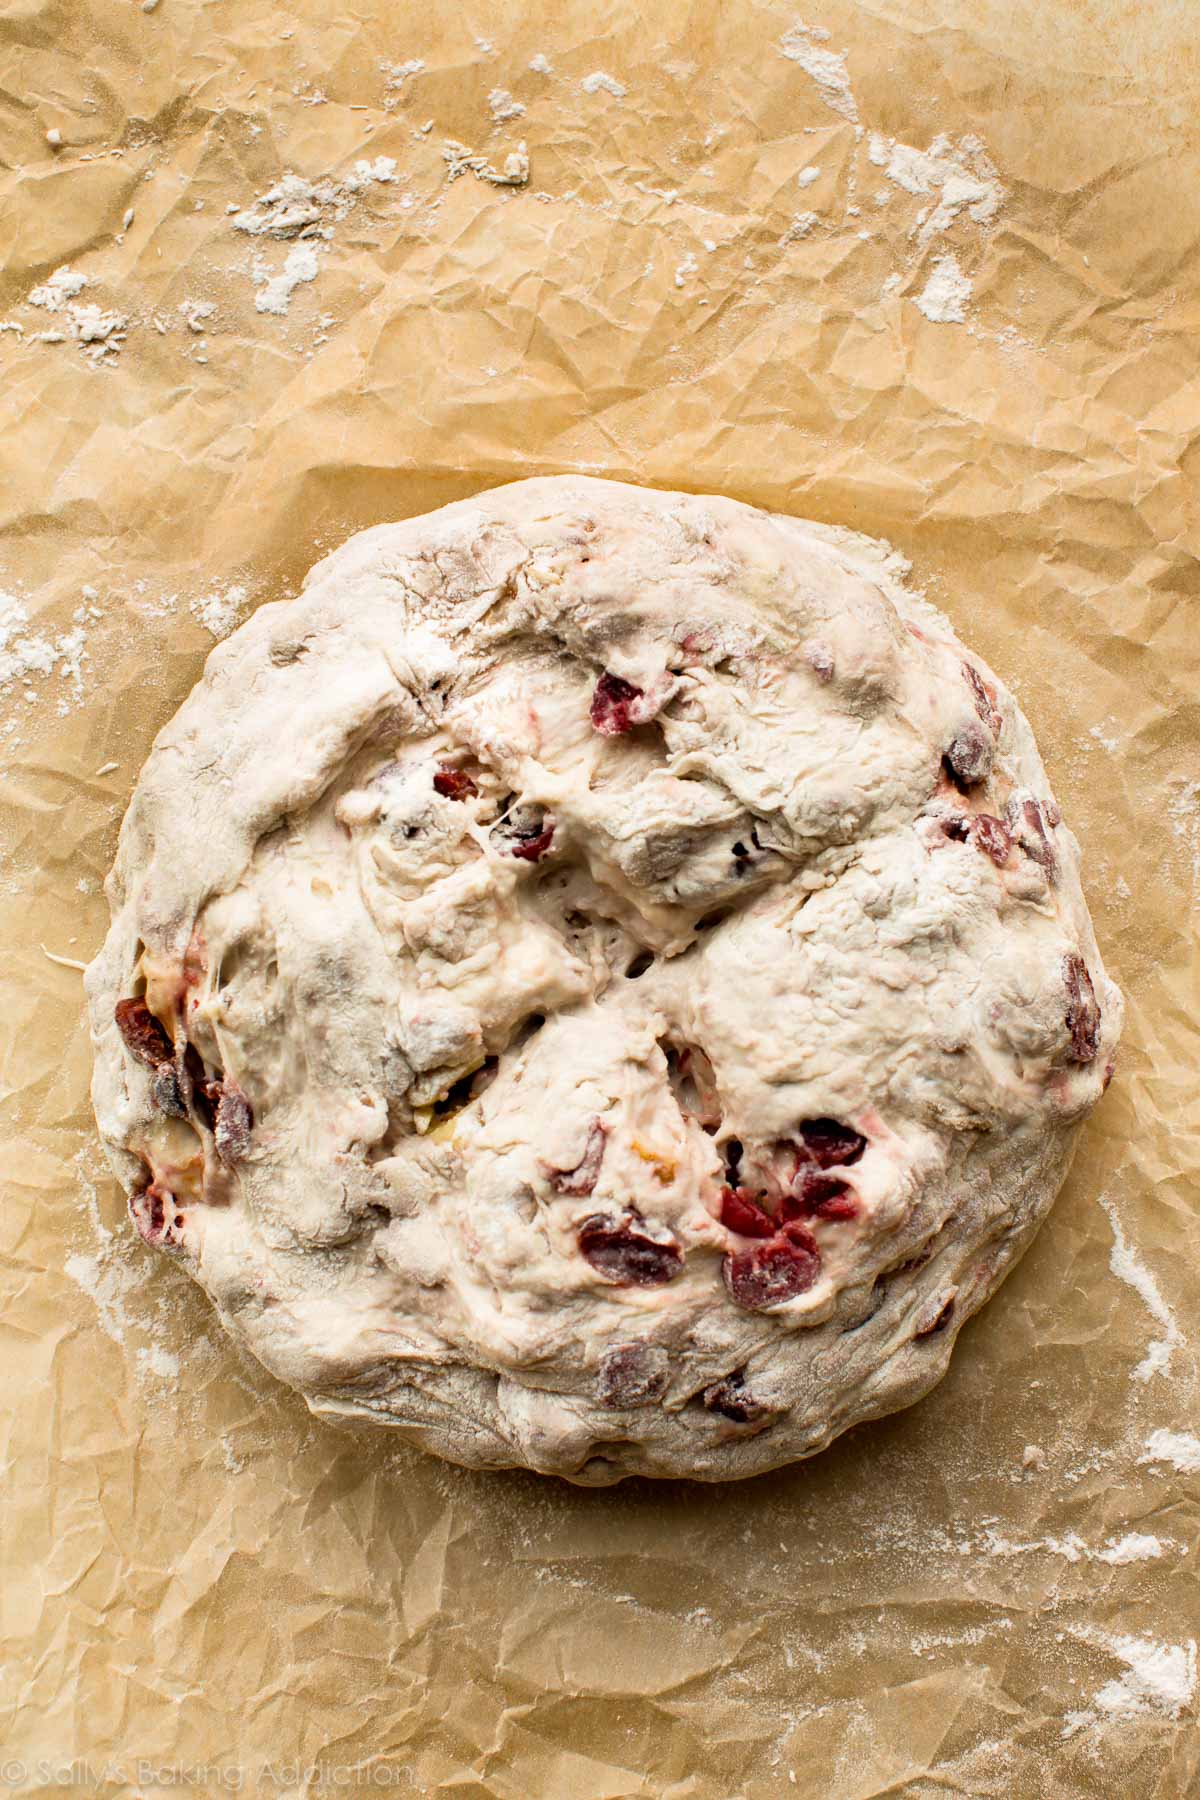
The dough will still be super sticky after rising. That’s ok! Using lightly floured hands, form the sticky dough into a ball and place on a large piece of parchment paper. Score an X on top, then allow to rest for 30 minutes:
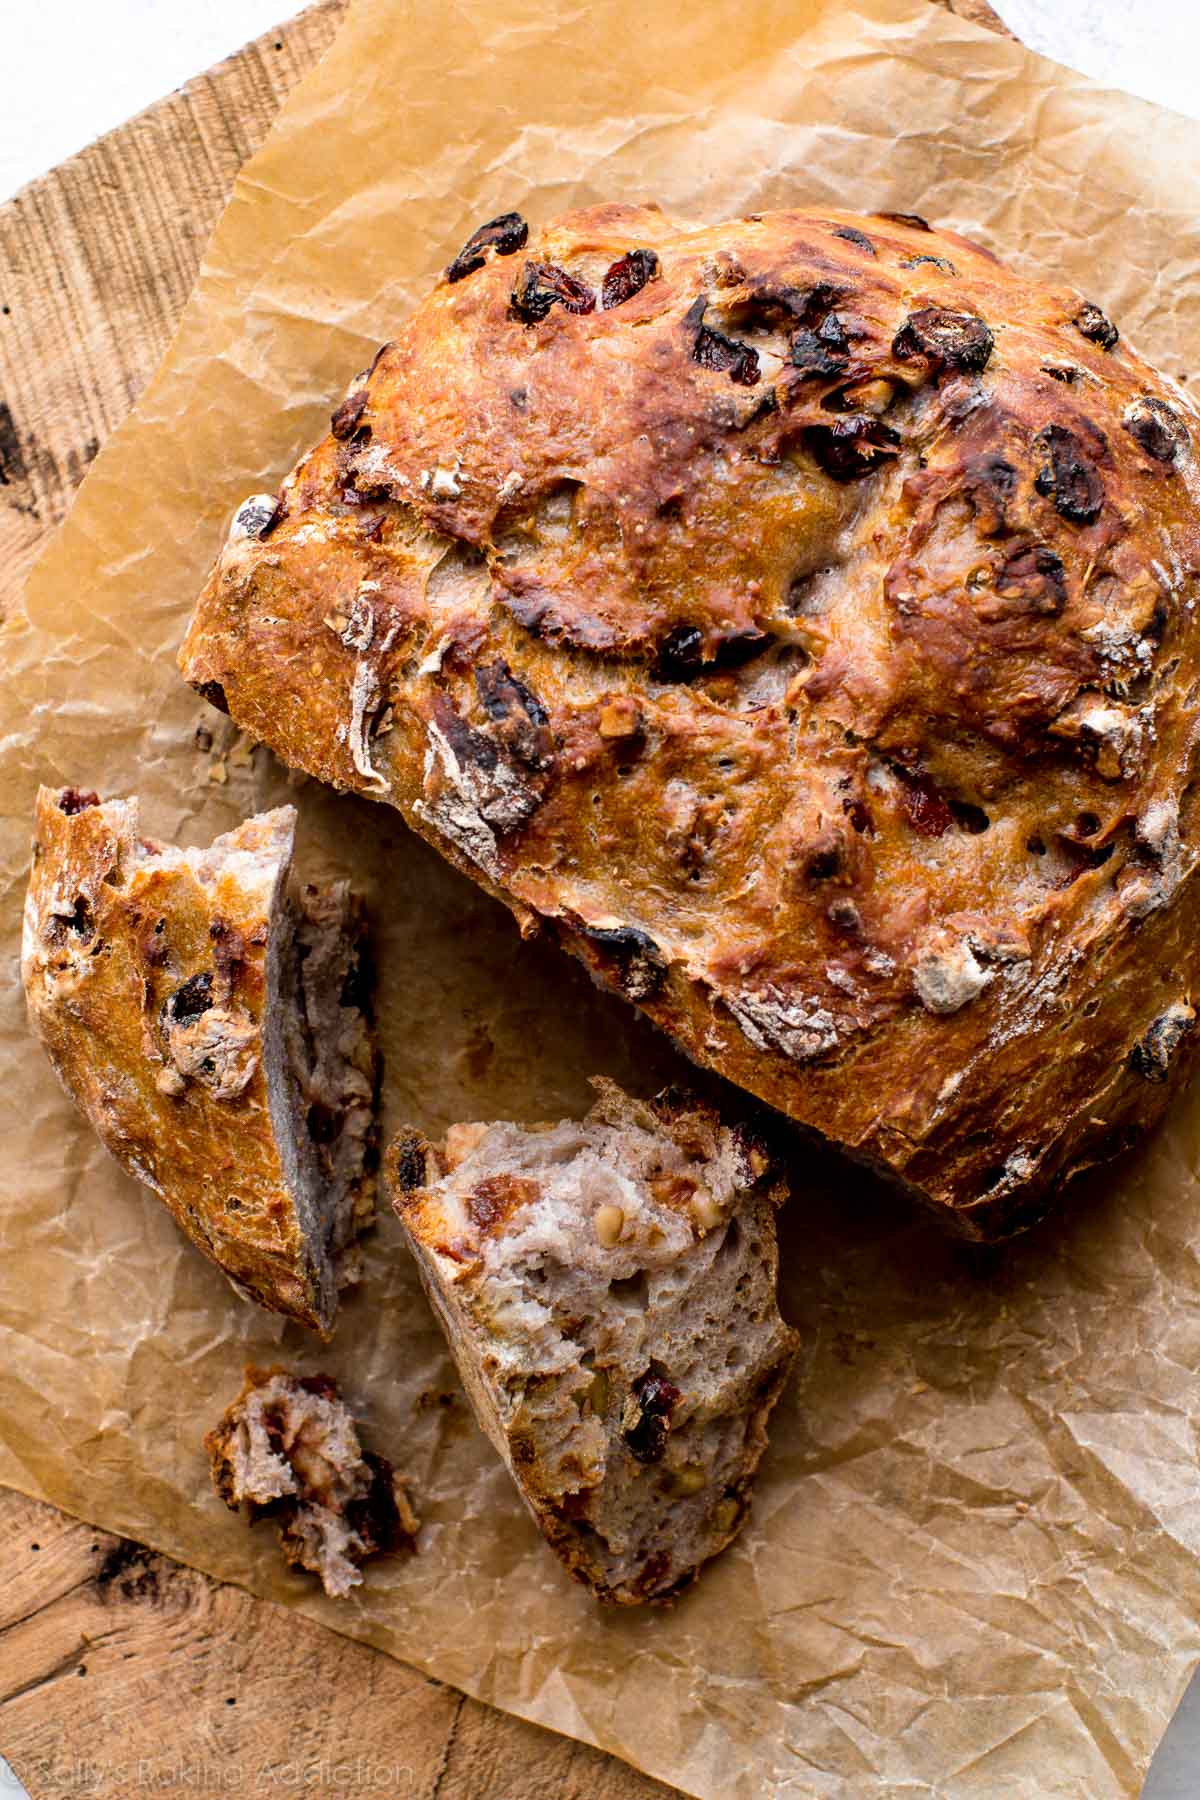
Bake! Eat! Enjoy!


Can I double this recipe?
Hi Jane, For best results, we recommend making two separate batches rather than doubling.
First time I made this, bread came out tasty but did was rather flat. I tried again. Success! Turned out just like yours! Super delish! I figure it had to do with the yeast I used. I’ve another dough waiting for 12 hours. I used bread flour. This time I will take a photo.
This bread is 10 Stars! I baked it in a Pullman Mold with the cap off – it looks beautiful as a loaf and tastes outrageous! Toasted with a little cream cheese and you will never be happy with any other toast – Super easy to make…
I really love this recipe. But I do have a question. I make the dough and cover the bowl with plastic wrap. As the dough rises it makes a very large plastic wrap dome over the bowl. I first thought I used a too large bowl which was letting it rise too much, too fast. So the second time I used a bowl like the one you use in the recipe and the same thing happened. This is not at the end of the 18 hours it is within 4 hours. Luckily the wrap does not explode but it sure looks like it might. Is this normal for this recipe…I have never had bread dough do this before but it was not a no knead bread. It is a great recipe.
Hi Jackie, are the temperature and humidity in your kitchen especially high? That’s often the culprit when bread rises too quickly. For next time, you can try allowing the bread to rise in a cooler room/environment. Hope this helps!
I did love this recipe! I used prunes instead of cranberries, and doubled prunes as well as walnuts in amount. The bread still managed to rise (though maybe it would have risen more if I stuck to original instructions).
Would using unbleached or whole wheat flour work here?
Hi Tanya, we don’t recommend using all whole wheat flour, but you can try substituting some of the all-purpose with whole wheat. The bread will be denser. So glad you enjoy this recipe!
Can I let the bread rise 3 hours and put it in the fridge and follow the baking directions as for the Oatmeal Seeds bread and Olive and herbs bread ? Thank you !
Hi Geneviève! This particular recipe needs the longer rise time because it has less yeast, but you can adapt the other dough with these add-ins if you would like. You can start with our artisan bread as well.
Oops ! I put an entire package of yeast for this bread. I’ve making to many of olive and oatmeal seeds bread, and did not really pay attention to the quantity of yeast. I’ll finish up like the other ones. But I’m sure it will be good.
I’ve made this recipe 2 times now but on one loaf I used fresh diced apples in place of cranberry. They are so good. My sister arrives from Bolivia in 1 day. I’m sharing with her
can I use just 1 teaspoon of salt instead. can I use coarse kosher salt. Also can I use 2 cups all purpose flour and 1 cup plus 2 table spoons of bread flour or use all purpose flour. thank you for any help before I start baking
Hi Sandra, Kosher salt will work here. You can use the same amount of bread flour here with no other changes to the recipe for a chewier bread texture.
Delicious…thank you.
I have to say that I was dubious this would be so good with so little effort. However, it was absolutely delicious and very easy to make. I used an ovenproof ceramic casserole dish with a lid and it came out looking like your photos! This will be a firm family favourite now. Thank you for sharing!
This bread turned out so good !! Can’t stop eating it! So easy to throw together, I weighed all ingredients and let sit overnight, easy to shape and set on parchment, next time I will bake at 450 instead of 475, bottom got a little dark.
STUNNING FLAVORS!!! This bread is easy to make and quick.I love the fact that if I have guests coming the next day and last minute, I can throw this together before bed, and in the morning I can start to bake..Thank you so much!!
Hi I want to try this bread today wanted to ask how many grams of flour would you say is a cup in your recipe? I want to use a scale because I have tried others using the cup measurement and I end up with a super dense loaf. Also can I use any other brand of active yeast? Thanks
Hi Eleni, you’ll need 390g of flour total for this bread (125g per cup). Yes, you can use any brand of active dry yeast. Hope you enjoy the bread!
This bread is amazing! Trouble is I can only eat fermented sourdough how can I alter this by using starter? thank you!
Hi Rose, we haven’t used a sourdough starter for this bread, but let us know if you try anything!
This tastes amazing! But why did mine come out flat instead of with the rounded top?
Hi Carmen, so glad you enjoyed it! Was the dough overworked perhaps? That can cause any air bubbles to pop and the loaf will bake up a bit flatter. It’s not an especially tall loaf of bread, but handling the dough with extra care should help.
Can I use gluten free flour to make the Crusty Cranberry Nu no Knead bread
Hi Joni, we haven’t tested it, but we would expect different results.
The BEST no-knead recipe thus far! I have tried several recipes. I think the honey makes it better. I also add about 1-1/2 T of orange zest.
Everyone wants this recipe!
Hi, Can I use turbinado sugar instead of honey? If so, how much sugar should I use?
Thanks!
Hi Patty, you could use regular sugar or even maple syrup in place of the honey. We haven’t tested turbinado sugar specifically, but please do let us know if you try it.