Somehow it’s been 2 years since I shared a Recipe Testing post with you! Even though every new recipe I publish goes through multiple stages of testing, I haven’t had the time to sit down and share an entire post documenting my recent tests and baking blunders. (And trust me, there are a lot of fails!)
Without realizing it, my behind-the-scenes posts sort of took a pause in 2020—like most things in life did—and I just hunkered down and focused on publishing recipes as often as I could. My team has expanded since (welcome, Beth!), and we have a new system for in-house kitchen work. These days, new recipes you see on my website are tested more than they ever have been before, and we’re even going back and sprucing up old recipes to make them better—like honey garlic soy glazed salmon, breakfast casserole, and better-than-ever zucchini bread.
This means there has been SO. MUCH. BAKING!
(And I’m in the process of securing a publishing house for my 4th cookbook. I can’t wait to share more details, hopefully soon!!)
In today’s Recipe Testing post, I’m sharing the pie testing we’ve been doing over the summer. From-scratch pie can be hard work, so my team and I repeatedly tested the following pies so the results are worth your time and effort.
Better-Than-Ever Blueberry Pie
Reader reviews reporting a soupy filling inspired me to rework the baking instructions on my blueberry pie recipe (originally published in 2016), and make a slight change to the filling ingredients. My team and I tested a LOT of blueberry pies as we searched for the magic trick to a perfectly flavorful, non-runny blueberry pie. The magic trick is patience.
The previous version of the recipe was fine, but the results were never consistent. I often had runny, under-baked pies like this:
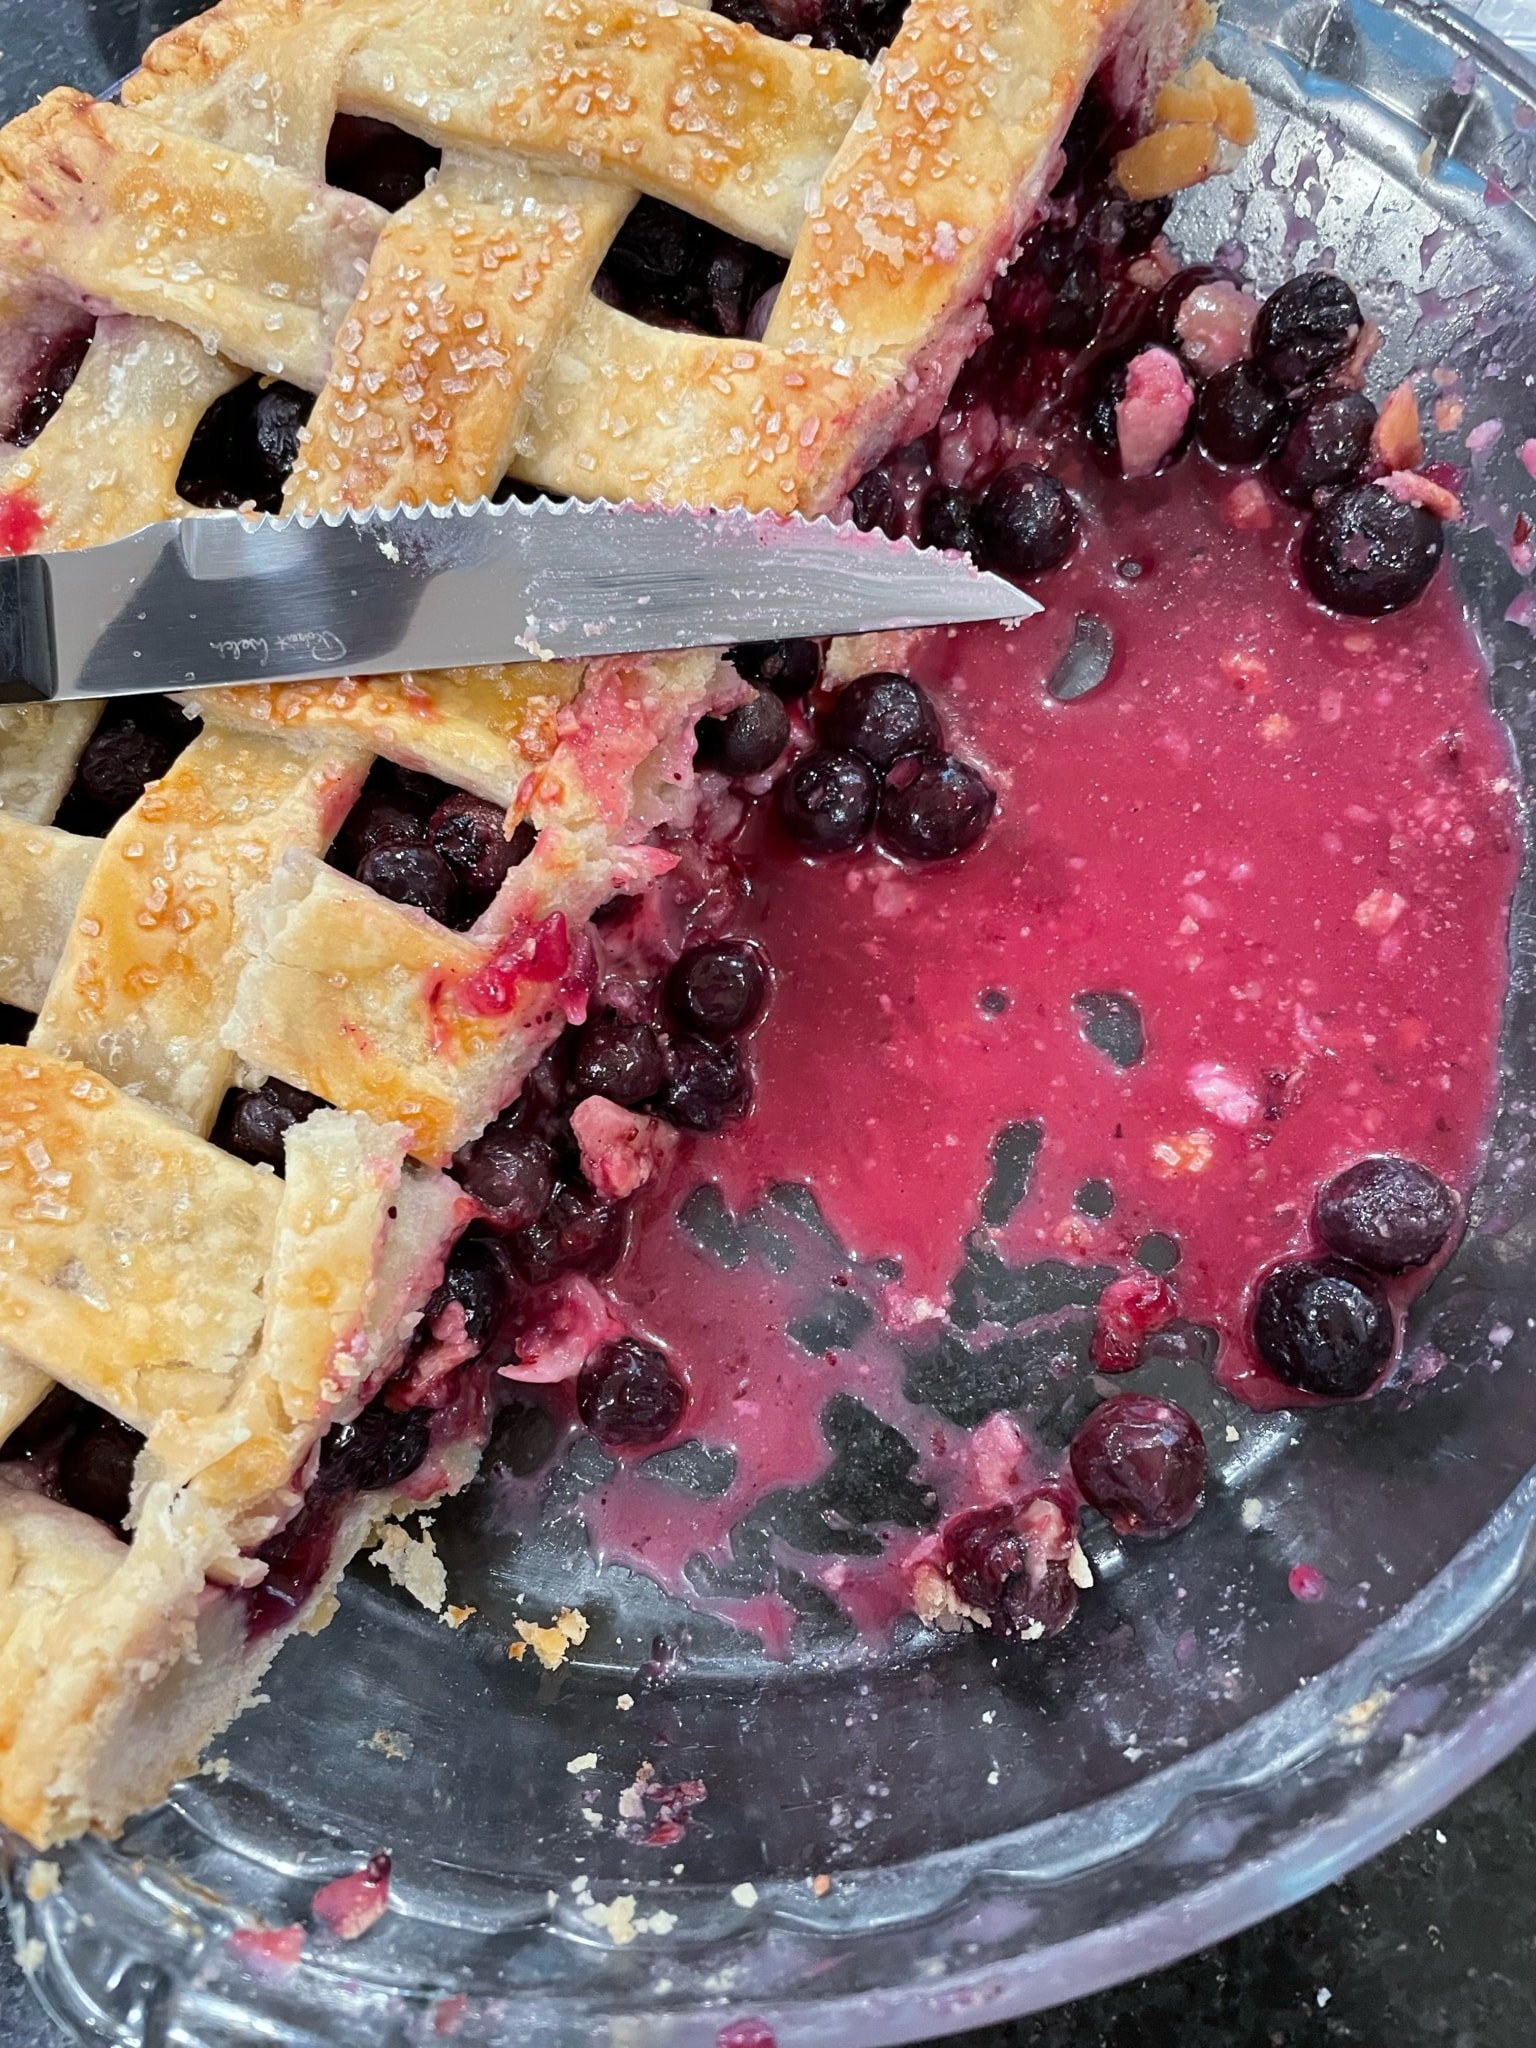
Even the dough was raw sometimes.
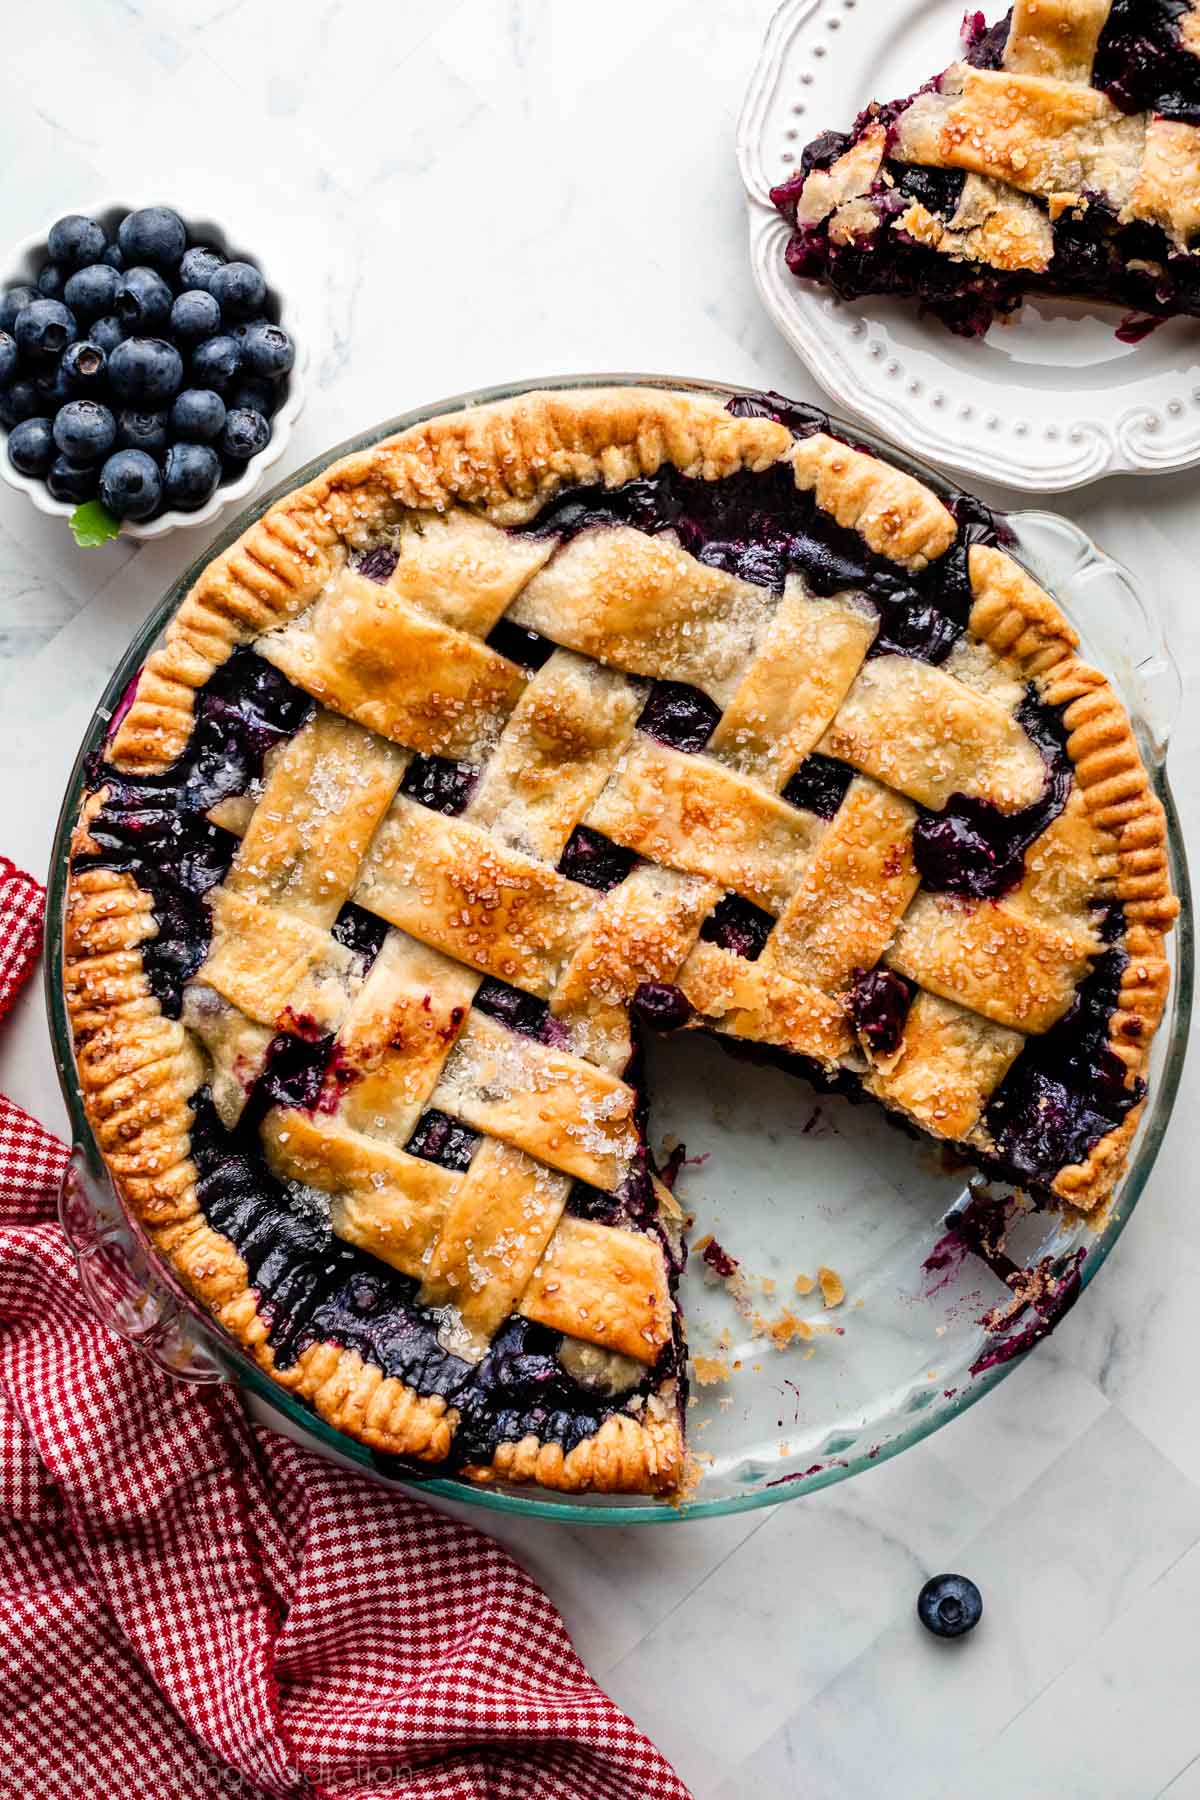
In the updated recipe, you need to bake the pie for longer, start with an initial high temperature and then lower it, and let the pie cool completely to fully set up. All the testing was worth the effort, because this truly is the best blueberry pie I’ve ever had. And the recent comments from readers who have made the new version seem to agree!
New version sets up so much better. Big difference:
Peach Pie Filling That Sets
For peach pie, I updated the baking instructions so it’s more similar to the new baking instructions for blueberry pie, and the filling sets better.
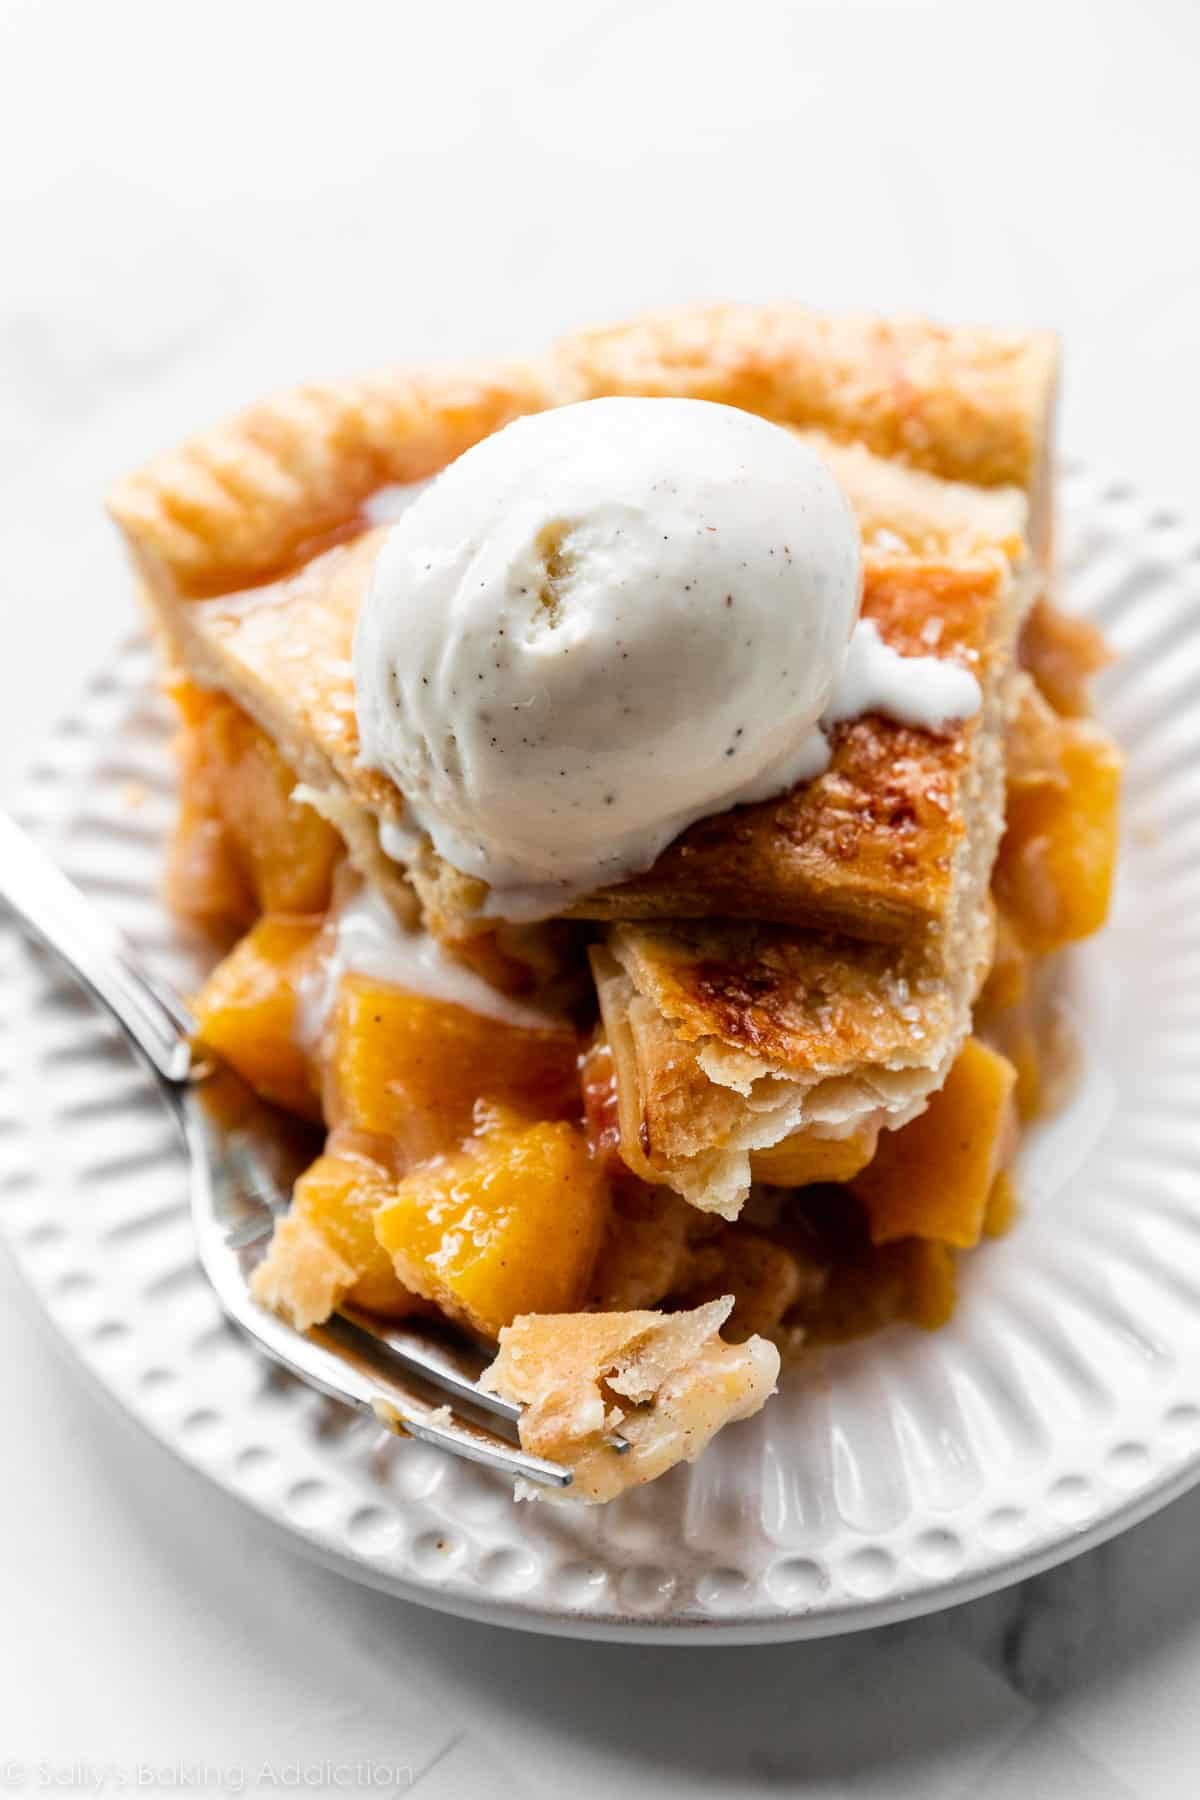
I also found that cutting the peaches into chunks instead of slices made a big difference! Unlike apple pie where you peel and cut apples into slices, cut your peeled peaches into small (approx. 1-inch) chunks. Because peaches are so juicy, slices bake into mush, while chunks retain more of their deliciously soft texture.
And like the blueberry pie, slicing warm will give you a soupy slice of pie. Cool for at least 4 hours at room temperature because the pie filling continues to set up as it cools. I promise it’s worth the wait!
Graham Cracker Crust Woes
Homemade graham cracker crusts are, by rule, super easy. Just 3 simple ingredients, and very little time, effort, or skill needed to have them ready for your filling (as opposed to traditional pie crust).
So updating the photos and adding clearer instructions for how to make a perfect graham cracker crust should be easy as pie, right?
Wrong.
Graham cracker crumbs are strangely complicated. Here’s why:
- The size and weight of graham crackers can vary, and manufacturers periodically—and without notice—change the amount or size you get in a package. For example, to get 1 and 1/2 cups of graham cracker crumbs, 10 full sheet graham crackers used to be enough. Now you need more like 12. So now the 30+ recipes on my website that use a graham cracker crust have all been updated, to account for this change. At least until next time!
- Not all graham crackers are created equal. Beth and I tested both store-brand crackers and the popular name-brand crackers, Nabisco Honey Maid, and we concluded that the Nabisco grahams make for the crispiest crust. I’m not at all affiliated with Nabisco, just my honest opinion!
- It’s hard to find graham crackers outside of the US! My team and I are frequently asked about graham cracker substitutions, so now we’ve tested and are very happy with a digestive biscuit crumb crust alternative. You can find the recipe for it in the graham cracker crust post.
As part of this recipe update, I did my best to describe how I pack and shape a graham cracker crust, so that it doesn’t turn out too hard, or too crumbly, but just right.
You know… the crust Goldilocks would choose:
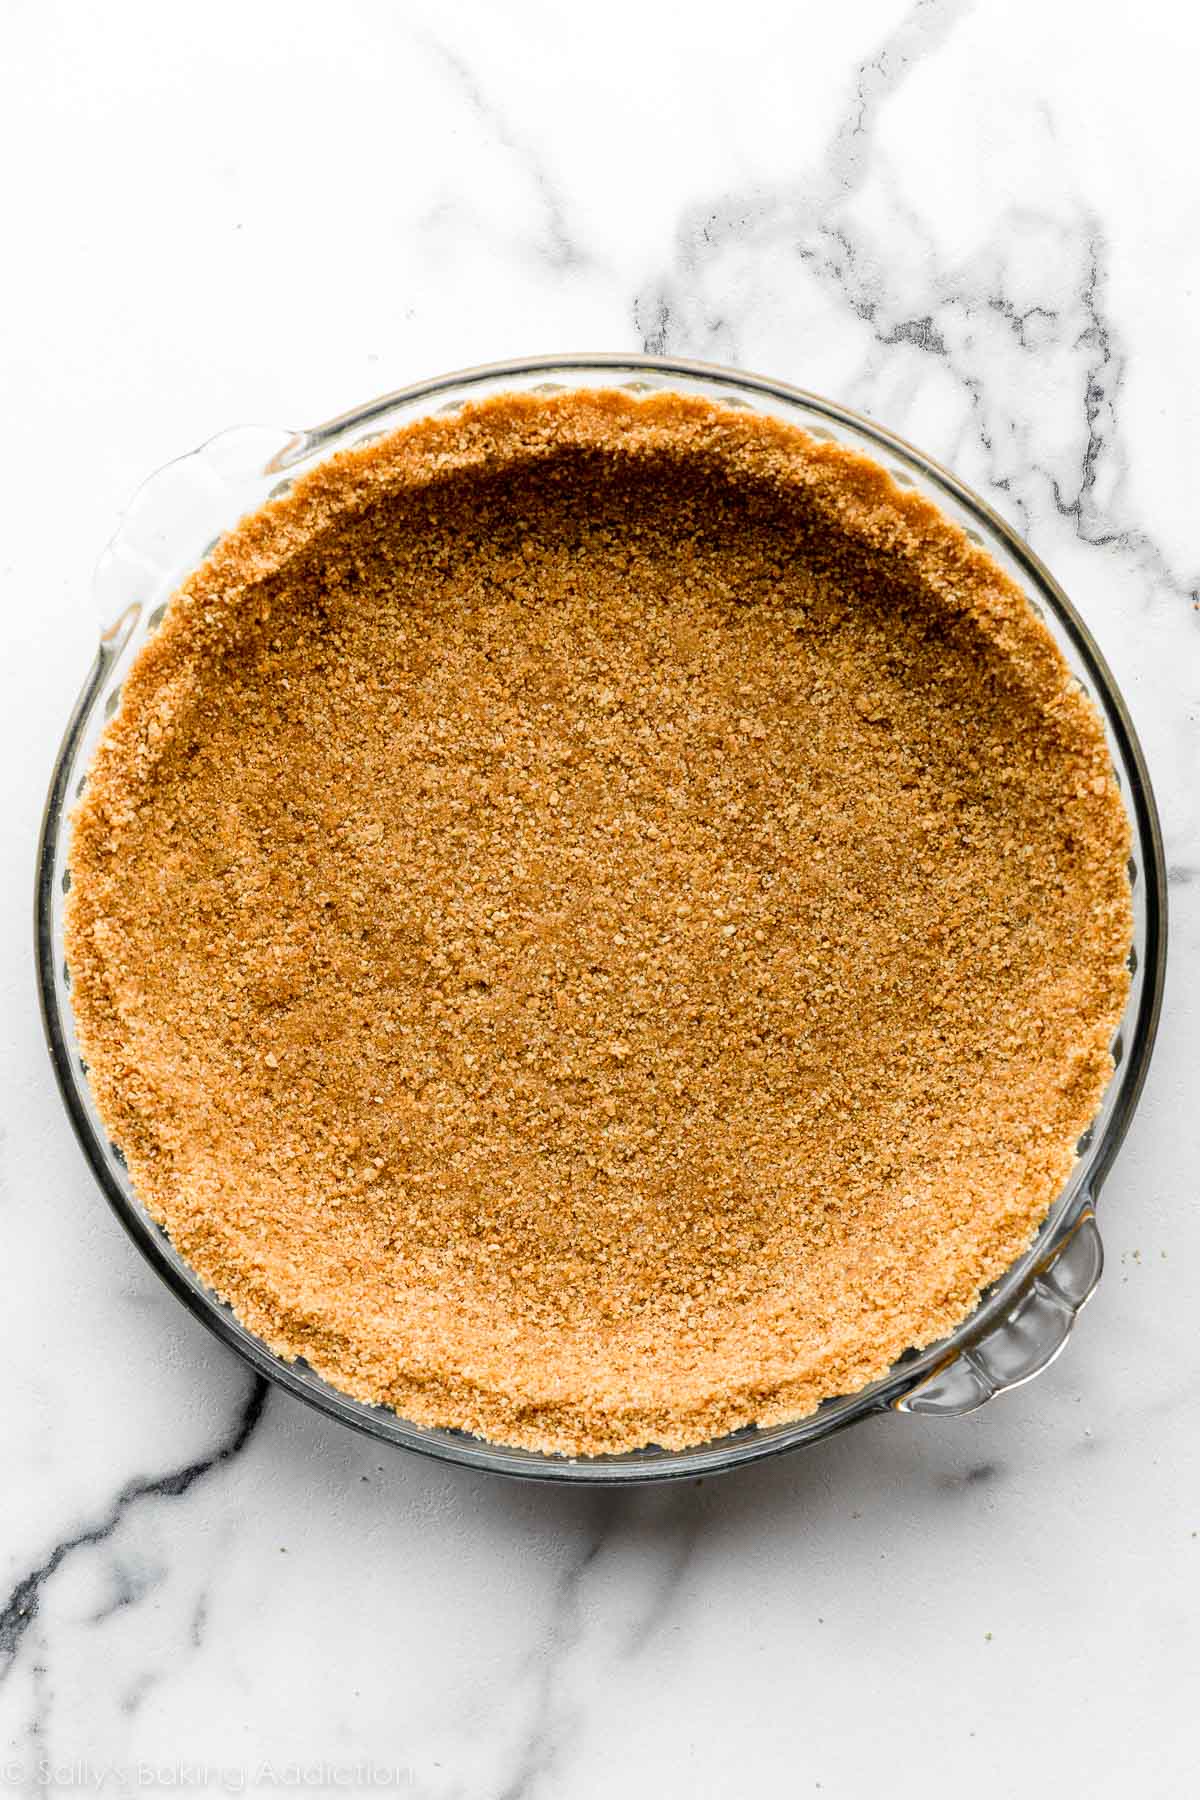
I also filmed a video tutorial to demonstrate my graham cracker crust-shaping techniques, because when it comes down to it, this is the part of the recipe that can make or break—literally!—a great graham cracker crust. I hope you find it useful!
Cheesecake Pie Recipe Tests
My recipe for cheesecake pie was actually a byproduct of all the graham cracker crust testing. I needed an easy filling to add to the many graham cracker and biscuit crumb crusts we were cranking out, so a quicker, easier adaptation of a classic cheesecake was created.
I played around with the cheesecake ingredient amounts and ratios, to adjust for a pie dish rather than a springform pan, and tested leaving out the sour cream. Whoo, was that a fail! I don’t understand how the absence of sour cream actually made the cheesecake pie taste more sour, but my first thought was that maybe we left out the sugar?! (We didn’t! It tasted so very bad. Don’t skip the sour cream.)
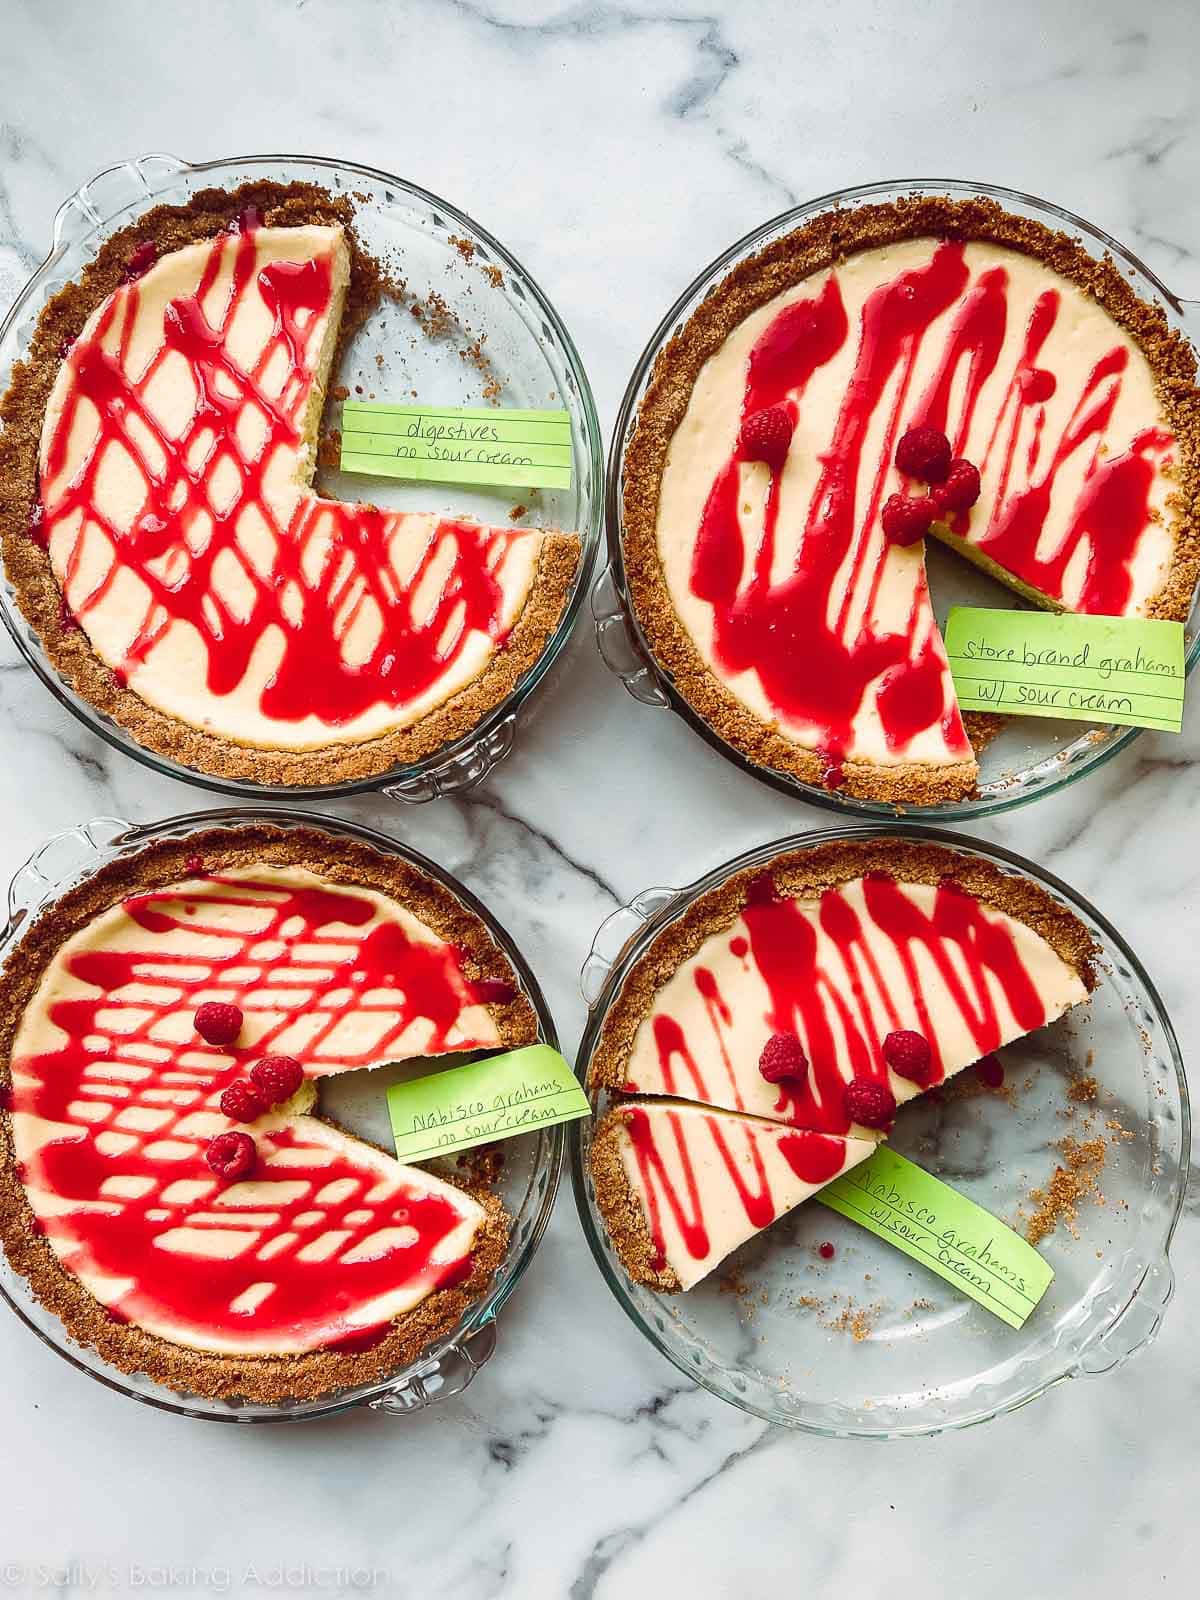
So the cheesecake pie recipe uses the same 6 ingredients as classic cheesecake, but it features a shorter bake time, no water bath, and no cooling-in-the-oven step. I should really call it a cheater’s cheesecake! Some test pies & crusts:
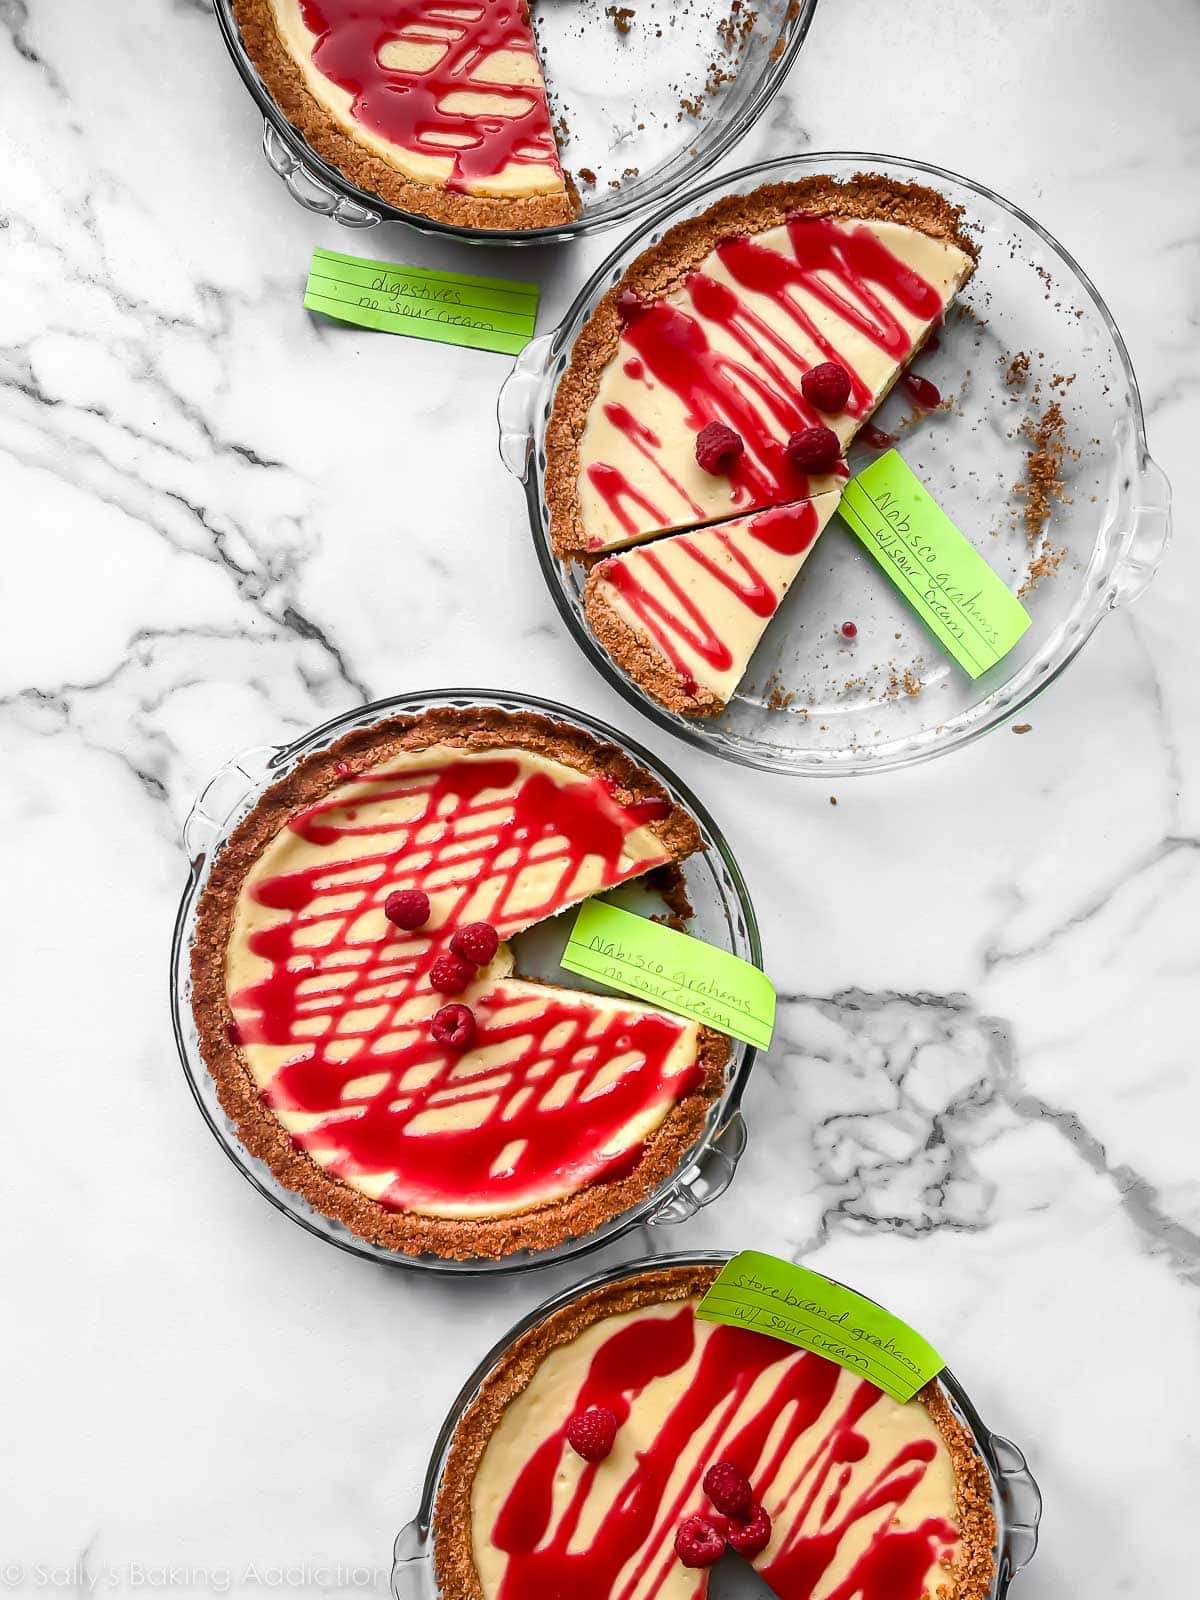
Each topped with raspberry sauce.
Who eats all these pies? You’re probably wondering that! Luckily we have a lot of neighbors, friends, and family who are now all known as Sally’s Official Taste Testing Crew. 😉
Smoother-Than-Ever French Silk Pie
I’d been seeing some reader comments about the filling of this French silk pie tasting a little grainy, from the granulated sugar not fully dissolving. So I went back to the drawing board and tested the recipe with some tweaks.
Before, you cooked some of the sugar with the eggs on the stove, and creamed the rest of the sugar with the butter. Now you’re combining ALL of the granulated sugar with the eggs, so it has a chance to fully dissolve. The result is a perfectly silky chocolate pie:
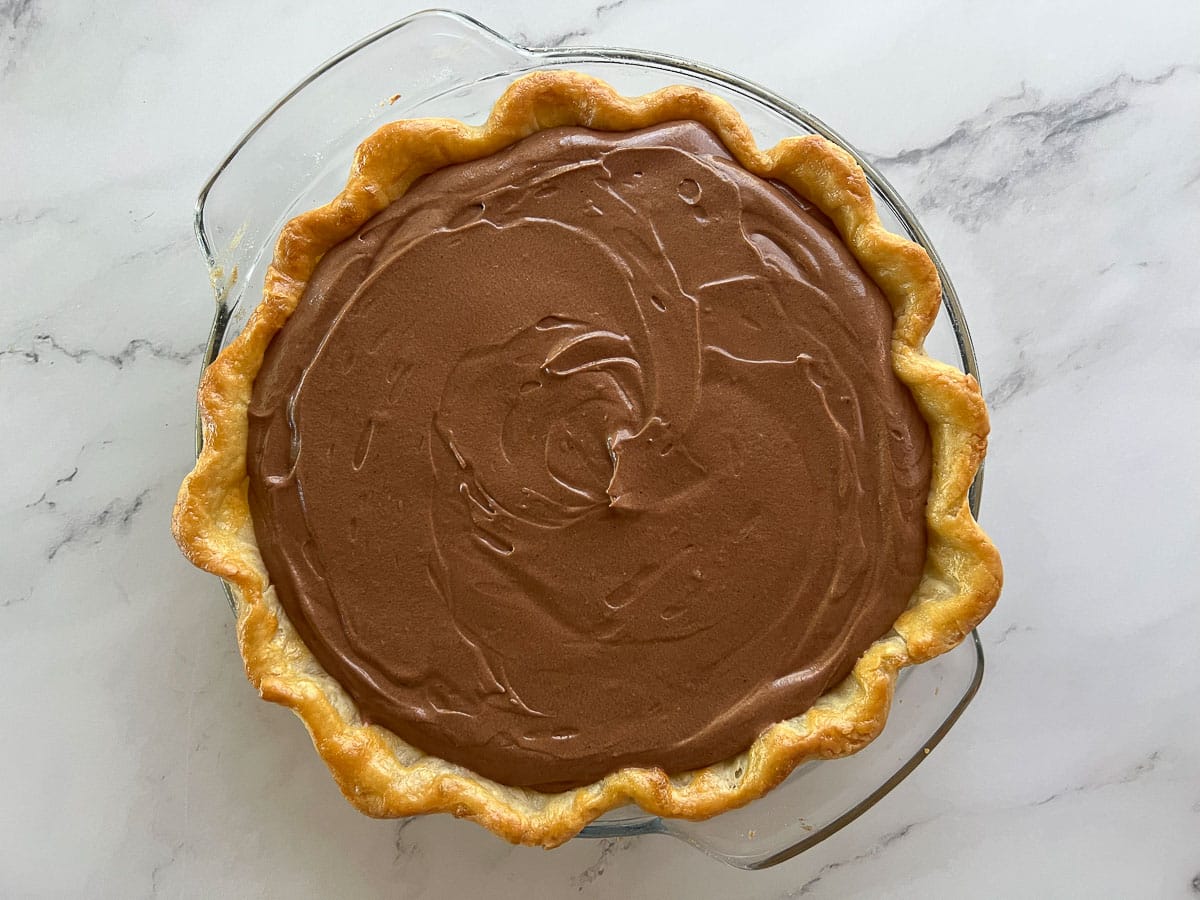
Team member Trina topped it with the most beautiful chocolate curls. (It was the first thing I noticed when she sent me this picture!) All she did was take a vegetable peeler to the edges of a Hershey’s chocolate bar. HOW EASY IS THAT?! Better than ever French silk pie:

I think that’s all the testing worth noting for now! I have a few more recipes we’re working on right now, so expect another Recipe Testing update this fall.


Beautiful pies Sally! It’s so fun to have a little sneak peek behind the scenes of all of your yummy desserts! xo
As always, another BIG THANK YOU, Sally. Your testing and experience makes it easy to be a baker that produces better than average bakes. THANK YOU!!!
I had four of my five kids home for this last weekend and I made your cheesecake pie. I had plans to make your classic cheesecake as my family loves it, but when I seen it in a pie version I had to try it. Everybody loved it and said the filling was just like the classic. I had enough ingredients on had so I made two pies and they were wonderful. Very simple and doesn’t take much time. I love your recipes and now two of my girls who are now on their own use your recipes as well. Thank you Sally and team for all that you do for all of us. You are all much appreciated.
Thank you so much for the kind note, Theresa — we’re thrilled the cheesecake pie was such a hit!
Have always loved these posts, it is always fascinating to me to see what it really takes to make your recipes as tried and true as they are. I am so grateful for you and all the bloggers who do the hard work for me! 🙂 Can’t wait to hear about the new cookbook and maybe some behind the scenes on how it progresses?
Love your site and your recipes. Just started teaching the grandkids about baking and you are the go to, because I know you will explain it so they can do it and it will come out wonderful.
Thank you for all your hard work to make sure those recipes are flawless. Your dedication always gives me the utmost confidence in them. Whenever I see an enticing recipe on another blog, I ALWAYS go to your blog and make it the same way. You are my gold standard.
SAME!
Every one of these pies looks delicious. I’m hoping to try making each one in the year ahead. Thank you, Sally!
I miss your posts when you would talk like this. You an tell you are just speaking your mind. It’s like reading an email from a friend talking about her day. Miss it so much and this made me smile.
Thank you so much Kasey. I missed writing these posts!!
It may worth a move from Australia across the world to be your neighbour Sally! Your tasting team are the luckiest crew ever! Love these posts.
Thanks Lisa!
I can’t even read your blog because your ad pops up and covers 3/4 of your page and won’t go away. Just as I think it’s gone away and scroll to the top to read the article, up pops your ad. So disappointed
Hi Judy, thank you so much for the feedback. There shouldn’t be any ads that pop up on my website. There are ads on the page, but they should not be covering any of the content you see. We actually just removed a video ad placement that moved around just the other week so the page loads much easier now. But, again, thank you for the feedback! I appreciate it.
How fun to see what goes into developing recipes that ensure your followers’ baking adventures are successful. You’re my go-to when the baking urge strikes, when I bake with grandkids, and compare baking efforts with my son, who is also a follower. You and your team’s efforts make me look good! Many thanks.
Thank you so much!
I made the cheesecake pie this week. Delicious and easy.
I have so often wondered about what you do with all of your baking experiments. Thanks for answering this question! I am sure your friends and family and neighbors must feel very fortunate to be on your taste testing team!
Oh how timely for peach pie! I never would have thought of chunks versus slices. Thanks Sally & team!!
How much of each recipe do you personally eat? They all look so good!
They really are so good and I love pie, my favorite!
I wonder if the same changes would help the fresh cherry pie recipe. The filling is often pretty liquidy for me but it’s so good I don’t care!
Do you reduce down some of the juices and quarter some of the cherries? That makes a big difference.
I bake a LOT of cherry pies because it’s my husbands favorite. To get a consistently thick filling, you must cook and cool the filling first. I use 5 cups of frozen tart cherries, 1 cup sugar, 1/4 cup cornstarch and 2 tbsp tart cherry concentrate for flavor (optional but awesome). Just cook that down until it thickens and let it cook. Then bake as usual between two crusts, usually 10 minutes at 450 and then 35 minutes at 350. I always use a Fat Daddios metal pie pan. And like the blueberry pie, you MUST let it cook to room temp before slicing. Works every time.
The tart cherry concentrate you use, where can you purchase it?
This post is so fun! Love to see a sneak peek behind the scenes!