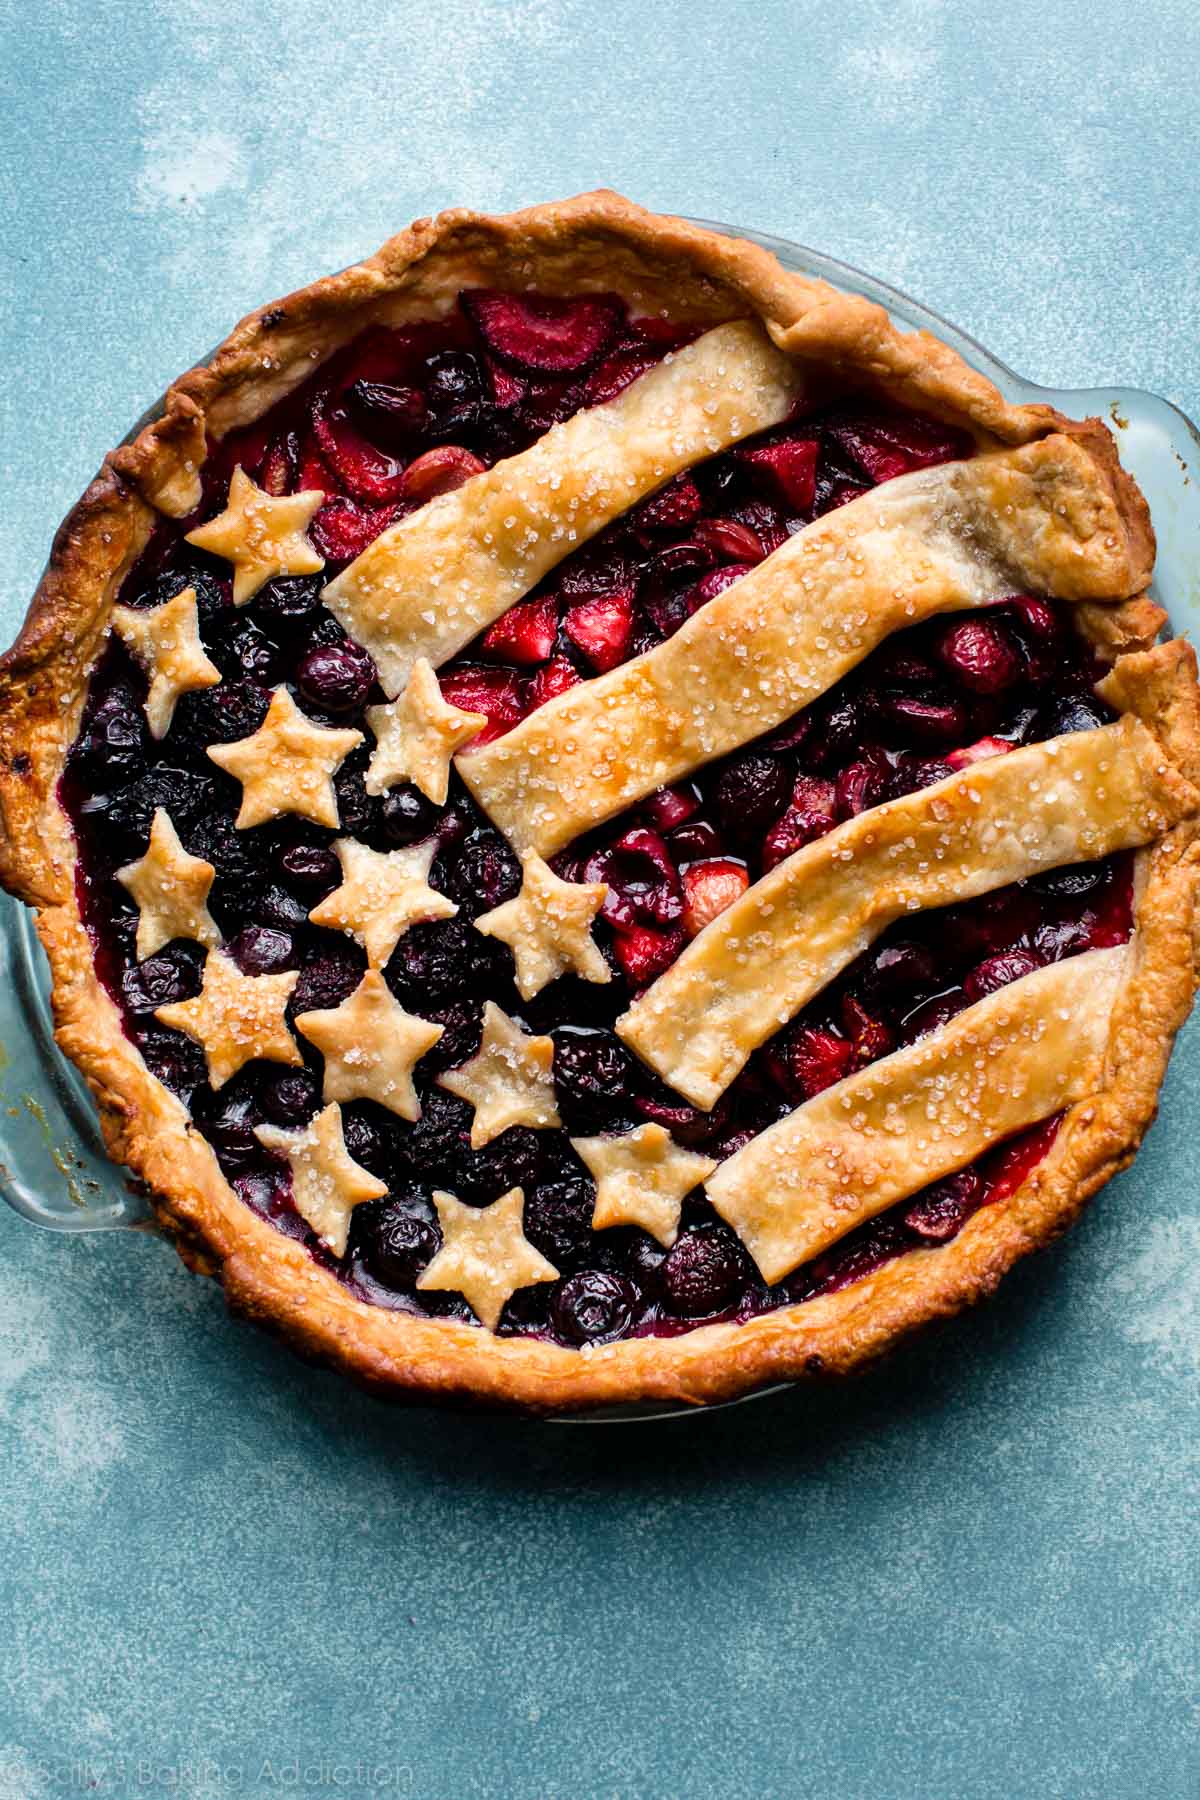
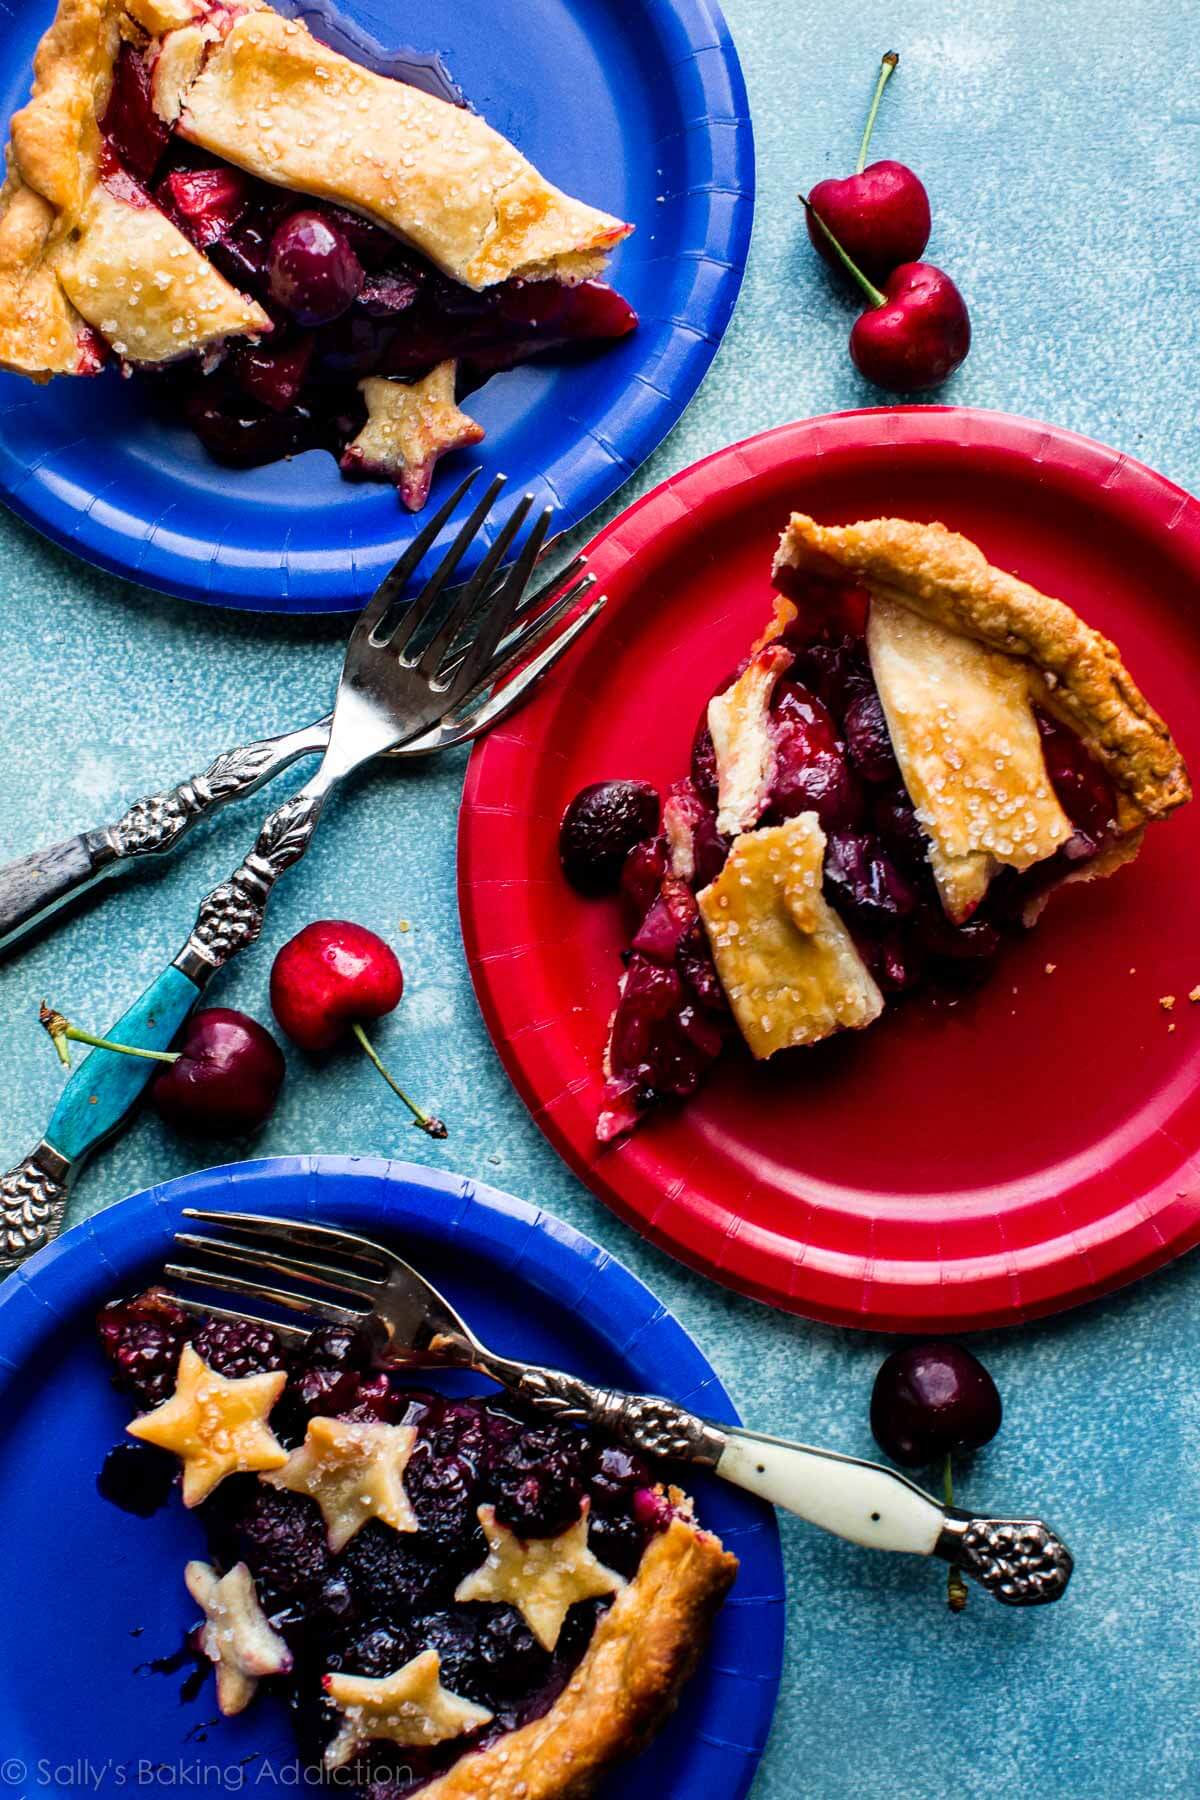
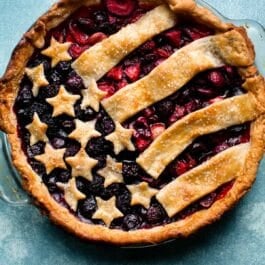
My friends, this is the most wonderfully festive pie to ever come out of my kitchen and an excellent addition to any Memorial Day Weekend or 4th of July events. See more Memorial Day Weekend recipes and 4th of July desserts.
First thing’s first: make sure you’re using a quality pie dough. This American flag pie, inspired by King Arthur Flour, starts with homemade pie crust. I recommend homemade simply because you have total control over the texture. This homemade pie dough makes 2 pie crusts: one crust for the bottom and one crust for the top. It’s the recipe I’ve been swearing by for years and it combines both shortening and butter to deliver the perfect blend of buttery + flaky. We’re talking layers and layers of flakes! Read my pie crust recipe for why both fats are crucial, or use this all butter pie crust if you prefer. With either one, don’t forget my pie crust mantra I’ve drilled into your head time and time again: cold cold cold.
American Flag Pie Filling
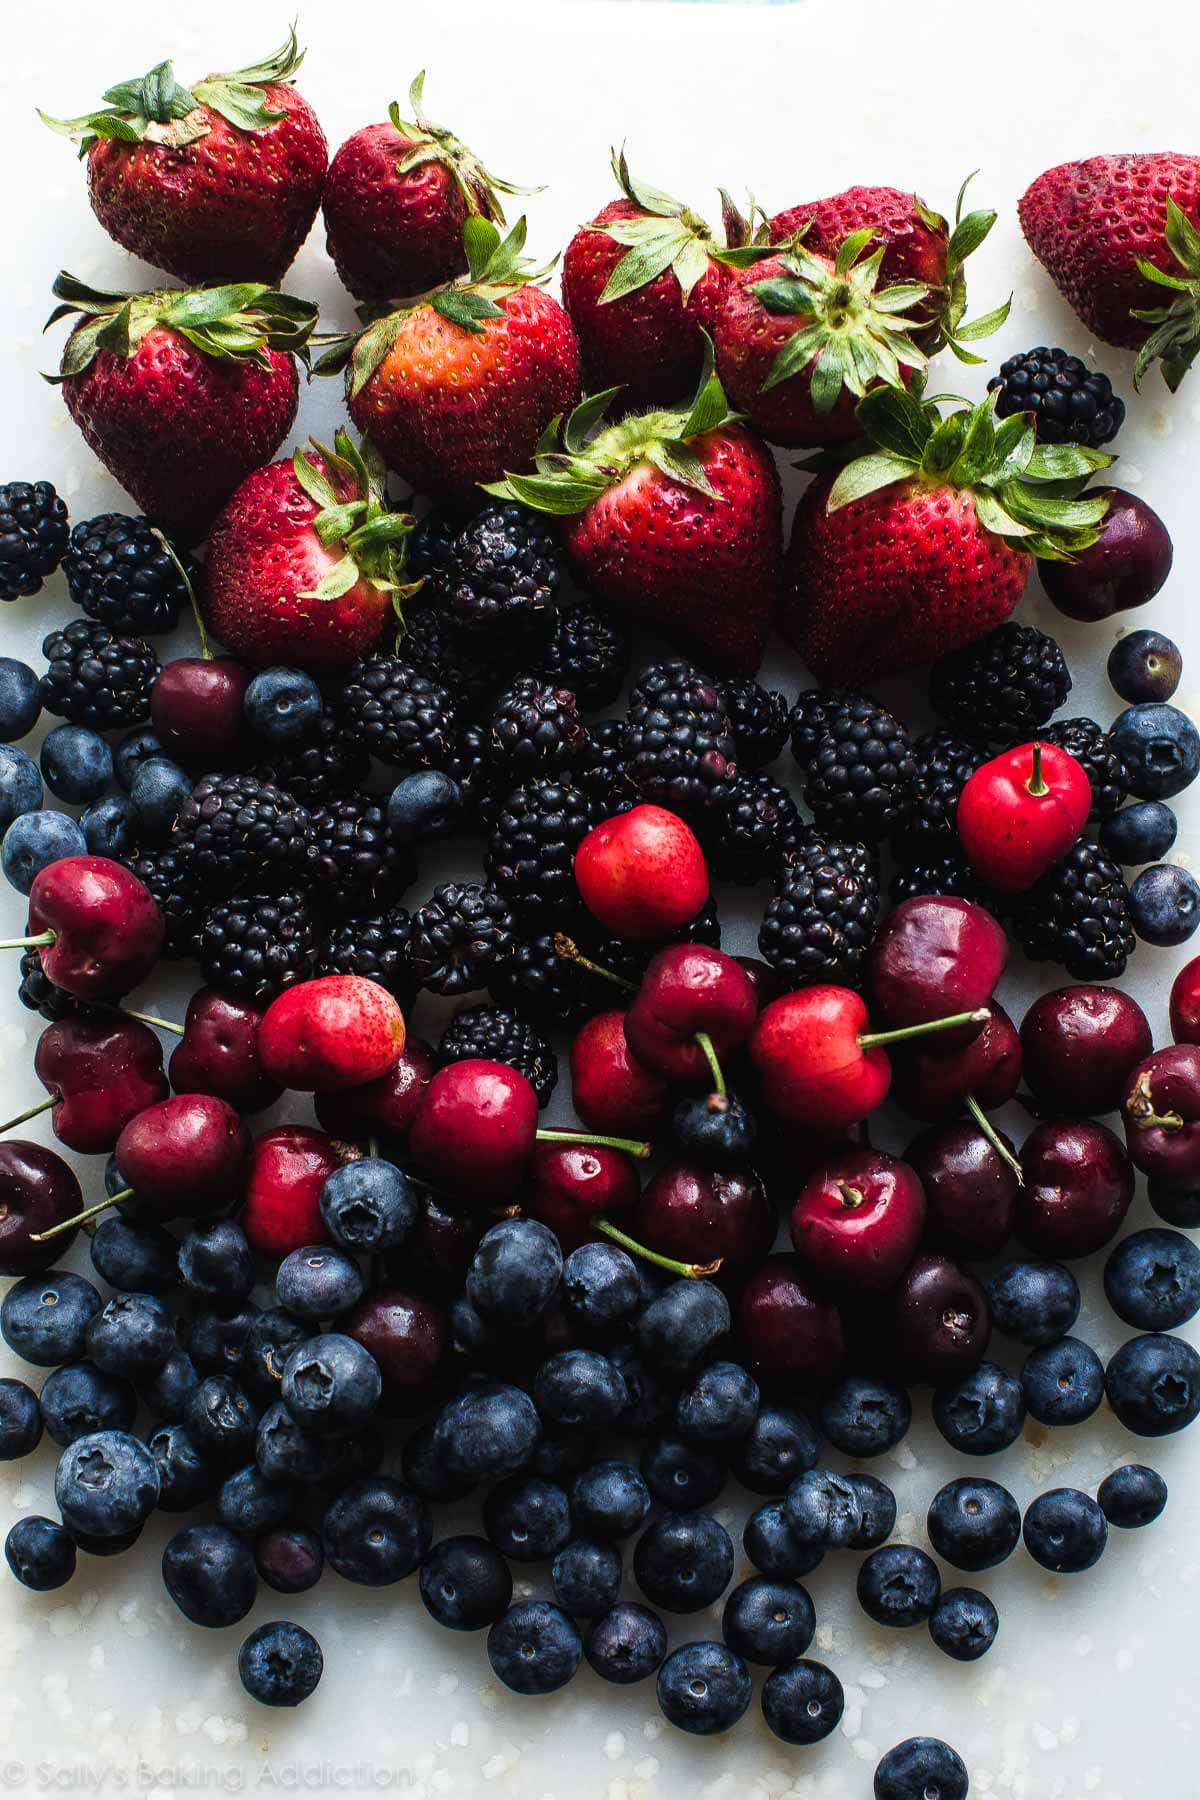
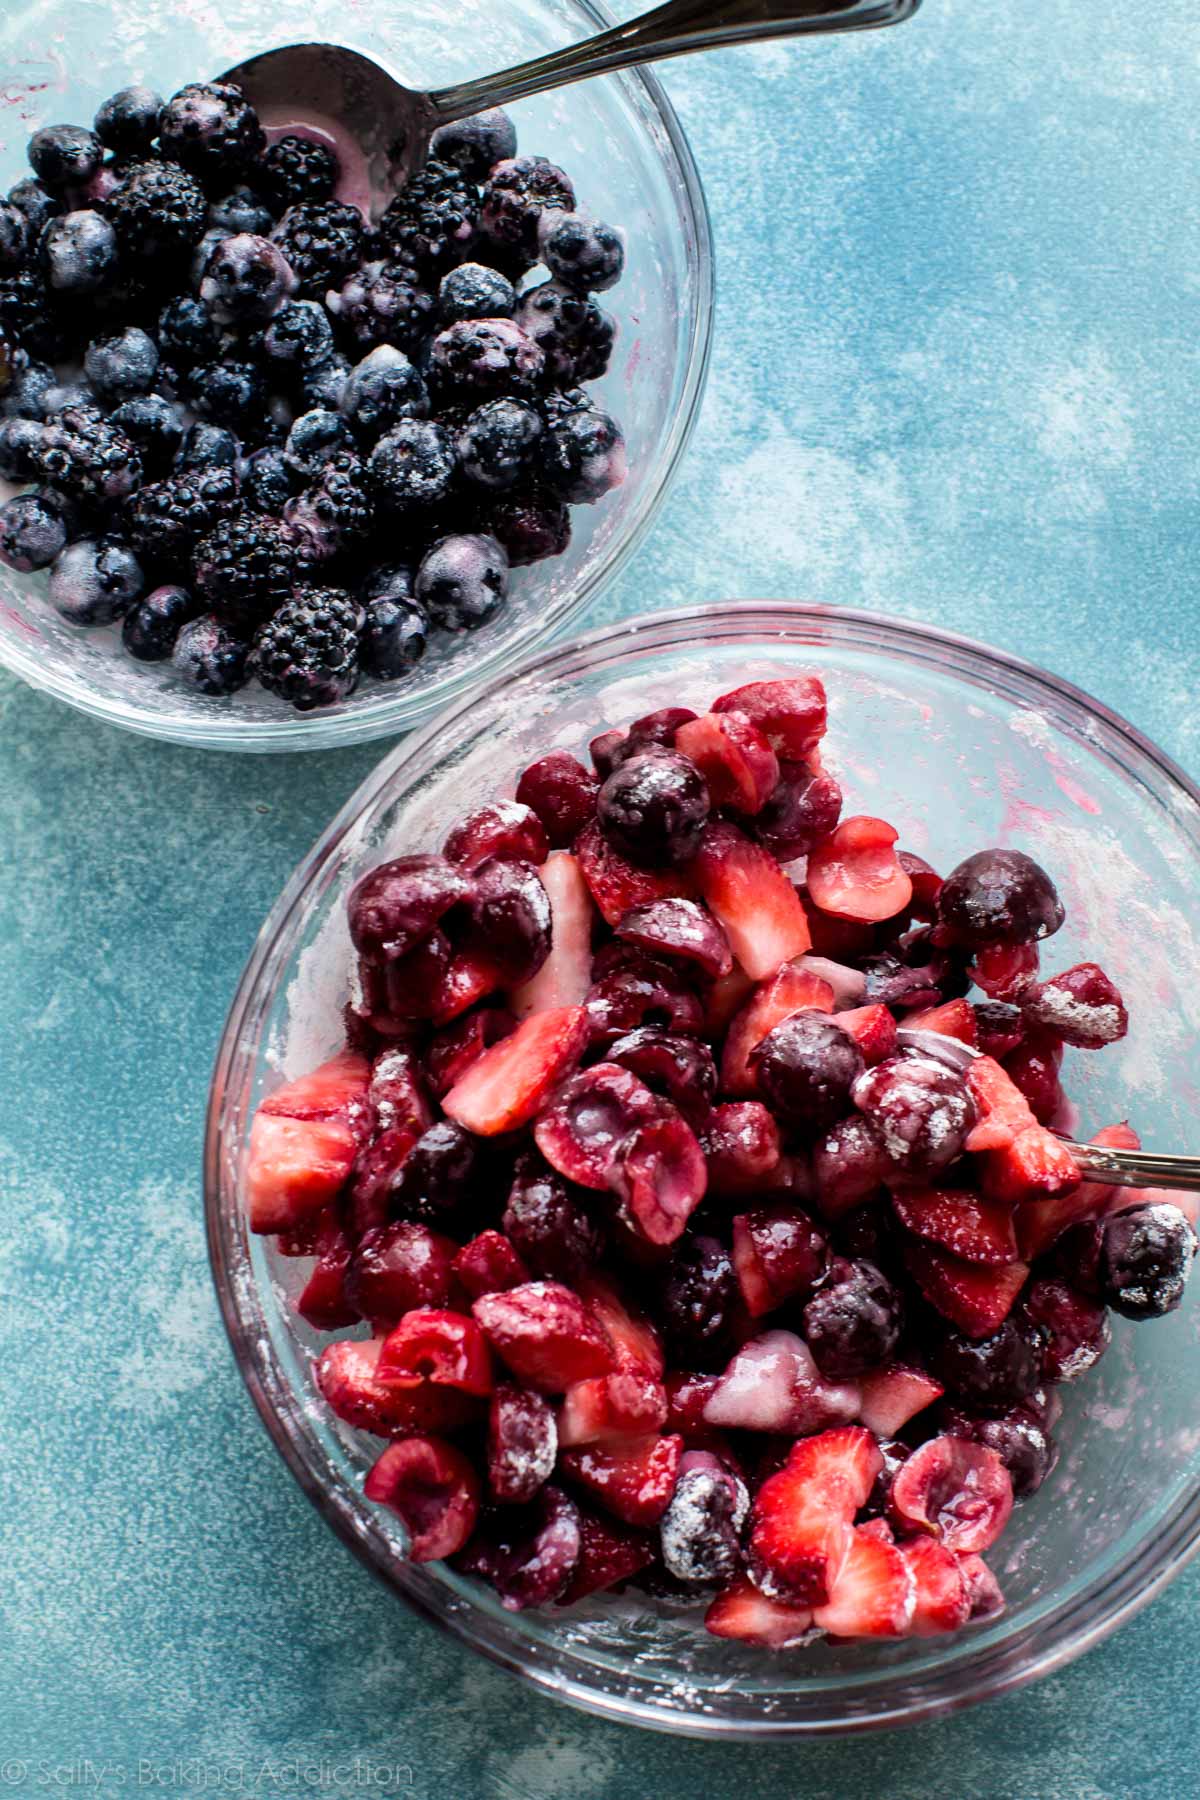
For the fillings, keep it simple. You’ll divide the pie into 1/3 and 2/3 portions. The smaller portion for the blue filling, the larger portion for the red filling. Blue filling = blueberries and blackberries. Red filling = strawberries and cherries. Want to substitute? You can use all blueberries or all blackberries, you can use all strawberries, you can use raspberries instead of cherries, you can use all cherries, etc. As long as you’ve got 1/3 blue and 2/3 red, you’re golden.
To prepare the fillings, mix cornstarch + sugar together then divide up between both bowls. Add lemon juice + almond extract to each. That’s IT. (I strongly recommend almond extract. Taste testers couldn’t stop raving about the added flavor!)
Just use a piece of aluminum foil folded over a few times to help you divide up the filling. Don’t worry, it will be removed before the pie is baked. Just like this:
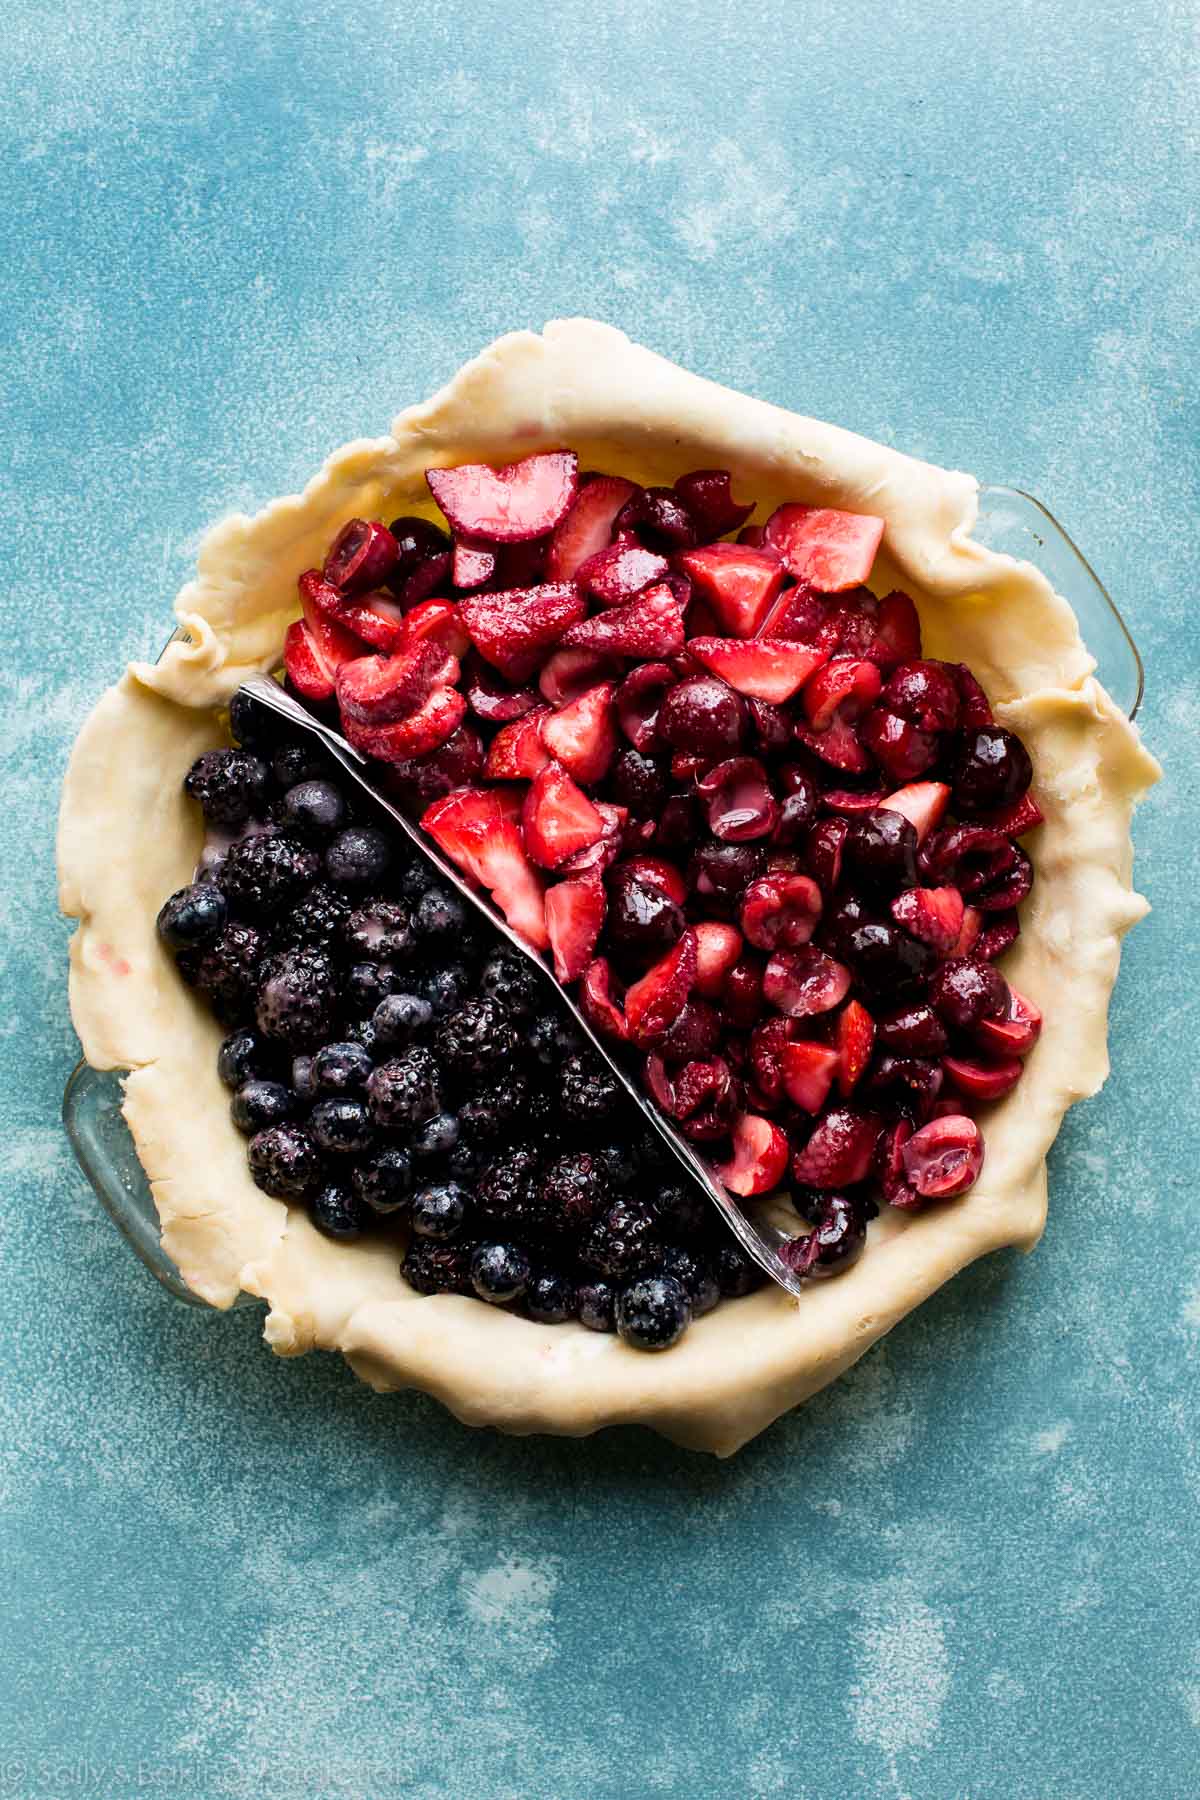
REMEMBER THIS! When adding the fillings to the bottom pie dough, don’t just pour right in—rather, spoon the fillings in and leave all the extra liquid in the bowls. You don’t want all that liquid in the pie. Your fillings will be soggy and won’t set up properly. It’s a mess.
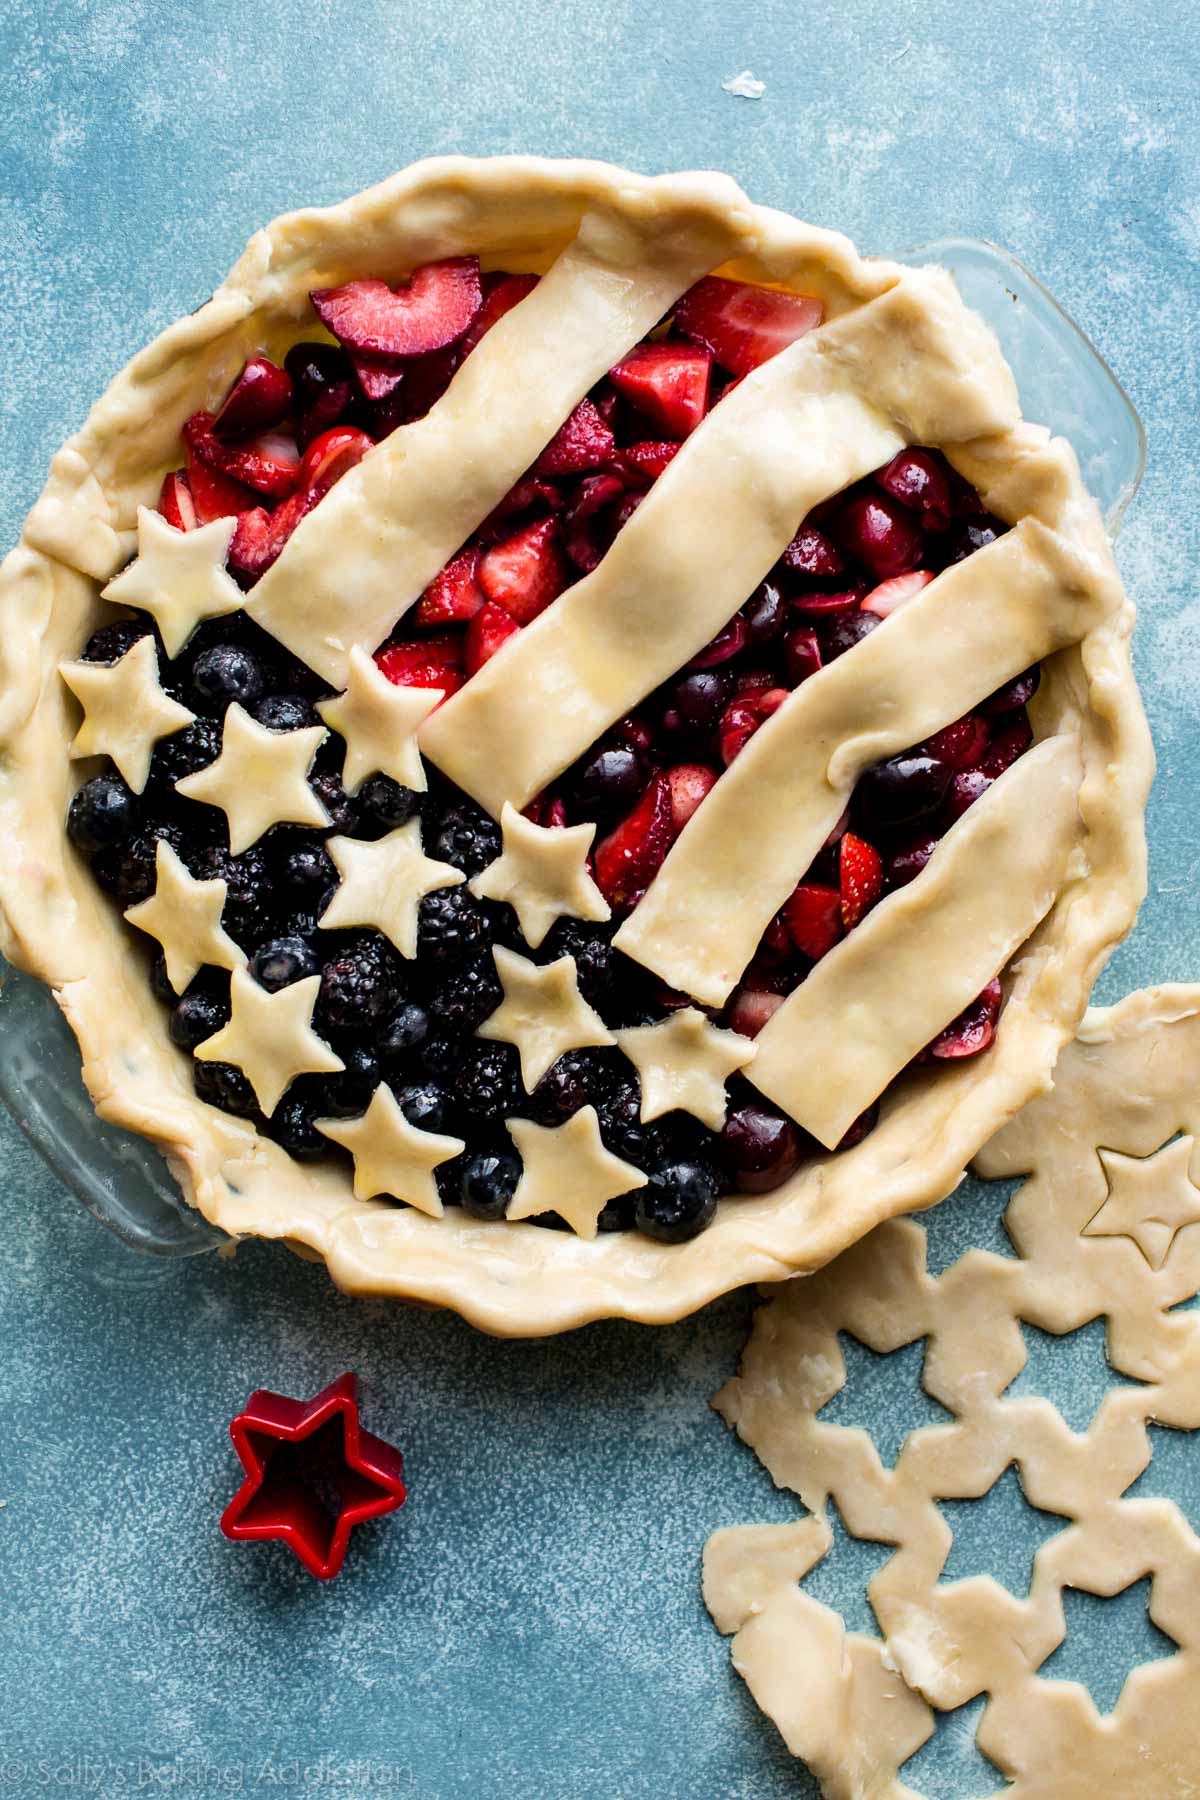
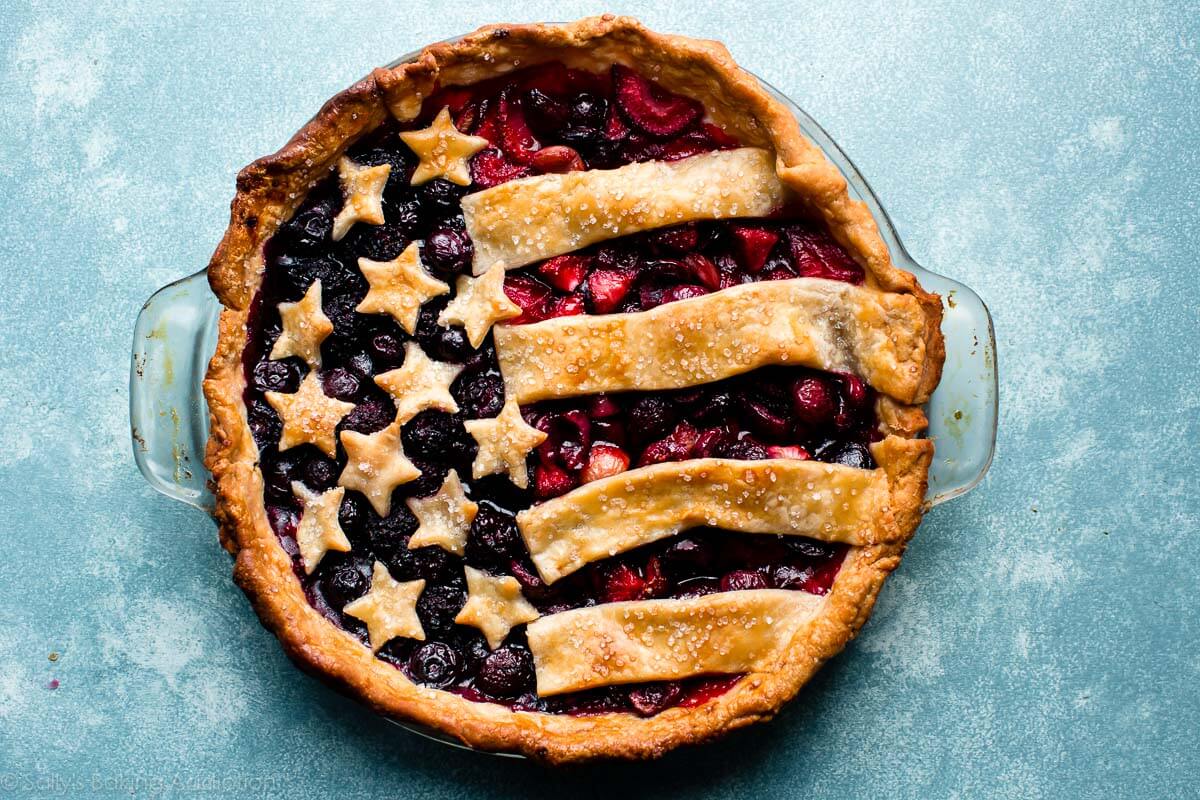
For the American flag decoration, roll out your 2nd pie dough and cut into stars and stripes. For the stars, you’ll need a cute little star cookie cutter. I used the 1.5 inch size. Anywhere around that tiny size works! For the stripes, just cut pie dough into strips. It’s that simple. And don’t forget to crimp or flute those pie crust edges! Here’s my full tutorial on how to crimp and flute pie crust, if you need a refresher.
You can absolutely use these same decorations on many different pie fillings. They work beautifully on a blueberry pie.
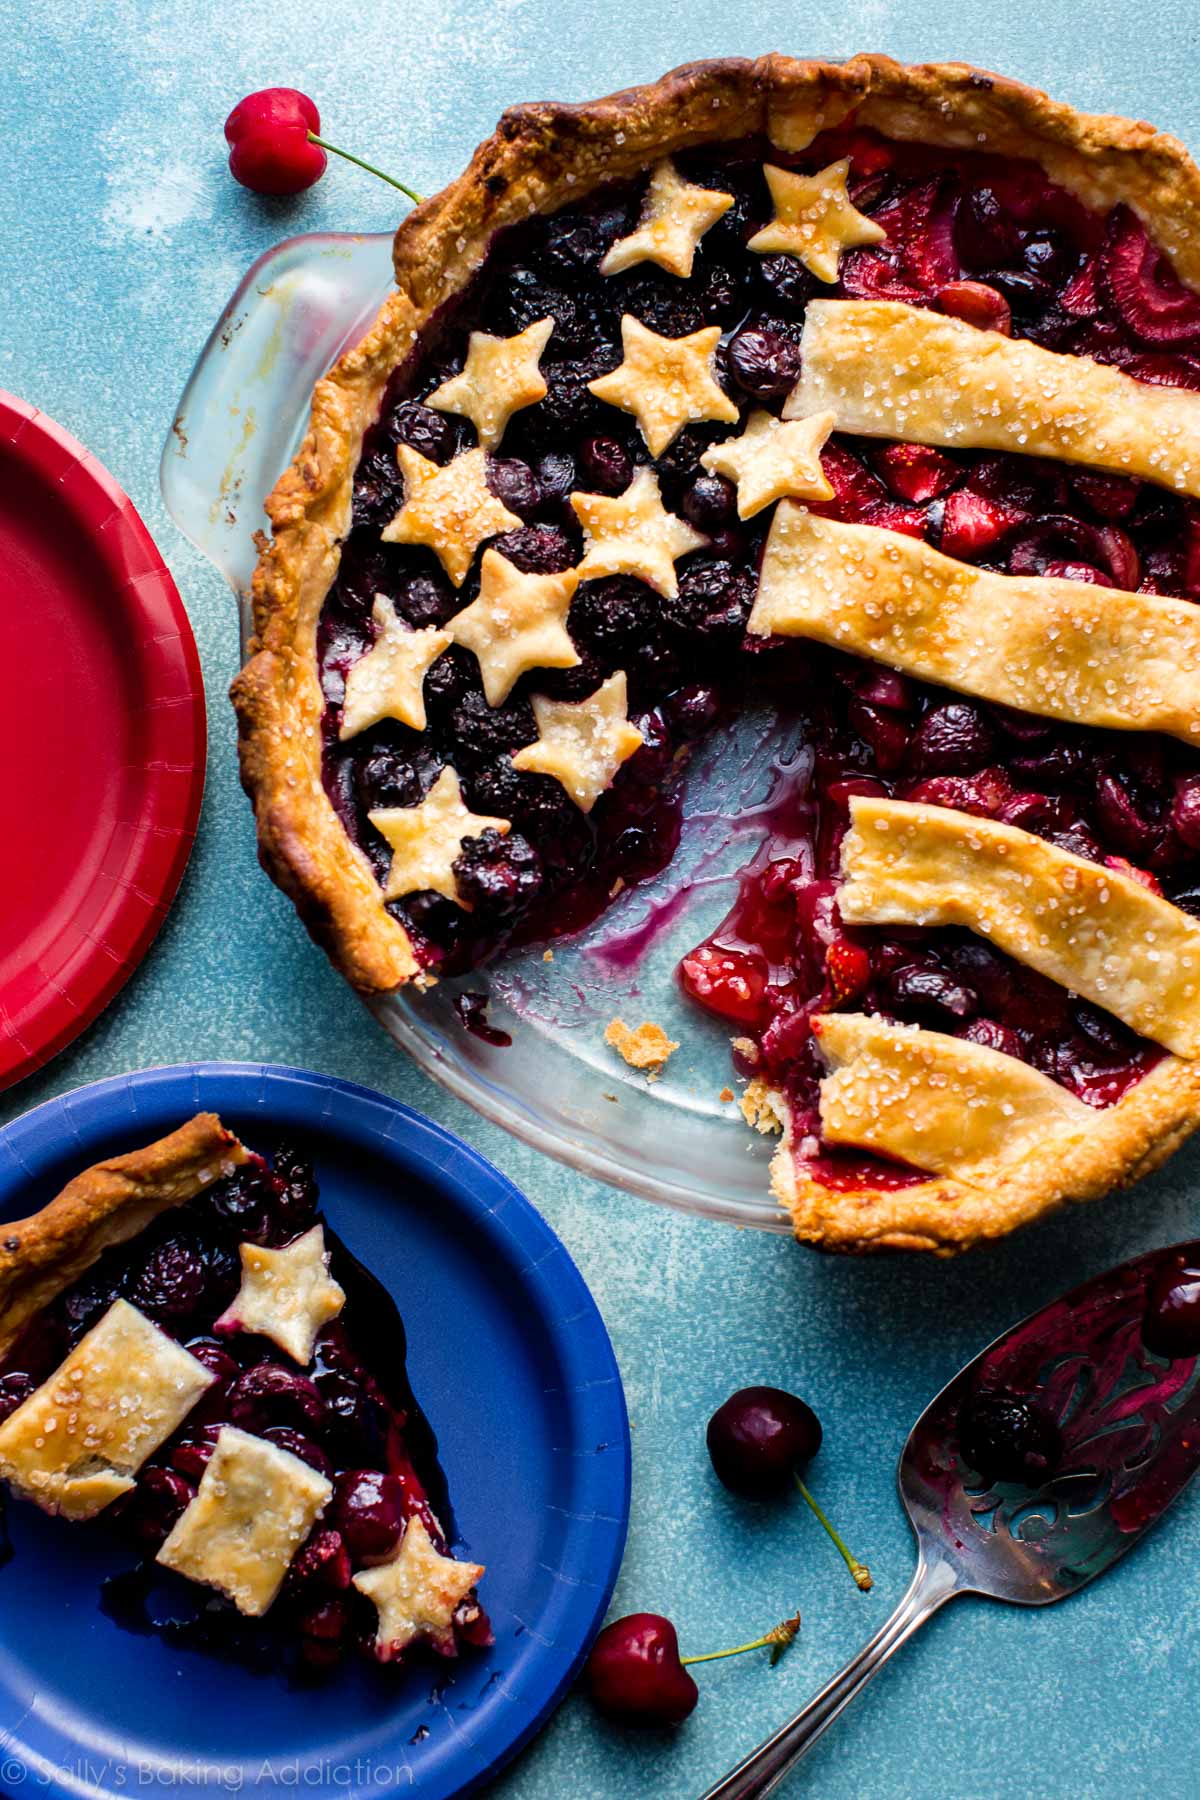
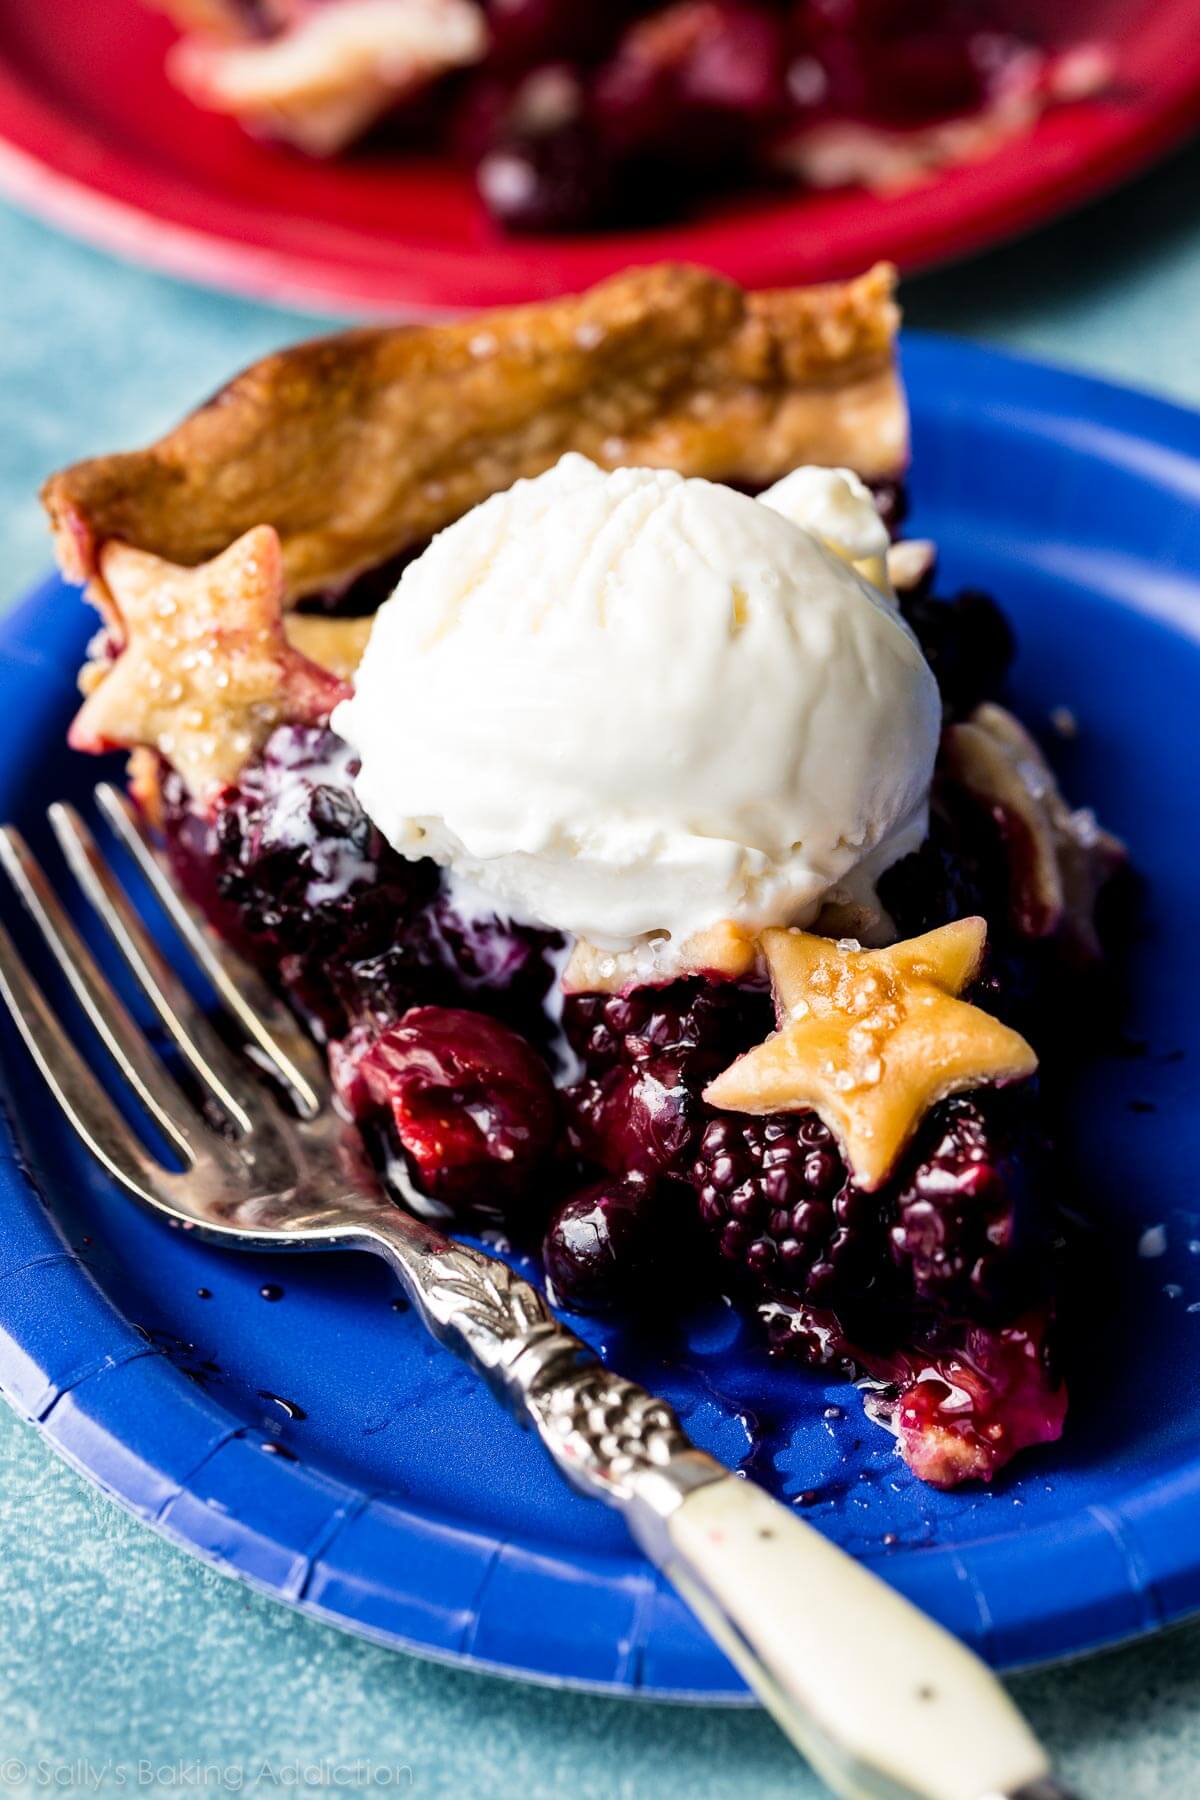
You can totally show off at your next summer picnic with this beauty. Don’t forget the vanilla ice cream and whipped cream for on top! Serve alongside this red, white, and blue tie dye cake for the ultimate patriotic spread.
More Festive Desserts
- Fruit Pizza
- Vanilla Sheet Cake (decorated as an American flag)
- Strawberry Shortcake
- Fresh Berry Cream Cake
- Sugar Cookies (cut into stars and decorate with red, white, and blue cookie icing!)
American Flag Pie
- Prep Time: 3 hours
- Cook Time: 55 minutes
- Total Time: 7 hours
- Yield: 8-10 servings
- Category: Pie
- Method: Baking
- Cuisine: American
Description
How to make a patriotic American flag pie for 4th of July and all summer picnics! It’s delicious with homemade pie crust and mixed berry pie filling.
Ingredients
- Homemade Pie Crust (my recipe makes 2 crusts; 1 for bottom and 1 for flag design)
- 1/2 cup (100g) granulated sugar
- 1/3 cup (35g) cornstarch
- 1 cup (140g) blueberries
- 1 cup (100g) blackberries
- 2 cups (300g) chopped strawberries
- 2 cups (450g) halved dark sweet cherries
- 2 teaspoons lemon juice, divided
- 1/2 teaspoon almond extract, divided
- egg wash: 1 large egg beaten with 1 Tablespoon (15ml) milk
- optional: coarse sugar for sprinkling on crust
Instructions
- The crust: Prepare my pie crust recipe through step 5.
- Make the filling: In a small bowl, stir the granulated sugar and cornstarch together. In a medium bowl, combine the blueberries and blackberries together. In a large bowl, combine the strawberries and cherries together. Stir 1/4 cup of cornstarch mixture into blueberries/blackberries. Stir remaining cornstarch mixture into strawberries/cherries. Add 1 teaspoon of lemon juice and 1/4 teaspoon of almond extract to each fruit mixture. Place in the refrigerator for a few moments as you roll out the crust.
- Preheat oven to 400°F (204°C).
- Roll out the chilled pie dough: On a floured work surface, roll out one of the discs of chilled dough (keep the other one in the refrigerator). Turn the dough about a quarter turn after every few rolls until you have a circle 12 inches in diameter. Carefully place the dough into a 9-inch pie dish. Tuck it in with your fingers, making sure it is smooth. Fold the aluminum foil several times to form a 2-inch wide strip. Place into crust, dividing it into 1/3 and 2/3 sections as pictured above.
- Spoon strawberry filling into large section, leaving any excess liquid in the bowl (you don’t want that in the filling—discard it). Spoon blueberry filling into smaller section. Again, discarding the excess liquid. Place the pie in the refrigerator until top design is ready.
- Design the flag: Remove the other disc of chilled pie dough from the refrigerator. Roll the dough into a circle that is 12 inches diameter. Using a sharp knife, pastry wheel, or pizza cutter, cut 4 strips that are 2 inches wide and 6 inches long. Using your star cookie cutter, cut 12-14 stars. Re-roll any dough scraps if needed. Remove the pie from the refrigerator, remove aluminum foil strip, and add top decor to pie. Stars over the blueberries; strips over the strawberries to form an American flag design. Use a small knife to trim off excess dough on the sides. Crimp the edges with a fork or flute the edges. (Review my how to crimp and flute pie crust tutorial if you need extra help with this step.)
- Lightly brush the pie crust with the egg wash mixture. Sprinkle with coarse sugar, if desired.
- Place the pie onto a large baking sheet and bake for 20 minutes. Keeping the pie in the oven, turn the temperature down to 350°F (177°C) and bake for an additional 30-35 minutes. After the first 20 minutes of bake time, I place a pie crust shield on top of the pie to prevent the edges from browning too quickly.
- Allow the pie to cool for 3 full hours at room temperature before serving. This time allows the filling to thicken up. Cover leftovers tightly and store in the refrigerator for up to 5 days.
Notes
- Make Ahead / Freezing Instructions: A couple ways to make ahead of time! Make 1 day in advance– after it cools, cover tightly and keep at room temperature. The pie crust dough can also be prepared ahead of time and stored in the refrigerator for up to 5 days or in the freezer for up to 3 months. Baked pie also freezes well for up to 3 months. Thaw overnight in the refrigerator and allow to come to room temperature before serving. Prepared fillings can also be frozen up to 3 months, thaw overnight in the refrigerator before using.
- Special Tools (affiliate links): Glass Mixing Bowls | Citrus Juicer | Rolling Pin | 9×2-inch Pie Dish | Pizza Cutter or Pastry Wheel | Star Cookie Cutter (around 1.5 inches) | Pastry Brush | Pie Crust Shield


I made this pie and was thrilled with the results! I used my own go-to pie crust recipe but followed the filling to a t. I was concerned because after 30 minutes in the oven it still looked like a pie plate of berries as opposed to coming together as a pie. I baked it about 10 minutes longer than the recipie says and it was perfect. Cutting the top crust was fun and simple. I will absolutely make this again!
The recipe is delicious! It tasted a little like candy with the almond extract but it’s not too much. I used the all butter pie filling ( no blind bake), and this recipe together. BUT, seriously follow her direction to discard the extra fruit liquid. I left it in because I thought it would help to make the pie more flavored but it was just liquidy inside. Still I would make it again for sure, and reccomend it!