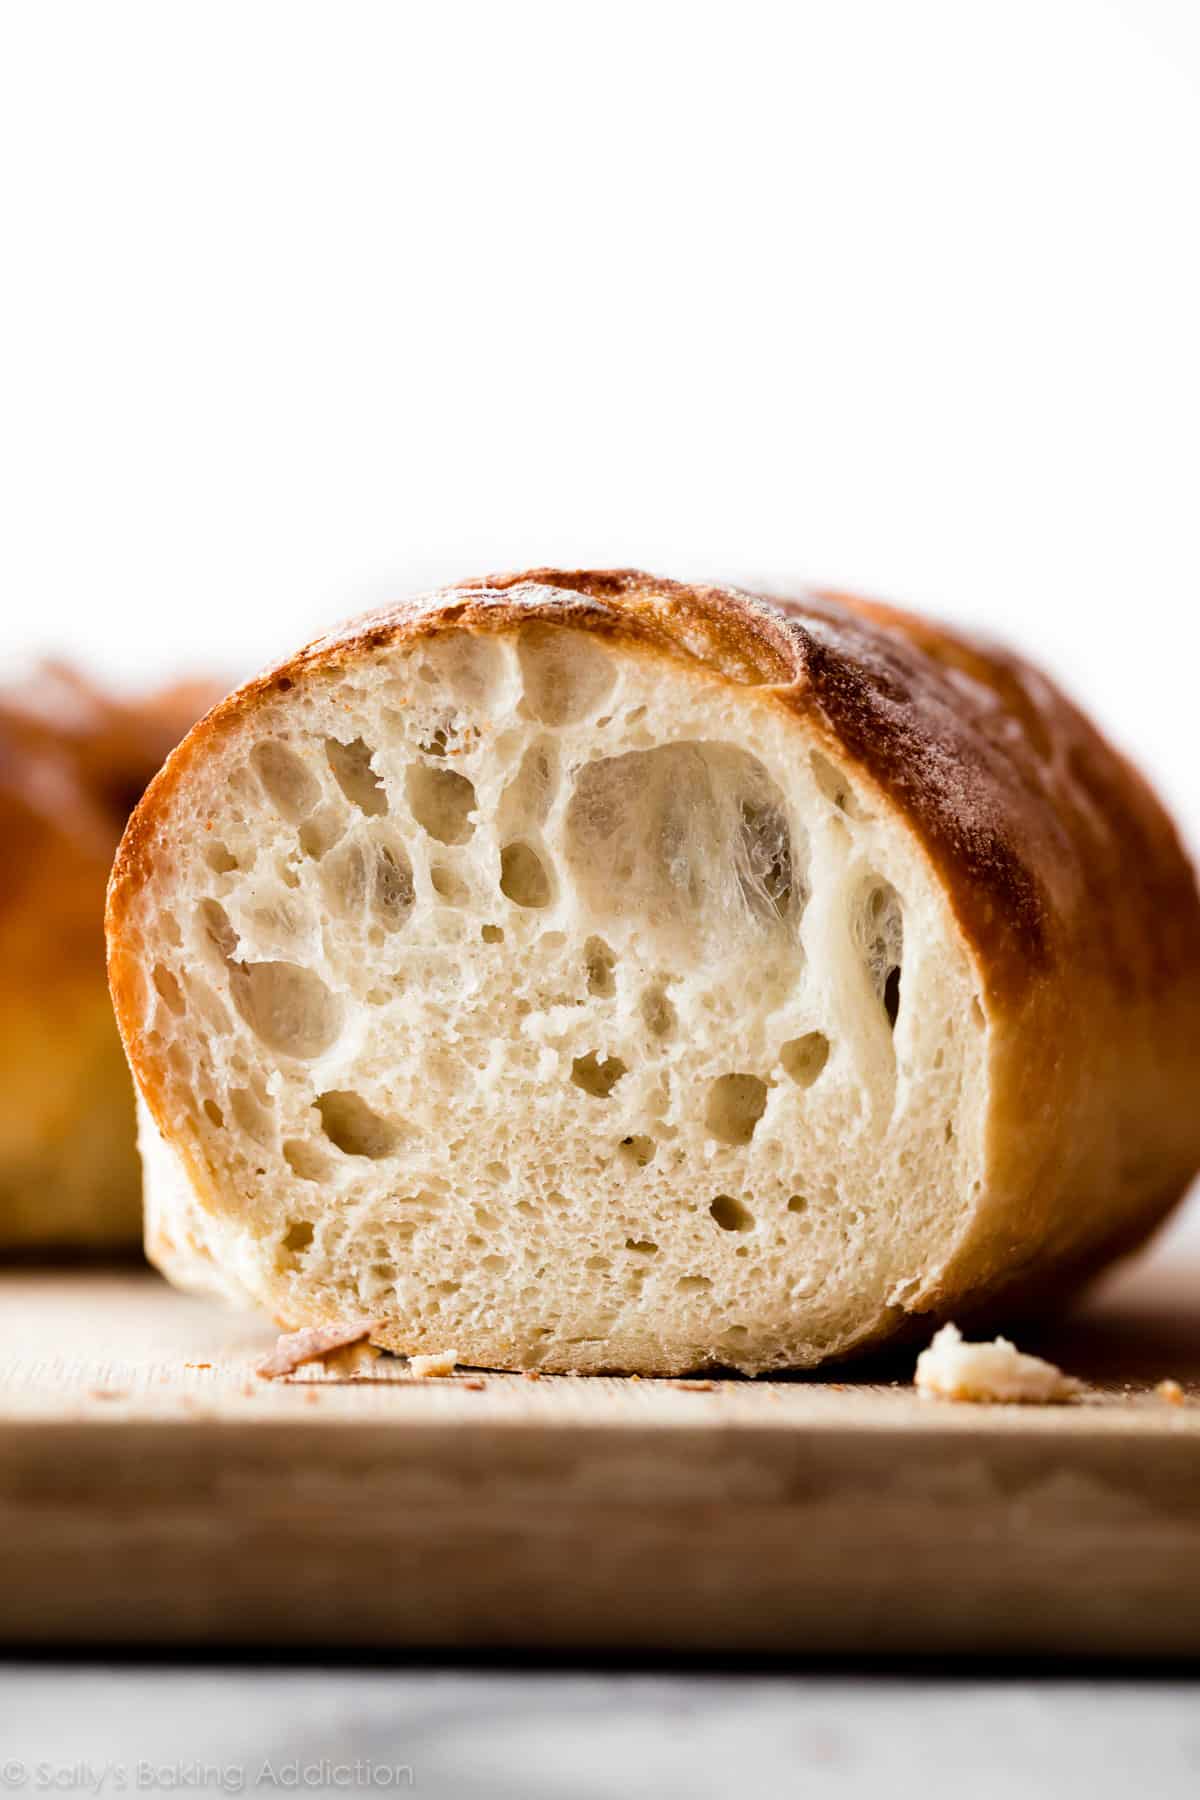
Even if you’ve never made homemade bread or worked with yeast before, this homemade crusty artisan bread is for you. It’s the perfect beginner recipe because it only requires 4 ingredients without any special pans or mixer, there’s no kneading or complicated shaping involved, and 95% of the work is hands-off. Bread masters will appreciate this recipe too because it delivers with delicious flavor, a slightly crisp and mega chewy crust, and those signature soft holes inside like ciabatta or French bread.
Bread Beginners—Start Here
Have you ever wanted to master homemade bread? Real, crusty, chewy, delicious bakery-style loaves that taste incredible with dips, soups, sauces, and comforting dinners? This recipe is where you start. This artisan bread is for beginners, but even bread masters will appreciate its flavor and ease. It’s so fresh, so flavorful, and so surprisingly easy because it basically makes itself.
You only need 4 ingredients without any special pans or mixer, there’s no kneading, no poolish or dough starter required, and you can add herbs, cheeses, and spices to make a variety of bread flavors.
This base recipe will soon be on repeat in your kitchen. After you realize how easy it is to make real homemade bread, you’ll find any excuse to bake a loaf.
What is Homemade Artisan Bread?
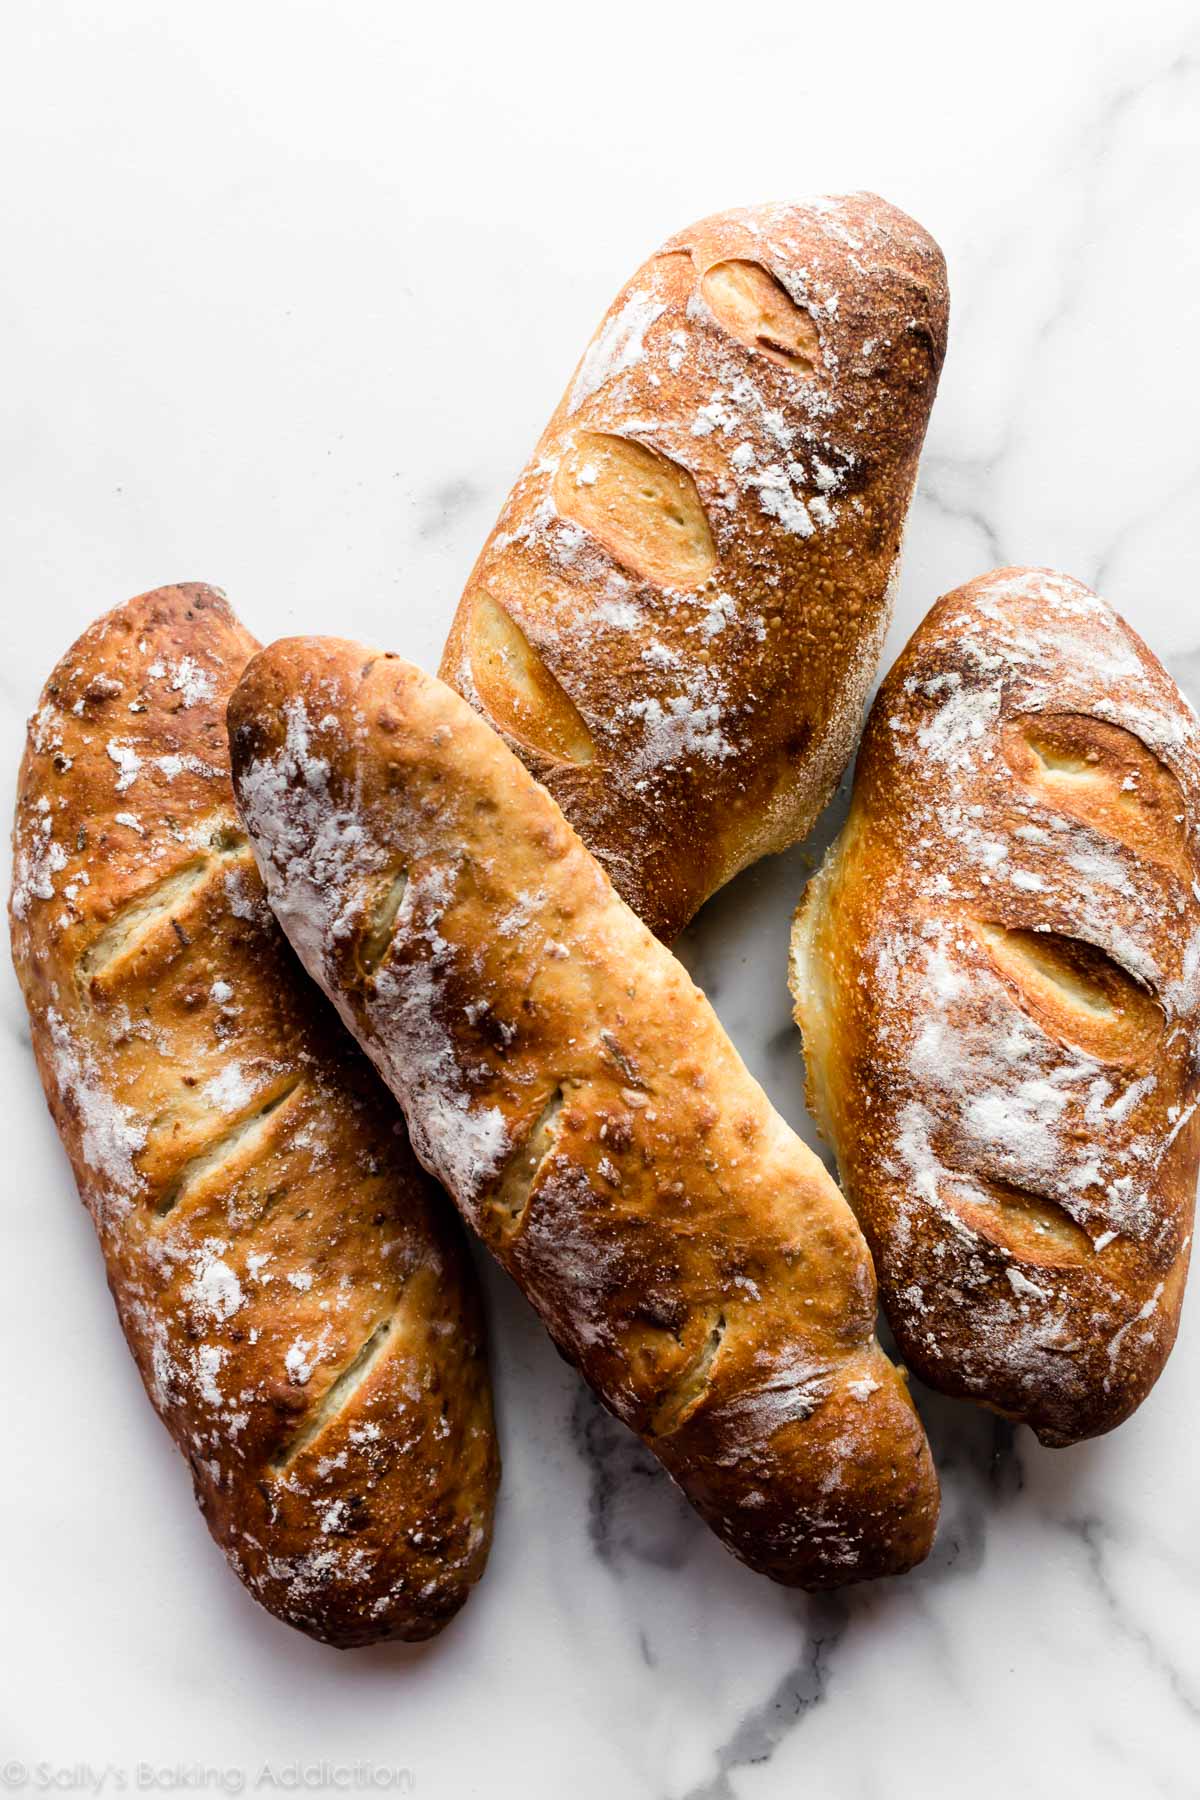
When it comes to bread, the term “artisan” doesn’t mean 1 particular thing. But generally, artisan bread is homemade, fresh, crusty, and deliciously rustic looking. An artisan is a skilled worker, one who works with their hands. But ironically, there isn’t much “work” involved with this recipe.
Why You’ll Love This Bread
- Easier than you ever imagined
- Soft + flavorful
- Chewy, slightly crisp crust
- Shape however you want
- No special pans, poolish, or dough starter required
- Only 4 ingredients
- You decide the length of time it rests
Homemade Artisan Bread Video Tutorial
Like sandwich bread, whole wheat bread, focaccia, homemade English muffins, seeded oat bread, and homemade bagels—the process is surprisingly easy. If you’re new to yeast, reference my Baking with Yeast Guide for answers to common yeast FAQs.
Only 4 Ingredients
The crustier and chewier the bread, the less fat in the dough—also known as a “lean dough.” We’re using a lean dough for our artisan loaf today. (If you’re curious, a “rich dough” is a soft bread dough with the presence of fat, such as butter and eggs—the kind we need for overnight cinnamon rolls and honey butter rolls.) Without fat, we’re left with the basics.
- Bread Flour: While you can use all-purpose flour in this recipe, I strongly recommend using bread flour. Just like when we make olive bread, bread flour produces a stronger, chewier bread and that makes a big difference in recipe with only 3 other ingredients.
- Instant Yeast: Instant yeast is key in this recipe. While you can use active dry if that’s all you have, any quick rise or instant yeast will produce flavorful results in less time. I use more yeast in this recipe compared to my cranberry nut no-knead bread and no-knead jalapeño cheddar bread. Why? Those doughs rest and rise at room temperature. However, for more flavor and just as much rise, I use more yeast and let the this dough rest in the refrigerator. (Cool air slows the fermentation process.)
- Salt: You can’t make good bread without salt and for best flavor, I recommend a coarse salt, such as coarse sea salt. I find the bread’s flavor lacking with regular table salt.
- Water: I normally encourage you to use warm liquid with yeast because warm liquid helps the yeast work faster. However, use cool or room temperature water here. Not freezing cold, not super warm—cool to touch. 70°F (21°C) is great, but the exact temperature doesn’t matter as long as it’s not hot or warm. The cooler the water, the longer the dough takes to rise and, usually, the better the bread’s flavor. (This is important since there are so little ingredients to add substantial flavor!) We use the same cool water method for no knead honey oat bread.
- Optional Cornmeal: Dusting the pan with cornmeal adds a pop of flavor and a little crunch to the bottom crust. This is completely optional. If you have it, use it. If you don’t have it, don’t worry about it.
You can also add herbs and seasonings such as garlic, rosemary, dill, chopped onion, jalapeño, shredded cheese, chopped nuts, dried cranberries, etc. My no yeast bread is the quick bread alternative here—you can add flavors to that loaf, too!
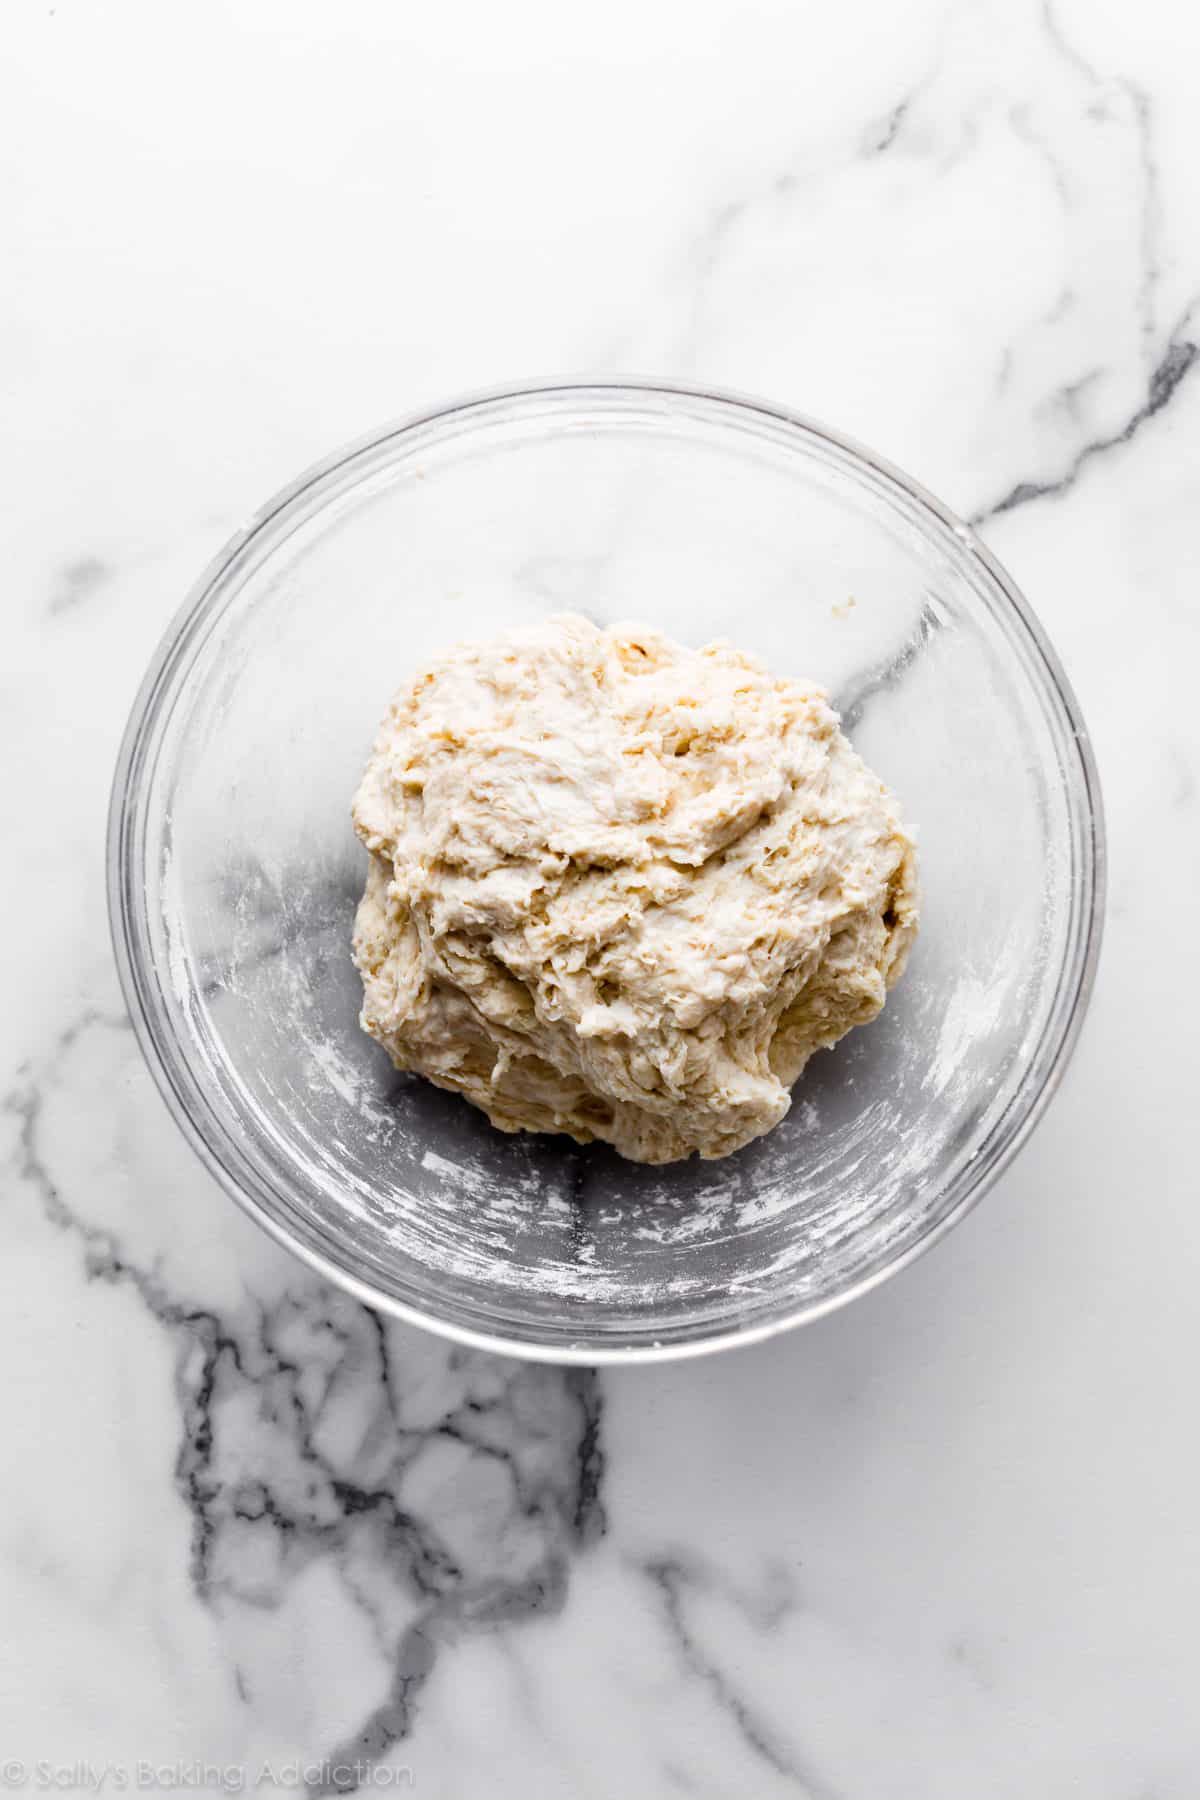
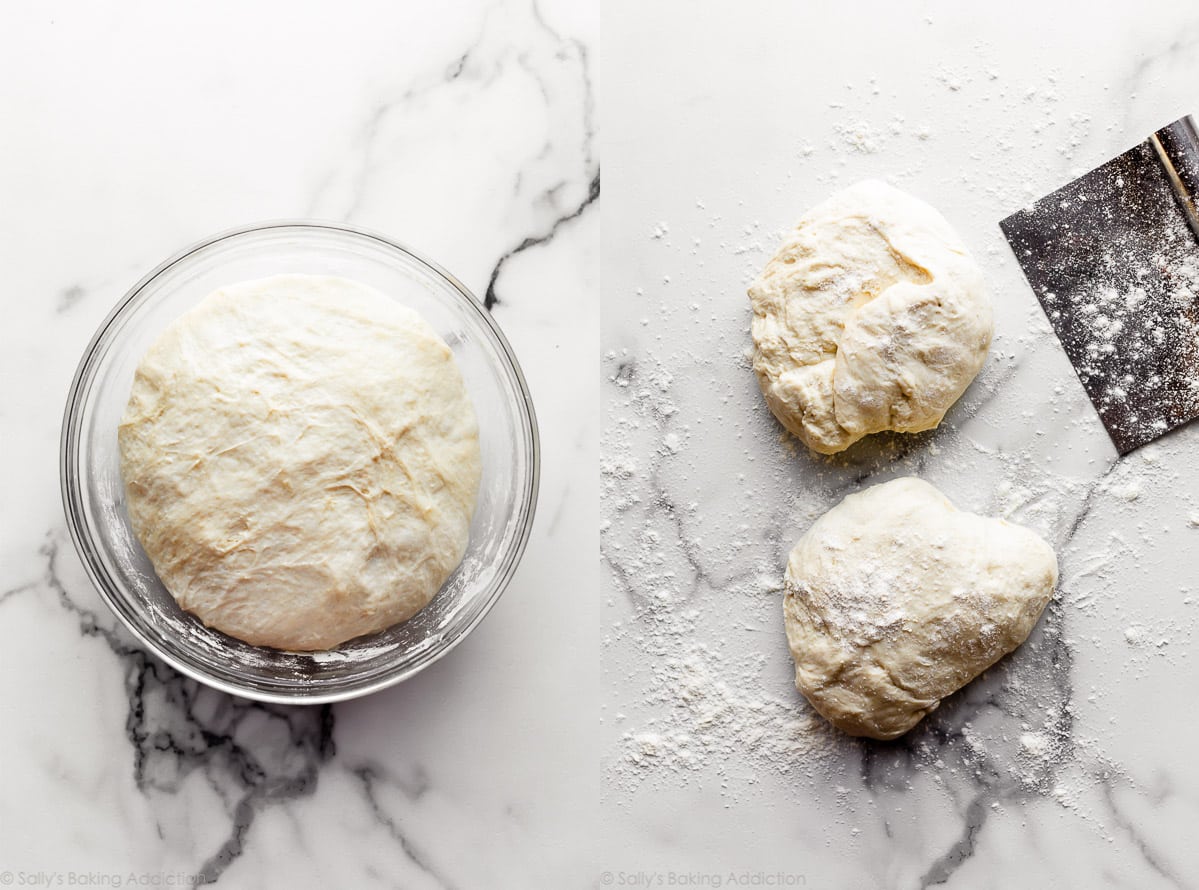
Baker’s Tip: Avoid adding too much flour to the dough as you work with it. The stickier it is—and the longer it sits in the refrigerator—the more likely you’ll have those big airy pockets of air in the crumb.
How to Make Homemade Artisan Bread in 5 Steps
- Mix the dough ingredients together. At first the dough will seem very dry and shaggy and you’ll question if it will even come together. But it will. Use a spatula at first, then switch to your hands to ensure all of the flour is moistened. The dough is actually a little sticky after it’s thoroughly mixed.
- Let it rise at room temperature for 2-3 hours. Cover the dough and let it rise at room temperature for about 2-3 hours until doubled in size.
- Use right away or refrigerate. After 2-3 hours, you can immediately continue with the next step. However, for ideal flavor and texture, I strongly recommend letting the dough sit in the refrigerator for at least 12 hours and up to 3 days. Yes, 3 full days! I usually only let it rest for about 18 hours. During this crucial step, the cold air slows the fermentation process and adds so much flavor and texture. So, you can bake bread in 2-3 hours or in 3 days. The longer it sits, the better it tastes. 🙂
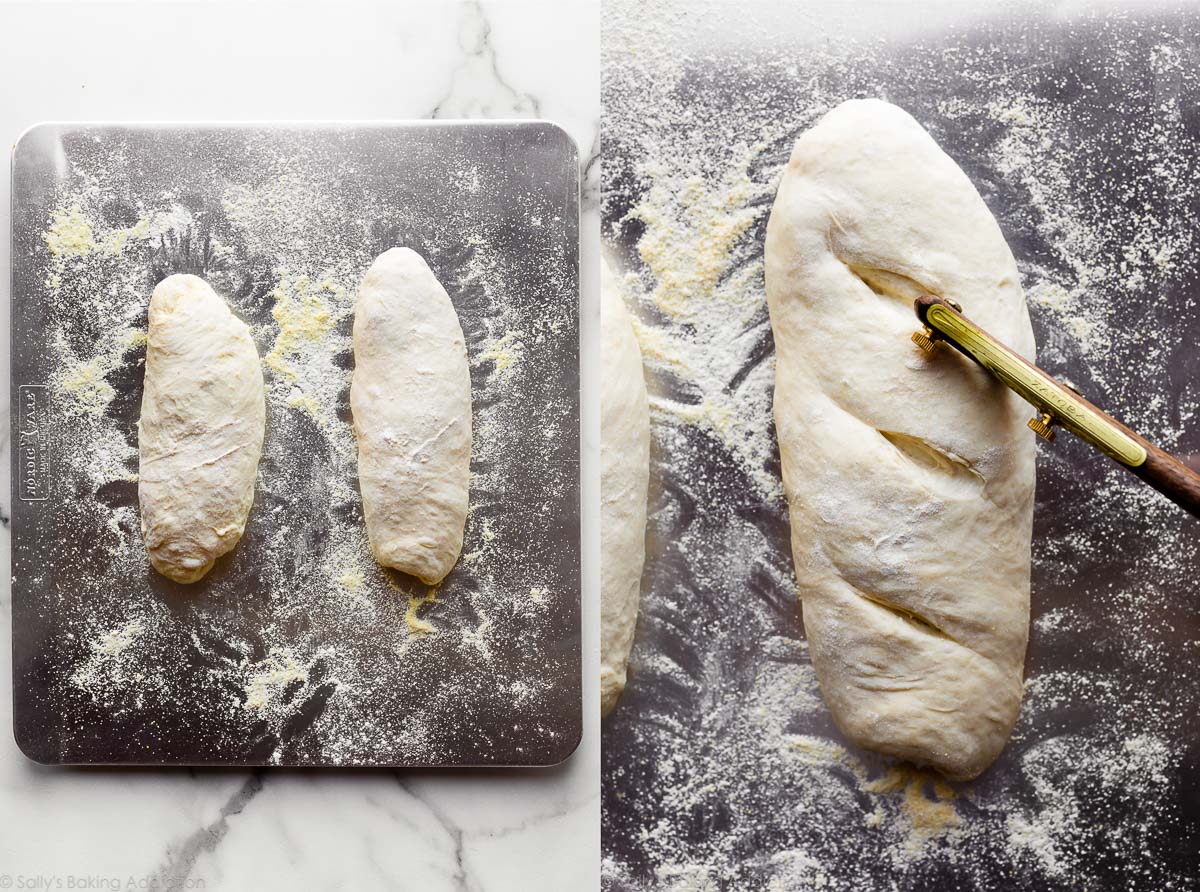
- Shape into 2 loaves or 1 boule. Rest as oven preheats. You can shape the bread into a round loaf (boule) or two longer loaves. I usually make 2 longer loaves side-by-side on a flat baking sheet, about 9×3 inches each. Score with a sharp knife or bread lame. Preheat the oven to a very hot 475°F (246°C). The extremely hot air will immediately set the crust so the bread rises up instead of spreading all over. To help ensure a crispier crust, after the oven pre-heats—pour boiling water into a metal or cast iron baking pan/dish on the bottom oven rack. Immediately place the dough inside and shut the oven door to trap the steam. The steam will help create that coveted crisp crust. If you have a dutch oven, shape the dough into 1 round loaf, and bake it inside the dutch oven with the lid on.
- Bake until golden brown, about 20-25 minutes. Gently tap the loaves because if they sound hollow, they’re done.
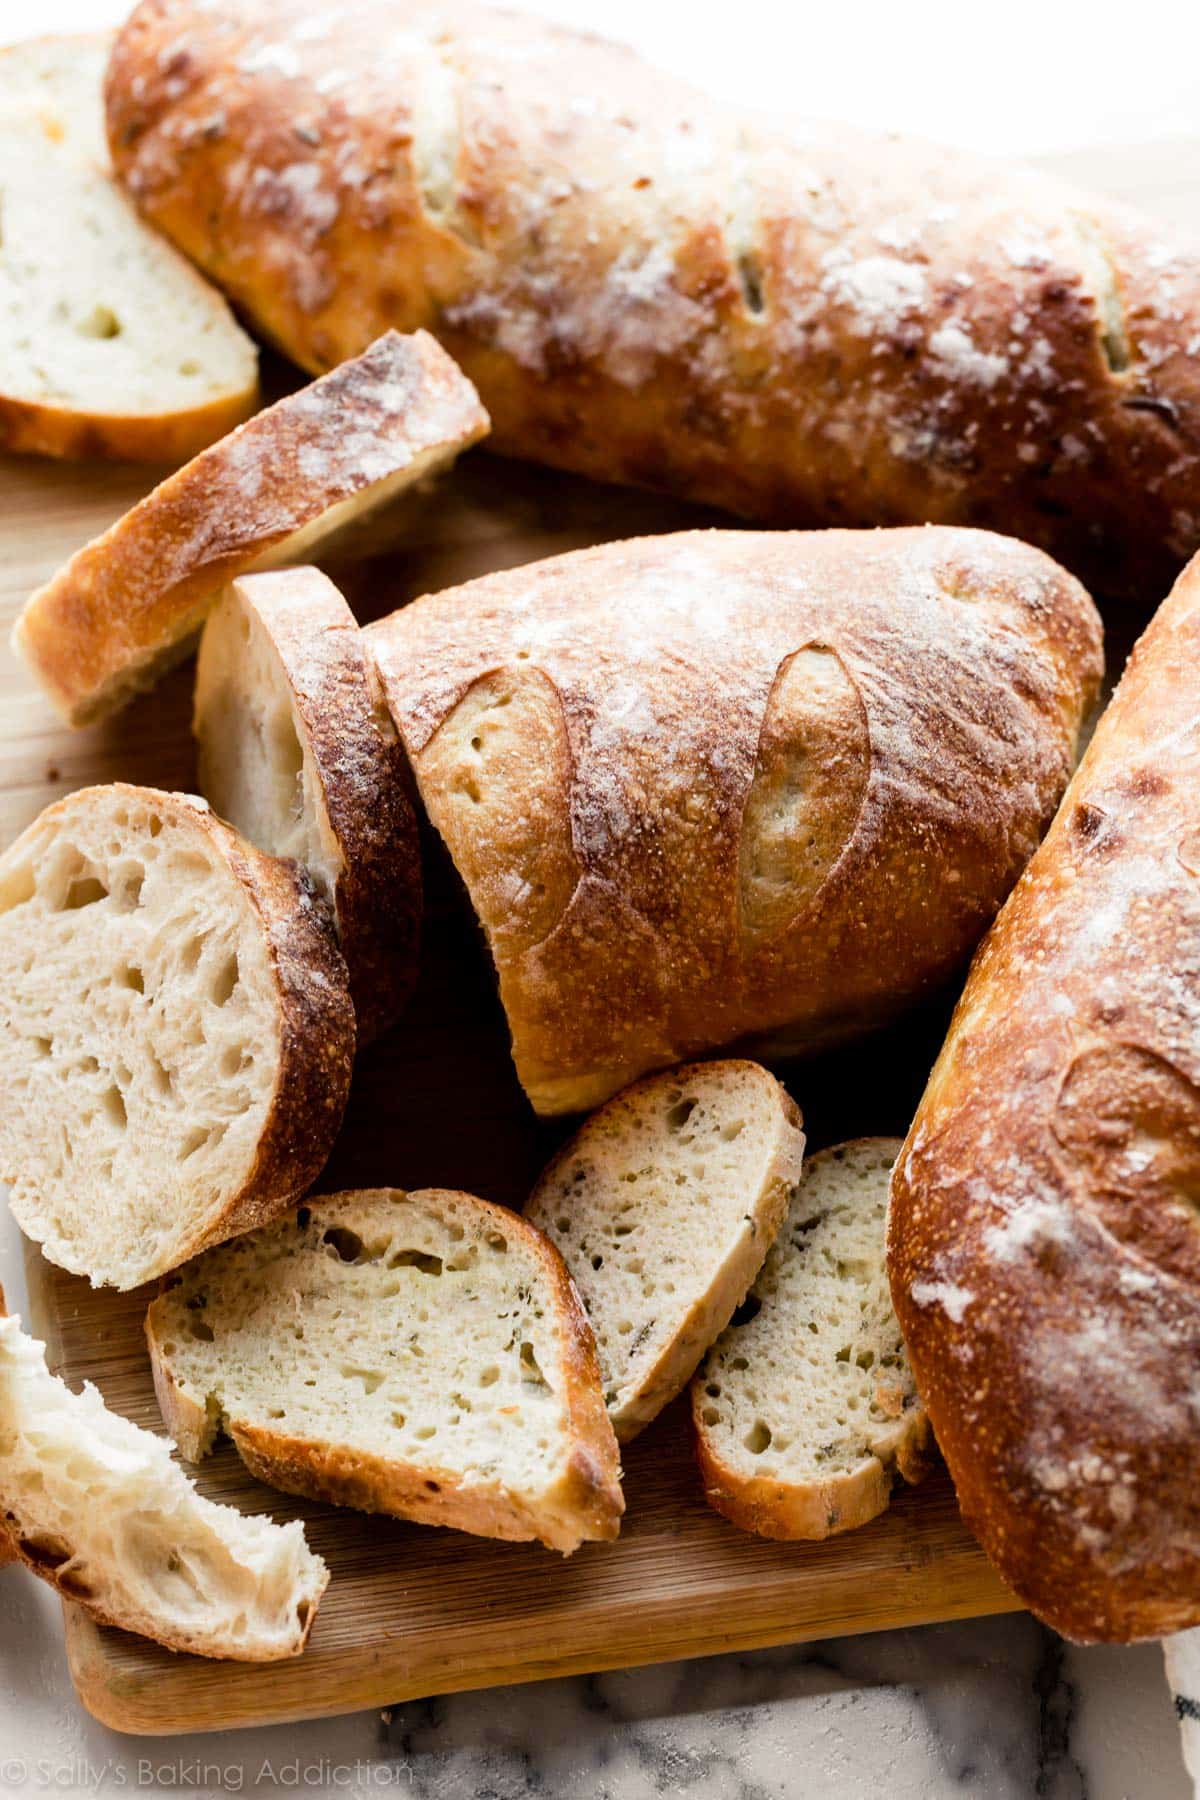
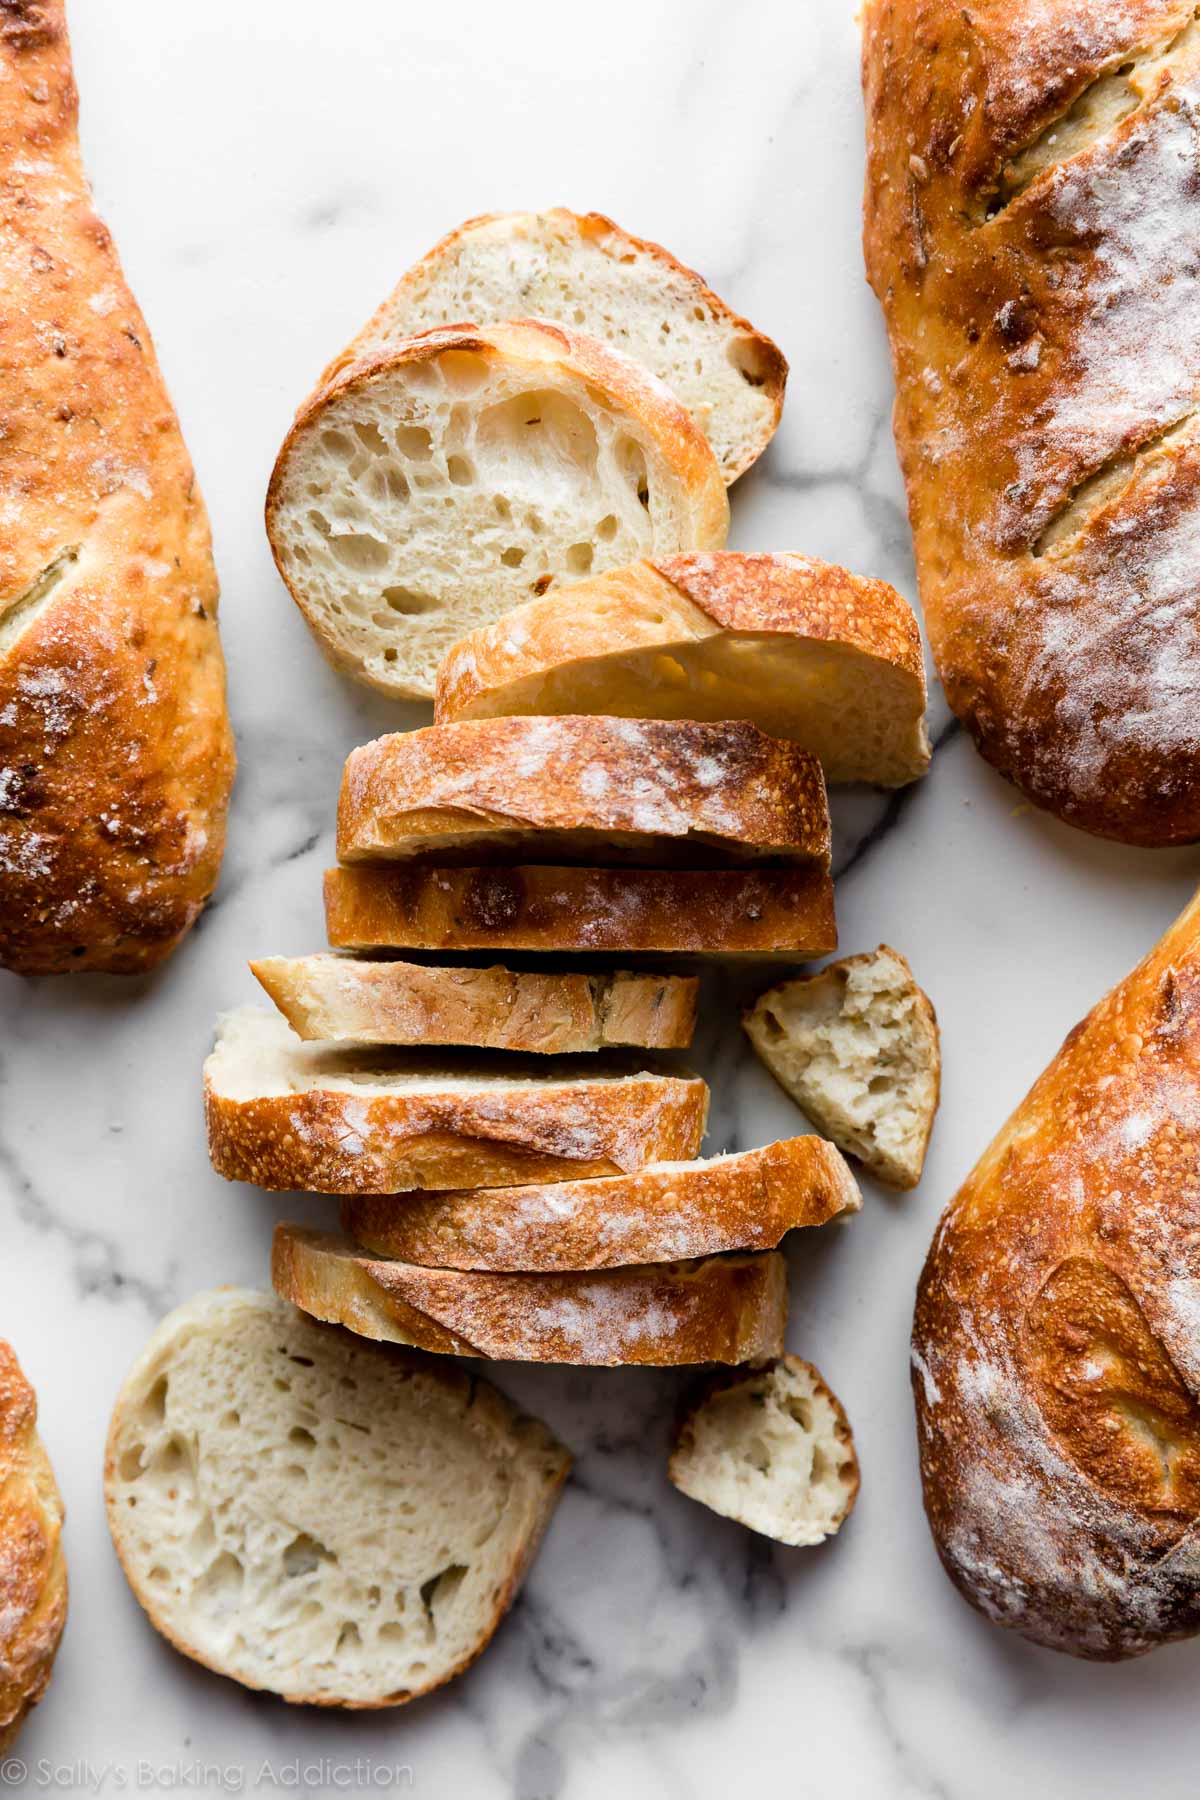
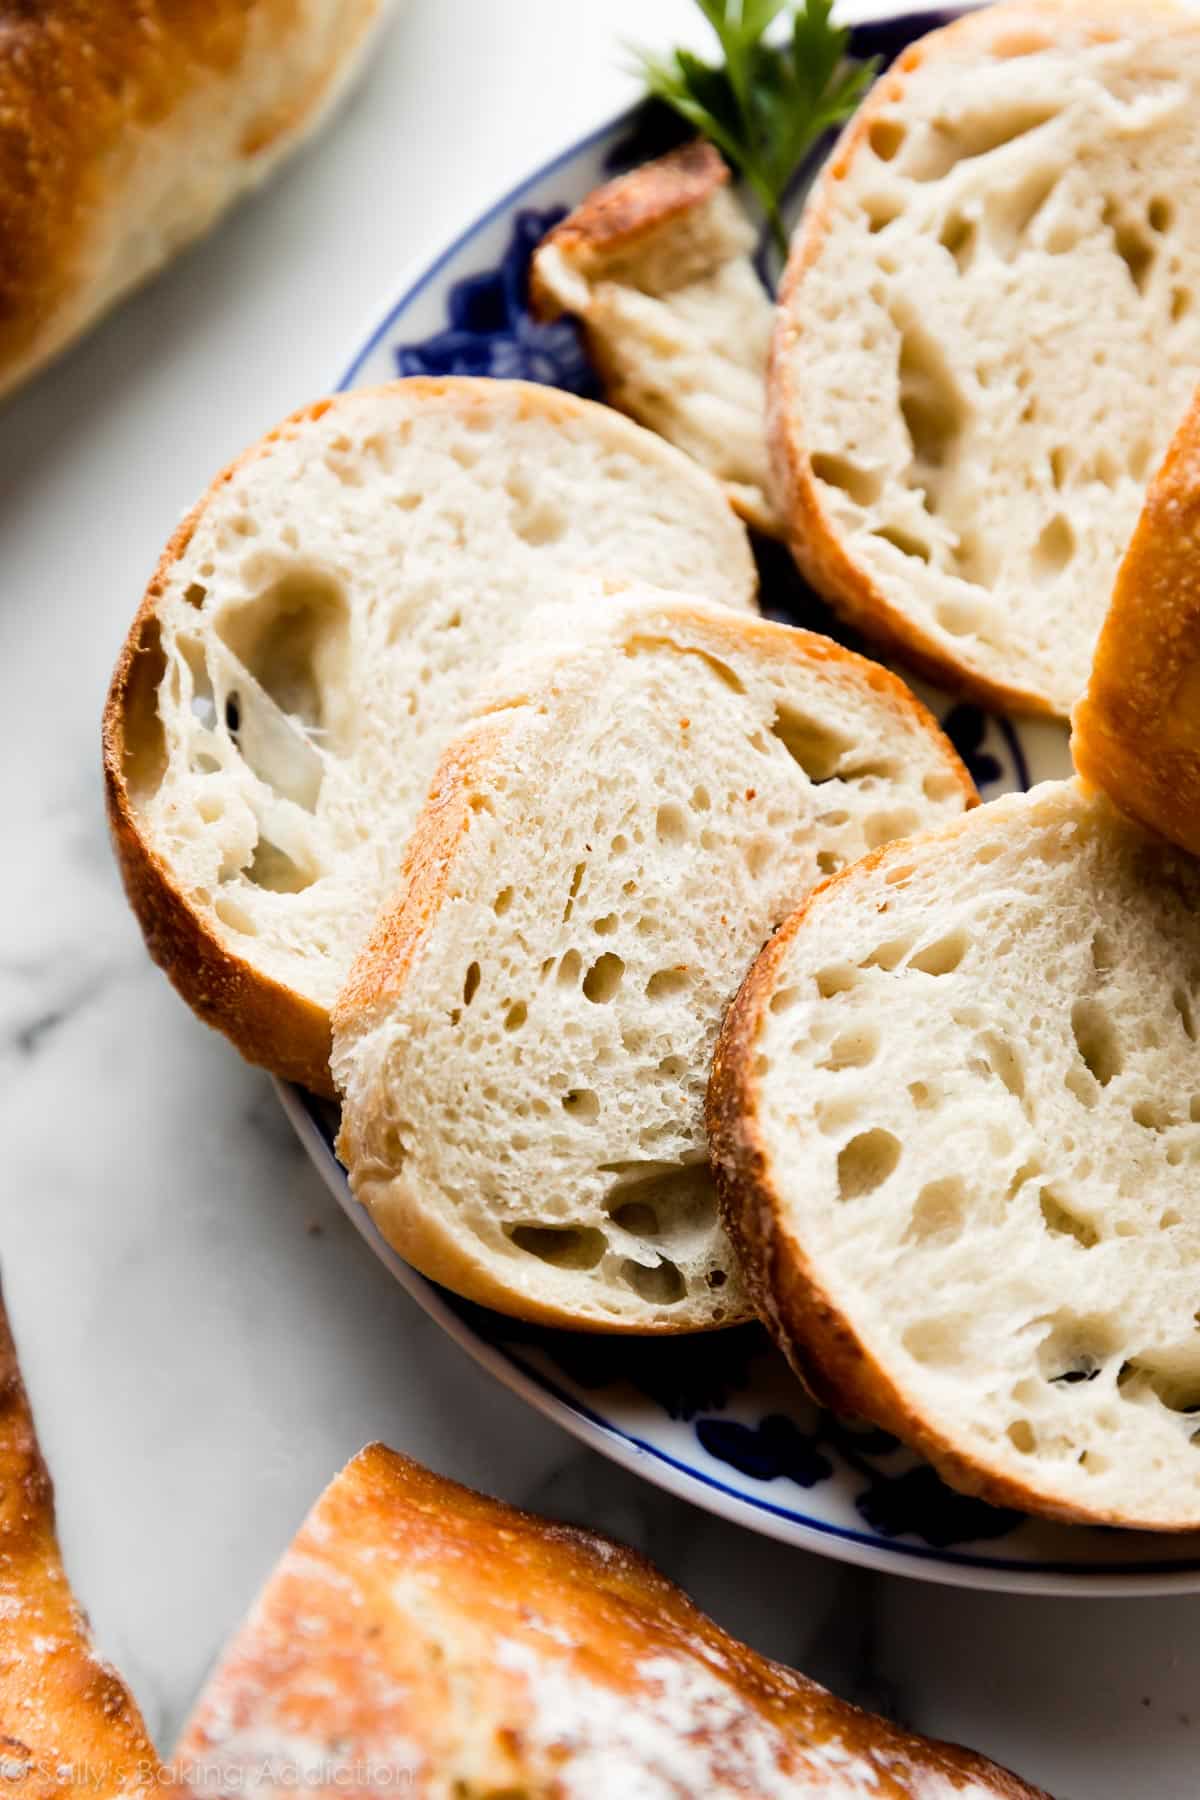
Look at those deliciously soft holes inside! Reminds me of ciabatta or a French baguette, both of which can be a little more complicated to make.
Serve Artisan Bread With
- Slather with homemade honey butter
- Slice and dunk in crab dip, beer cheese dip, or roasted garlic bacon spinach dip
- Serve alongside slow cooker chicken chili or pumpkin chili
- As a dunker for minestrone soup or creamy chicken noodle soup
- With a big bowl of mac & cheese
- Use for my goat cheese & honey crostini
- It’s the perfect starch in breakfast casserole
- With anything because homemade bread is everything’s best friend
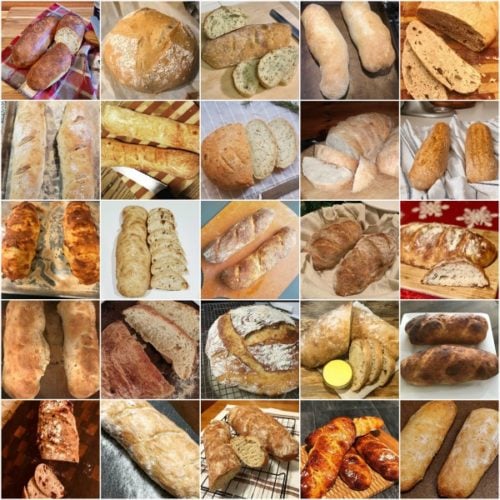
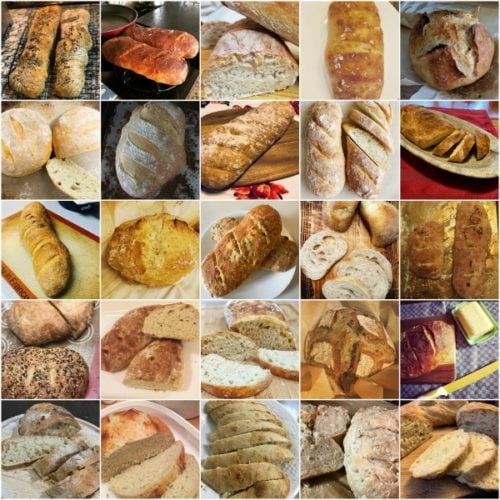
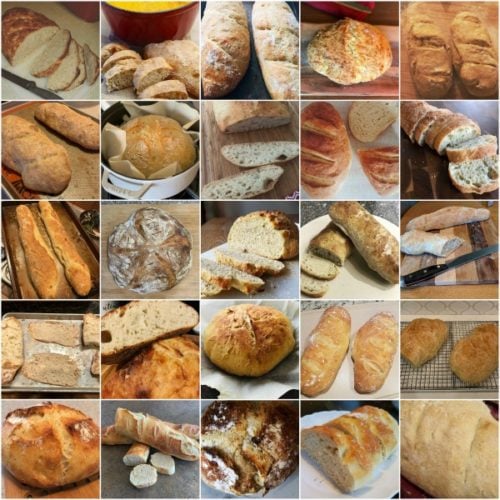
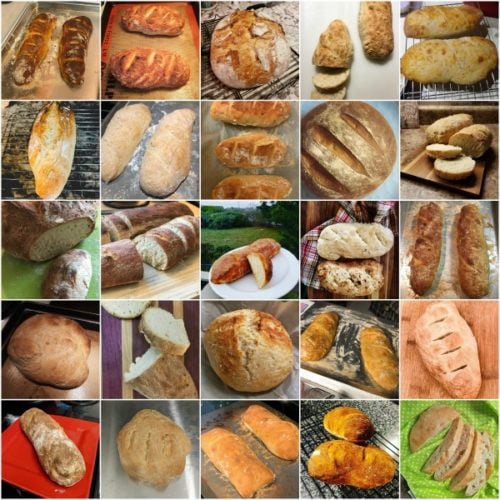
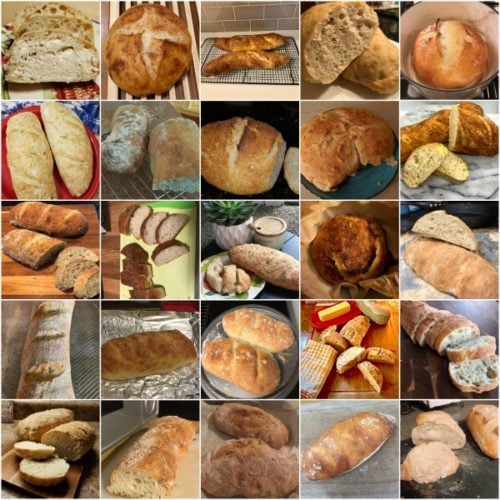
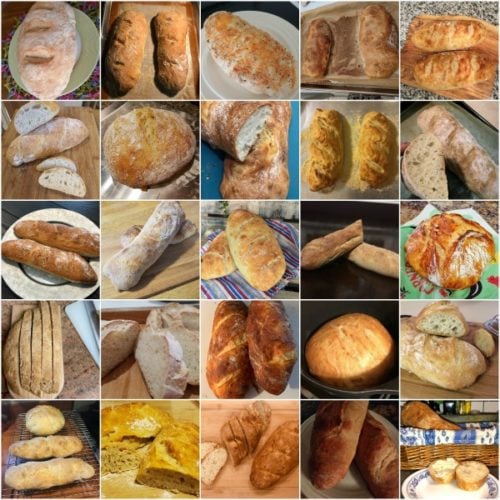
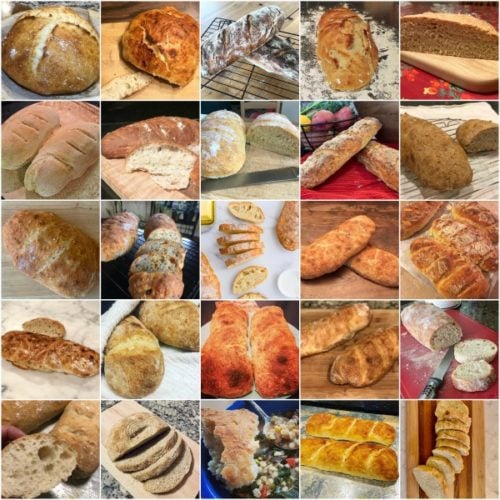
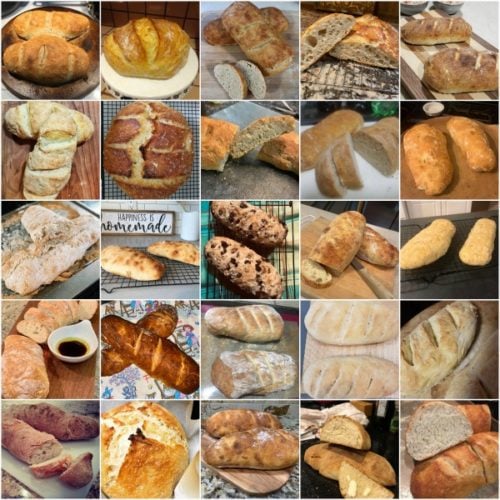
See Your Homemade Artisan Bread!
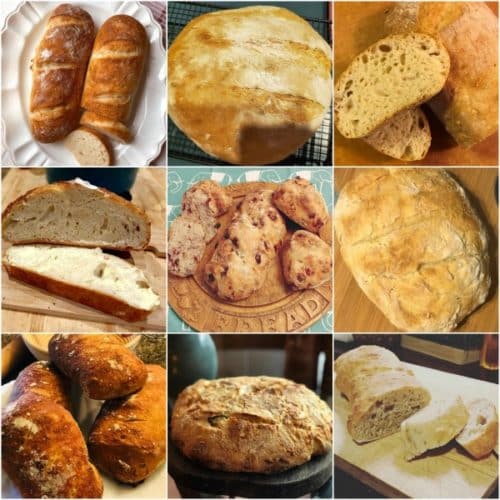
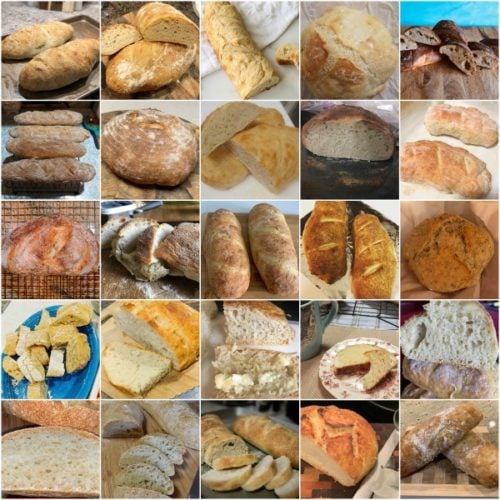
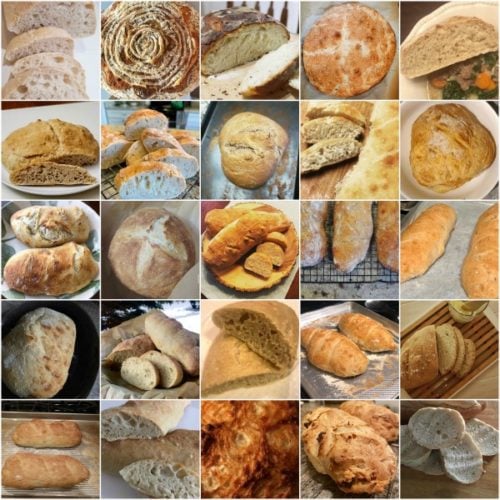
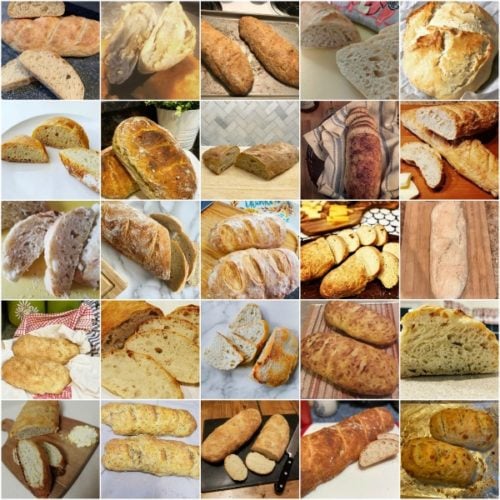
Many readers tried this recipe as part of a baking challenge! Feel free to email or share your recipe photos with us on social media. 🙂
Print
Homemade Artisan Bread Recipe
- Prep Time: 4 hours
- Cook Time: 25 minutes
- Total Time: 4 hours, 25 minutes
- Yield: 2 8-inch loaves
- Category: Bread
- Method: Baking
- Cuisine: American
Description
Even if you’ve never made homemade bread or worked with yeast before, this homemade artisan bread is for you. Watch the video tutorial below and review the recipe instructions and recipe notes prior to beginning. If you’re new to working with yeast, reference my Baking with Yeast Guide for answers to common yeast FAQs.
Ingredients
- 3 and 1/4 cups (about 430g) bread flour (spooned & leveled), plus more for hands and pan
- 2 teaspoons (about 6g) instant yeast
- 2 teaspoons (about 9g) coarse salt (see note)
- 1 and 1/2 cups (360ml) water, close to room temperature at about 70°F (21°C)
- optional: cornmeal for dusting pan
Instructions
- In a large un-greased mixing bowl, whisk the flour, yeast, and salt together. Pour in the water and gently mix together with a silicone spatula or wooden spoon. The dough will seem dry and shaggy, but keep working it until all the flour is moistened. If needed, use your hands (as I do in the video tutorial below) to work the dough ingredients together. The dough will be sticky. Shape into a ball in the bowl as best you can.
- Keeping the dough in the bowl, cover the dough tightly with plastic wrap or aluminum foil and set on the counter at room temperature (honestly any normal room temperature is fine!). Allow to rise for 2-3 hours. The dough will just about double in size, stick to the sides of the bowl, and have a lot of air bubbles.
- You can continue with step 4 immediately, but for absolute best flavor and texture, I strongly recommend letting this risen dough rest in the refrigerator for at least 12 hours and up to 3 days. Place covered dough in the refrigerator for 12 hours – 3 days. I usually let it rest in the refrigerator for about 18 hours. The dough will puff up during this time, but may begin to deflate after 2 days. That’s fine and normal—nothing to worry about.
- Lightly dust a large nonstick baking sheet (with or without rims and make sure it’s nonstick) with flour and/or cornmeal. Turn the cold dough out onto a floured work surface. Using a sharp knife or bench scraper, cut dough in half. Some air bubbles will deflate as you work with it. Place dough halves on prepared baking sheet. Using floured hands, shape into 2 long loaves about 9×3 inches each (doesn’t have to be exact) about 3 inches apart. Loosely cover and allow to rest for 45 minutes. You will bake the dough on this prepared baking sheet.
- During this 45 minutes, preheat the oven to 475°F (246°C).
- When ready to bake, using a very sharp knife or bread lame (some even use kitchen shears), score the bread loaves with 3 slashes, about 1/2 inch deep. (“Score” = shallow cut.) If the shaped loaves flattened out during the 45 minutes, use floured hands to narrow them out along the sides again.
- Optional for a slightly crispier crust: After the oven is preheated and bread is scored, place a shallow metal or cast iron baking pan or skillet (I usually use a metal 9×13-inch baking pan) on the bottom oven rack. Carefully and quickly pour 3-4 cups of boiling water into it. Place the scored dough/baking pan on a higher rack and quickly shut the oven, trapping the steam inside. The steam helps create a crispier crust.
- Place the shaped and scored dough (on the flour/cornmeal dusted pan) in the preheated oven on the center rack. Bake for 20-25 minutes or until the crust is golden brown. Gently tap the loaves—if they sound hollow, the bread is done. For a more accurate test of doneness, the bread is done when an instant read thermometer inserted in the center reads 195°F (90°C).
- Remove the bread from the oven and allow to cool for at least 5 minutes before slicing and serving. Store leftovers loosely covered at room temperature for up to 5 days or in the refrigerator for up to 10 days.
Notes
- Make Ahead & Freezing Instructions: The dough can sit in the refrigerator for up to 3 days, so this is a wonderful recipe to begin ahead of time. You can also bake the bread, allow it to cool, and freeze for up to 3 months. Thaw in the refrigerator and allow to come to room temperature before serving. You can also freeze the dough. Complete the recipe through step 3. Wrap in plastic wrap and place in a freezer-friendly container. To bake, allow dough to thaw overnight in the refrigerator, or for 2-3 hours at room temperature. Continue with step 4 and the rest of the recipe instructions.
- Special Tools (affiliate links): Glass Mixing Bowls | Silicone Spatula or Wooden Spoon | Baking Sheets | 2-cup Measuring Cup | Bread Lame | Instant Read Thermometer
- Flour: For absolute best flavor and chewy texture, I strongly recommend using bread flour. You can use a 1:1 substitution of all-purpose flour in a pinch with no other changes to the recipe. I recommend avoiding whole wheat flour in this dough. If necessary, use half bread flour and half whole wheat flour. The bread will taste a bit dense.
- Yeast: You can use instant or active dry yeast, but I highly recommend an instant (aka “rapid rise” or “quick rise” yeast). The bread will rise faster. I usually use Platinum yeast by Red Star, which is an instant yeast. 2 teaspoons is a little less than 1 standard packet. If using active dry yeast, there are no changes needed to the recipe. The rise time in step 2 may take longer.
- Salt: Use a coarse salt, such as coarse sea salt, in this bread. I find the flavor slightly lacking when using regular table fine salt. If you only have fine salt, reduce to 1 and 1/2 teaspoons.
- Water: Use cool water. 70°F (21°C) is great, but the exact temperature doesn’t matter as long as it’s not hot or warm.
- Round Loaf: If you want to shape the dough into a boule (round loaf) simply shape into a round ball instead of 2 loaves in step 4. Baking instructions are the same, but the loaf will take a few extra minutes in the oven. If you want to bake the boule in a dutch oven, see next note.
- Using a Dutch Oven: Follow this dough recipe through step 3, then follow the simple shaping/baking instructions (steps 2-5) in my Cranberry Nut No Knead Bread recipe including using the parchment paper. If your parchment paper can’t withstand heat this high, you can either lower the oven temperature and bake the bread for longer or grease the Dutch oven instead.
- Using a pizza stone: If you want to bake your bread loaves on a pizza stone, place pizza stone in the preheating oven. In step 8, place the shaped and scored dough on your preheated pizza stone. If the bottom of the shaped dough is pretty sticky, dust the hot pizza stone with some extra cornmeal. Bake as directed.
- No Nonstick Pan: If you don’t have a nonstick baking sheet, line it with parchment paper instead. Coat with a dusting of flour and/or cornmeal before placing the dough on top. Parchment paper can burn, so it’s best to check the box to see how much heat yours can tolerate. Lower your oven heat if necessary and bake the bread for longer until golden brown and when gently tapped, sound hollow.
- Flavor ideas: Before pouring in the water in step 1, add any of the following ingredients/combination of ingredients to the dry ingredients in the bowl: 4 cloves minced garlic + 3 Tablespoons chopped rosemary, 3 Tablespoons your favorite fresh herb (chopped), 1 cup your favorite shredded cheese, a diced jalapeño, 3/4 – 1 cup dried cranberries and/or chopped nuts, 2 teaspoons garlic powder, etc.
- Reference my Baking with Yeast Guide for answers to common yeast FAQs.
- Recipe adapted from King Arthur Flour & Red Star Yeast, similar method originally from Jim Lahey.
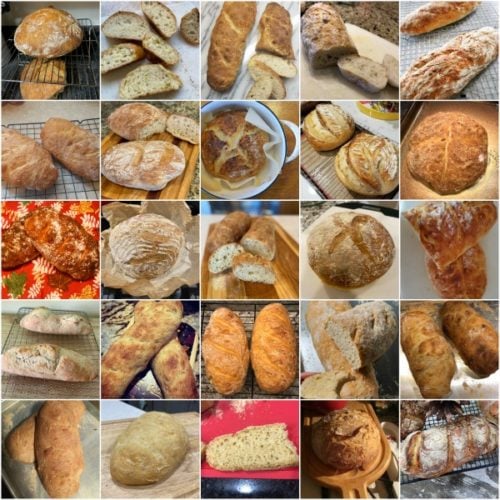
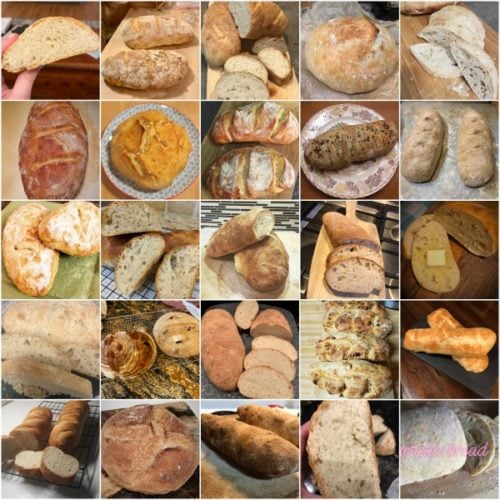
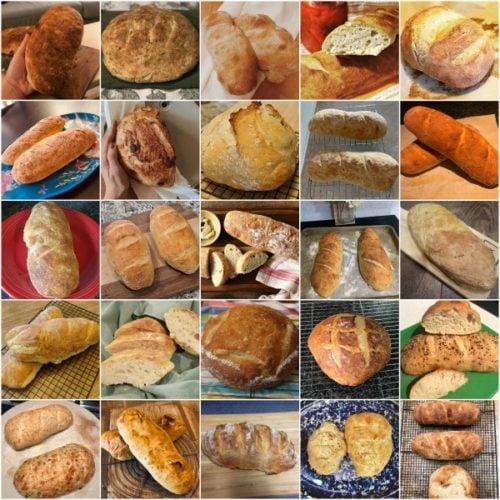
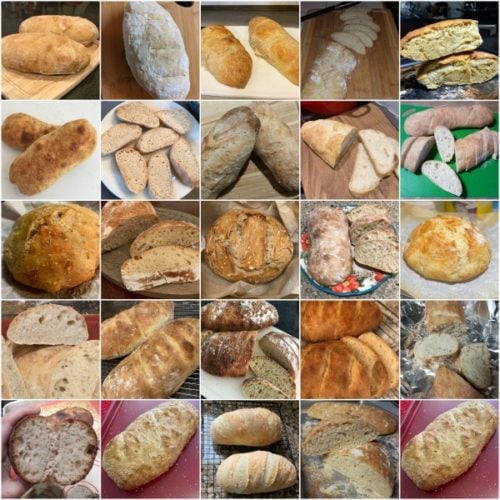
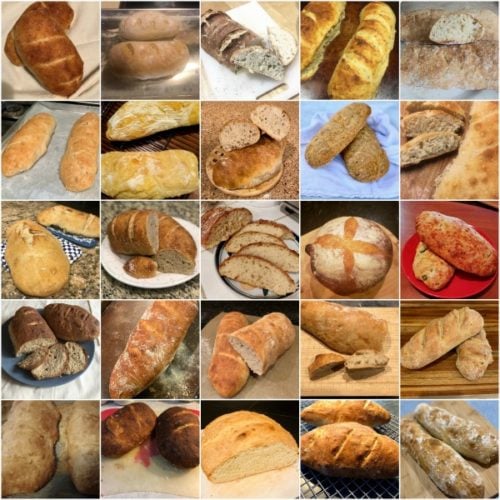
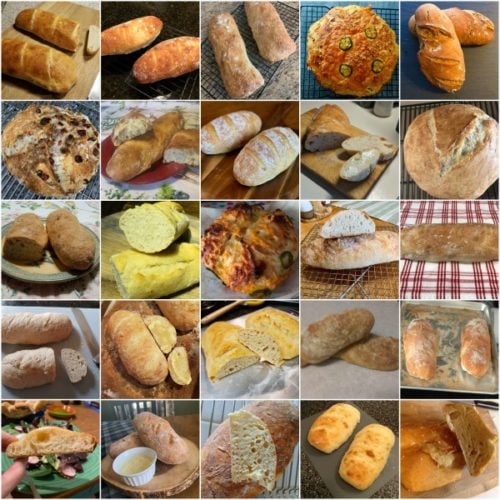
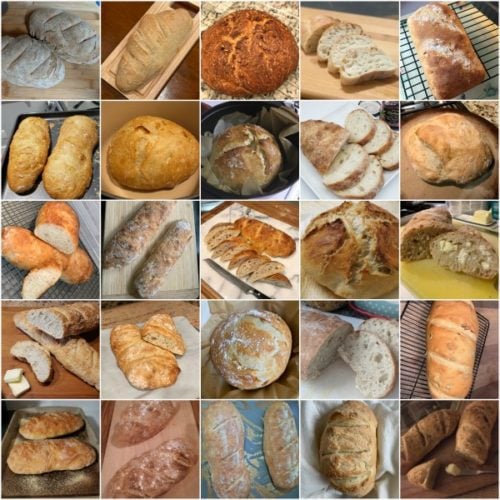
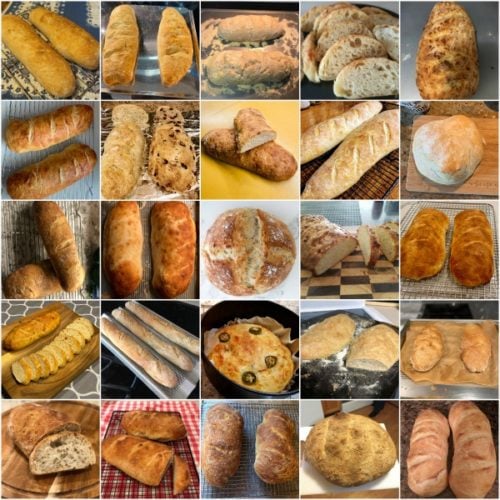
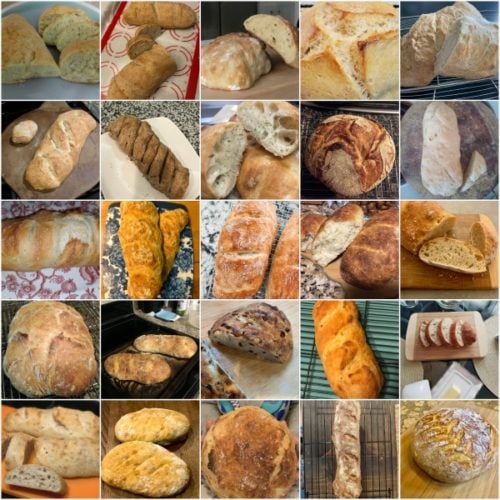
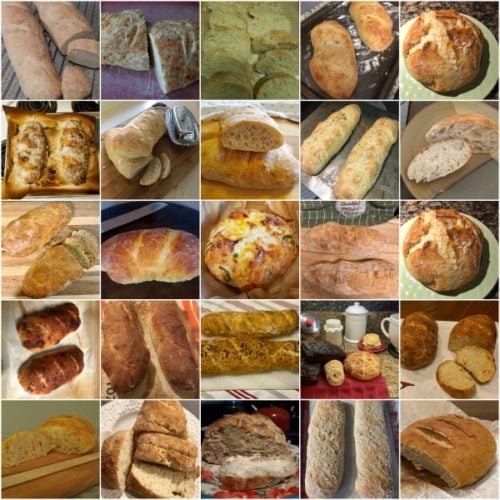
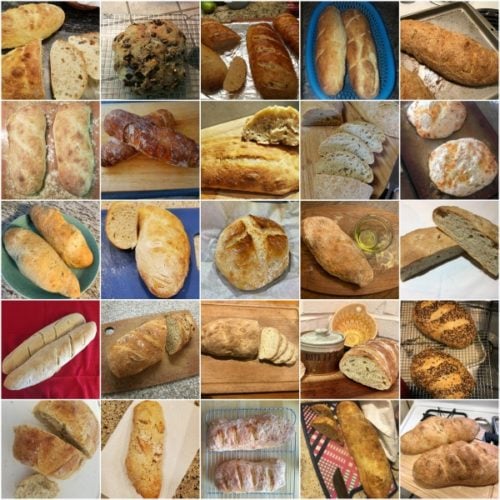
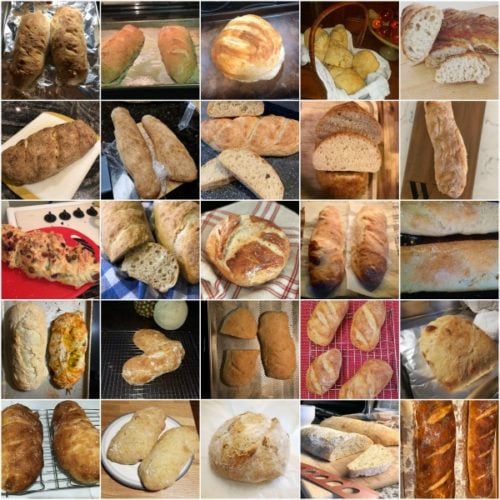

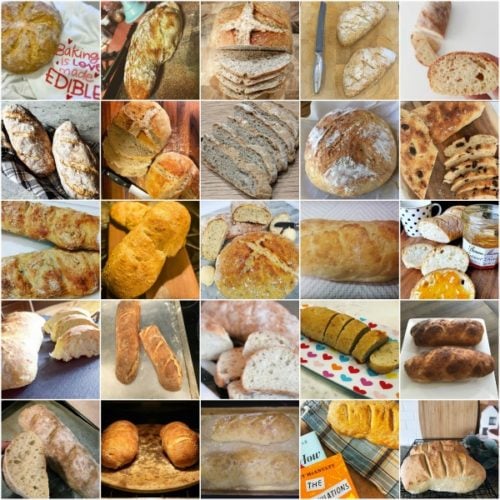
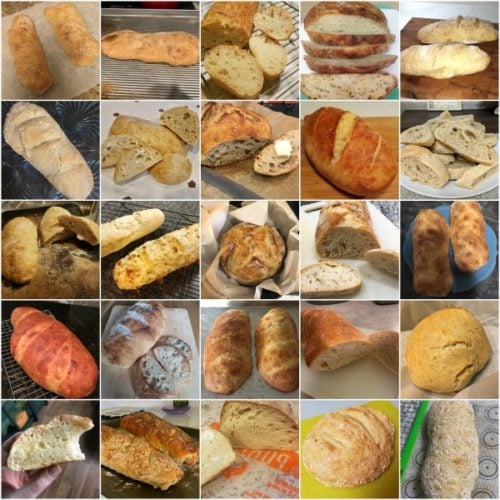
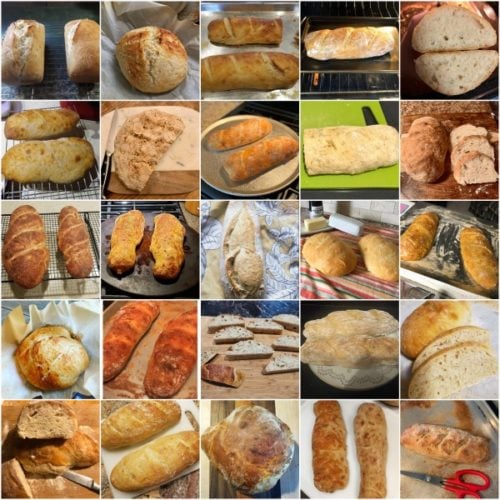
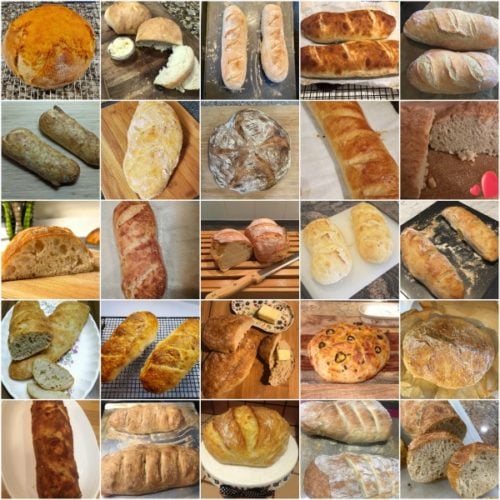
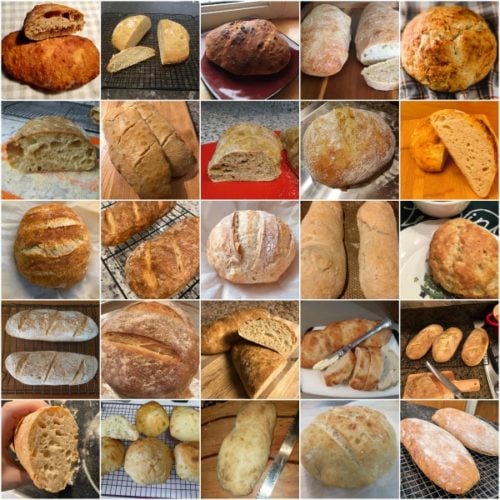
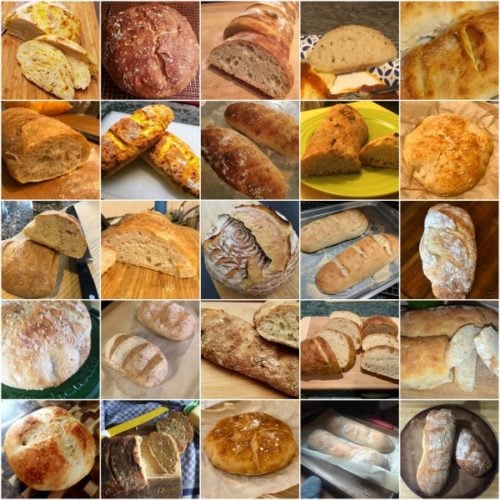
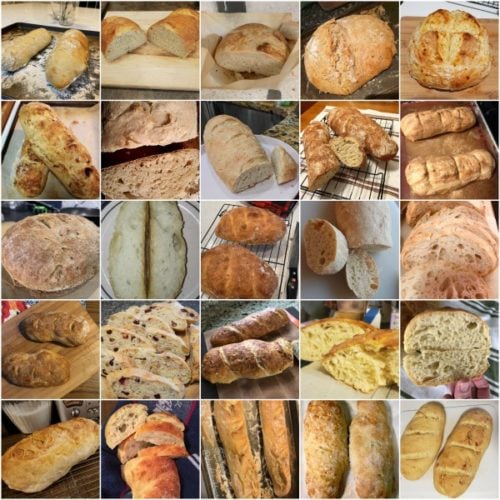
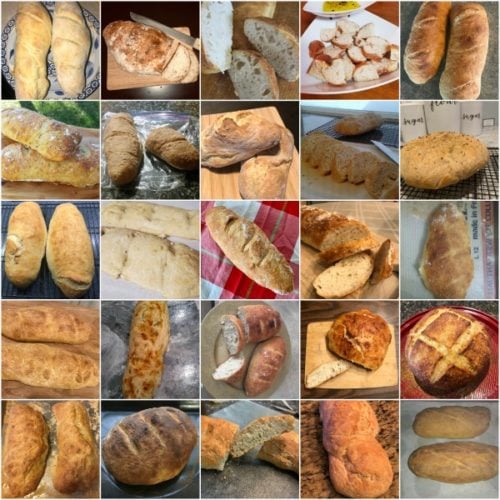

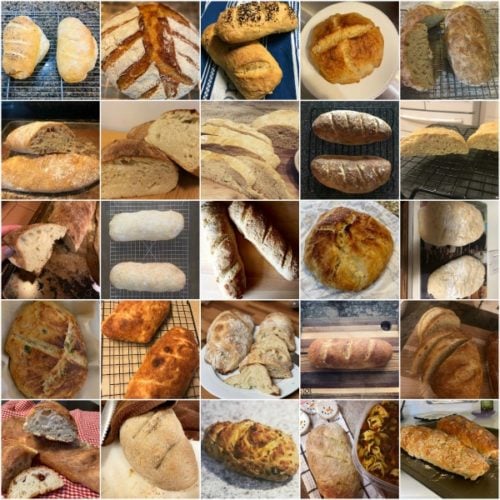
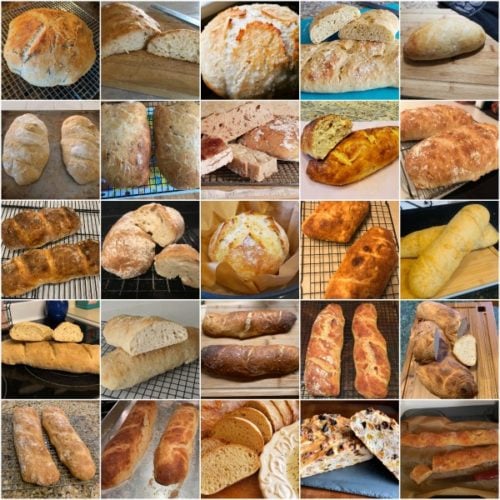
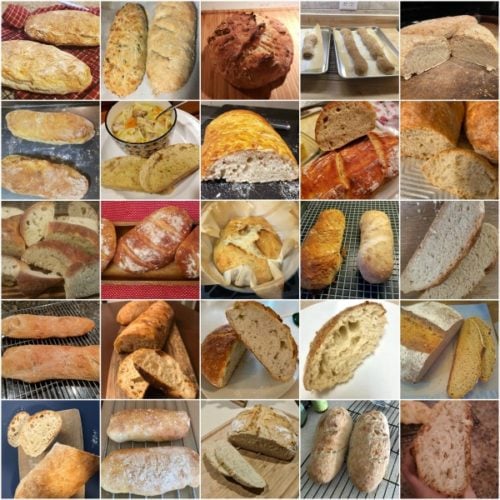
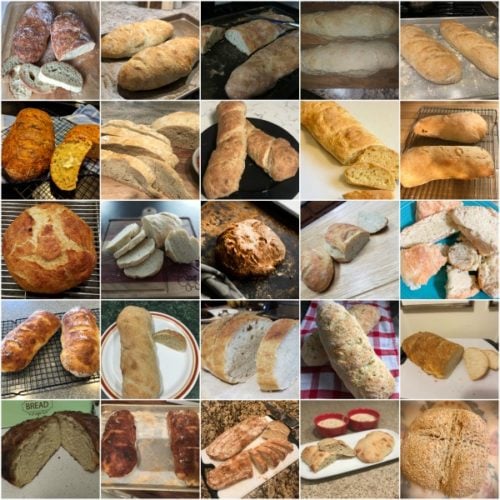
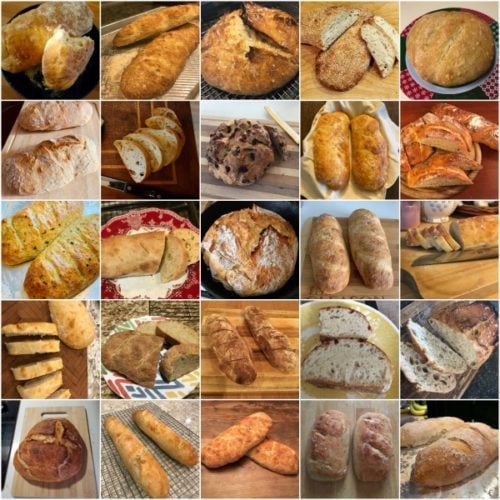
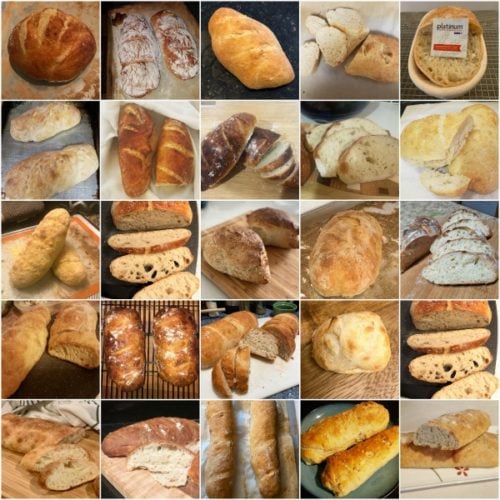
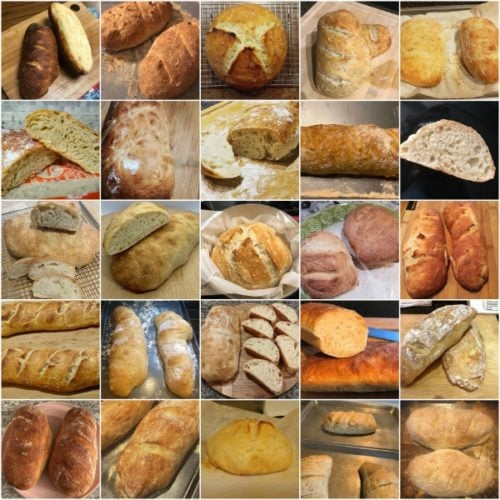
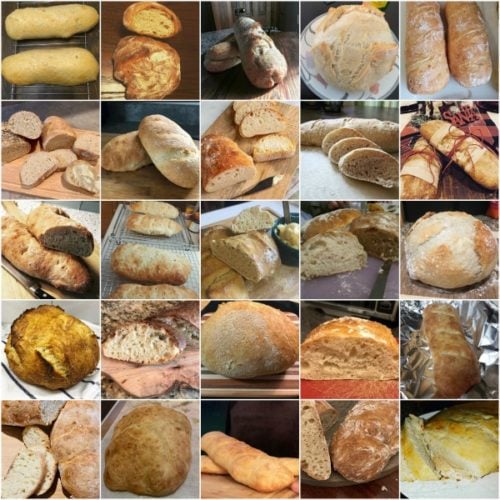
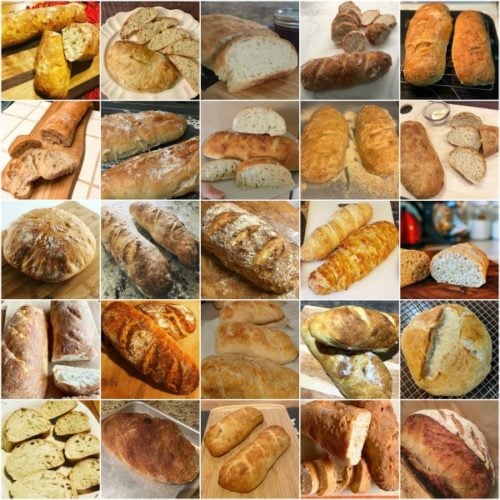
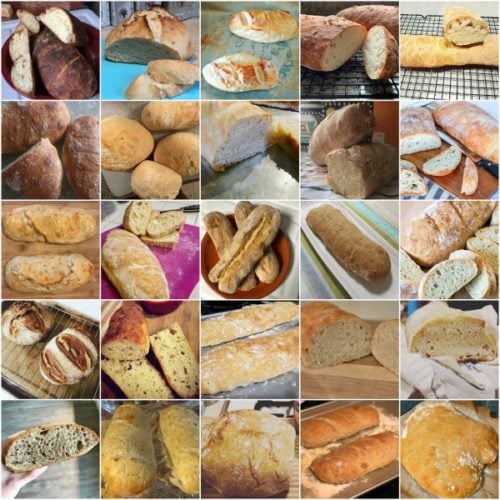
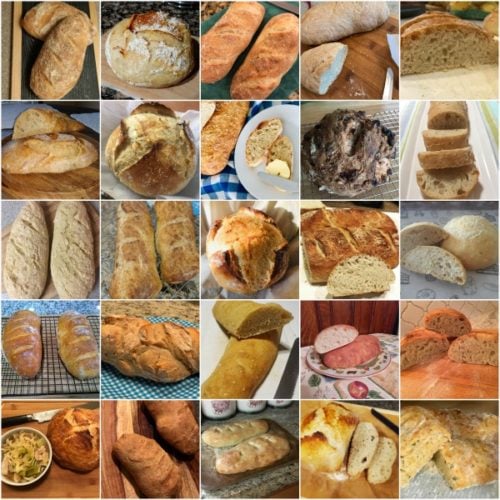
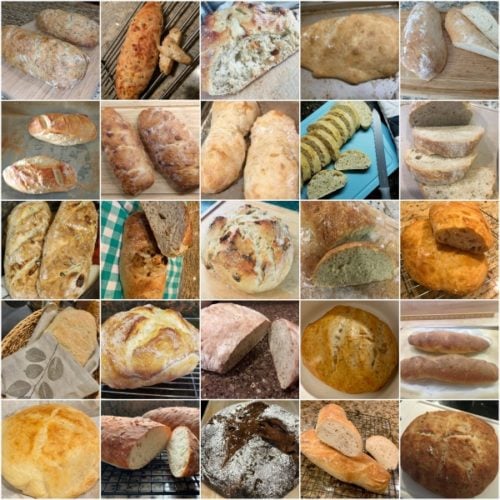
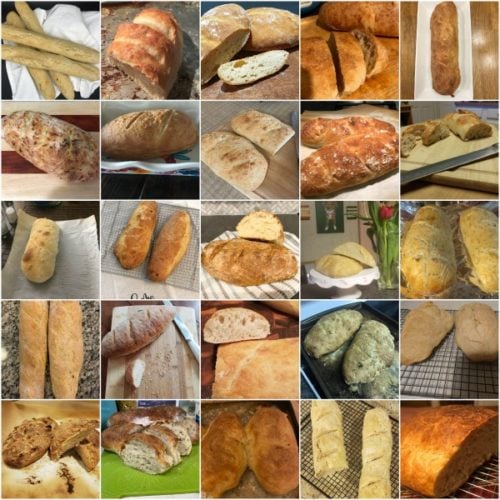
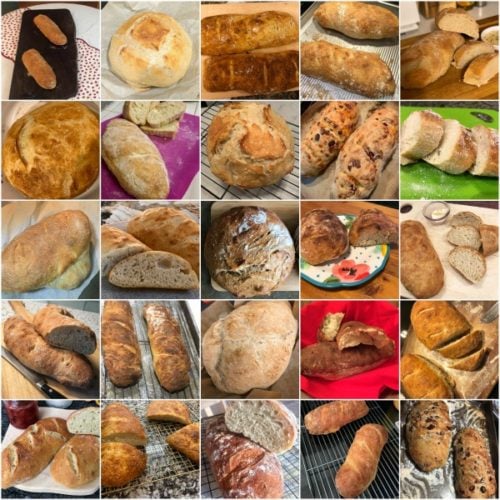
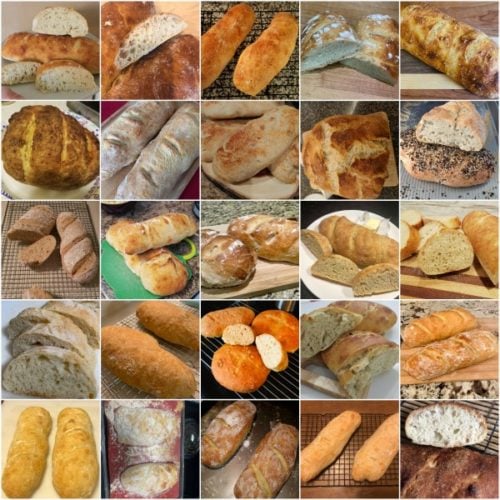
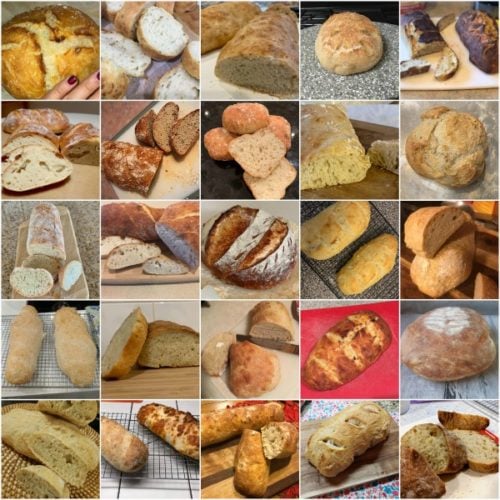
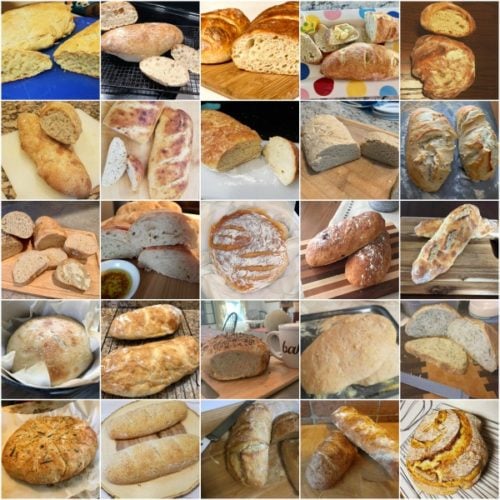
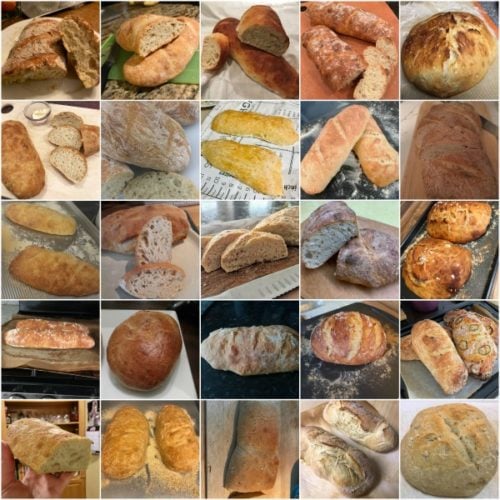
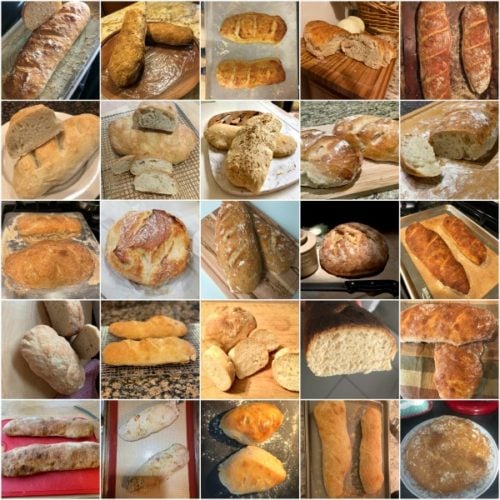
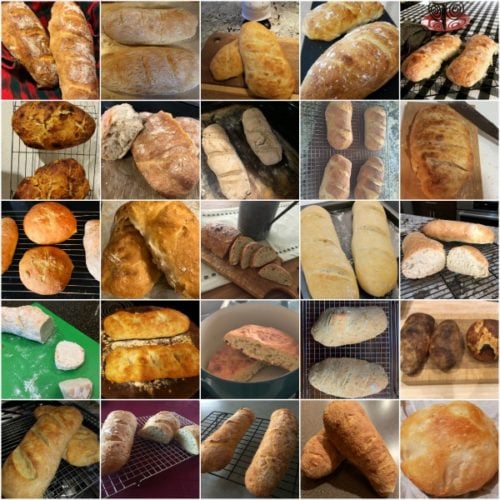
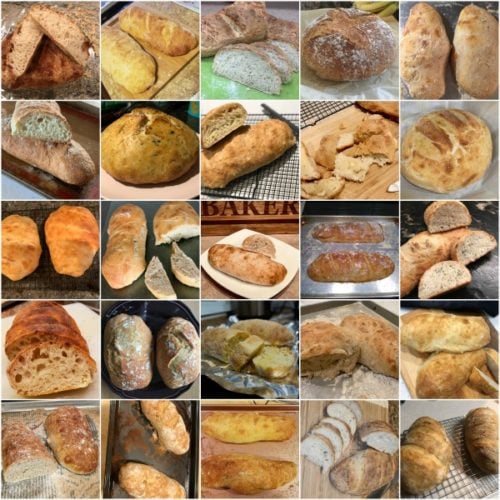
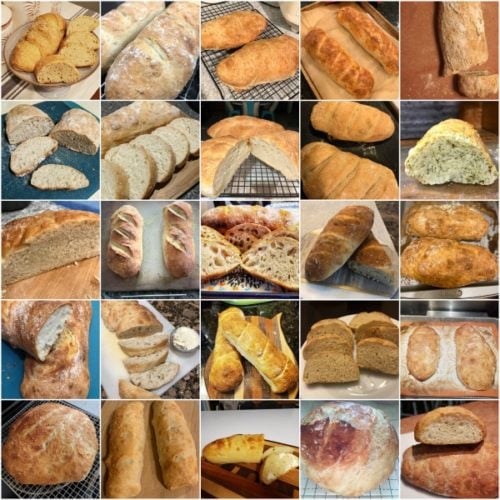
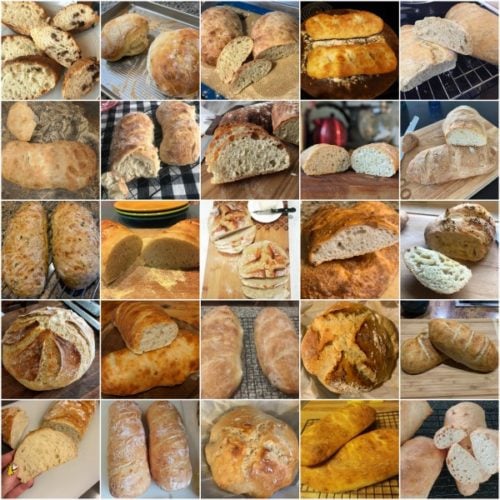


This is my second year where my goal is to participate in all the challenges. This is definitely one of my favorite challenges. Wow! I am so excited by this recipe that I know I’ll use forever! The bread is crusty and crispy on the outside and soft on the inside. My house smells amazing. Thank you Sally!
Wow, I’ve made a few yeast recipes in the last year (bagels, dinner rolls, cinnamon rolls and star bread), and I’m still surprised how easy it is to work with yeast! The recipe notes were spot on and easy to follow (as always!). I’m looking forward to trying a boule next time, and working on my scoring since they didn’t show up after baking. This will be a go-to recipe for sure from now on!
Super easy! I let the dough sit in the refrigerator 2 full days. I think my shape was a bit too thick because my loaves didn’t quite cook all the way through but were delicious anyway! I will use less salt next time, as sitting so long increased the flavor quite a bit. Will definitely make again and add cranberries and cheese!
What a wonderful recipe! The bread turned out so beautiful, with such great texture and flavor!
It is so easy to make and the result is so good, I can hardly believe I baked it myself
We all loved it and will definitely bake it again!
Hey Sally! I just want to thank you, as I only recently started following you a couple months ago and have already learned so much from all that you share! I am currently living in China for a year and sometimes it is hard to find ingredients, but I am so thankful for your helpful tips. I have a lot more free time here as well, so getting into baking has really helped me stay busy and motivated!
I loved this recipe for the bread! I really do want to learn more about baking bread and your recipes are the perfect start. I have made your bagels a few times already because I love them so much! I look forward to more recipes and trying to keep up with your monthly challenge (as long as I can find the right ingredients to haha).
I just purchased my first mixer and was dying to finally try my hand at making bread. I came across this recipe from a google search and thought it was right up my alley. You said no mixer required but I used my mixer anyways. I topped the loaf with course sea salt and fresh rosemary. My loaf turned out a bit dense but absolutely tasty with the perfect chew. Thinking the next batch I’ll let it sit a while longer maybe and see if I cant create those wonderful air pockets. Great recipe. Much appreciated.
LOVE this recipe!!! Definitely a keeper…I shaped mine into a boule instead of loaves, so it took about 40 minutes to cook and be as brown and deliciously crusty as I wanted. It looked so beautiful and rustic when I pulled it out of the oven! Ate it warm with family (who were amazed at how good it tasted compared to how little work I’d done 😉 )…..perfect comfort food 🙂
Thank you Sally!
This was so delicious!! I made one loaf tonight and put the other in the freezer. (I didn’t expect my husband and little girl to finish a whole loaf!! But they did!)
Mine did turn out a little flat but I just read your comment about reshaping before putting it in the freezer so I’ll try that next time!
This bread is amazing and delicious! Thanks for easing me into homemade bread making!
What a great recipe!!! It turned out crusty on the outside and chewy with lots of air pockets. It was perfect with my big pot of chili today!
I have never in my life baked bread before and let me tell you, that’s gonna change. I was so excited to try this challenge that I wasn’t about to let anything deter me—we moved house today and so yesterday after doing the last of the packing, I made the dough and let it rise while I was loading the truck, then took it over to the new house and put it in the fridge overnight. Now we’re sitting here in a sea of boxes, happy but tired, and I’m so glad that past me followed this recipe because we’ve got warm bread and wine for our premiere dinner in our new home. Thanks so much, Sally! This couldn’t have been easier and the payoff is delicious ^_^
Super easy recipe! I was a bit skeptical at first since kneading the dough helps develop the gluten, but it was so chewy on the inside and crispy on the outside! I made a cranberry pecan boule that my husband and I devoured this morning for French toast and a plain loaf with soup last night. I used half white whole wheat, half bread flour for both and didn’t notice a difference in texture or flavor.
I used all purpose flour because it’s what I had on hand. The dough was very wet and I likely should have added a bit more flour but didn’t because the recipe said it would be a wet dough. Because the dough was so wet the loaves stuck to the pan terribly – I’ve never had that much trouble getting bread off a pan. Also my slashes didn’t really come through because of the wetness. That being said I used the steam method she suggested (something I haven’t tried before with bread baking) and it produced a lovely crispy crust. The bread had large air holes and an incredible flavor – yum!!
Incredibly easy and delicious. My family was impressed with the taste and saw what little I did to make it happen. I plan on practicing throughout this month (playing around with my new oven). Thanks Sally; great recipe!
So delicious! Made the two loaves using the steam method and it turned out absolutely perfect! So easy and the few ingredients make it a manageable recipe.
Hi! I’m new to bread making and tried this recipe. The taste is great but here’s my problem – after shaping the dough and letting it rise for 45 mins, the dough spreads out instead of rising more. This made my loaves pretty flat after baking. At least they taste great! This is the second time this has happened to me when baking bread. What can I do to fix it? Thanks! 🙂
Hi Sara! This happens and there is a very easy fix. Simply flour your hands and narrow the shaped loaves out (press the edges back towards the middle) immediately before placing in the oven.
Sat in fridge for 24 hours before baking. Good flavor, crispy crust, chewy on the inside. Used the boiling water method for a crispier crust. I think it turned out great for the first time! Thank you, Sally
I made this today and it turned out great! So easy to make, looks and tastes delicious. The only part that didn’t quite work was my scoring of the dough but that’s minor and didn’t impact anything.
Hi sally. This bread is sooo delicious! Baked half yesterday and rest today. I am on a salt restriction of 1500mg a day. Could I decrease the salt to 1 tsp. Instead of 2 or will that affect the bread greatly. My husband devoured it completely!!!!
Hi Sandra! So happy you and your husband enjoyed this recipe! Yes, you could decrease the salt but some of the flavor will be lacking- you could try adding some herbs or spices though!
Just came out of the oven. Wish you could smell it. I used sun dried tomatoes, pizza blend cheese and about a tsp each garlic and onion powder. Oh for the salt, used fresh ground sea salt.
Will be making again. Next time cranberry orange.
So easy to put together and to form. Mine went in the fridge at 5pm on Weds and baked it off around 2pm on Thurs.
Hi Sally, Happy New Year! I actually baked my first loaf of bread last year! Id love to make this a 7 grain but (dont laugh) what would be the specific 7 grains? Do i just add them in dough? how much of each? Once is baked how do you store it? I know fresh bread turns hard quickly
Hi Melissa! For best success (and so you don’t waste your time!) I recommend using a different recipe that’s formulated specifically for the 7 grain addition. 🙂
Delicious! Love the crispy crust!
wow! I love to bake and I use your recipes ALL the time. I didn’t think I could bake bread that could look and taste as good as this but I did! Thank you so much! Another great recipe to add to my collection.
What is “poolish” mentioned in line 5 below “Why you’ll love this bread”?
Hi Mary! Poolish is a wet sponge mixture used to help pre-ferment dough in some bread recipes.
I didn’t get the signature holes what could be the reason?
Hi Carrie! All loaves bake up differently. My bread in the video wasn’t as hole-y as the pictured loaf I made the day earlier! See my Baker’s Tip in the post for a little help. Avoid adding too much flour to the dough as you work with it. The stickier it is– and the longer it sits in the refrigerator– the more likely you’ll have those big airy pockets of air in the crumb.
Mine didn’t have the same holes either and I left mine in the fridge for 2 days but I do think my dough was a bit dry when I first mixed it. Not as wet as the picture showed. Will have to try again as this was so simple and my family loved the bread. Perfect with minestrone!!
Hi Sally
Just made this bread, followed recipe exactly, including boiling water for crispy crust. Although beautiful crust, seems a little doughy? I let it rise for 12 hours in fridge, any ideas?
Joan
Hi Joan! Thanks for trying this bread recipe. It sounds like the bread wasn’t completely cooked through. It’s soft, but shouldn’t be doughy or seem under-cooked in the interior.
I just couldn’t wait and had to bake this today to go with chowder for dinner. It turned out perfect! Chewy and slightly crunchy, but not so much that you hurt your mouth. I’ll definitely be making more and am excited to see the difference a longer proof time makes.
Delicious! This was my first time making any kind of bread so I didn’t have much confidence, but I am super impressed! I added minced garlic and a tblspn of dried rosemary and only let it rest for 3 hours. I can’t wait to mix it up and try some other flavors.
This recipe is awesome!! Made 1/ regular 1/2 jalapeño cheddar. Very good & simple recipe!!! Will definitely make again!!
Super simple! Made it this morning with my 3yo! Little sticker than I was expecting but delish!
Made this recipe this morning and my husband and I ate it for lunch! It was delicious and I will definitely make again! I only had enough time to do the 3 hour rise and the texture was close and not as airy as yours looked in the photos. Is that because of the short rising time and not resting in the fridge – or did something else cause that? Thanks! This recipe is a keeper!