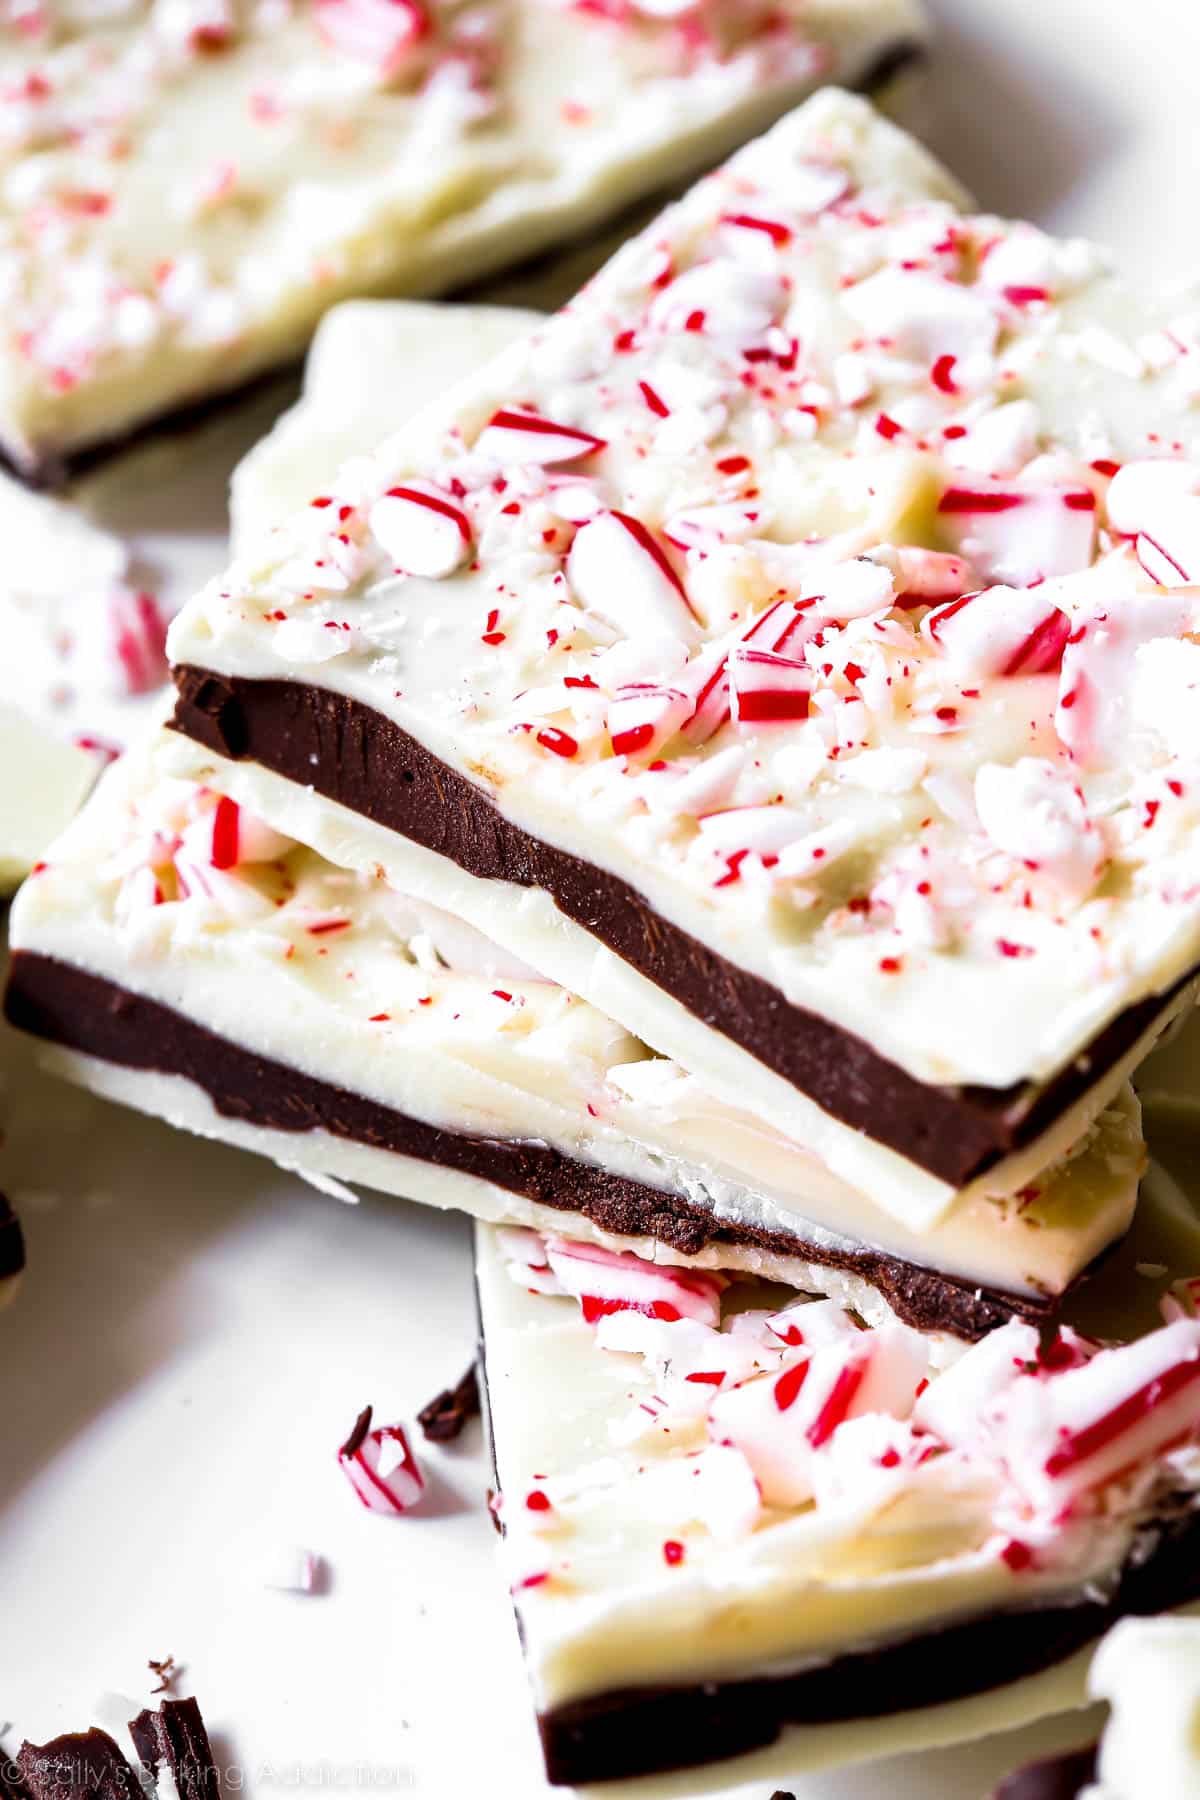
Peppermint bark is easy to make with just 5 ingredients. This simple recipe for the classic Christmas treat features 3 layers of white and dark chocolates flavored with peppermint extract, plus crushed candy canes for garnish. The bark sets in an hour, so your holiday treat will be ready for tasting and gift-giving in a snap!
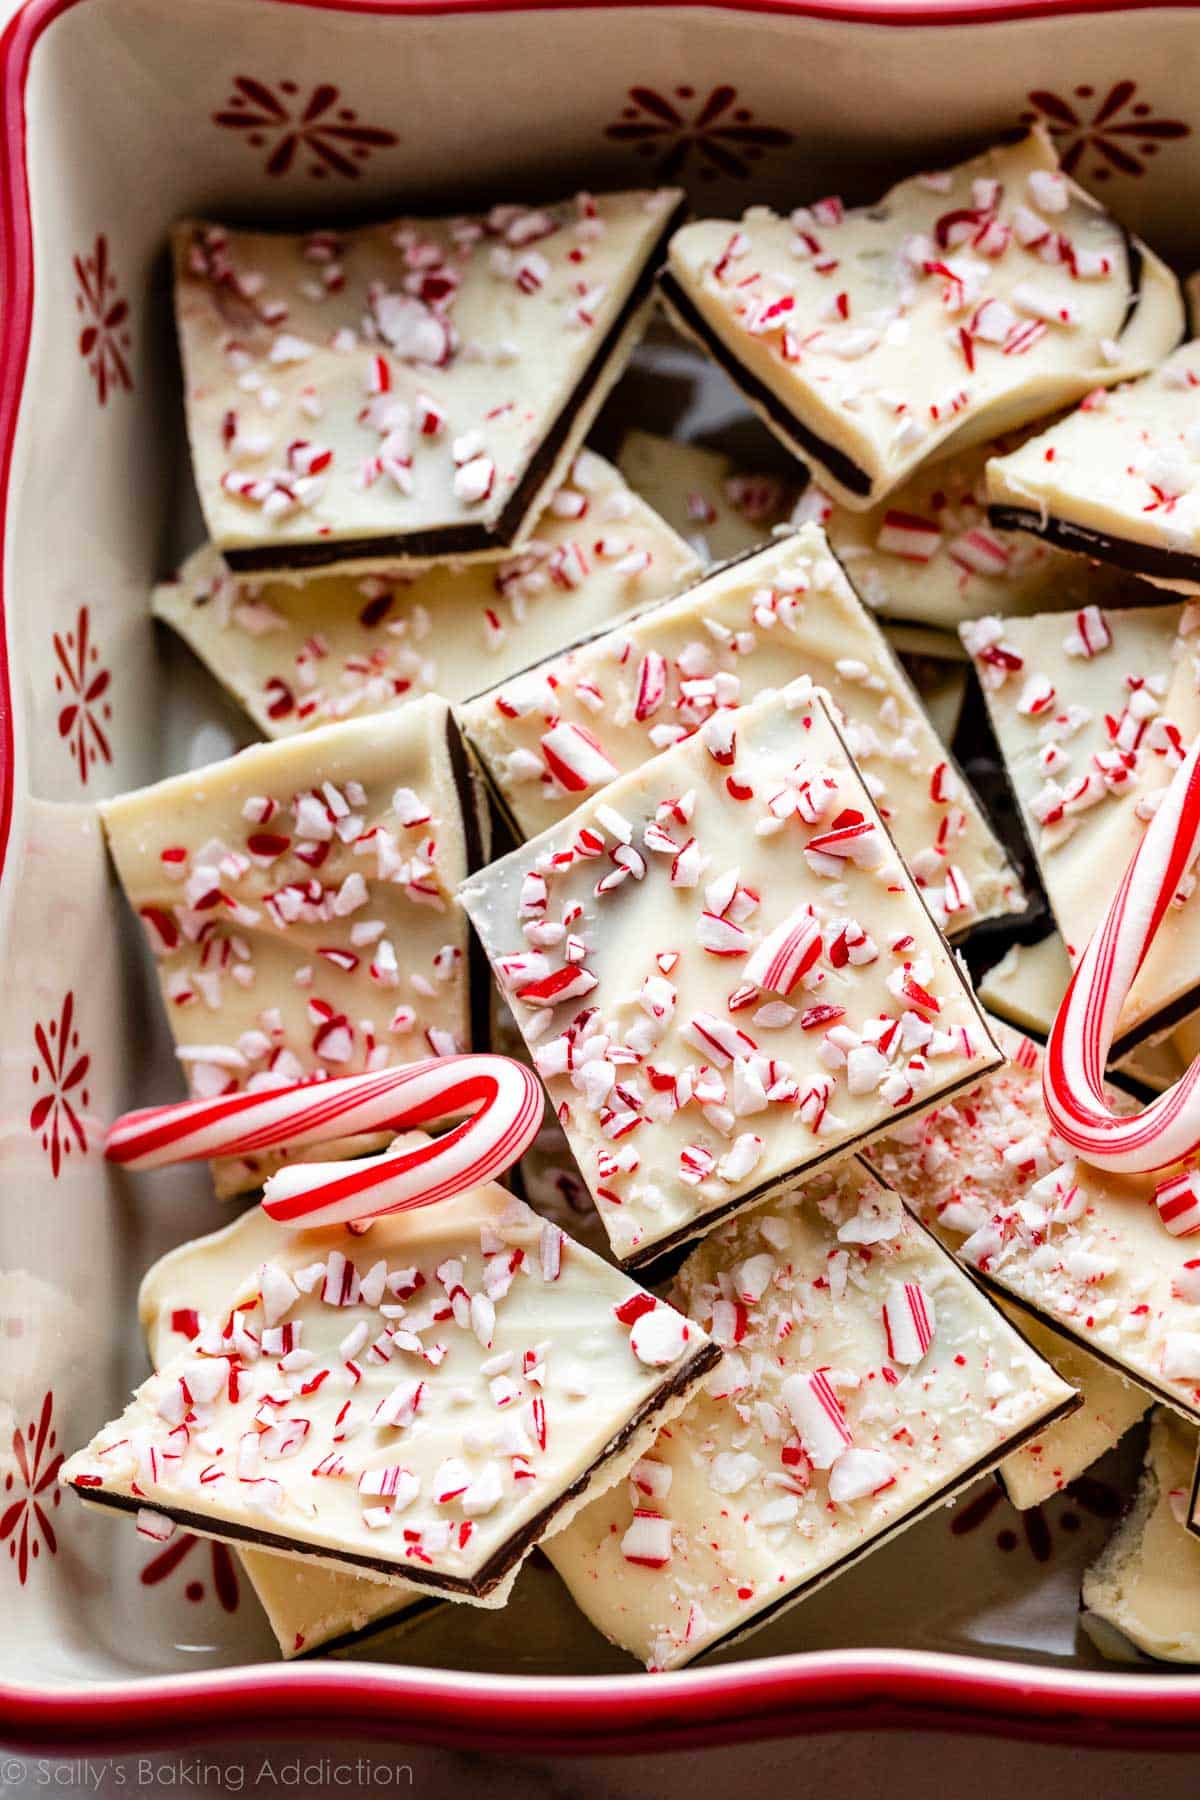
This is one of the easiest holiday treats, and I’ve been making at least 4–5 batches every holiday season since I first published the recipe in 2014. Not much work is between me, you, and this extremely irresistible peppermint bark… dangerous, I tell ya!
There are so many recipes online for homemade peppermint bark, but this one is my favorite because you’re getting 3 layers, it’s made with real chocolate, and it’s really easy to scale up. Simply double or triple the ingredient amounts, and use a large baking sheet. (My biggest piece of dessert-related advice ever: you will never regret making a triple batch of peppermint bark.)
Here’s Why You’ll Love This Peppermint Bark
- Fresh and homemade
- So festive & always a big hit
- 5 ingredients, so simple—you’re literally just melting and spreading chocolate
- Uses real chocolate
- Peppermint flavor is not overpowering (kids love it)
- Melt-in-your-mouth soft with a delightful chewy crunch from candy canes (they soften a bit on the chocolate)
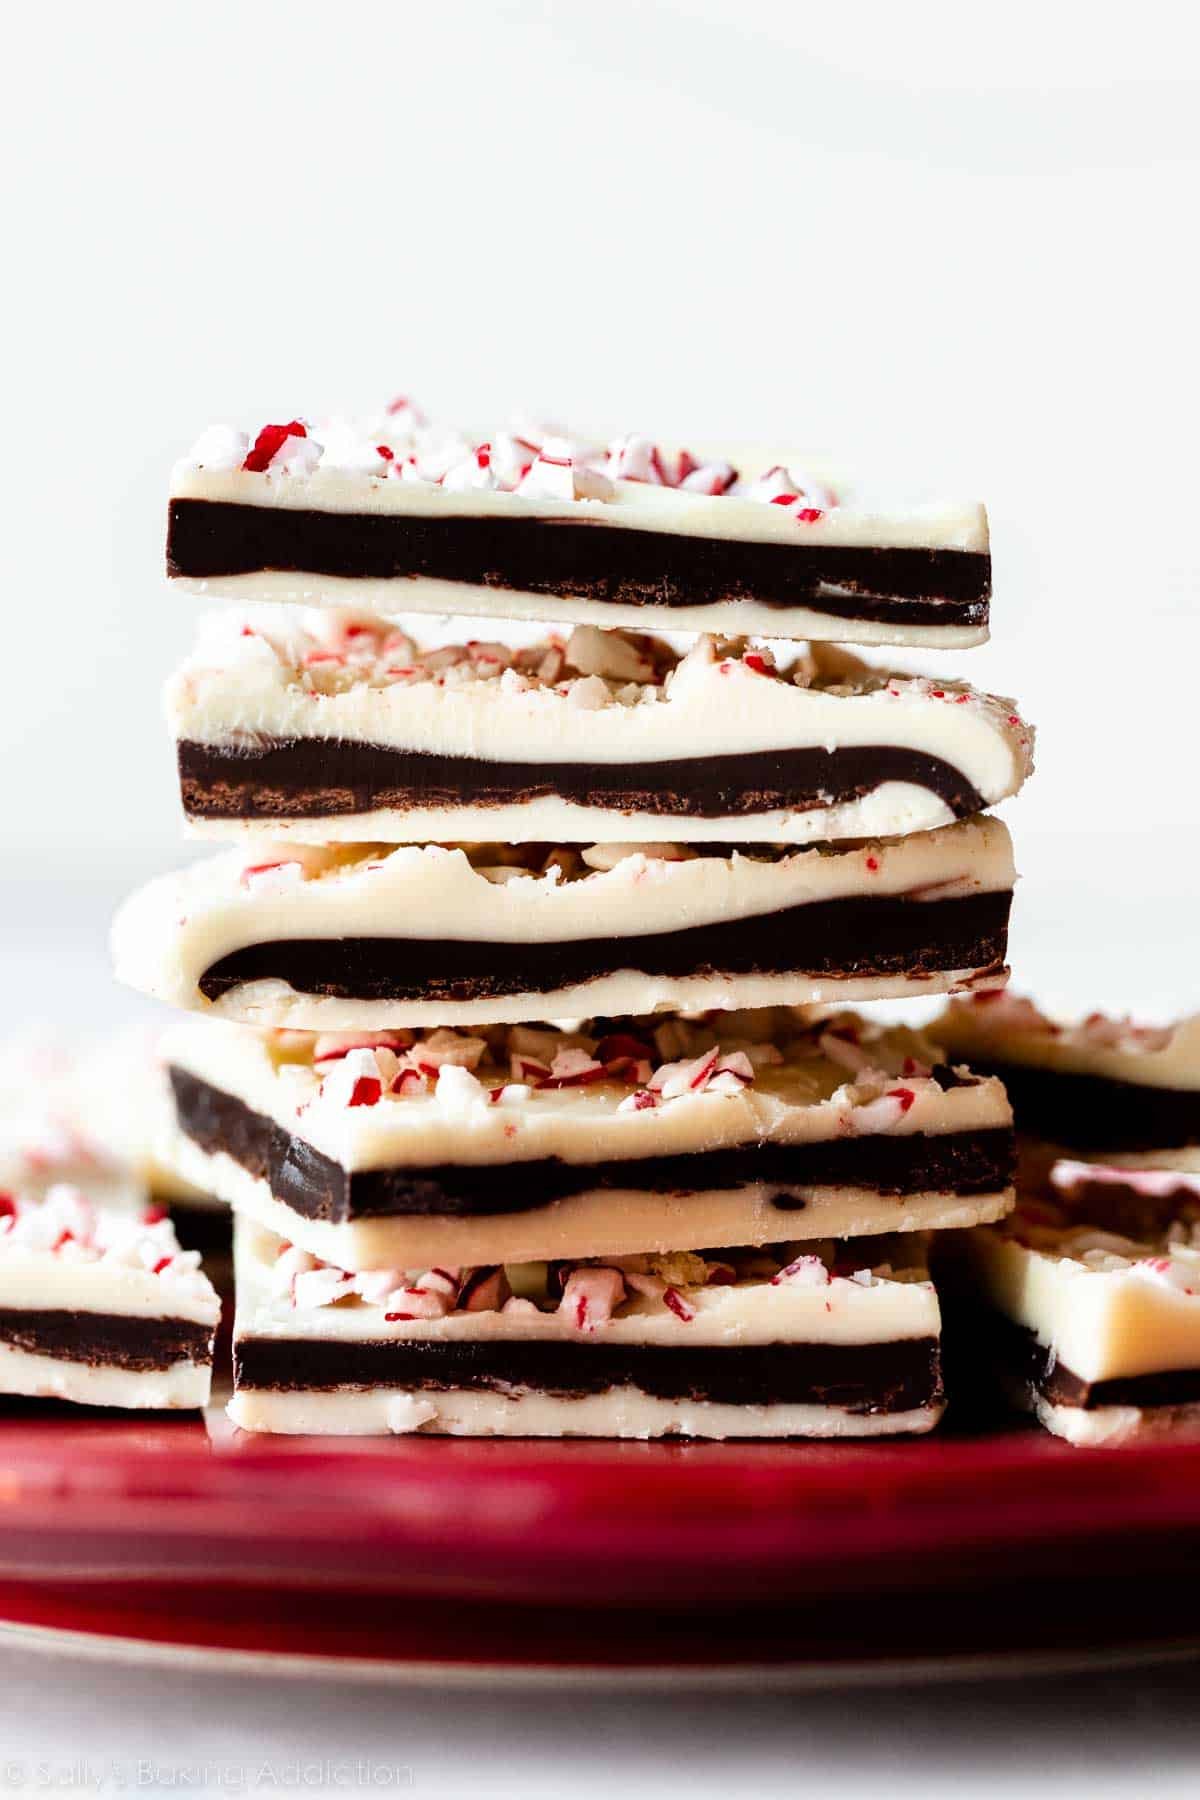
Besides being so easy and downright irresistible, this peppermint bark is my favorite “filler” on a cookie tray. You spend hours making dozens of cookies, and only need about 30 minutes of total prep time to make this. AND it’s always one of the first things gobbled up.
You’re basically just melting and spreading chocolate. No mixer, no oven… you only need 5 ingredients and a stove or a microwave.
- Need other easy and delicious no bake fillers? Try Oreo balls and peanut butter balls!
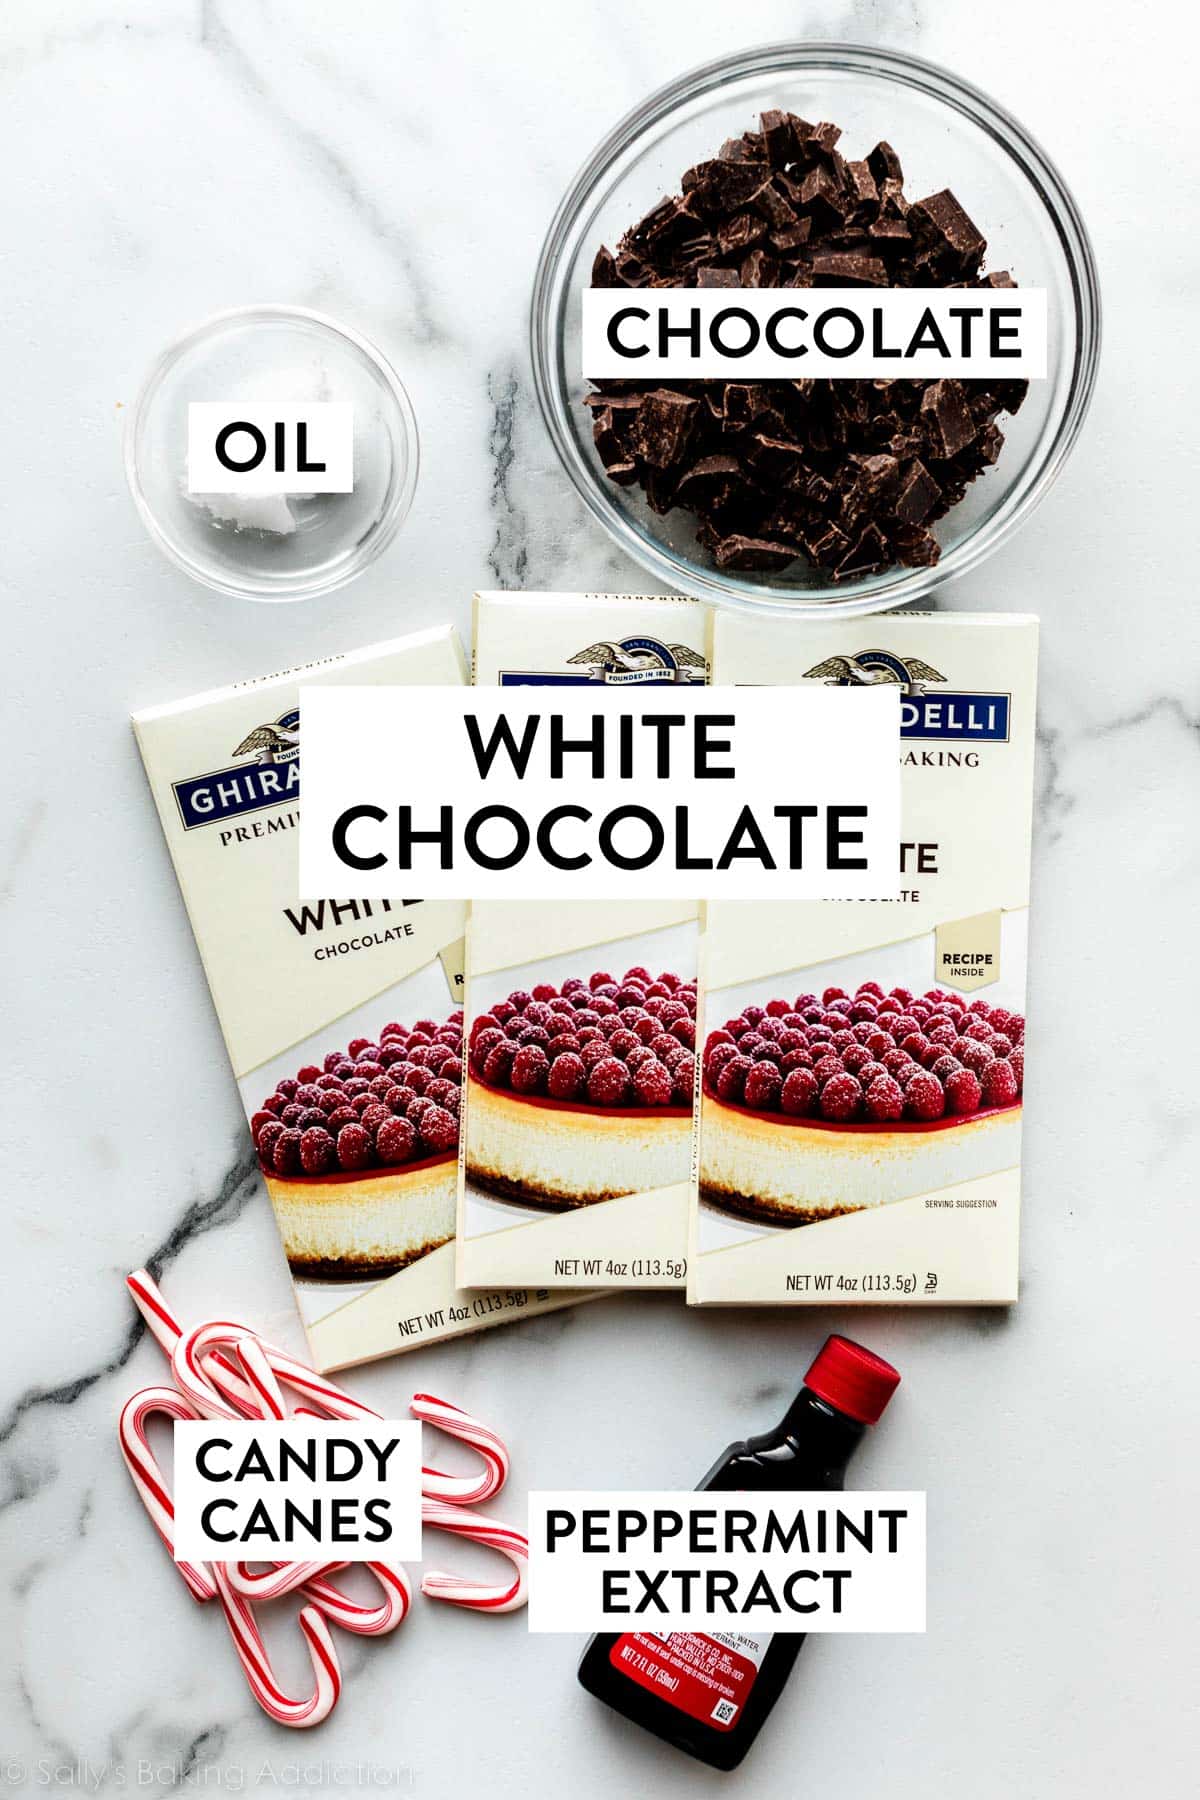
Key Ingredients You Need & Why
- White Chocolate
- Semi-sweet or Dark Chocolate
- Oil (coconut or vegetable). Oil helps thin out the chocolate so it’s easy to pour and spread. It also helps keep the chocolate on the softer side, rather than crumbly and hard.
- Peppermint Extract
- Crushed Candy Canes. You need 2–3 standard-size candy canes (24–36g), depending on how much candy cane topping you like on your peppermint bark.
- Geese a-laying.
Whoops, went 1 too far. Stop at 5.
Best Chocolate to Use for Peppermint Bark
Since there are so few ingredients, it’s important to use quality chocolate. Chocolate chips and white chocolate morsels are fabulous in cookies, but are not ideal for melting into bark. Both contain stabilizers, preventing them from melting in a silky smooth consistency. That’s why chocolate chips keep their shape in your chocolate chip cookies.
And while candy melts are great for cake pops, in a recipe like this, you’ll really taste the difference between actual chocolate and candy melts.
I recommend Ghirardelli, Guittard, or Baker’s brand bars of chocolate when making bark.
Can I Change the Layers?
Yes. There are 3 layers of chocolate; a top and bottom layer of white chocolate and a middle layer of semi-sweet. Feel free to switch them around and sandwich the white chocolate in between two semi-sweet layers. You could also make it with just 2 layers instead of 3. If doing so, I recommend using 8 ounces of each chocolate. See recipe Note below.
You could even take this same idea and turn it into peppermint bark fudge or peppermint bark cookies, 2 other favorites this time of year. 🙂
These Step-by-Step Photos Will Help
All you’re doing here is chopping up the chocolates separately, melting them separately with a little oil to thin the melted chocolate, and layering them on top of one another. Make sure you let the layers cool for 10–15 minutes in between layering or else you’ll wind up swirling the two chocolates together. (Though you can definitely go for a peppermint swirl bark if you’d like!)
Melt 1/2 teaspoon of oil with the white chocolate in the microwave in 20-second increments, stirring in between. When melted and smooth, stir in 1/4 teaspoon peppermint extract.
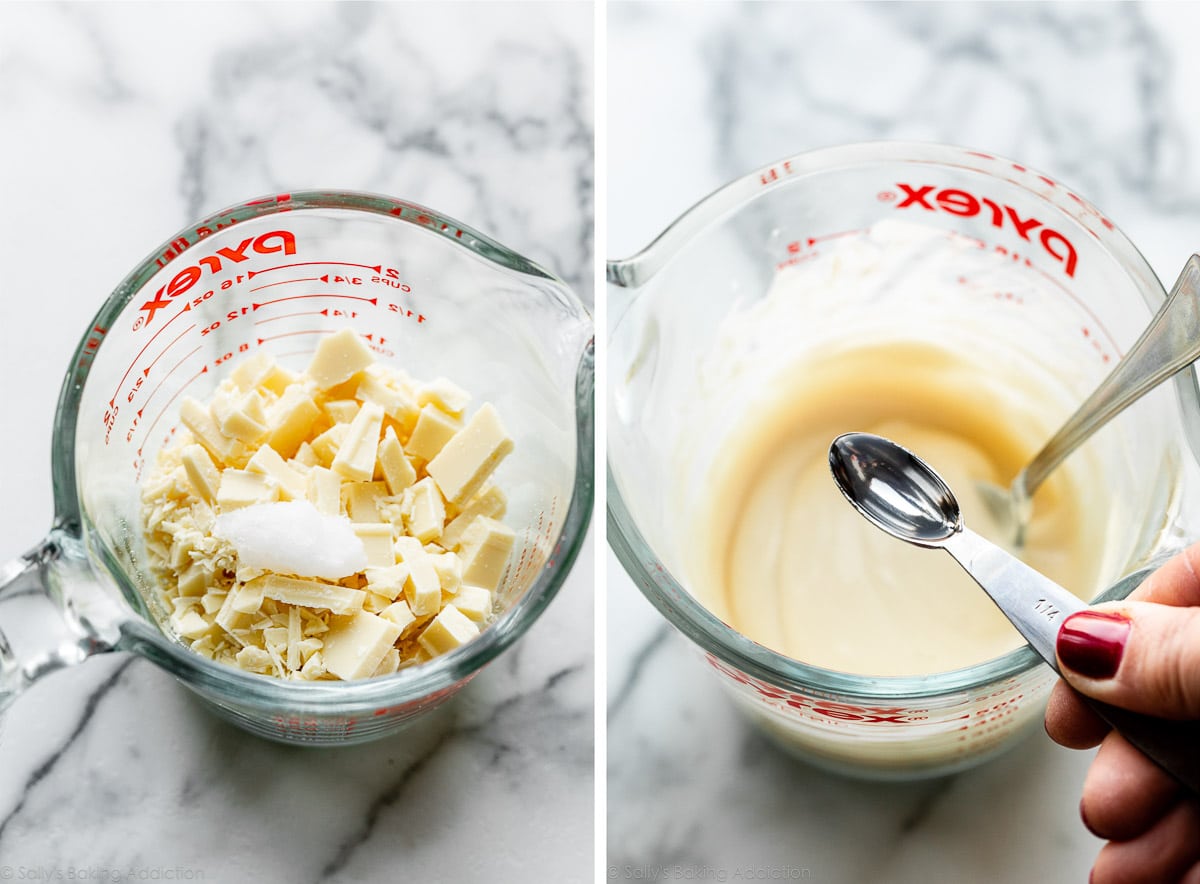
Spread the peppermint-flavored white chocolate into a lined pan.
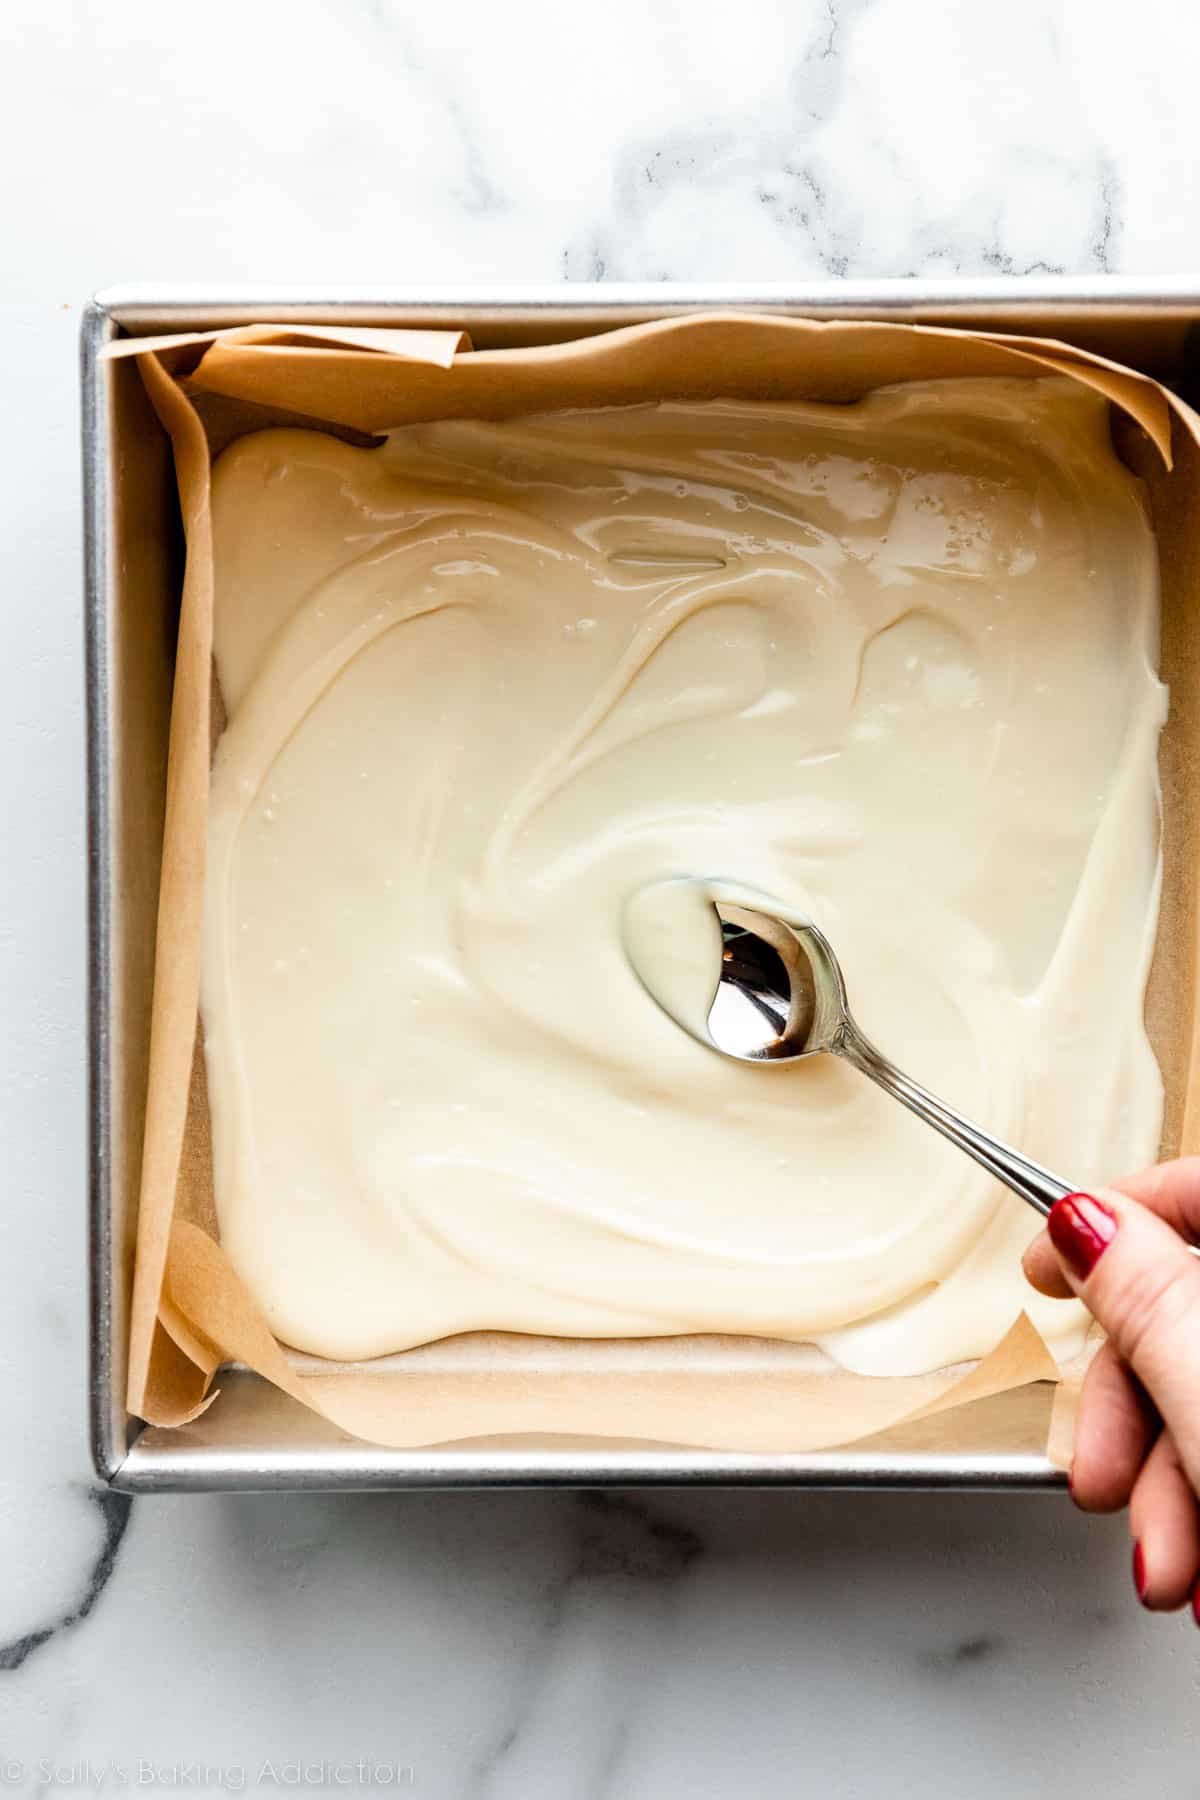
Place the pan in the refrigerator for 10–15 minutes (I find 11 is just about perfect). You don’t want it to set for too long and completely harden, or else the layers will separate.
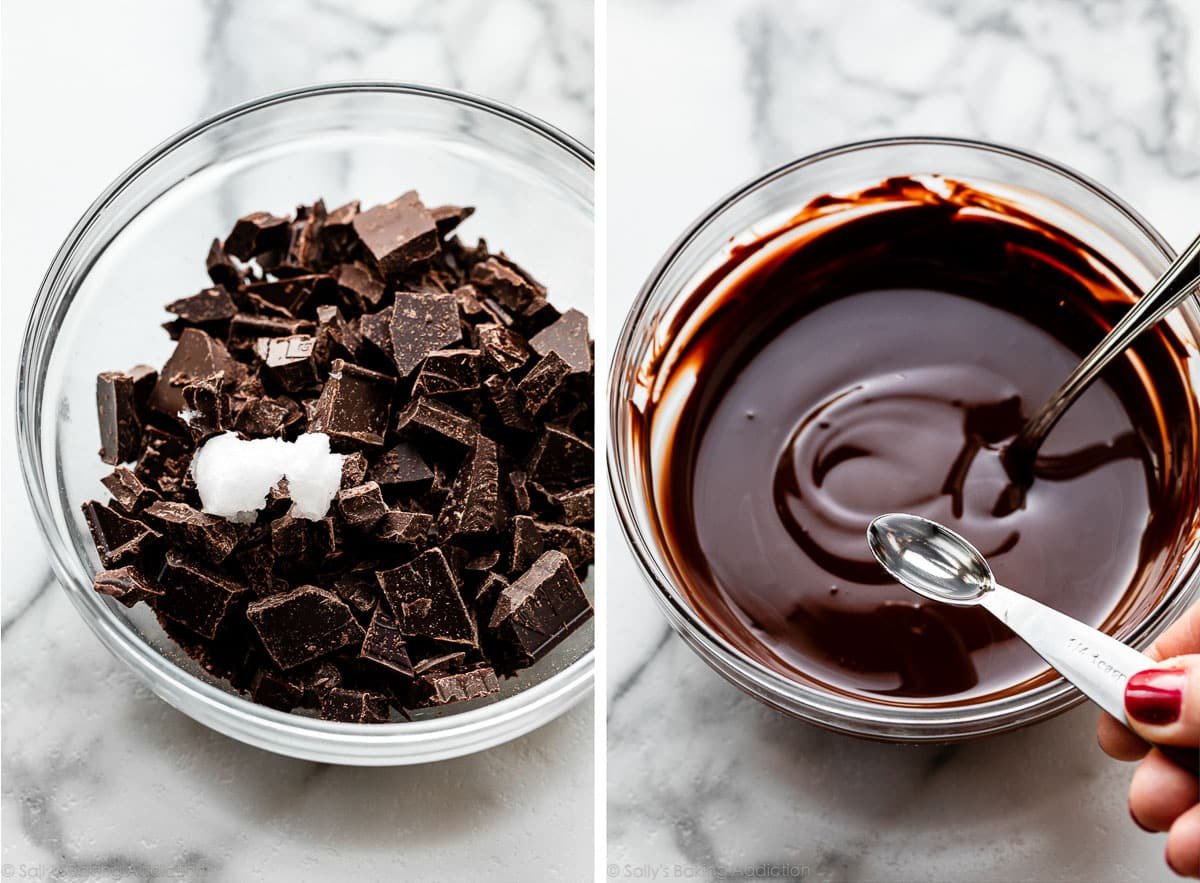
Repeat with chocolate.
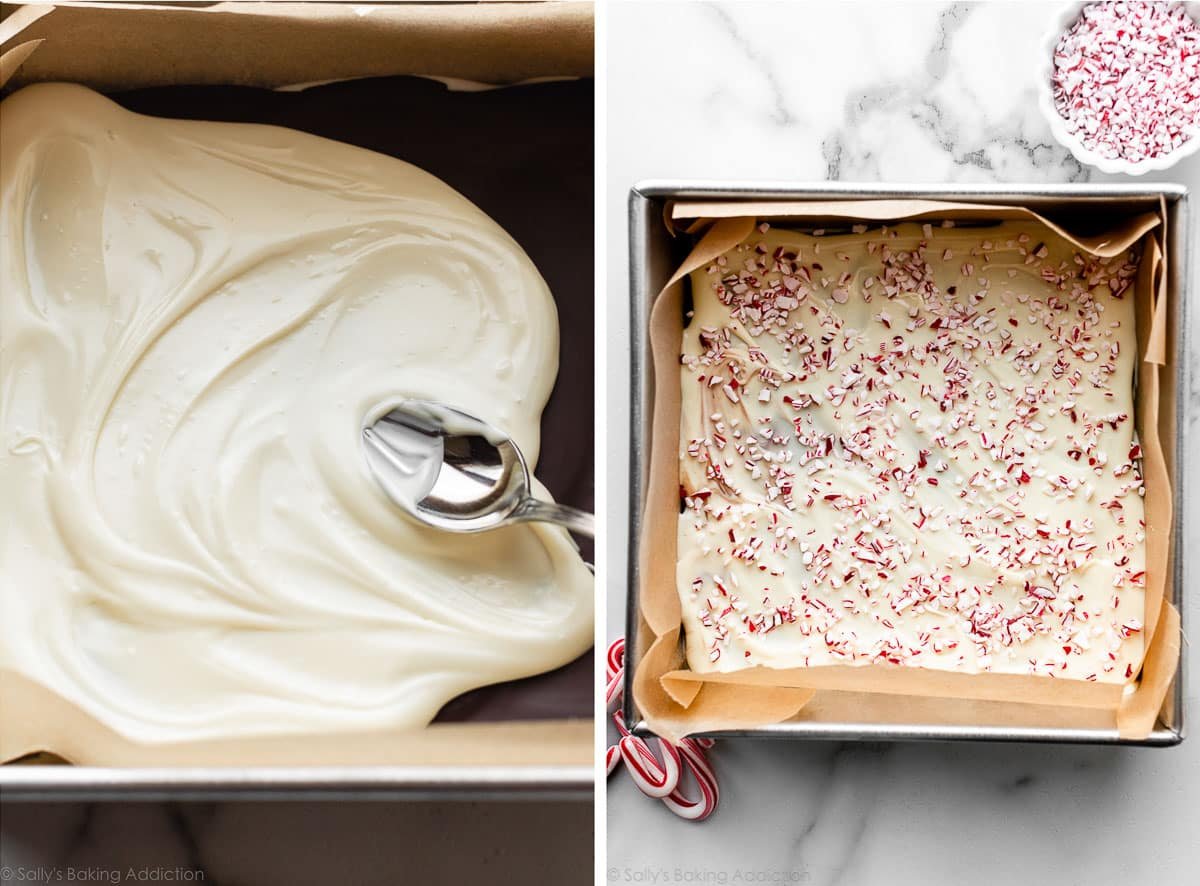
Repeat with second batch of white chocolate, but no peppermint extract this time. Sprinkle with crushed candy canes, then place the pan in the refrigerator one last time to fully set.
Peppermint bark takes about 1 hour to set.
If you have some leftover crushed candy canes, use them instead of sprinkles on your Christmas sugar cookies. 🙂
Use a sharp knife to cut the bark into pieces, or use your hands to break it apart; taste test; taste test again. DONE.
Best Pan Size to Use?
You can spread/pour out the melted chocolates in an 8- or 9-inch square baking pan, or simply spread on a baking sheet, where the thickness is up to you. No matter which pan you use, make sure to line it with parchment paper or aluminum foil so the bark is easy to get out of the pan after it’s set.
Tips for Making the Best Peppermint Bark
- Spreading the chocolate layers: A spoon or offset spatula helps spread the melted chocolate easily. You can also pick up the baking pan and tip it to help the chocolate slide around.
- Why are my layers separating? You may have chilled the layers for too long. Only refrigerate the bottom and middle layer for 10–15 minutes before spreading the next layer on top. You want it still a bit soft so the layers adhere together.
- Can I use peppermint oil instead of extract? You can use peppermint oil, but proceed with caution! This stuff is very potent and you’ll only need a drop in the bottom and middle layers.
- Crushing candy canes: I find the easiest way to crush candy canes is to put them in a zipped-top plastic bag and take out any holiday season stress on them with a rolling pin or a meat mallet. Optional: Put on your favorite version of The Little Drummer Boy and pound along. Pa rum pum pum pum!
- Storing peppermint bark: You can store this homemade candy for a few days at room temperature, or up to 3 weeks in the refrigerator.
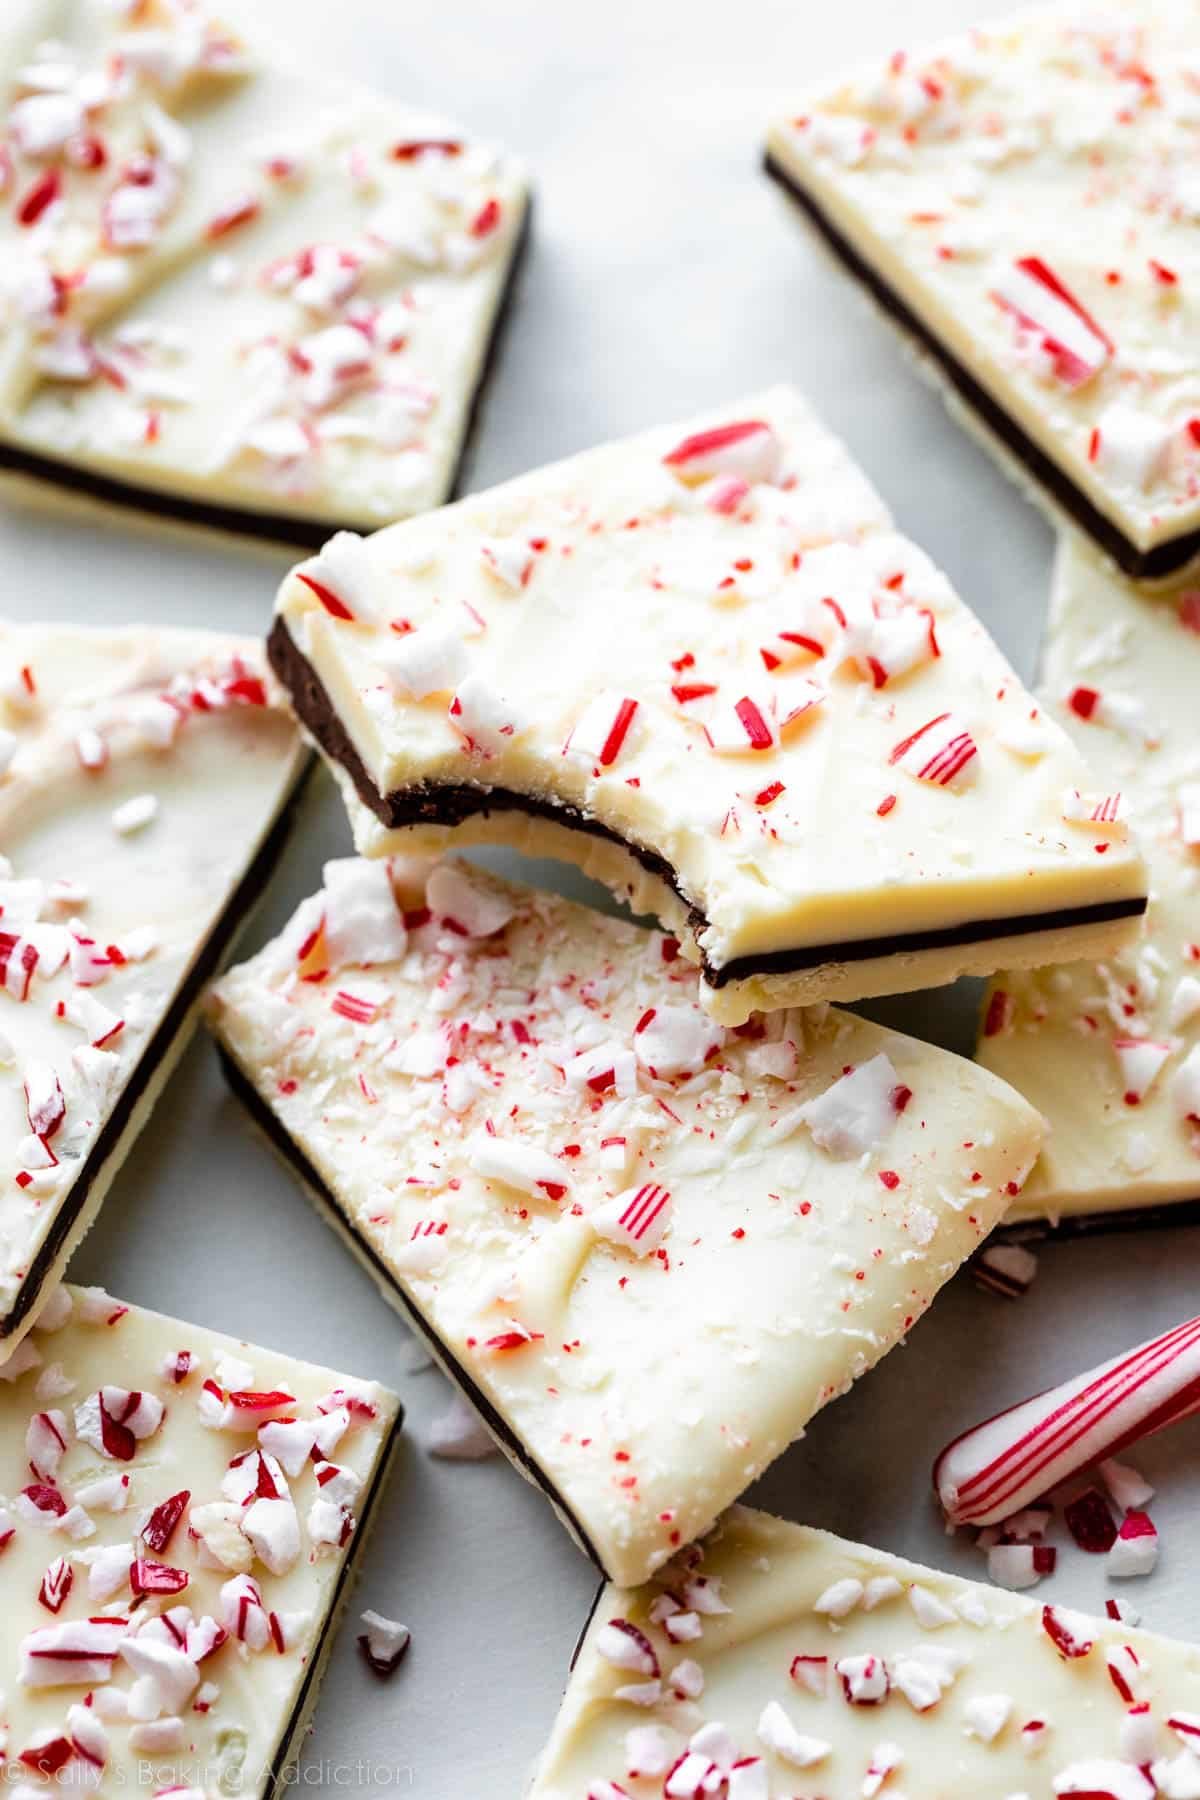
Tins or treat bags of homemade peppermint bark make such a lovely holiday gift. Pair with Christmas cookies in a jar or homemade vanilla sugar for a sweet homemade treat anyone would love to receive!
Print
Peppermint Bark
- Prep Time: 30 minutes
- Cook Time: 0 minutes
- Total Time: 1 hour, 45 minutes (includes chocolate setting)
- Yield: just over 1 lb
- Category: Candy
- Method: No Bake
- Cuisine: American
Description
Incredibly simple white chocolate and semi-sweet chocolate layered bark flavored with peppermint and topped with crushed candy canes. Review recipe Notes before starting.
Ingredients
- 12 ounces (339g) white chocolate, coarsely chopped and divided*
- 6 ounces (170g) semi-sweet or bittersweet chocolate, coarsely chopped*
- 1 and 1/2 teaspoons vegetable oil or coconut oil, divided
- 1/2 teaspoon peppermint extract, divided
- 2–3 regular-size candy canes (24–36g total), crushed
Instructions
- Line the bottom and sides of a 8-inch or 9-inch square baking pan with parchment paper or aluminum foil, smoothing out any wrinkles. Or use a lined baking sheet. Set aside.
- Bottom layer: There are a few ways you can melt the chocolate. You can use a double boiler over just barely simmering water or you can use the microwave. The microwave is a little more convenient for most, so my directions are for a microwave. (If using a double boiler, follow this recipe, but melt the chocolate layers in your double boiler over simmering water.) Place 6 ounces of white chocolate in a small heatproof bowl or a liquid measuring cup. Add 1/2 teaspoon of oil. Melt in 20-second increments, stirring vigorously with a silicone spatula spatula or spoon after each increment, until completely melted and smooth. White chocolate and chocolate overheat easily, so it’s important to do this in increments. Once melted, stir in 1/4 teaspoon peppermint extract. Pour melted white chocolate into the prepared baking pan, and, with an offset spatula or spoon, spread into a thin smooth layer. (If using a baking sheet, make it as thin as you’d like… I usually spread it out to about 8×12 inches.) Place the baking pan in the refrigerator for 10–15 minutes or until almost completely set. If it sets completely, the bark layers could separate.
- Middle layer: Place semi-sweet chocolate in a small heatproof bowl or a liquid measuring cup. Add 1/2 teaspoon of oil. Repeat melting, just as you did with the white chocolate in step 2. Once melted, stir in remaining 1/4 teaspoon peppermint extract. Pour all of the semi-sweet chocolate over the white chocolate layer and spread it into a smooth layer. Place the baking pan back in the refrigerator for 10–15 minutes or until almost completely set.
- Top layer: Place the remaining white chocolate in a small heatproof bowl or a liquid measuring cup. Add last 1/2 teaspoon of oil. Repeat melting, just as you did with the other layers. Pour over the bark layers and spread into a smooth layer. (This layer will not have peppermint extract.) Sprinkle evenly with crushed candy canes. To crush, place the unwrapped candy canes in a sealed zipped-top bag and roll or bang with a rolling pin or meat mallet until crushed.
- Refrigerate the bark until completely set, about 1 hour. Once hardened, remove from the pan and peel off the foil or parchment. Break or cut into pieces as large or as small as you want. If your bark chilled in the refrigerator for longer than 3–4 hours, let it sit at room temperature for 10–15 minutes to slightly soften before breaking/slicing. (Or else the layers might separate.)
- Cover and store leftover bark in the refrigerator for up to 3 weeks. The bark can be left at room temperature for a few days in colder months, but it gets a little soft.
Notes
- Special Tools (affiliate links): 8-inch Square Baking Pan, 9-inch Square Baking Pan, or Baking Sheet | Parchment Paper or Aluminum Foil | Double Boiler | Heat-Proof Bowl or Liquid Measuring Cup | Silicone Spatula | Offset Spatula | Rolling Pin (to crush candy canes)
- Chocolate: Since there are so few ingredients, it’s important to use quality chocolate. Chocolate chips and white chocolate morsels are fabulous in cookies, but are not ideal for melting into bark. And while candy melts are great for coating cake pops, in a recipe like this, you’ll really taste the difference between actual chocolate and candy melts. I recommend Ghirardelli, Guittard, or Baker’s brand bars of chocolate. You can find them in the baking aisle of most grocery stores and they’re usually sold in 4-ounce bars. (Guittard brand is usually sold in 6-ounce bars.)
- What is the purpose of the oil? Oil helps thin out the melted chocolate so it’s easy to pour and spread. It also helps keep the set chocolate on the softer side, rather than crumbly and hard.
- Can I temper the chocolate for this bark? I prefer melting the chocolate without tempering for this easy bark recipe. You can temper the chocolate instead if you’d like, which results in a harder chocolate bark with a little “snap” to it. Here is a helpful tempering chocolate tutorial. Do not refrigerate the layers or the finished bark; let the layers set at room temperature.
- Can I make this only 2 layers? Yes. Use about 8 ounces of each chocolate. Let the bottom layer almost set, then top with the other melted chocolate. Continue with step 5.
- Can I double or triple this recipe? Yes. Double or triple all of the ingredients. Use a large lined baking sheet. All of the instructions are the same, including the setting times.


Baking chips review:
I’ve made this recipe almost a dozen times, always with baking chocolate bars. This year, as a last minute teacher gift, I made several batches. Baking bars were sold out so I tried chocolate chips(I know, against Sally’s advice). I used Ghirardelli Premium Baking Chips. The results were the same and the layers did not split apart. The only difference I noticed is that the melt time is a bit longer with the chips.
This peppermint bark is a staple on our holiday treat trays and people love it! 🙂
Great flavor, but I will add more peppermint oil on my next batch, as well as a few more candy canes. I like *peppermint* bark…! On a “non-preferential” note, I would recommend cutting the oil significantly. I used Ghirardelli and (with the addition of the oil) the bark was unpleasantly soft at room temperature. Presentation and mouthfeel required refrigeration.
I’m excited for this recipe but my white chocolate burned in microwave!
Hi Lynne! Melting chocolate, especially white chocolate can be tricky – make sure to only microwave in short bursts, and stir every time. Also make sure not to use chocolate chips, which will not melt properly.
Hi Sally, I have 100% cacao unsweetened chocolate. Can I use it for the chocolate layer? I think with the white chocolate it would be sweet enough.
Hi Nancy! You certainly can if you enjoy the flavor. Let us know how it goes!
I make this foolproof recipe(as in all Sally’s recipes) every year! Wrapped in cellophane with red ribbon makes it an extra special treat gift
Great recipe yo make in batches. We made this for Christmas gifts and really enjoyed making and delivering it. Ghirardelli makes the flavors wonderful!
Thank you so much. I was trying to do this without a recipe and kept burning the chocolate!! I really appreciate your recipe!
Very tasty and is perfect for any chocolate and peppermint lovers out there.
I did make some changes and tweaks that I thought I would share in case anyone is interested.
First off, I made about six batches of this bark with only two layers instead of three. Two of those batches I made in the normal 8×8 pan lined with foil. And then I made the other amount in a 9×13 glass dish lined with foil for two rounds. Because chocolate in bar form can be somewhat more expensive, I took the risk of using chocolate chips instead. Using the Guittard brand of semi-sweet chips and white chocolate chips. Like the recipe stated, there was a risk of the pieces coming apart. And I did have about a handful do just that out of the many batches I made. But I did discover a sweet spot that could help minimize the chances of breakage at least with this particular chocolate brand.
Instead of letting the semi-sweet chocolate set in the fridge for 10 minutes, I found 7 minutes worked well. Which was about the amount of time it took me to prepare the white chocolate in the microwave. After pouring and smoothing the chocolate onto the semi-sweet layer, I sprinkled the peppermint bark on top and gave the pan a bit of a jiggle back and forth to flatten things out and to cement more of the candy cane pieces into the chocolate. I then put it in the fridge for about 20-30 minutes. And once it was at least firm enough to lift out of the pan on the foil, I went ahead and cut it. Cutting it at this earlier stage made the slices clean and reduced the chance of separation between the layers due to the fact I was using chocolate chips. Which seem to harden faster than chocolate bars.
Once the pieces were all cut, I carefully picked it up and put it back into the pan. If the foil underneath was too torn up from the cutting process, I carefully eased a towel underneath and picked it up that way. Then they went back into the fridge for the rest of the time.
From experience, I found the bark still too soft on the bottom to pull off of the foil layer after the 20-30 minute wait time. Putting it back in the fridge for another 30-40 minutes hardened things up and made it easy to pull it off of the foil when finished.
When I did have bark pieces that separated, I took some melted chocolate and placed a little bit on one of the pieces before using that as a way to glue them back together. It isn’t perfect. But it definitely held them together.
All in all, I know I played a lot with the recipe, heheh. But, I am thankful for the recipe that Sally provided and for all the tips and tricks that she gives.
Sally I accidentally bought mint extract instead of peppermint. Can I use that? Or should I go back to the store?
Hi Becky! We really do prefer the flavor of peppermint extract. Mint can taste toothpaste-y.
So easy and tastes better than the one I buy at the expensive kitchen store every year 😉 Thanks!
Hi! Instead of layering and waiting for each layer to almost set could I pour them out together and feather/swirl them? Do you think this would work? Trying to make an easy process easier! ❤️
Hi Jo! The chocolate may end up very muddled if you do that. You can try a method similar to this one, where you dollop white chocolate on top and swirl: https://choosingchia.com/marbled-peppermint-bark/
What size baking sheet if you double ? Triple? Thanks so much!
Hi Steffanie! Use a large lined baking sheet for larger batches. Hope it’s a hit!
Easy recipe yielding yuuuuumy treats.
How do I keep the candy cane bits from getting melty after the bark is made? Do I store in fridge or not? Thanks!
Hi Petunia, yes, it’s best to store the bark in the refrigerator. The bark can be left at room temperature for a few days in colder months, but it gets a little soft.
Can I substitute oil with butter?
No; you need oil for the chocolate.
Is this recipe Gluten Free?
Hi Autumn! You should always check the packaging of your ingredients to be sure, but this peppermint bark should be gluten free.
Do not use a double boiler. If you leave the chocolate over the hot water while adding the peppermint extract, the chocolate immediately starts to harden. Expensive lesson learned.
Did you use extract? The hardening could be because the chocolate has seized. I had this last year and instead bought peppermint oil which does not cause the chocolate to seize and harden,
This bark is delicious, however, my top layer of white chocolate melts the chocolate layer underneath, giving it a white chocolate/brown chocolate swirl effect. How do I keep the top layer pure white like your pictured bark?
Hi Carol, it sounds like your white chocolate may be just a bit too hot if it’s melting the chocolate underneath. After it is melted, let it sit for a minute or two to slightly cool (but not so much that it won’t spread) before adding on top of the chocolate. Hope this helps for your next batch!
I love the combination of white chocolate with peppermint! The semi-sweet chocolate offsets the white chocolate perfectly. I prepared this in a 9 inch square baking pan and I am happy with the results! The candy cane pieces adds a wonderful colour and texture. I can’t wait to enjoy this over the holidays! Thank you for posting a fantastic recipe!